manuals.online logo
Brands
  1. Home
  2. •
  3. Brands
  4. •
  5. scigiene
  6. •
  7. Thermometer
  8. •
  9. scigiene PT0572 User manual

scigiene PT0572 User manual

•Accuracy: ±0.4°C/±0.7°F
•NSF® Certified
•4 second response
•1.5 mm thin tip
•3.5"/8.9 cm, 304 stainless steel stem
•Waterproof (IPX7: protected from water up to 3
feet/1 meter for 30 minutes)
•Field calibration
•High heat
•Max/min
•Data-hold
•Big digit
•180° rotating display
•On/off button
•Auto-off after 10 minutes
•Food-safe ABS plastic with BioCote®
•Temperature guide on thermometer
•2-way mounting: pocket clip/hook
•Two 1.5V IEC LR44 button alkaline batteries
(included)
Note: Remove label from display before initial use. Clean the
thermometer stem before each use.
Note: In the following instructions, names of the control buttons
are shown in CAPS. Function information that appears on the
display is shown in BOLD CAPS.
Replace batteries when LCD becomes dim. “---” flashes
on the display when the batteries need to be replaced.
1. Power off the unit before installing the batteries.
A malfunction may occur if the power is on when
the batteries are installed. If a malfunction
occurs, restart the device.
2. Using a small Phillips screwdriver, remove the
screw on the back by the pocket clip by turning it
counterclockwise.
Note: Be careful to use a properly sized screwdriver as a
screwdriver too large will strip the screwtops.
3. Remove the cover completely.
4. Install two LR44 batteries with positive (+) sides
up.
5. Replace the battery cover.
Important: THE WATER RESISTANT FEATURE REQUIRES
MAINTAINING THE RUBBER GASKET EVENLY WITHIN THE
GROOVE.
6. Fasten the screw on the back by turning it
clockwise, being careful not to over-turn.
A. On/Off
1. Press the POWER button ( ) to turn the
thermometer on.
2. The PT0572 will automatically turn off after 10
minutes of inactivity.
3. Press the POWER button ( ) again to turn the
thermometer off and conserve battery life.
B. Temperature Scale
To select temperature reading in Fahrenheit or Celsius:
1. Using a paperclip, press the °F/°C button on the
back to change the scale.
2. The °F or °C symbol changes on the display.
C. Display Rotation
While the PT0572 is on, press and hold the MAX/MIN
button to rotate the display orientation 180 degrees.
Note: Pressing and holding the MAX/MIN button in the Max or Min
mode will clear the values.
FOR THIN CUTS OF MEAT AND
GENERAL PURPOSE COOKING
Model: PT0572
PT0572 WATERPROOF THIN TIP
THERMOMETER
-40 to +572°F/-40 to +300°C
BATTERY INSTALLATION
OPERATING INSTRUCTIONS
D. Temperature Measurement
Important: THE PROBE MAY BE DAMAGED IF MEASUREMENT
TEMPERATURE IS LOWER THAN -40°F/-40°C OR HIGHER THAN
+572°F/+300°C.
1. Insert the probe at least 0.25"/6.3 mm into the
food.
2. The current cooking temperature appears on the
display.
CAUTION: Probe may be HOT after use. Always wear a heat
resistant glove to touch the stainless steel probe during or just
after cooking. Do not touch with bare hands.
E. Data-Hold
Before withdrawing the PT0572 from the food, press the
HOLD/CAL button. This will “hold” the reading until
pressed again. hflashes in the upper left corner of the
display.
F. Max/Min Mode
Max/Min Mode is always working behind the scenes,
continually storing the highest and lowest temperatures.
1. Before using Max/Min Mode, clear the stored
MAX/MIN values by pressing and holding the
MAX/MIN button in Max or Min mode to clear
the respective stored MAX/MIN value.
2. Press the MAX/MIN button to display the highest
temperature. H appears on the display.
3. Press the MAX/MIN button twice to display the
lowest temperature. L appears on the display.
4. The display automatically returns to the
temperature mode after a few seconds.
5. While in Max mode, press and hold the
MAX/MIN button to clear the MAX value.
6. While in Min mode, press and hold the MAX/MIN
button to clear the MIN value.
G. Field Calibration
1. Fill a 1 cup measuring container with a slurry of
ice water using 3 parts crushed ice to 1 part
water.
Note: It is exceedingly difficult to get a 32°F/0°C ice water temperature.
It will probably be closer to 34°F/1°C. Please contact Scigiene about
Scigiene Calibrators.
2. Allow to stand for 3-5 minutes.
3. Immerse the probe into the middle of the ice
slurry to a depth of at least 2 inches. Do not let
the stem touch the bottom of container.
4. Press and hold the HOLD/CAL button. C0
appears on the display for 3 seconds and then
the current temperature appears on the display.
5. Press the HOLD/CAL button again to calibrate to
32.0°F/0°C.
6. CAL appears on the display for 5 seconds and
then returns to the current temperature.
Note: To avoid accidental recalibration, this function only
works when the water temperature is 30 to 34°F/-1 to +1°C. Err will
appear for 2 seconds if the water is not within this range and then
return to the temperature display mode.
H. Battery Status
1. The display flashes when the voltage on the
batteries is low.
2. “---” flashes on the display when the batteries
need to be replaced.
Important: DO NOT LEAVE THERMOMETER CASE IN HOT
OVEN. CASE IS NOT HEAT RESISTANT. HAND WASH AND
DRY.
Note: Remove label from display before initial use. Clean the
thermometer probe before each use.
Note for Induction Cooktops: Sometimes, the induction
cooktop magnetic field may interfere with digital thermometers.
If there is interference, briefly turn off the induction cooktop to
get a digital thermometer reading or use a dial thermometer.
Tip: Meat should be allowed to “rest” for 10 to 15 minutes after
it is removed from oven. This allows time for the meat’s internal
temperature to stabilize and the juices to redistribute. This will
result in a roast that is both juicier and easier to carve.
•Wipe clean with a damp cloth.
•Store the thermometer at room temperature
between -4 to +149°F/ -20 to +65°C.
•Always wear a heat resistant glove to touch the
stainless steel probe during or just after cooking.
Do not touch with bare hands.
•Dispose of used batteries promptly and keep the
batteries and thermometer away from children.
•Avoid subjecting the probe or thermometer to an
open flame on the BBQ.
•Avoid subjecting the probe and/or thermometer
to temperatures over 572°F/300°C.
•Clean the probe and thermometer with warm
soapy water and dry thoroughly after use.
•Avoid cleaning the unit with an abrasive or
corrosive compound, which may scratch the
plastic parts and corrode the electronic circuits.
•Avoid subjecting the thermometer to excessive
force, shock, dust, temperature, direct sunlight,
or humidity. This may result in thermometer
malfunction, shorter electronic life span, battery
damage and/or distort parts.
•Avoid tampering with the thermometer’s internal
components, which may cause battery damage
and distort parts.
•Do not use the thermometer in microwave oven.
•Always read the user manual thoroughly before
operating.
CARE OF YOUR PRODUCT
PRECAUTIONS
Measurement Range
-40 to +572°F/-40 to +300°C
Unit of Measure
°F/°C
Resolution
0.1°F/0.1°C
Operating Range
32 to 104°F/0 to 40°C/≤90% RH
Water Resilience
IPX7 –protected from water up to 3 feet/1
meter for 30 minutes
Accuracy
-40 to +392°F/-40 to +200°C:
±0.7°F/±0.4°C; above 392°F/200°C:
±1.8°F/±1°C (@ ambient temperature
73°F: ±3.6°F/23°C: ±2°C)
Power Supply
Two 1.5V IEC LR44 alkaline batteries,
included
Product Dimensions
0.87 W x 7.24 H x 0.89 D (in)/
2.22 W x 18.4 H x 2.25 D (cm)
Weight
1.8 oz / 45 g (including battery)
STAGE
2,000 feet
5,000 feet
7,500 feet
Soft Ball
230–236°F
224–230°F
219–225°F
Firm Ball
238–244°F
232–238°F
227–233°F
Hard Ball
246–264°F
240–258°F
235–253°F
Soft Crack
266–286°F
260–286°F
255–275°F
Hard Crack
296–306°F
290–300°F
285–295°F
SPECIFICATIONS
USDA SAFE FOOD TEMPERATURES
* Beef, Veal, Lamb –well………160°F…….71°C
* Beef, Veal, Lamb –medium….145°F…..63°C
* Beef, Veal, Lamb –rare…………140°F….60°C
Poultry ………………………………165°F…..74°C
* Pork/Ham –pre-cooked……….145°F…..63°C
Ground Meat…………………………..160°F….71°C
* 3 minutes rest time
OIL TEMPERATURE GUIDE
325–375°F/163-190°C is the normal desired
temperature for deep fry cooking.
Note: When food is added to hot oil, the temperature of
the oil immediately drops at least 50°F/28°C. You will
need to bring the oil temperature back to the desired
cooking temperature. Frying at lower temperatures results
in lighter color, less flavor development and increased oil
absorption
DEEP FRY TEMPERATURE GUIDE
Deep Fry Lo………………325-340°F………….163-170°C
Deep Fry Hi……………….340-365°F…………170-185°C
Shrimp…………………………..350°F…………177°C
Chicken…………………………355°F…………180°C
Onions………………………….370°F………….188°C
Fish……………………………..375°F………….191°C
Doughnuts/Fritters…………….375°F………….191°C
French Fries……………………380°F………….193°C
CE Note: This device could be sensitive to
electrostatic discharge. If electrostatic discharge or
malfunctioning occurs, please re-install the battery to
reset this unit.
CANDY TEMPERATURE GUIDE
Jelly…………………………..220°F…………….104°C
Thread…………………230–234°F…………….110–112°C
Soft Ball……………….234–240°F……………..112–115°C
Firm Ball………………244–248°F……………..118–120°C
Hard Ball……………...250–266°F……………..121–130°C
Soft Crack…………….270–290°F……………..132–143°C
Hard Crack…………..300–310°F……………..149–154°C
Caramelize…………...316–338°F……………..158–170°C
HIGH ALTITUDE ADJUSTMENT FOR
CANDY-MAKING

Other scigiene Thermometer manuals

scigiene FP-180 User manual

scigiene

scigiene FP-180 User manual

scigiene PTC572 User manual

scigiene

scigiene PTC572 User manual

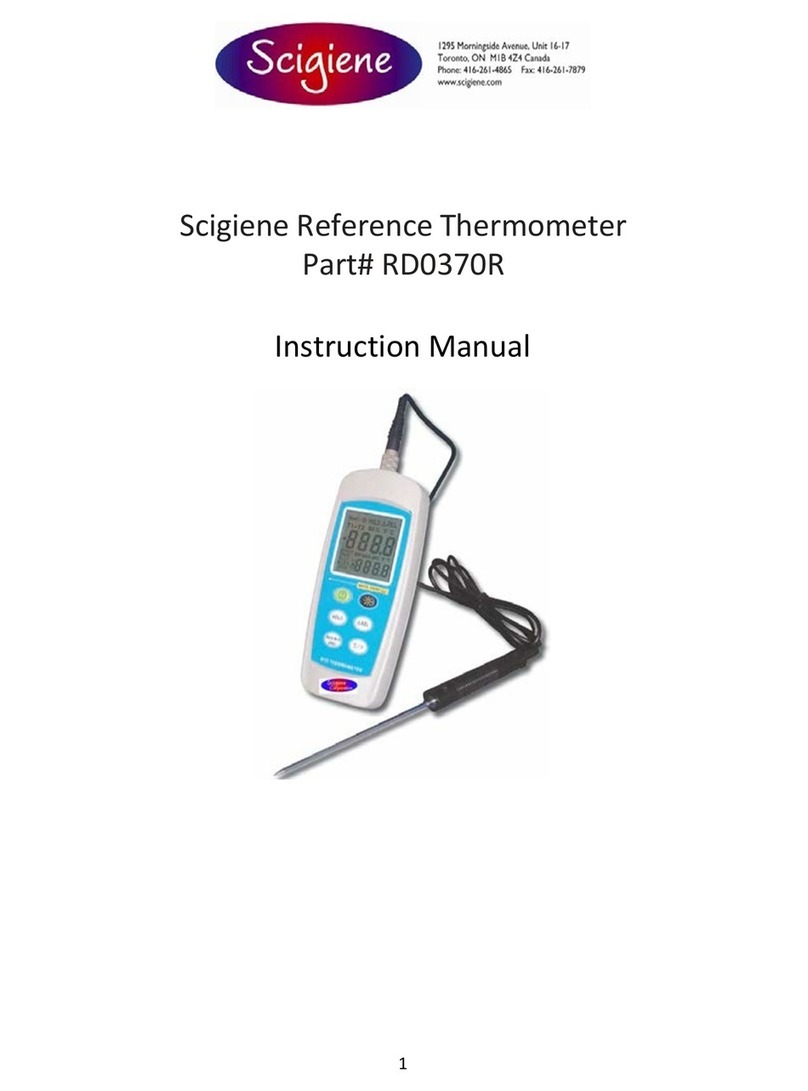
scigiene RD0370R User manual

scigiene

scigiene RD0370R User manual

scigiene PTL572 User manual

scigiene

scigiene PTL572 User manual

scigiene TK0305 User manual

scigiene

scigiene TK0305 User manual

scigiene RD0370 User manual

scigiene

scigiene RD0370 User manual

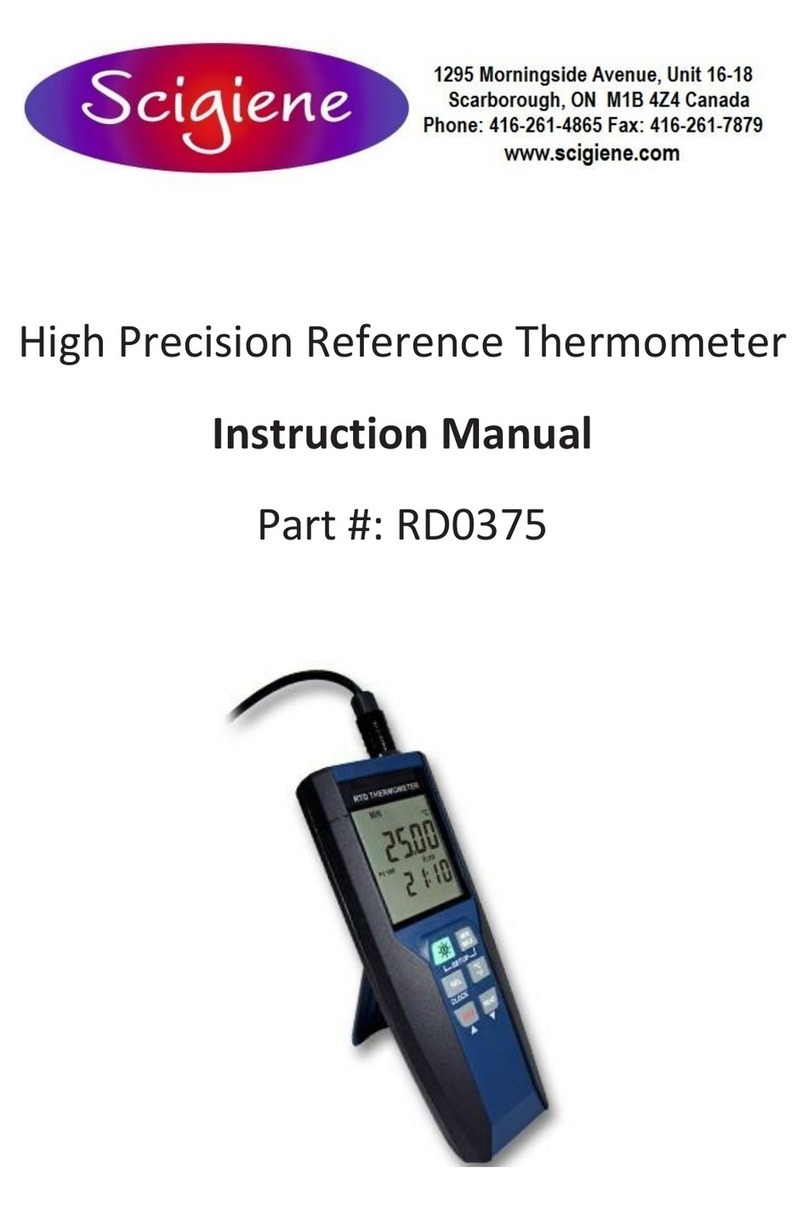
scigiene RD0375 User manual

scigiene

scigiene RD0375 User manual

scigiene FI50 User manual

scigiene

scigiene FI50 User manual

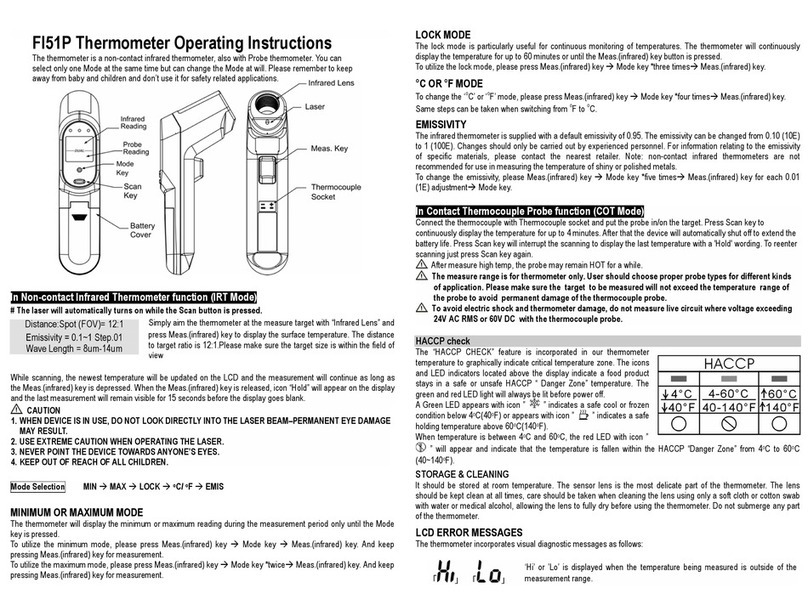
scigiene FI51P User manual

scigiene

scigiene FI51P User manual

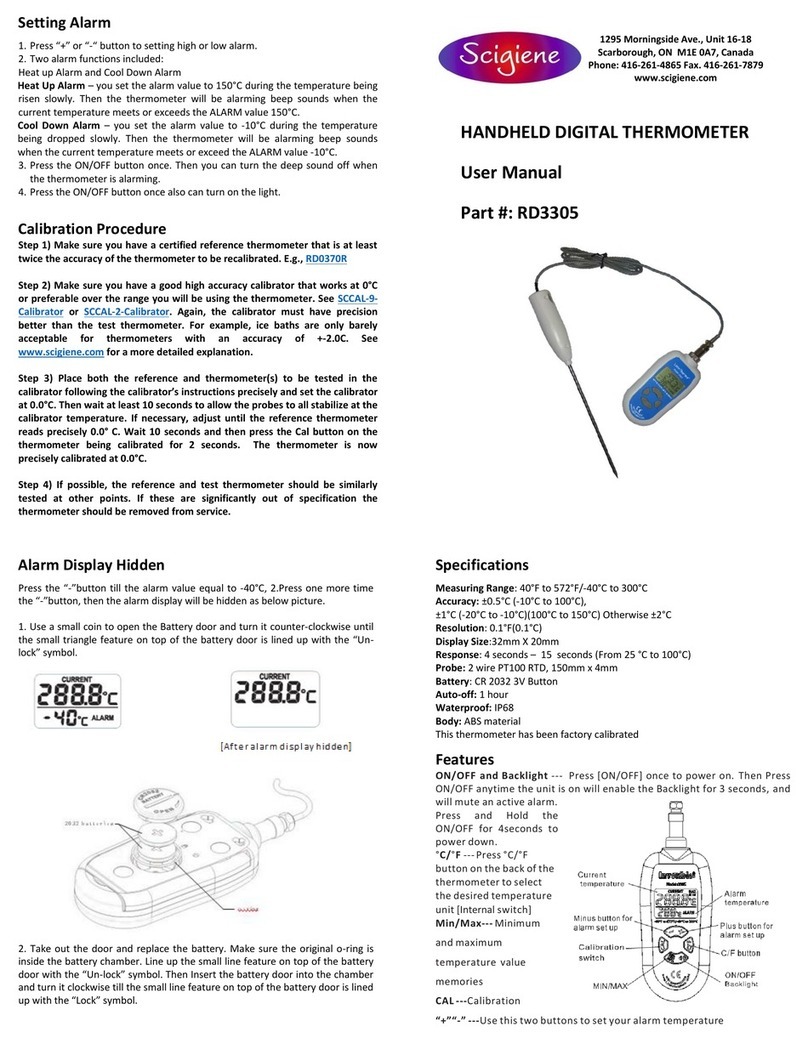
scigiene RD3305 User manual

scigiene

scigiene RD3305 User manual

scigiene RHT-Air User manual

scigiene

scigiene RHT-Air User manual

scigiene RD0375 User manual

scigiene

scigiene RD0375 User manual

scigiene FTIR880 User manual

scigiene

scigiene FTIR880 User manual

Popular Thermometer manuals by other brands

GHM GREISINGER G 1202 Compact manual

GHM

GHM GREISINGER G 1202 Compact manual

Competition-Pool Series 6 instruction sheet

Competition-Pool

Competition-Pool Series 6 instruction sheet

Reed Instruments SMART Series instruction manual

Reed Instruments

Reed Instruments SMART Series instruction manual

Amprobe IR608A user manual

Amprobe

Amprobe IR608A user manual

Rossmax RA600 instruction manual

Rossmax

Rossmax RA600 instruction manual

Fluke 1594A user guide

Fluke

Fluke 1594A user guide

Velleman PMTEMP1 quick start guide

Velleman

Velleman PMTEMP1 quick start guide

Hama TC210 operating instructions

Hama

Hama TC210 operating instructions

NUK 10.256.345 operating instructions

NUK

NUK 10.256.345 operating instructions

Ambient Weather F007TP user manual

Ambient Weather

Ambient Weather F007TP user manual

Uniks DT-8806S user manual

Uniks

Uniks DT-8806S user manual

BROWIN 186009 Operation manual

BROWIN

BROWIN 186009 Operation manual

MABIS 15-878-000 quick start guide

MABIS

MABIS 15-878-000 quick start guide

Helmer DT1 manual

Helmer

Helmer DT1 manual

Gefu CONTROL+ user manual

Gefu

Gefu CONTROL+ user manual

YOKOGAWA TX1001 user manual

YOKOGAWA

YOKOGAWA TX1001 user manual

General Heat Seeker IRT207 quick guide

General

General Heat Seeker IRT207 quick guide

CPS TMINI12 operating instructions

CPS

CPS TMINI12 operating instructions

manuals.online logo
manuals.online logoBrands
  • About & Mission
  • Contact us
  • Privacy Policy
  • Terms and Conditions

Copyright 2025 Manuals.Online. All Rights Reserved.