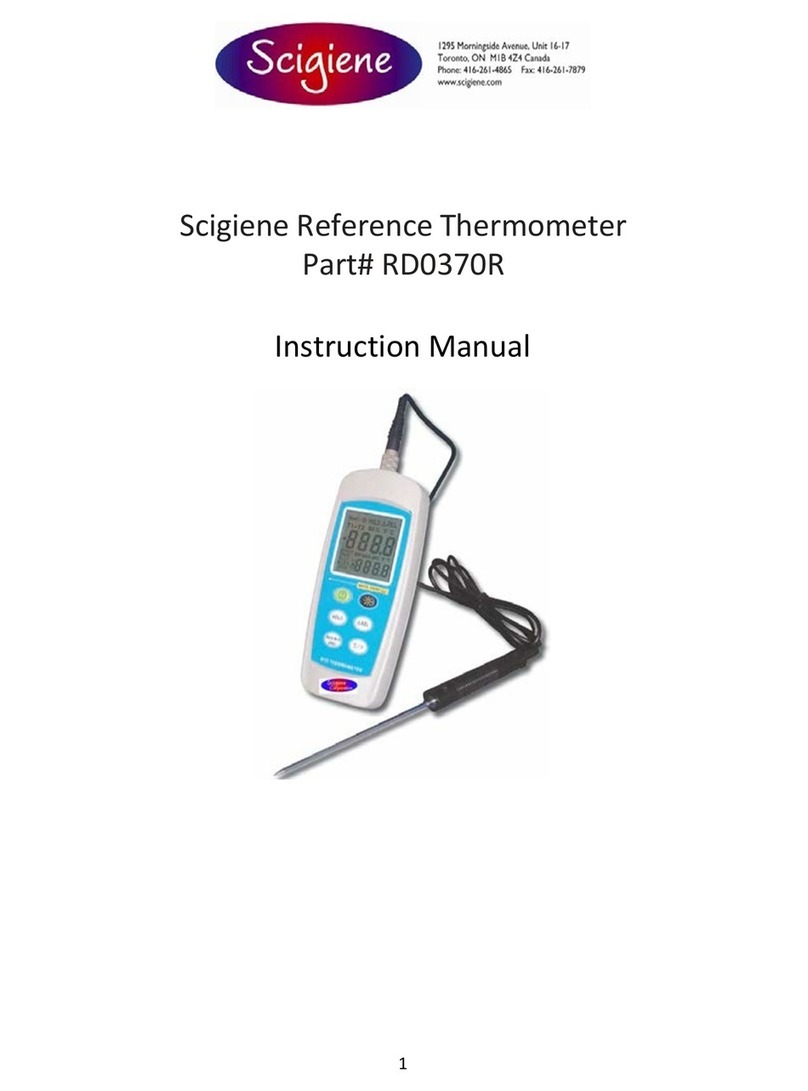
scigiene RD0375 User manual

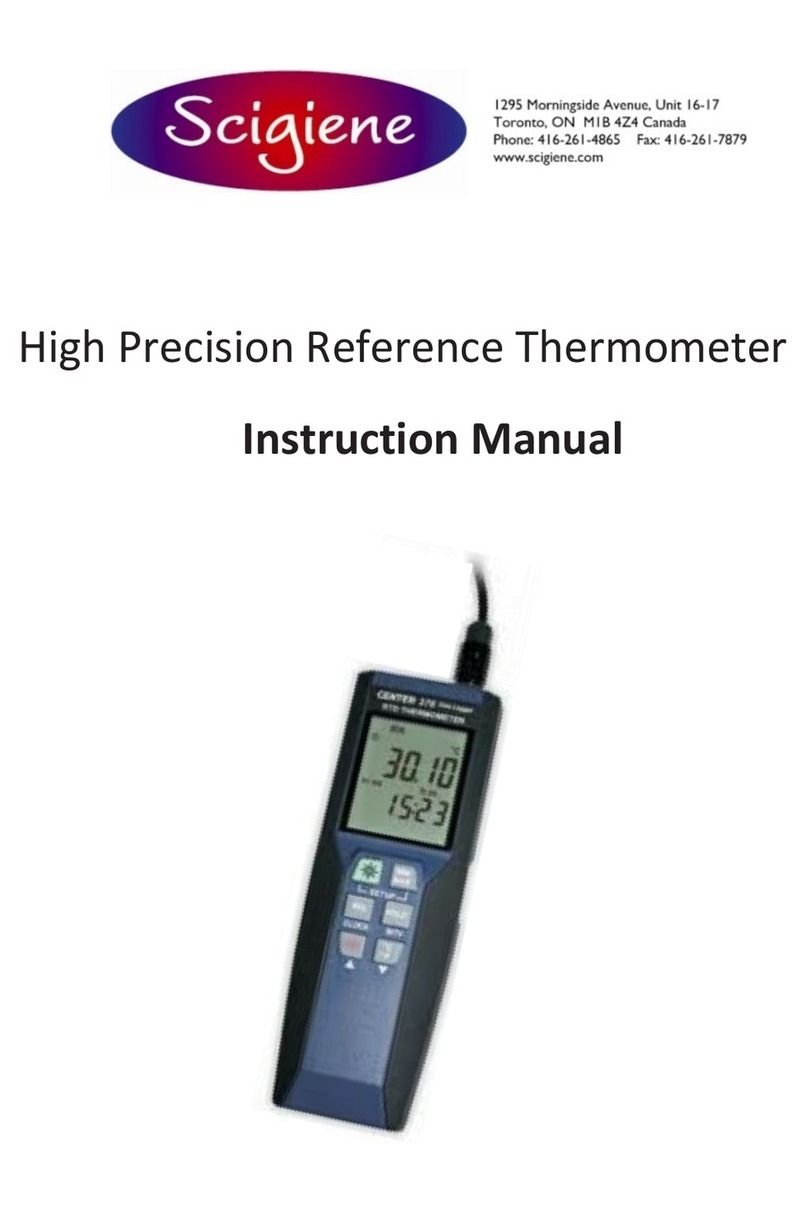
High Precision Reference Thermometer
Instruction Manual
Part #: RD0375

CONTENTS
Title Page
1. Introduction……………………………………………………………………………...1
2. Specifications…………………………………………………………………………...1
3. Symbol Definition and Button Location….………………………………………...2
4. Operation Instructions……………………………………………………………..….3
4.1 Power Up………………………………………………………………………….....3
4.2 Connecting the Temperature Probe……………………………………………....3
4.3 Selecting the Temperature Scale………………………………………….….…..3
4.4 READ Operation………………………………………………………….………...3
4.5 Back light Operation…………………………………………………………......…3
4.6 Relative Operation………………………………………………………….........…3
4.7 Memory Operation………………………………………………………….........…3
4.8 MAX/MIN Operation…………………………………………………………......…3
4.9 Auto Power Off…………………………………………………………......……….4
4.10 Low Battery Condition………………………………………………………......…4
5. Temperature Measurement…………………………………………………….......…4
6. Setting the Time……………………………………………………......……………....5
7. Clearing Memory……………………………………………………......……………...5
8. Temperature Meter Calibration Setup………………………………………........5-6
9. Power Preparation……………………………………………………......…………....7
10. Maintenance……………………………………………………......…………………...7
11. Temperature Probe……………………………………………………......……..…….8
1
1. INSTRUCTION
This instrument is a digital thermometer for use with platinum-type temperature sensor.
Temperature indication follows IEC751 temperature table for PT-type sensor.
2. SPECIFICATIONS
Numerical Display: 5 digital liquid crystal displays
Measurement Range: -100°C ~ 400°C; -148°F ~ 752°F
Resolution: 0.01°C; 0.02°F;
Sensor types:
Platinum resistance temperature sensor for pt-100 4 wires.
ALPHA=0.00385
Environmental:
▪
Operating Temperature and Humidity:
0°C ~50°C (32°F ~ 122°F) ; 0 ~ 80% RH
▪
Storage Temperature:
-10°C to 60°C (14°F ~ 140°F); 0 ~ 80% RH
▪
Altitude up to 2000 meters.
Accuracy:
at (23
±
5°C )
Ra e
Acc racy
-100°C 400°C
-148° 752°
(0 05% reading 0 1°C)
(0 05% reading 0 2° )
Temperature Coefficient:
For ambient temperatures from 0°C ~ 18°C and 28°C ~ 50°C, for each °C ambient below 18°C or
above 28°C add the following tolerance into the accuracy spec.
0.005% of reading + 0.01°C (0.005% of reading + 0.02°F )
Note:
The
basic accuracy Specification does notinclude the error of the probeplease refer to
the
probeaccuracy specification for additional details.
Sample Rate: 2 times per second
Dimension: 185 x 65 x 36 mm (meter only)
Weight: 360gApprox.
Power requirement:
9V Battery;
AC adapter: 9V DC(7~10V Max.)/20mA Min (Plug Diameter: 3.5mmx1.35mm)
Battery Life: Approx. 100hours
StandardAccessory:
Pt-100 Probe (class A),Instruction manual, 9V Battery, carrying case.
Optional Accessories: AC adapter.

2
3. SYMBOL DEFINITION &BUTTON LOCATION
he a er i no su icien or proper opera ion
M N he Minimum alue is now being displayed
MA he Ma imum alue is now being displayed
hi indi a e u o ower is enabled
Rhe reading i now under Rela ive Mode
°C °Cen igrade and ahrenhei indica ion
- hi indi a e ha he minus empera ure is sensed
m- mon h-da
:m hour minu e
Reading are being logged
Logged reading are display
1
7
2
8
3
9
4
5
○°C ° on rol bu on ○
Read buon
○
ernal DC 9 power supply jack
○
il and
○aer Compar men
6
ype empera ure en or onne or
LCD display
ower N and a ligh bu on
Rela ive readou bu on
Memory bu on
M M N con rol bu on

3
4. OPERATION INSTRUCTIONS
4.1 Power-Up
re he “” key o urn Nhe hermome er and re and hold “” bu ons or 3 seconds
o
4.2 Connection the Temperature Probe
For measurement, plug the temperature probe into the input connectors.
4.3 Selecting the Temperature Scale
hen he me er was irs power on he de aul ale e ing is se a Celsius (°C) scale he user
ma hange i o ahrenhei (° ) b pre ing bu on and vice versa o Celsius and change
de aul scale
4.4 READ Operation
re bu on o view logged reading he di pla hows “”ress or bu on
o roll hrough he logged reading he di pla how ea h logged reading i s ime s amp and
i memory loca ion res or or an bu on o exi R D mode
4.5 Back light Operation:
re he bu on will urn ba ligh on and re i on e again will urn o
he me er will urn back ligh o i here i no pu h bu on or 30 seconds
4.6 Relative Operation:
hen you press he bu on he me er will memori e he presen reading and he di erence
be ween he new reading and he memori ed da a will be hown on he display ress he
bu on again o exi he Rela i e opera ion
4.7 Memory Operation:
The thermometer stores a single set of logged readings in memory each time you press
bu on. The thermometer has 99 memory locations.
4.8 MAX/MIN Operation:
hen you press he bu on he me er will en er he M M N mode Under his mode he
ma imum value minimum alue i ep in he memor imul aneously and upda ed wi h every new
da a
hen he
MA symbol i di pla he Ma imum i hown on he display
re bu on again hen he M N mbol i on he di play and also he minimum reading

4
re bu on again MA and M N will blin oge her his means ha all hese da a is
upda ed in he memory and he reading i he pre en empera ure
may press o ir ula e he di pla mode among hese op ions
hen he me er is under M M N opera ion and bu on are disabled
o e i he M M N mode one ma pre and hold bu on or wo seconds
4.9 Auto Power Off:
de aul when he me er i powered on i i under au o power o mode he me er will power
i el o a er 30 minu es i no e opera ion
may press and hold bu on and hen power on he me er and here will be wo
u e sive beeps o indica e ha au o power o i di abled
4.10 Low Battery Condition:
The temperature meter low battery indication as follows:
Low battery. Replace the batteries.
5. TEMPERATURE MEASUREMENT
5.1 Correct Measurement Method:
The temperature sensor is located at the end
of the metal sheath of the sheath type
TEMPERATURE PROBE. To accurately test
internal temperature insert the probe into the
item you want to measure to a distance at
least 15 times the diameter of the sheath.
5.2 Connector Configuration:

5
6. SETTING THE TIME
8. TEMPERATURE METER CALIBRATION SETUP
Below table diagram shows each button function when user enter into
calibration mode.
Note:
Turn the Power “OFF”before attempting following SETUP.
Setup mode is cancelled during below procedure if
“POWER”
button is pressed.
6.1 re and hold bu on and hen power on he me er o en er se up mode
6.2
re bu on o en er ime e ing mode he righ wo digi s blink
6.3
re or bu on un il he di pla how he correc year
and hen press
bu on o selec he le wo digi blin
6.4
re s or bu on un il he di pla how he correc m t
and hen press
bu on o selec he righ wo digi blin
6.5
re or bu on un il he di pla how he correc ay
and hen press
bu on o selec he le wo digi blin
6.6 re or bu on un il he di pla how he orrec r(24-hour orma ) and hen
pre bu on o sele he righ wo digi blin
6.7 re s or bu on un il he di pla how he orrec m tes and hen press
bu on o s ore he ime in memor
Note:
Holding down “REC”or “°C/°F” causes the number to change more quickly.
7. CLEARING MEMORY
hen memory is ull M M appear and blin on he di pla and logging s ops
ou an clear memory in ne power on he me er o ener lear memory mode
re and hold bu on and hen power on he me er o en er clear memory mode o dele e
logged readings rom memor he di pla how he number rom 5 decreases o 0

6
RTD
THERMOMETER
re s bu on o con irm re er ba o “De aul a or se ing value”
re s bu on o con irm ele ion
Nte:o abor during he pro e pre bu on o e i calibra ion mode
8.1 Temperature Calibration
Insert temperature probe into https://www.scigiene.com/TempCalibrator140 at 0°C in order to
calibrate precisely, and follow the steps outlined below. NOTE regular ice bath methods are not
accurate enough to recalibrate these devices in order to meet stated specifications. .
re s and hold bu on and hen power on he me er o en er se up mode.
re s bu on o en er alibra ion mode (in 3 e ond).
re s or bu on o on irm pre en empera ure alue.
re s bu on wice o on irm ele ion
Nte:o abor during he pro e pre bu on o e i calibra ion mode
8.2 Recall Default factory setting value
re s and hold bu on and hen power on he me er o en er se up mode
re s bu on o en er alibra ion mode (in 3 e ond).
re s bu on o en er re all mode (in 3 e ond).
ATURE METER CALIBRATION SETUP

7
9. POWERPREPARATION
9.1 Battery Loading
Remove the battery cover on the back and insert one 9V battery.
9.2 Battery Replacement
hen he ba ery vol age drop below he opera ing ol age Low ba ery indica or will
appear Replace a 9 ol ba er immedia el o en ure he uni unc ions properly
When the AC adapter is used, insert the plugs of the adapter into the DC9V connector on the side
panel.
Note:
When
the AC adapter is connected while battery is inserted, the unit will be powered from
the
adapter (the AC adapter has priority).
10. Maintenance
n order o ensure he a ura o he hermome er or a longer period o ime you should calibra e
i on e a year
Clean he device and he window o he di pla wi h a lean lin - ree an is a ic and dry cleaning
a e s ac ai ca eze es, alc l a y i simila clea
s s a ces ama e esaceemeas i i s me . M e ve , ese
fumes are hazardous to
eal aare ex l sive. se ls wi s a e es, sc ew ive s,
me al s es a y i simila clea eevice.
9.3 AC Adapter Connection

8
11. Temperature Probe
11.1 Piercing type temperature probe.
11.2 Piercing type temperature probeSpecification:
Accuracy
en or ype
la inum re i an e hermome er sensor 100(4 wires)
C751 la
015 C 0 002
( meauremen empera ure)
-100 o 400 C
Mea uremen Range
empera ure ensor Dimen ion
empera ure ensor Leng h
Cable Leng h
ppro 5 0mm (02”)
ppro 230mm (9 05”)
ppro 1500mm (590”)
Other manuals for RD0375
1
Table of contents
Other scigiene Thermometer manuals

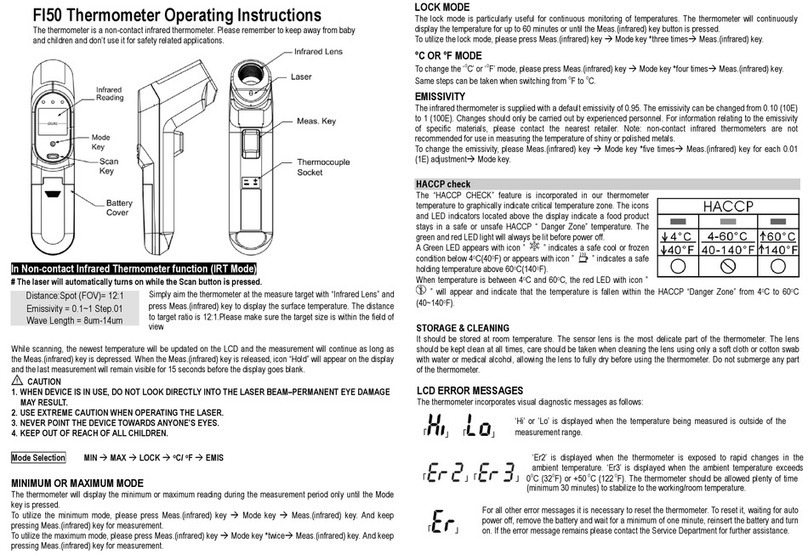
scigiene
scigiene FI51P User manual

scigiene
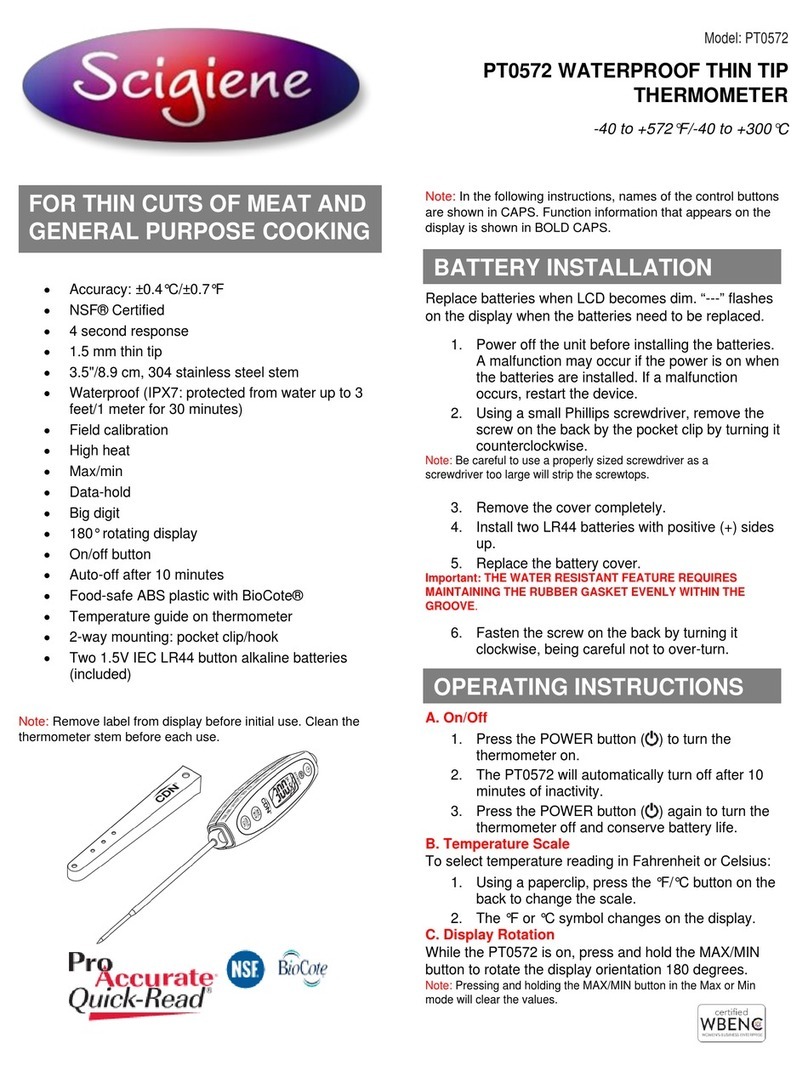
scigiene PT0572 User manual

scigiene
scigiene FP-180 User manual

scigiene
scigiene FI50 User manual

scigiene
scigiene PTL572 User manual

scigiene
scigiene PTC572 User manual

scigiene
scigiene RD0370R User manual

scigiene
scigiene FTIR880 User manual

scigiene
scigiene RHT-Air User manual

scigiene
scigiene TK0305 User manual