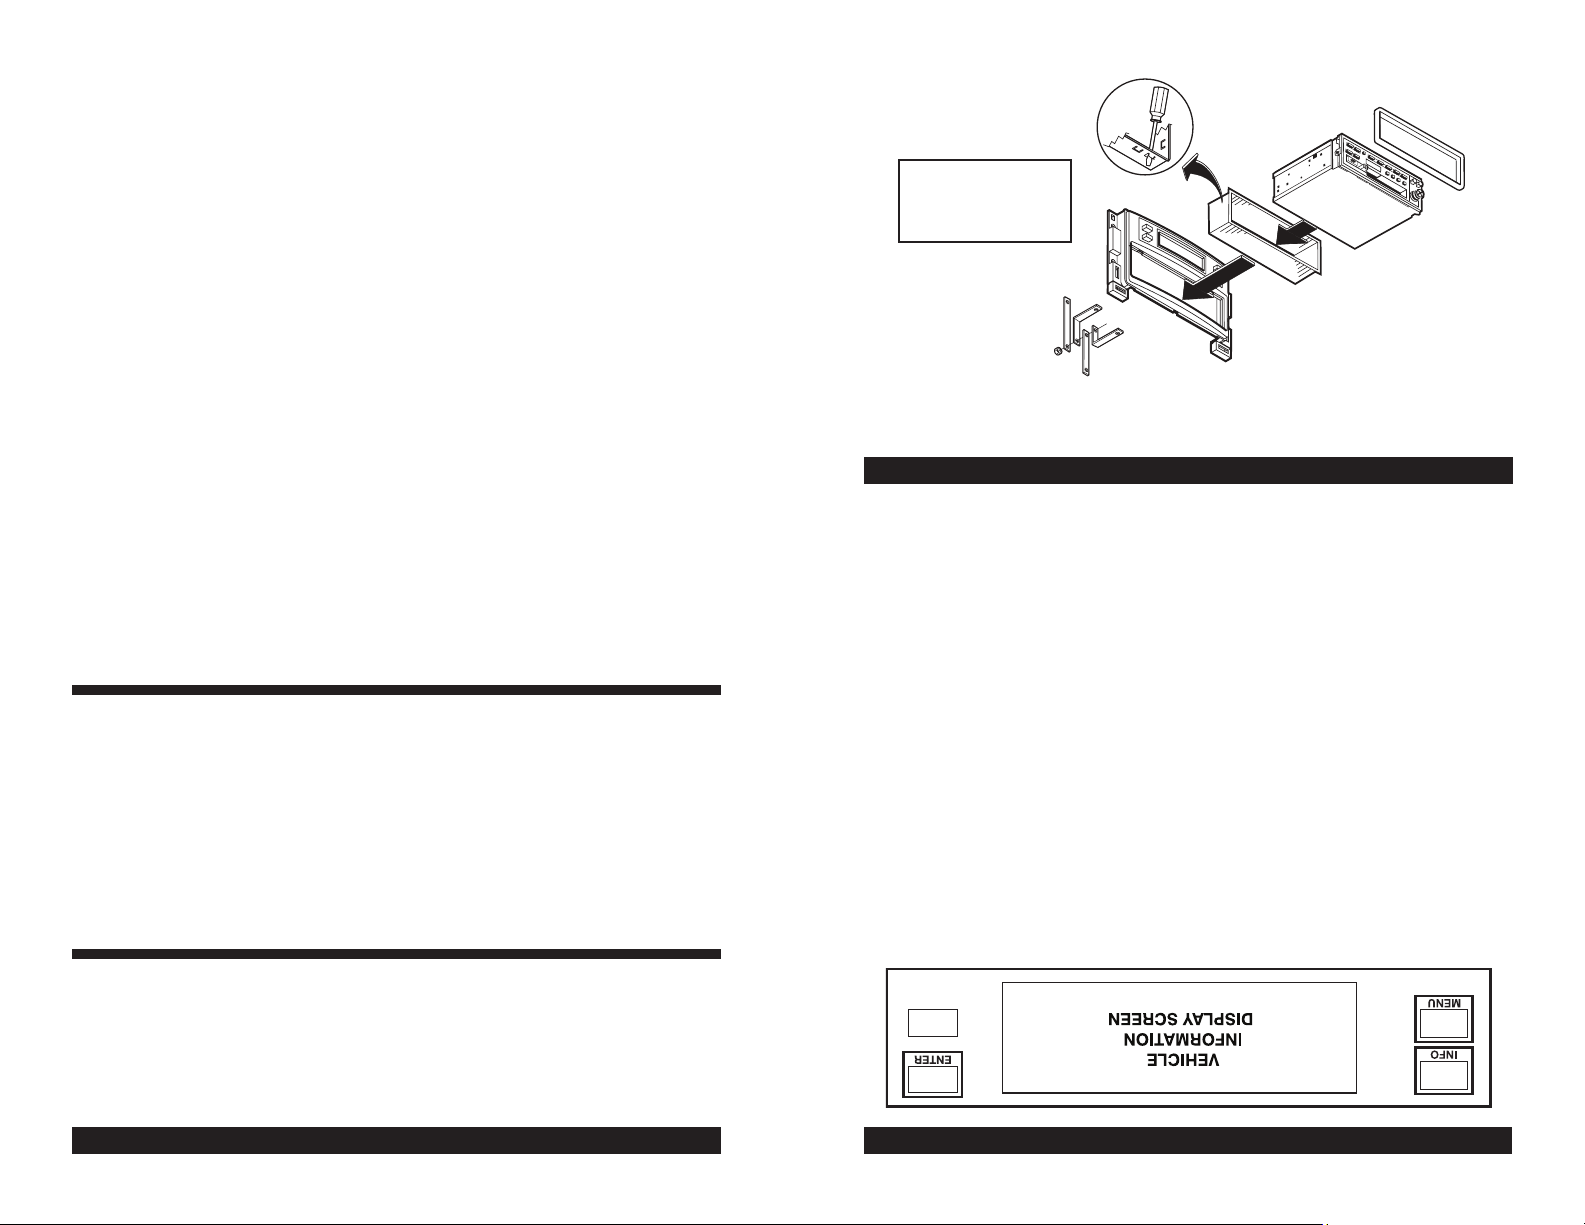
GM1593 DISPLAY RADIO REMOVAL
2005-UP CHEVROLET COBALT
1. Open glove box. Using panel removal tool, carefully unsnap dash trim bezel, lift away and remove.
2. Using panel removal tool, unsnap driver knee panel, lift away, disconnect and remove.
3. Using panel removal tool, unsnap dash trim bezel on right side of steering wheel, lift away,
disconnect and remove.
4. Using panel removal tool, unsnap dash bezel, lift away and remove.
5. Extract (4) four 7mm hex bolts securing radio, lift away, disconnect and remove.
INFO: Pushing this button cycles through the following GM Vehicle
Information*.
1. Trip A
2. Trip B
3. Fuel Range
4. Econ (example: 28.7 mpg
5. Avg. Speed
6. Oil Life (example: 75%)
MENU: Pushing this button cycles through the following GM Vehicle
Information*.
1. Oil Life Reset
2. Units: English or Metric
3. Lock Horn: Off or Horn
4. Unlock Horn: Off or On
5. Lights Flash: Off or On
6. Delay Lock: Off or On
7. Auto Unlock: All or Driver
8. Unlock: Shift to P or Key Off
9. Exterior Lights: On or Off
10. Security: RKE or Passive
11. Language: English, French, Spanish, German
ENTER: Switches preferences
4th BUTTON: Displays GM1593 software version information.
* For additional information on menus and options, consult vehicle's owner's manual.
IN-DASH DIN PULLOUT, DETACHABLE FACEPLATE, (DIN-E) RADIOS
The kit panel comes DIN ready. Follow the instructions supplied with the radio, secure the mounting
kit. Install the assembly in the dash and use the rear support strap supplied with the radio to support
the rear of the radio.
GM1593 DISPLAY
DIN RADIO
FACEPLATE
RADIO
MOUNTING
SLEEVE
REAR
SUPPORT
STRAPS
CAUTION:
REAR SUPPORT AVAILABLE
SEPARATELY. REAR
SUPPORTING THE RADIO
ADDS TO THE INSTALLATIONS
STRUCTURAL INTEGRITY.
2004-UP CHEVROLET MALIBU
2004-UP CHEVROLET MALIBU MAXX
1. Open glove box, remove (8) eight 9/32" screws from the inside glove box and remove trim above
glove box using panel removal tool.
2. Pop off side panel next to door and remove two screws. Remove glove box.
3. Remove trim below key hole.
4. Remove (2) two 9/32" screws from under driver's dash panel.
5. Remove side panel from driver's dash using panel removal tool and remove (2) two 9/32" screws.
6. Driver's side under dash can now be removed.
7. Using panel removal tool, remove radio dash bezel.
8. Remove (2) two 9/32" screws holding A/C controls and remove A/C controls.
9. Remove (4) four 9/32" screws holding radio to dash. Disconnect and remove radio.
2005-UP PONTIAC G6
1. Open glove box, remove (7) seven 9/32" screws from the inside glove box.
2. Pop off side panel next to door and remove (2) two screws. Remove glove box.
3. Remove (3) three 9/32" screws from under driver's dash panel.
4. Remove side panel from driver's dash using panel removal tool. Remove (2) two screws from
behind.
5. Driver's side under dash can now be removed.
6. Using panel removal tool, remove radio dash bezel.
7. Remove (2) two 9/32" screws holding A/C controls and remove A/C controls.
8. Remove (4) four 9/32" screws holding radio to dash. Disconnect and remove radio.
23


