manuals.online logo
Brands
  1. Home
  2. •
  3. Brands
  4. •
  5. Scosche
  6. •
  7. Automobile Accessories
  8. •
  9. Scosche HY1600 Service manual

Scosche HY1600 Service manual

ELANTRA
RIGHT
BRACKET
ACCENT
RIGHT
BRACKET
ACCENT
LEFT
BRACKET
ELANTRA
LEFT
BRACKET
HY1600
MOUNTING
PANEL
NOTES:
• See your vehicle’s instructions for any special tools your installation might require.
• Read all instructions accompanying your car stereo/cassette player for proper wiring and mounting instructions.
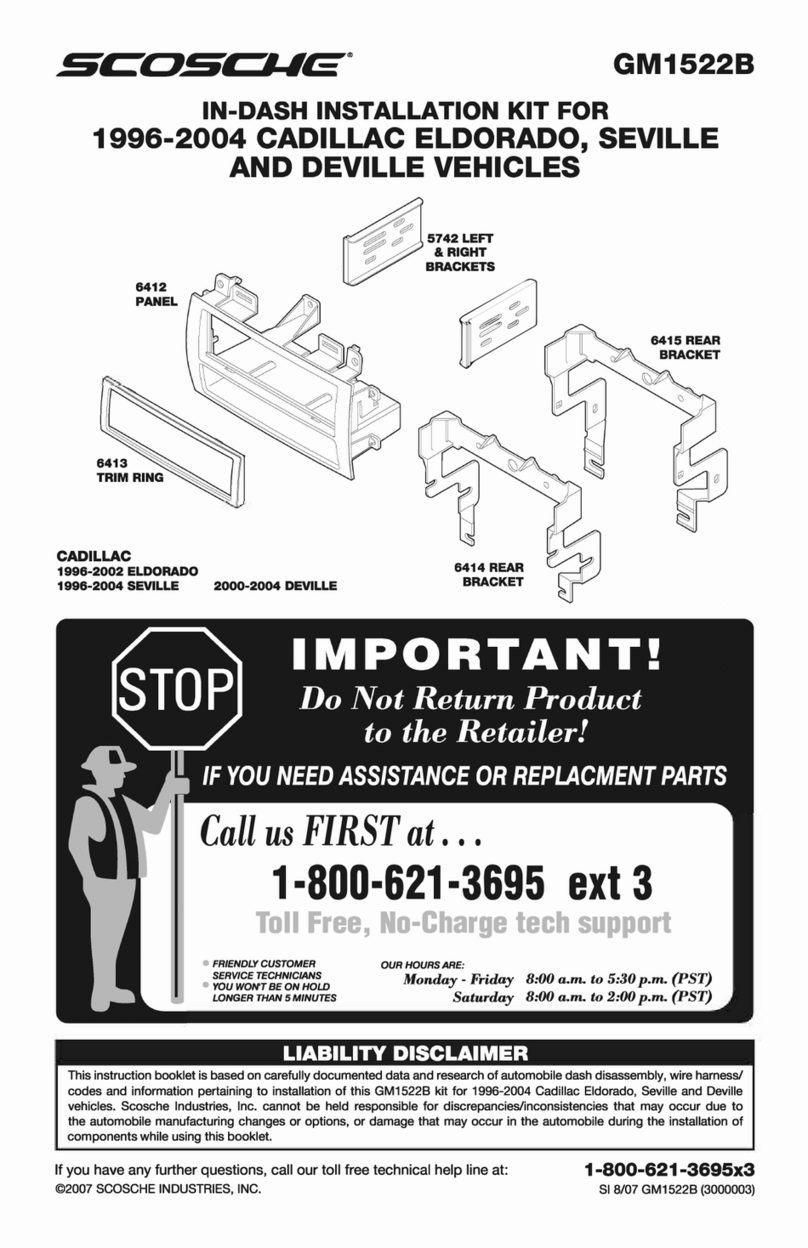
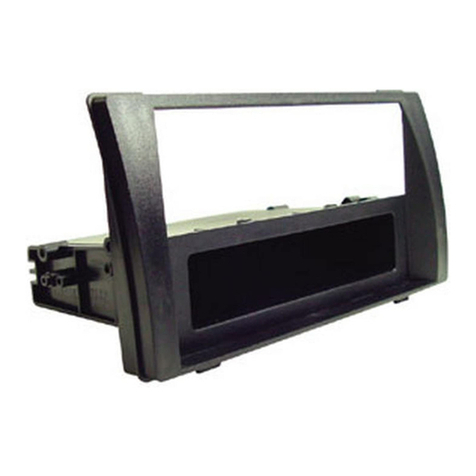
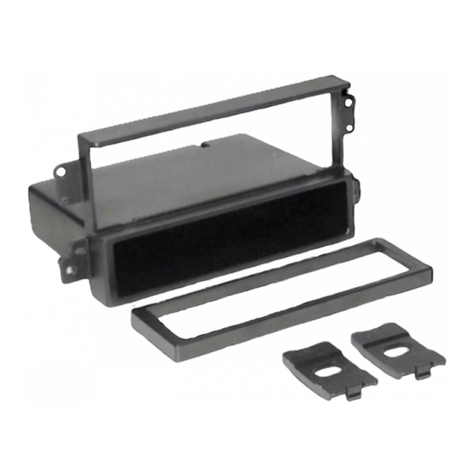
This premium installation kit is for select 1995-UP Hyundai vehicles. Included are all the parts you need to mount your car
stereo, cassette, or CD player into your vehicle’s dash. Refer to the individual instruction in this manual to remove your
vehicle’s factory radio and assemble the kit.
CAUTION:
Disconnect your vehicle’s negative battery terminal before the installation to help prevent electrical damage. We
recommend the use of a volt/ohm meter over a test light to check wiring. A test light or grounded wire probe can cause
damage to the vehicle's computer and/or diagnostic systems. Avoid all factory airbag wiring - Airbags can accidentally
deploy causing serious injury or death.
INTRODUCTION / PRELIMINARY
IN-DASH INSTALLATION KIT FOR
SELECT 1995-UP HYUNDAI VEHICLES
HY1600
ASSEMBLING THE KIT
PARTS LIST
Parts List:
•(1) Mounting Panel •(1) Elantra Spacers •(1) Accent Spacers
MOUNTING TABS
SHAFT MOUNT RADIOS
Using the hardware supplied with the radio, secure the radio shafts to the mounting panel
(kit) as shown on page 1.
DIN RADIOS
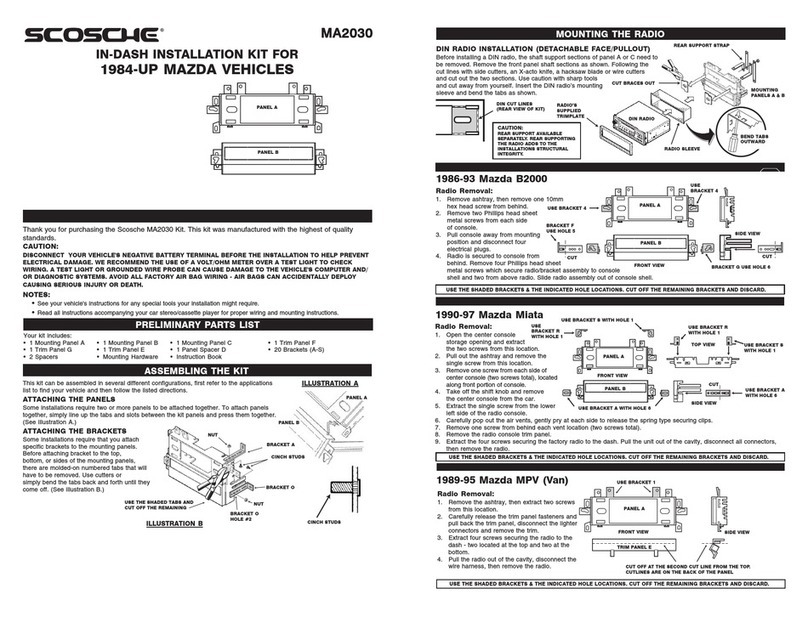
Remove the sections indicated below. Use side
cutters, an X-acto knife or hacksaw blade to cut the
top and bottom sections (follow the cut lines) then
simply pull outward to break off each tab.
RADIO/KIT ASSEMBLY
DIN CHASSIS CUTLINES
(BACK SIDE OF KIT).
RADIO INSTALLATION
Secure the radio mounting assembly to the dash using screws used to
secure the factory radio.
NOTE: Rear support the radio.
This is very important to the
structural integrity of the
installation. VARIOUS REAR SUPPORT
STRAP EXAMPLES.
USE THIS TAB
USE THIS TAB
FRONT OF KIT
LEFT SIDE RIGHT SIDE
USE THE SHADED BRACKETS, AND INDICATED SPACERS.
ATTACH
ACCENT
SPACERS
ATTACH
ACCENT
SPACERS
1995-02 Hyundai Accent
RADIO REMOVAL:
1. Extract (4) 10mm bolts from panel below steering column.
2. Remove ashtray and extract (2) screws from the ashtray cavity.
3. Open glovebox and use a panel removal tool to remove the glovebox stopper.
4. Extract (2) screws and remove entire glove box.
5. From behind glovebox area, unclip climate control cable.
6. Unclip (2) climate control cables from behind steering column panel on the side of duct/fan assembly.
7. Unsnap radio trim bezel, unplug and remove bezel.
8. Extract (4) screws holding radio in, unplug connectors, antenna and remove radio.
INSTALLATION INSTRUCTIONS
INSTALLATION INSTRUCTIONS (CONT'D)
1996-00 Hyundai Elantra:
RADIO REMOVAL:
1. Carefully pop out shifter trim bezel and remove one screw at the bottom of the radio dash bezel.
2. Pop out dimmer control switch, unplug and remove.
3. Extract (1) screw from dimmer switch location.
4. From driver’s side underdash area (above gas pedal) unhook temperature control cable.
5. Carefully pry out on radio dash bezel, to unsnap, unplug all switches, vacuum lines and remove.
6. Extract (4) screws securing radio, unplug and remove.
USE THIS TAB
USE THIS TAB
LEFT SIDE RIGHT SIDE
FRONT OF KIT
USE THE SHADED BRACKETS, AND INDICATED SPACERS.
ATTACH
ELANTRA
SPACERS
ATTACH
ELANTRA
SPACERS
2001-02 Hyundai Elantra Sedan:
RADIO REMOVAL:
1. Remove ash tray and extract (2) Philips screws, pull off bottom dash bezel, disconnect, and remove.
2. Extract (2) Phillips head screws along top of instrument cluster.
3. Using panel removal tool, pry out dash bezel carefully, disconnect, and remove.
4. Extract (6) Philips head screws securing radio and pocket, disconnect, and remove.
USE THIS TAB
USE THIS TAB
LEFT SIDE RIGHT SIDE
FRONT OF KIT
USE THE SHADED BRACKETS, AND INDICATED SPACERS.
ATTACH
ELANTRA
SPACERS
ATTACH
ELANTRA
SPACERS USE THIS TAB USE THIS TAB
FRONT OF KIT
LEFT SIDE RIGHT SIDE
USE THE SHADED BRACKETS, AND INDICATED SPACERS.
1997-02 Hyundai Tiburon
RADIO REMOVAL:
1. Unscrew shift handle and remove.
2. Unsnap and remove shifter trim bezel.
3. For automatic, place car in Low, or for manual place shifter back in 4th gear.
4. Open ashtray, carefully pull back on Radio / console trim bezel to release, and disconnect lighter to remove.
5. Extract (4) screws securing radio, unplug and remove.
USE THIS TAB USE THIS TAB
FRONT OF KIT
LEFT SIDE RIGHT SIDE
INSTALLATION INSTRUCTIONS (CONT'D)
1995-02 Hyundai Sonata:
RADIO REMOVAL:
1. Carefully pry up on the gear shifter trim bezel with a panel removal tool to release the clips and remove.
2. Extract the (1) screw at the bottom of the radio trim bezel.
3. Using a panel removal tool carefully pry out on the radio trim bezel to release the fastening clips, unplug all the
connectors, and remove the bezel.
4. Extract the (6) screws securing the radio / pocket assembly to the dash, unplug all the connectors and remove.
USE THE SHADED BRACKETS, AND INDICATED SPACERS.
SCOSCHE STEREO INSTALLATION COMPONENTS STEREO DASH KITS
Other Scosche Automobile Accessories manuals

Scosche GM1593 User manual

Scosche

Scosche GM1593 User manual

Scosche MAGIC GRIP MGQWDDP User manual

Scosche

Scosche MAGIC GRIP MGQWDDP User manual

Scosche ITCLS01B User manual

Scosche

Scosche ITCLS01B User manual

Scosche BTFREQ BTFM User manual

Scosche

Scosche BTFREQ BTFM User manual

Scosche MAGICMOUNT PRO User manual

Scosche

Scosche MAGICMOUNT PRO User manual

Scosche HY1602 User manual

Scosche

Scosche HY1602 User manual

Scosche FDQ01 User manual

Scosche

Scosche FDQ01 User manual

Scosche MAGICMOUNT MAGDM User manual

Scosche

Scosche MAGICMOUNT MAGDM User manual

Scosche CR1284 User manual

Scosche

Scosche CR1284 User manual

Scosche DIYBRH User manual

Scosche

Scosche DIYBRH User manual

Scosche HY1600 Service manual

Scosche

Scosche HY1600 Service manual

Scosche VENTMOUN HVM2 User manual

Scosche

Scosche VENTMOUN HVM2 User manual

Scosche ITCFDOSB User manual

Scosche

Scosche ITCFDOSB User manual

Scosche MA1532B User manual

Scosche

Scosche MA1532B User manual

Scosche DO2110 User manual

Scosche

Scosche DO2110 User manual

Scosche AU2392B User manual

Scosche

Scosche AU2392B User manual

Scosche FCJ1275A User manual

Scosche

Scosche FCJ1275A User manual

Scosche LPBW15 User manual

Scosche

Scosche LPBW15 User manual

Scosche BTFREQ PRO BTFMPD3SR User manual

Scosche

Scosche BTFREQ PRO BTFMPD3SR User manual

Scosche BFTAK User manual

Scosche

Scosche BFTAK User manual

Scosche TA1467 User manual

Scosche

Scosche TA1467 User manual

Scosche TAQ04 User manual

Scosche

Scosche TAQ04 User manual

Scosche MAGICGRIP MGQDWD-CPO User manual

Scosche

Scosche MAGICGRIP MGQDWD-CPO User manual

Scosche POWERUP 400 User manual

Scosche

Scosche POWERUP 400 User manual

Popular Automobile Accessories manuals by other brands

Code 3 C3100 Installation and operation instructions

Code 3

Code 3 C3100 Installation and operation instructions

Pioneer 12.301114-33 installation manual

Pioneer

Pioneer 12.301114-33 installation manual

TAUBENREUTHER 16 - 590 FITTING INSTRUCTION

TAUBENREUTHER

TAUBENREUTHER 16 - 590 FITTING INSTRUCTION

ECB BIG TUBE BT82SY Fitting instructions

ECB

ECB BIG TUBE BT82SY Fitting instructions

Nav TV C.O.D-F53 installation manual

Nav TV

Nav TV C.O.D-F53 installation manual

GCOM Systems EV486ACT owner's manual

GCOM Systems

GCOM Systems EV486ACT owner's manual

Gator ETX SOFT ROLL UP quick start guide

Gator

Gator ETX SOFT ROLL UP quick start guide

Mister EV VELOCY BOX + SENSE user manual

Mister EV

Mister EV VELOCY BOX + SENSE user manual

Real-El CA-11 user manual

Real-El

Real-El CA-11 user manual

Husky 33222 Assembly, Installation, Operation and Maintenance Instructions

Husky

Husky 33222 Assembly, Installation, Operation and Maintenance Instructions

Trust HS-8100 manual

Trust

Trust HS-8100 manual

Rugged Ridge 12107.14 manual

Rugged Ridge

Rugged Ridge 12107.14 manual

Alfa Romeo FIX&GO automatic manual

Alfa Romeo

Alfa Romeo FIX&GO automatic manual

Cycle Country SNOW FORCE 18-0050 owner's manual

Cycle Country

Cycle Country SNOW FORCE 18-0050 owner's manual

Alpine RSE-K100TN Mounting instructions

Alpine

Alpine RSE-K100TN Mounting instructions

Fiamma Ultra-Box 2 Installation and usage instructions

Fiamma

Fiamma Ultra-Box 2 Installation and usage instructions

Painless Performance Products PERFECT TORC installation instructions

Painless Performance Products

Painless Performance Products PERFECT TORC installation instructions

Tview RV725C user manual

Tview

Tview RV725C user manual

manuals.online logo
manuals.online logoBrands
  • About & Mission
  • Contact us
  • Privacy Policy
  • Terms and Conditions

Copyright 2025 Manuals.Online. All Rights Reserved.