Seal One 3200K User manual

Seal One®USB
User manual

1 Introduction
1.1 Seal One®USB
Thank you for choosing Seal One®USB. In order to familiarise
yourself with the device, please read this user manual carefully
before using Seal One®USB.
1.2 Signing transactions with Seal One®USB
Seal One®USB combines maximum security with ease of use. Designed
to digitally sign transactions based on digital signatures (e.g., as part of
internet online banking), the device can simply be plugged in a USB port
of your computer. Transactions, which need to be signed, are displayed
on the Seal One®USB.
For your own safety, please verify the transaction shown on the
Seal One® USB display before you sign it by pressing the button.
Seal One®USB is ready with out of the box feature (without any
DGGLWLRQDOFRQÛJXUDWLRQRUVRIWZDUHLQVWDOODWLRQ,WSURYLGHVFRPSUH-
hensive protection against any trojan, virus and phishing attack when
signing transactions.
Seal One®USB is compatible with all major operating systems, including
numerous Microsoft®Windows, macOS®and Linux versions.
A full list of supported operating systems can be found at:
www.seal-one.com/OS.
1.3 Seal One®USB functionality
Seal One®USB is easy to use, convenient and secure. After activation
with an acceptance partner, the process is completed in 3 simple steps:
1. Connect: Enter your transaction data in the partner application as
usual and connect the Seal One®USB to a USB port of your laptop/
PC.
2. Verify: Verify transaction data on the Seal One®USB.
3. Approve: Approve the transaction by pushing the button.

2 Seal One®USB activation at acceptance partner
2.1 Seal One®acceptance partner
Where to use Seal One®USB?
Seal One devices can be used with any acceptance
partner of Seal One AG. You can recognise our
acceptance partners by our acceptance logo:
A list of all current acceptance partners can be found at:
www.seal-one.com/partner
2.2 Seal One®activation at acceptance partner
Seal One®USB has to be activated at acceptance partner prior to
use. The activation process may differ from one acceptance partner to
another.
Please follow instructions of the acceptance partners. For questions and
comments, please contact the respective hotline.
2.3 Seal One®ID readout
The Seal One ID is needed in order to registrate/activate Seal One®USB
by an acceptance partner. It has to be entered in the acceptance parter
appication.
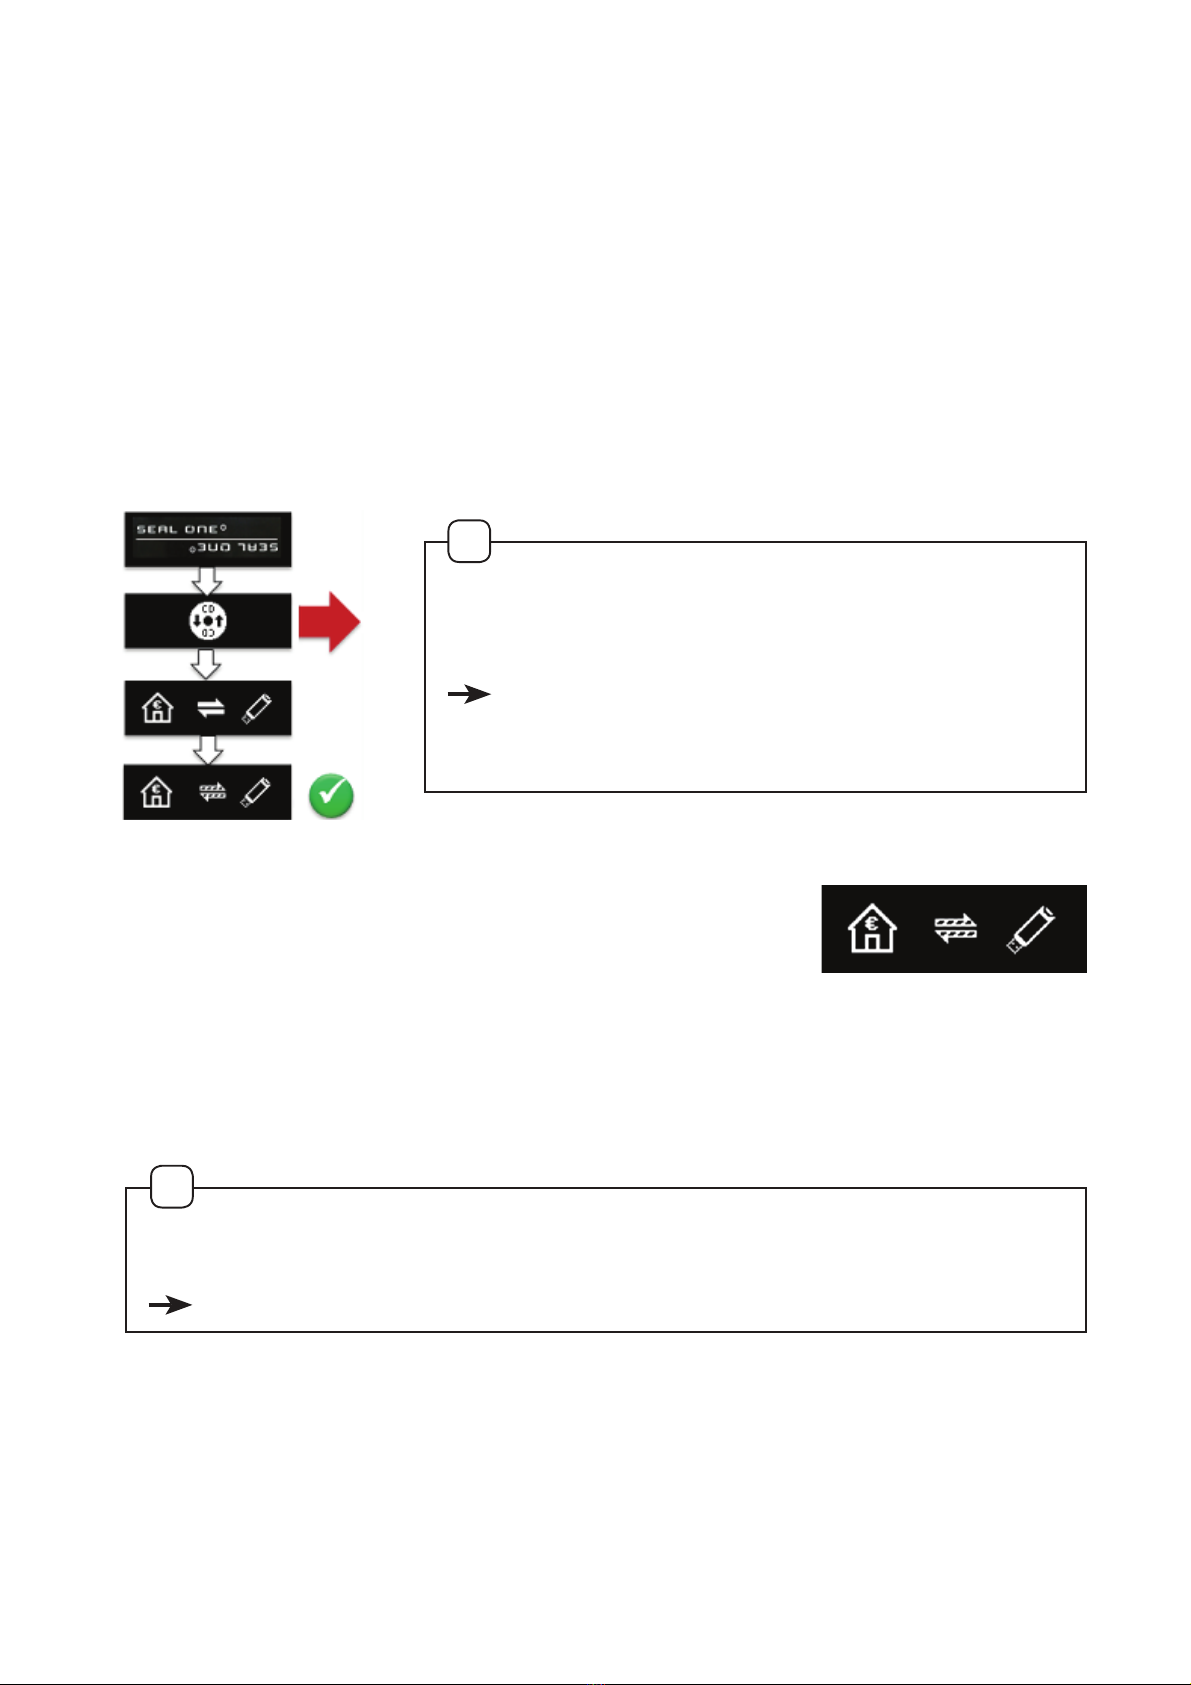
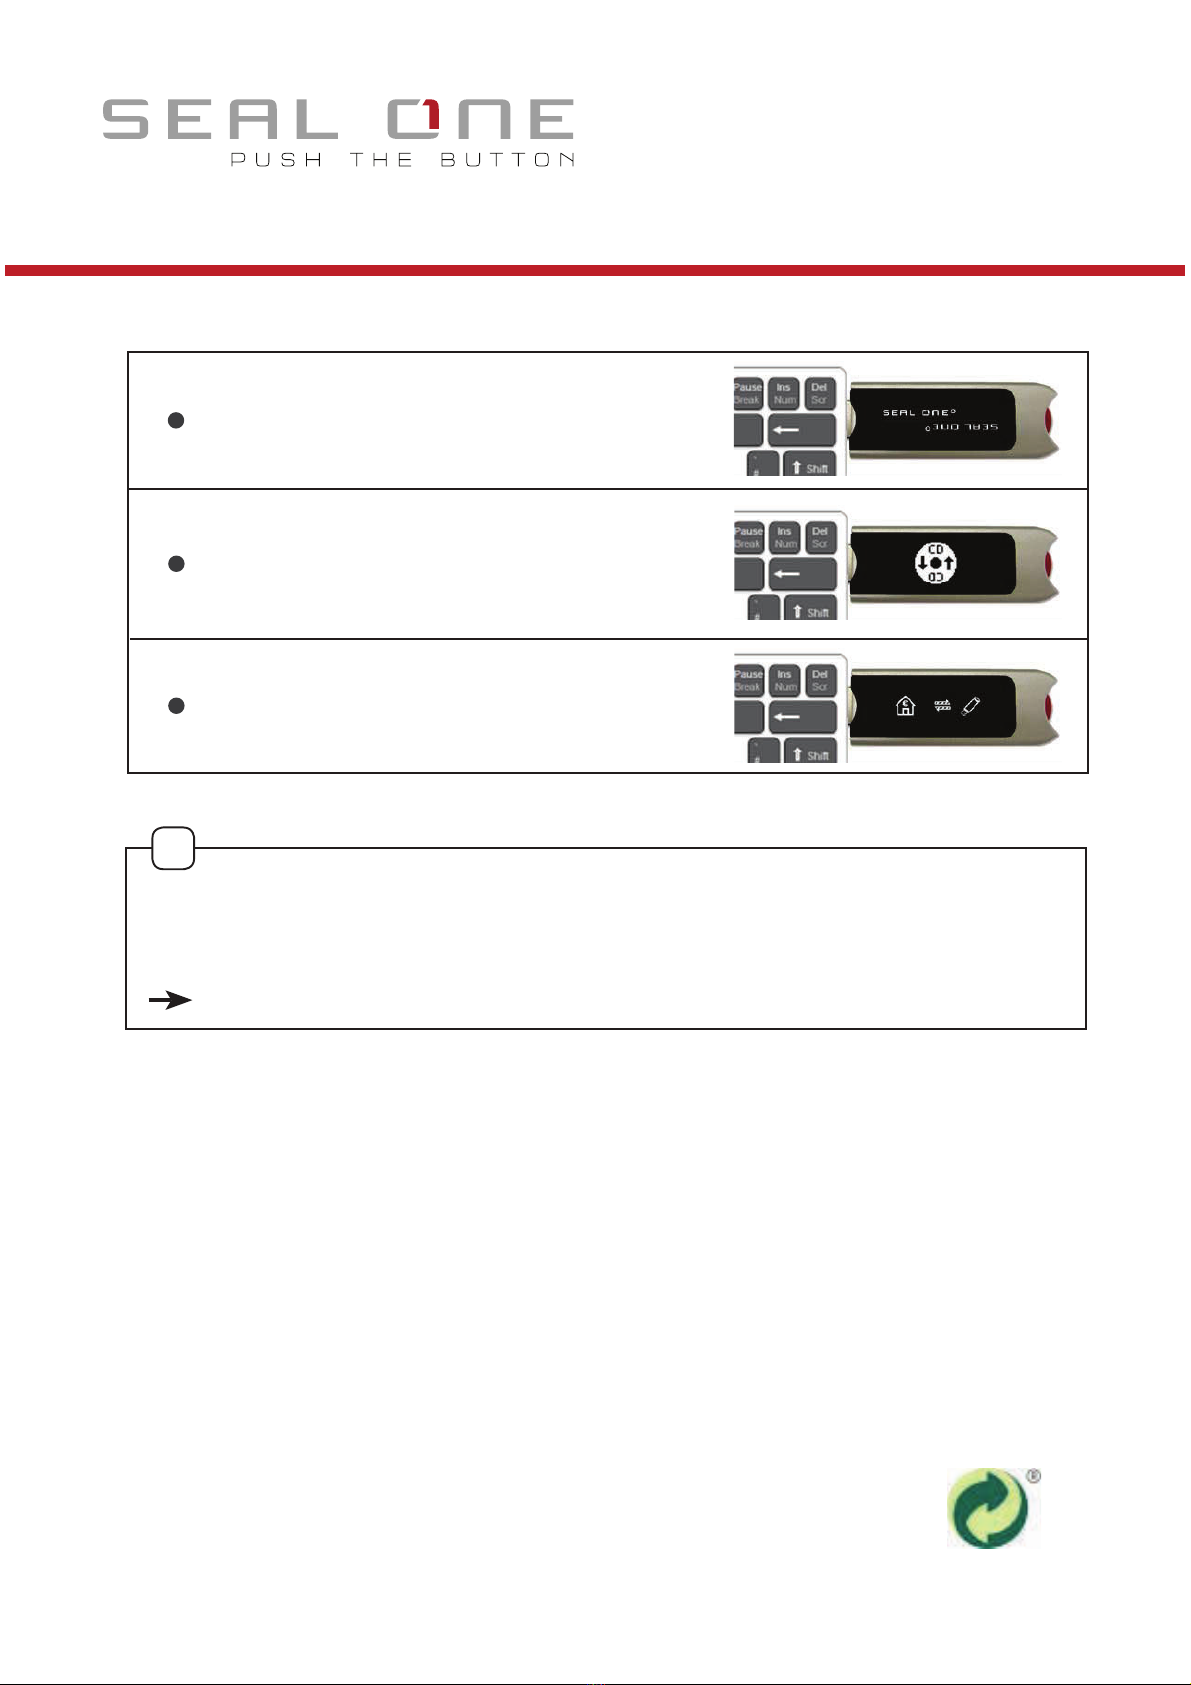
To readout the Seal One®ID, please proceed as follows:
1. Make sure that there is no transaction displayed
on the device and you see the following:
2. Press and hold the button of your Seal One®USB for at least
3 seconds until the Seal One®ID appears on the display.
The Seal One®ID is shown in
3 blocks of 5 characters.
Note: To avoid mistakes the letters are NOT used:
I (India), M (Mike), O (Oscar), W (Wiskey)
!
Display screen Description
-
If the logo on the display remains
displayed during the starting procedu-
re, the USB port of your Laptop/PC is
disrupted or blocked.
In this case, please use the device
without USB extension cable or use
another USB port of your Laptop/PC.
If you are using the Seal One®USB with
a company Laptop/PC, please contact
your system administrator.
A Seal One®USB can be activated at
any time based on USB Vendor/Pro-
duct ID.
-
The Seal One®USB is ready. The Seal
One®application has not been started.
Note: Starting the application hasn‘t
require a CD. For details see Chapter
4.2.
The connection between Seal One®
USB and the internet is beeing estab-
lished.
Note: The arrows are blinking.
Seal One®USB is connected to the
internet and ready to use.
Note: The points are moving to towards
the arrowhead.
There is no connection between Seal
One®USB and the internet. Please
check if your laptop/PC is connected
to the internet. Maybe the Internet con-
QHFWLRQLVEORFNHGE\DÛUHZDOO$OORZ
all incoming and outgoing Seal One
connections.
Note: The warning symbol is blinking.
3 Symbols and their meaning

Display screen Description
You can change the display orientation at
any time. Details can be found in Chapter
5.4.
Seal One®USB switches to energy saving
mode after a few minutes in order to
increase its operating lifetime. As soon as
a transaction is started, the energy saving
mode is interrupted automatically and
the incoming transaction is shown.
The Seal One®ID is needed for registrati-
on and appears, when you press and hold
the button for at least 3 seconds. Seal
One® USB changes back to the opera-
ting mode after a successful registration.
In case you want stop displaying the Seal
One®ID (without registration) press and
hold the button for at least 3 seconds
again.
Note: To avoid mistakes, the letters ’I’, ’O’,
’M’, ’W’ are not used. (Chapter 2.3)
This message icon indicates an internal
device error. First, pull the Seal One®USB
out of the USB port and then reconnect
Seal One® USB to your laptop/PC. As an
alternative you can shut down the compu-
ter and restart it.
Note: If this message icon iis shown cons-
tantly, regardless of any actions taken,
then please contact us (address and
telephone number are available on our
website).
)RUIXUWKHUHQTXLULHVHJGLIÛFXOWLHVH[SHULHQFHGGXHWRVSHFLDOLQGLYL-
dual laptop/PC settings, please refer to:
www.seal-one.com/service
4 Seal One®usage
4.1 Seal One®USB initialisation
Step 1: Make sure that your laptop/PC is connected to the internet.
Step 2: Plug your Seal One®USB in a USB-Port of your laptop/PC.
The device will display the following symbols one after another
as shown below:
Your Seal One®USB is ready to use when the
following screen appears.
Note: The points are moving towards the arrowhead.
If the Seal One Logo or any other symbol remains on Seal One®USB
display (e.g., Warning or error may appear):
see Chapter 3 - Symbols and their meaning
If the CD icon is shown constantly (e.g.,
because autostart is disabled), you have to
initialise the Seal One®USB manually.
refer to section 4.2 based on the opera-
ting system you are using (Windows, masOS,
Linux).
!
!

4.2 Using Seal One®USB with Microsoft®Windows
The welcome screen appears, when a particular USB port of your lap-
WRS3&LVXVHGIRUWKHÛUVWWLPH
If the screen is upside down, click the
„rotate display“ button. The Quickstart
option can also be turned on and off.
The settings are saved by clicking
„Finish“.
Seal One®USB is ready to use.
Situation 1: Autorun on your laptop/PC is enabled
Default setting: The application starts
automatically when Seal One®USB
is connected to a USB port of your
laptop/PC.
Start the application by clicking on
„Seal One“. For further instructions see
Chapter 3, Step 2.

Situation 2: Autorun on your laptop/PC is disabled
Autorun is disabled: Seal One®USB has to be started manually.
Open „This PC“ or „Computer“ or select „Explorer“ in the Start Menu.
Seal One®USB is mounted in your system as a CD-ROM drive.
Start the application by double clicking on „Seal One“. For further inst-
ructions see Chapter 4, Step 1.
4.3 Using Seal One®USB with macOS®
After connecting Seal One®USB to your Mac, the symbol
shown on the right will appear on your desktop:
„Double-click“ the CD icon.
Start the application with another „double-click“
on the Seal One program logo.

4.4 Using Seal One®USB with Linux
'HSHQGLQJRQWKH/LQX[GLVWULEXWLRQDQGFRQÛJXUDWLRQWKHYLUWXDO
CD-ROM drive of Seal One®USB is automatically mounted. Should
the virtual CD-ROM drive not mount automatically, this step has to be
SHUIRUPHGPDQXDOO\<RXFDQRSHQWKHGULYHWKURXJK\RXUÛOHPDQDJHU
and start the application „SealOne“.
To use the entire functionality of the Seal One application, you need
a Linux distribution which contains the GTK graphics library. The
application can also be used without a graphical interface. In this
FDVH\RXKDYHWRFRQÛJXUHDOOWKHQHFHVVDU\VHWWLQJVYLDFRPPDQG
line. For further details please refer to the README.txt on the virtual
CD-ROM drive of Seal One®USB.
!

5 Settings
To change „Quickstart“ or proxy server settings, please click on
the icon at the taskbar and select „Settings“.
5.1 Common
In the tab „Common“ you can
enable or disable the „Quickstart“
option. If „Quickstart“ is enabled, your
Seal One®USB is immediately in
operational mode after you start your
laptop/PC (and you connect your Seal
One®).
Enable or disable the „Quickstart“ opti-
on by selecting the appropriate box.
Click on „OK“ to save the settings.
5.2 Proxy-Server
The proxy settings „Automatically de-
tect proxy settings for this network“ is
set by default. Under normal circum-
stances, you won‘t need to change
these settings. If the proxy settings for
the network are not detected auto-
matically, the proxy server can also be
entered manually.
For macOS®this function is not
available.

5.3 Firewall settings
,I\RXVHHWKHIROORZLQJLFRQRQWKHVFUHHQÛUHZDOO
settings might have to be adjusted. Maybe the
LQWHUQHWFRQQHFWLRQLVEORFNHGE\DÛUHZDOO$OORZDOO
incoming and outgoing Seal One connections.
Note: The warning symbol is blinking.
5.4 Rotate Display
When the Seal One®USB is connected to
the laptop/PC, the symbol appears in the
WDVNEDUQRWLÛFDWLRQDUHD,WPD\RFFXUWKDW
displayed text of the Seal One® USB is shown
upside down. You can change the display
orientation by clicking on the icon on the
taskbar, and selecting „Rotate display“.
If the LFRQLVQRWYLVLEOHRQWKHWDVNEDU\RXFDQÛQGLWE\
pressing the “Show hidden icons” arrow where all applica-
tions are displayed.
This example is related to Microsoft® Windows systems.
5.5 Change font size
You can change the font size of the text on
your Seal One® USB. This can be done by
clicking the symbol on the taskbar and
selecting/deselecting “Zoom Display”.
Please note: If “Zoom Display” is selected, the information on the
display of your Seal One®USB device will be shown as ticker.
!
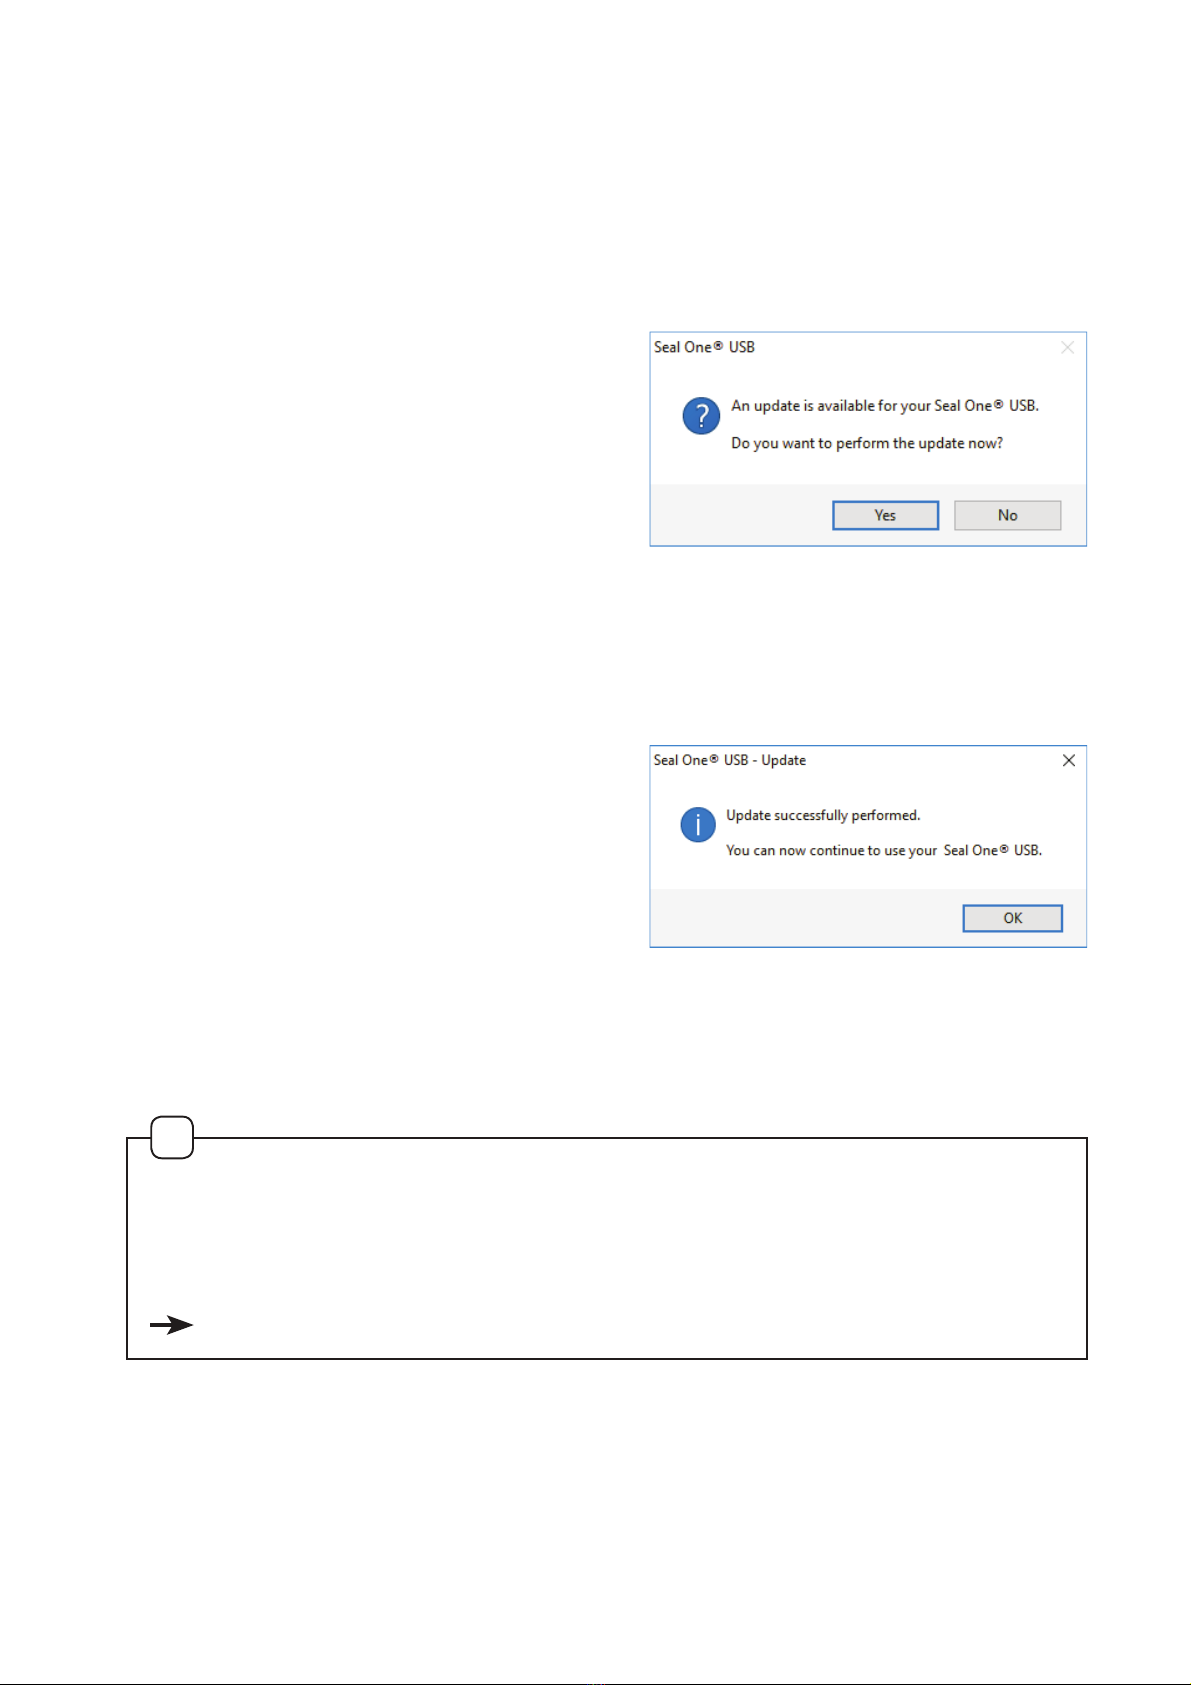
6 Automatic Update
In order to keep your Seal One®USB up to date, you will be automati-
FDOO\QRWLÛHGZKHQXSGDWHVDUHDYDLODEOH:HUHFRPPHQGWRXVHWKH
latest version and to perform offered updates.
The following message on your laptop/
PC is used to indicate that an update
is available. Click „Yes“ to start the
update.
Please note, that the update pro-
cess may take several minutes. Do
not disconnect the Seal One®USB device until the update process is
completed.
The update progress is shown on the Seal One®USB screen.
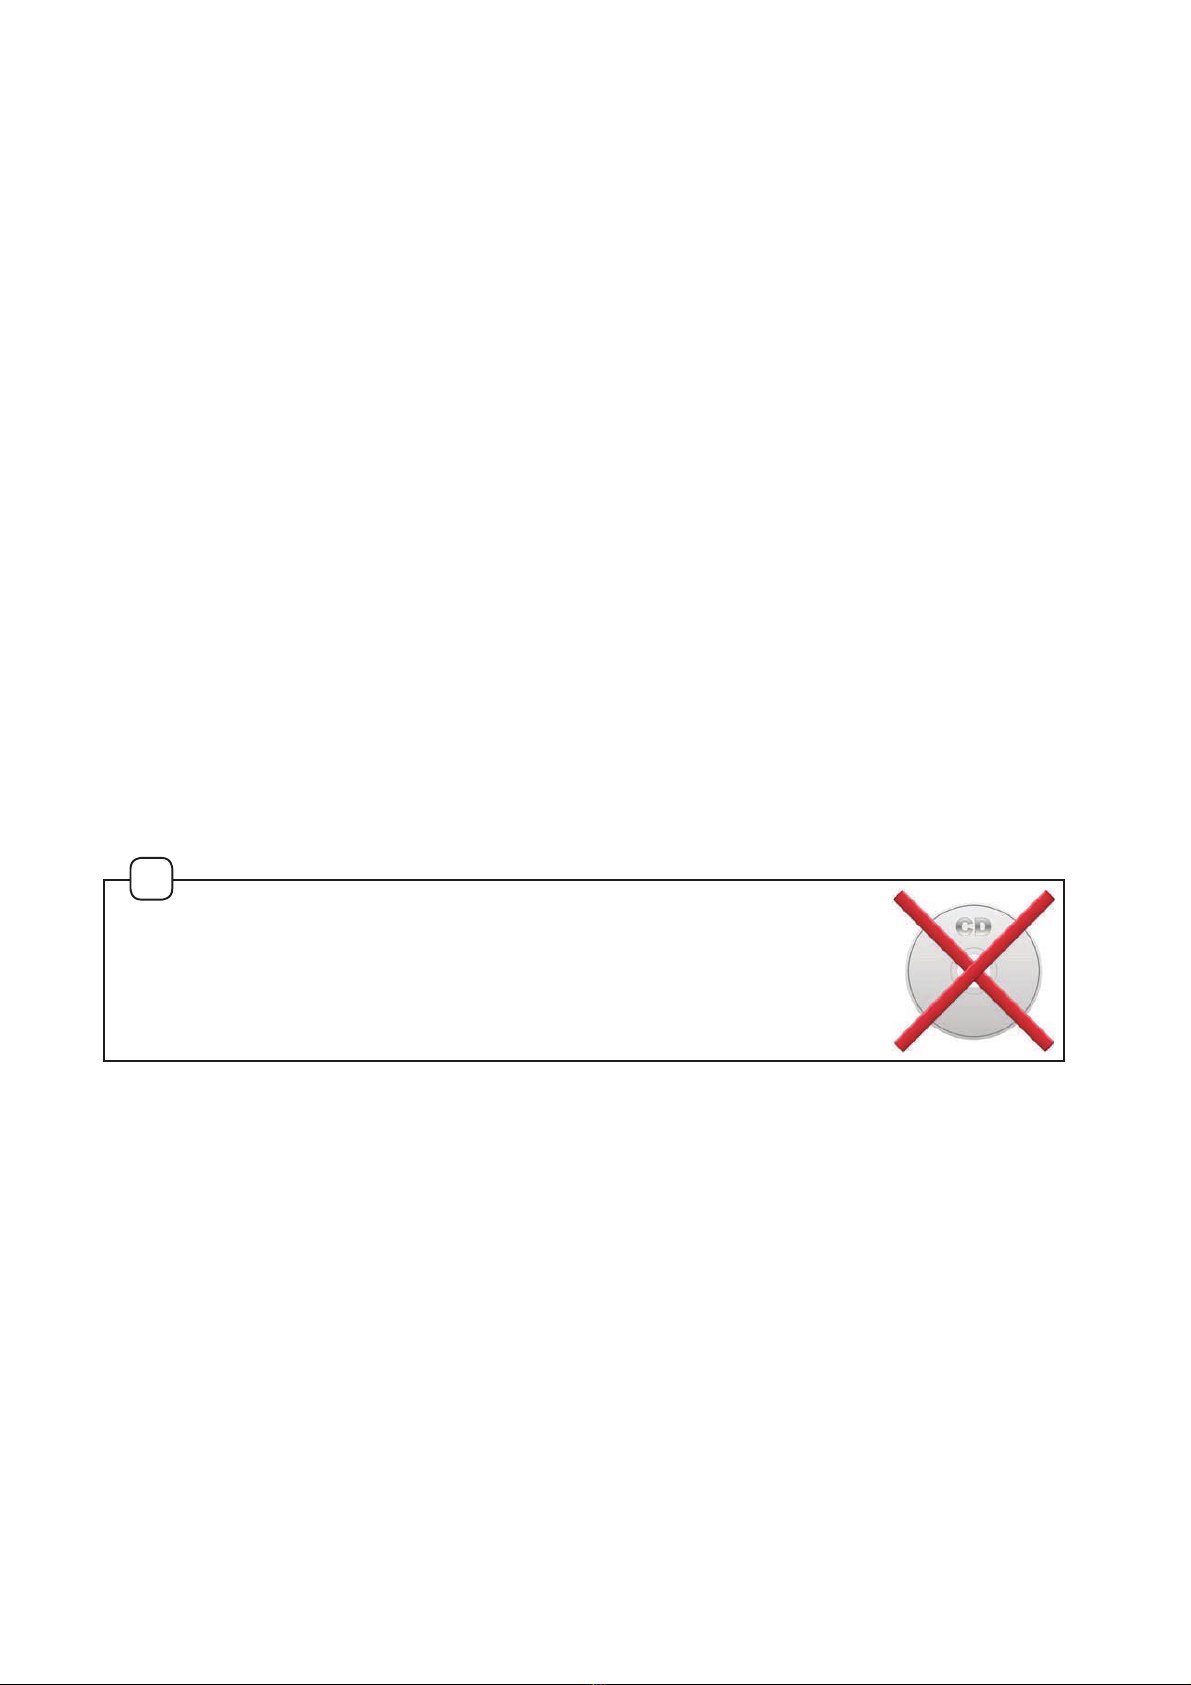
After updating successfully, the
following window will be shown. Click
„OK“ to close the window.
,I\RXZDQWWRSHUIRUPXSGDWHVODWHUFOLFNe1Rq7KHXSGDWHQRWLÛFDWLRQ
will automatically be shown regularly.
In case the update cannot be performed successfully, you can
always repeat it again later. In some cases, it may be
necessary to repeat an incomplete update manually using the restore
function „Rescue_SealOne“.
For step-by-step instructions please refer to Chapter 4.2.
!

7 Safety instructions
Please make sure that children do not have access to hardware and
packaging materials. Don‘t let children play with the device. The device
and the device cap can be swallowed by children. Never throw the
GHYLFHLQWRÛUH
7.1 Legal disclaimer
Seal One AG disclaims all liability for damages resulting due to improper
use. Opening the Seal One®USB and any changes on the device are
strictly prohibited and will void the warranty.
7.2 European Union - electronics and battery disposal information
According to local laws and regulations, the Seal One®USB device and
its battery should be recyled separately from household was-
te. At the end of device lifetime, take Seal One®USB to a coll-
ection point designated by local authorities for the recycling
of electronic equipment. The improper disposal of electronic
HTXLSPHQWE\WKHFRQVXPHUPD\EHVXEMHFWWRÛQHV
Separate collection and recycling of your product and its battery at
the time of disposal will help preserve natural resources and ensure that
it‘s recycled in a manner that protects human health and environment.
For further information concerning correct disposal of this product,
please contact your local authority or the retailer where this product was
purchased.
7.3 EC-Declaration of Conformity
Seal One AG hereby declares that this equipment is in
compliance with EC the essential requirements and other
relevant provisions of Directive 2004/108/EC.
7KH&(PDUNJXDUDQWHHVWKHIXOÛOOPHQWRWWKH(XURSHDQ8QLRQGLUHFWLYHV
i
t
t
t
e
o
H

7.4 Device maintenance
The Seal One®USB is designed and manufactured with great care and
therefore should be treated with care. The following recommendations
and handling instructions should help you ensure continuous operation
and a long life expectancy:
s2QO\FRQQHFWWKHGHYLFHWR\RXUODSWRS3&ZKHQ\RX
want to perform transactions with the device.
s3URWHFWWKHGHYLFHIURPPRLVWXUHDQGOLTXLGV1HYHUDWWHPSWWRSDLQW
dye the device.
s6WRUHWKHGHYLFHLQDFOHDQDQGGU\SODFH
s3URWHFWWKHGHYLFHIURPGXVWDQGYDSRXUV
s1HYHUSODFHWKHGHYLFHQHDUKHDWVRXUFHVVXFKDVUDGLDWRUVRU
ovens. Don‘t expose the device to high temperatures
and severe temperature changes. Protect it against direct sunlight.
s'RQoWWRXFKWKHSOXJFRQWDFWVZLWKVKDUSRUPHWDOOLFREMHFWV
s&OHDQWKHGHYLFHZLWKDGDPSOLQWIUHHWH[WLOH'RQoWXVHDEUDVLYH
leaners or solvents.
8 Return form
Please use a sturdy packaging for return, such as a padded envelope or
shipping bag.
For the return form, return address, and further information, please visit:
www.seal-one.com/return
9 Package contents
oØØØ2D@KØ.MD®USB
Seal One®strives to offer products meeting customers‘ needs. This is
achieved by using high quality materials and paying great attention to
every detail.
oØØØ42!ØDWSDMRHNMØB@AKD
Please note that the USB extension cable is designed for exclusive use
with Seal One®USB. The manufacturer assumes no liability for any use
not in connection with Seal One®USB.
You can also use a standard USB extension cable with the
Seal One®USB device.
oØØØ4RDQØL@MT@K
This user manual contains all necessary steps for installation, usage
and maintenance of your Seal One®USB.
sThe package does NOT include a CD
The package does NOT include a CD.
The entire operating software is already included on
the Seal One®USB. The software is NOT available
on CD.
!
macOS is a registered trademark of Apple Inc.
Microsoft is a registered trademark of Microsoft Inc.
Seal One is a registered trademark of Seal One AG. Seal One®– Patented Technology
Additional information and descriptions regarding the manual start of the
Seal One®application can be found on our website FAQ:
www.seal-one.com/service
The Seal One®device works on all major operating systems; these
include numerous Windows, Mac OS and Linux versions. An up-to-date
list of supported operating systems is available at:
www.seal-one.com/os
Seal One AG
Berliner Straße 44
60311 Frankfurt am Main
www.seal-one.com
If the „CD“ icon on the Seal One®USB device remains shown per-
manently (e.g., because auto-start is disabled), you have to start the
Seal One®USB manually.
For further details please refer to Chapter 4.
!
Quick Start
The prerequisite is that your Laptop/PC is connected to the Internet.
Connect your Seal One®USB to
your laptop/PC.
A CD-symbol will be shown on the
display of your Seal One®USB.
Your Seal One®USB
is ready to use.
Table of contents
Other Seal One Security System manuals


Popular Security System manuals by other brands


Vigilant
Vigilant T-Gen2 installation instructions

Clarity
Clarity AlertMaster AL11 user guide

Black Widow Security
Black Widow Security BW RAS 130 installation manual

Assistive Technology Services
Assistive Technology Services TOUCH N TALK FD manual

DSC
DSC Maxsys PC6010 System manual

NUUO
NUUO NVRmini 2 user manual