Sealey AK4561D User manual

❐ WARNING! Ensure health & safety, local authority, and general workshop practice regulations are strictly adhered to when using this
equipment.
✓Familiarise yourself with product application and limitations, as well as the specific potential hazards peculiar to this product.
✓Maintain the pump station in good condition (use an authorised service agent).
✓Replace or repair damaged parts. Use genuine parts only. Non authorised parts will invalidate the warranty.
✓Use only to pump lubricants up to SAE 150 viscosity, used oil and antifreeze liquids.
✓Ensure safety eye protection, oil resistant gloves and protective clothing are worn when using this product.
✓Keep the work area clean, uncluttered and ensure there is adequate lighting.
✓Maintain correct balance and footing. Ensure the floor is not slippery and wear non slip shoes.
✓Keep children and unauthorised persons away from the working area.
✓After use, drain any fluids from the equipment before storage.
✓Dispose of waste liquids in accordance with local authority regulations.
✓Disconnect air pressure from equipment when not in use.
✗DO NOT exceed the maximum air pressure of 115psi.
✗DO NOT point the nozzle at people or animals.
✗DO NOT use the equipment near open flames.
✗DO NOT smoke whilst using this equipment.
✗DO NOT use to extract corrosive fluids.
✗DO NOT dismantle, tamper with or adapt the pump for any purpose other than for which it is designed.
✗DO NOT use the unit if it has been dropped or mishandled, check the unit to ensure there is no damage.
✗DO NOT leave the trolley on a slope, or traverse slopes, which may cause the unit to topple.
✓The unit must be stored on a level surface.
✓Keep the pump clean and store in a safe dry, childproof location.
❐ WARNING! DO NOT allow uncontrolled discharge of fluids thus polluting the environment. All liquids must be disposed of according to
local authority regulations.
INSTRUCTIONS FOR:
OIL DISPENSING
SYSTEM AIR OPERATED
Model No: AK4561D
1. SAFETY INSTRUCTIONS
2. INTRODUCTION
IMPORTANT: PLEASE READ THESE INSTRUCTIONS CAREFULLY. NOTE THE SAFE OPERATIONAL REQUIREMENTS,
WARNINGS AND CAUTIONS. USE THIS PRODUCT CORRECTLY AND WITH CARE FOR THE PURPOSE FOR WHICH IT IS
INTENDED. FAILURE TO DO SO MAY CAUSE DAMAGE OR PERSONAL INJURY AND WILL INVALIDATE THE WARRANTY.
PLEASE RETAIN THESE INSTRUCTIONS FOR FUTURE USE.
Thank you for purchasing a Sealey product. Manufactured to a high standard this product will give you years of trouble free performance
if these instructions are carefully followed and the product is correctly maintained.
AK4561D Issue No: 1 - 14/11/08
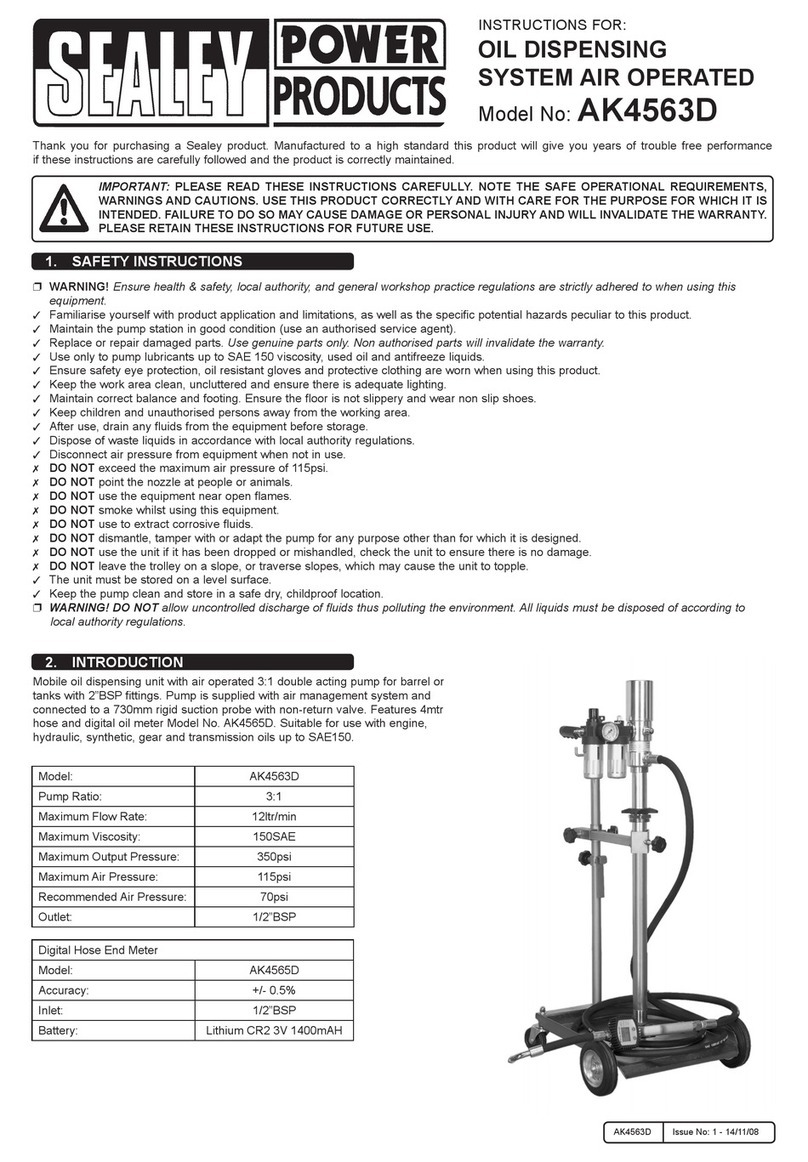
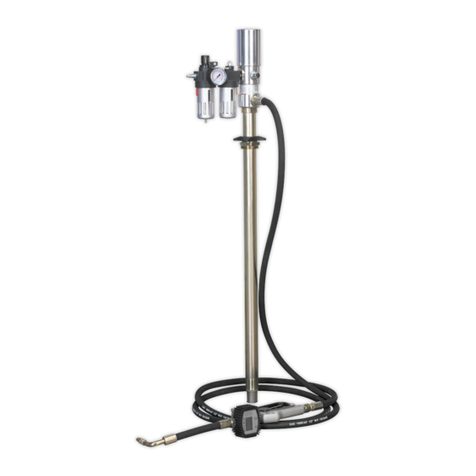
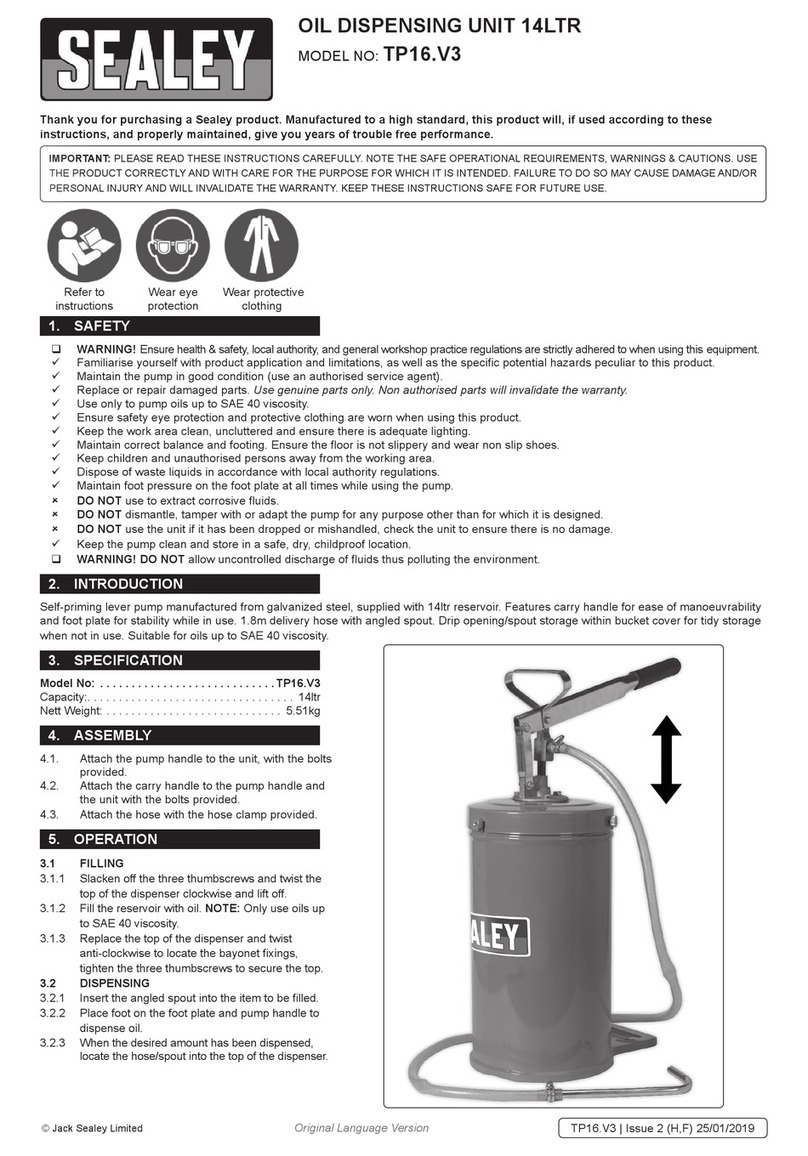
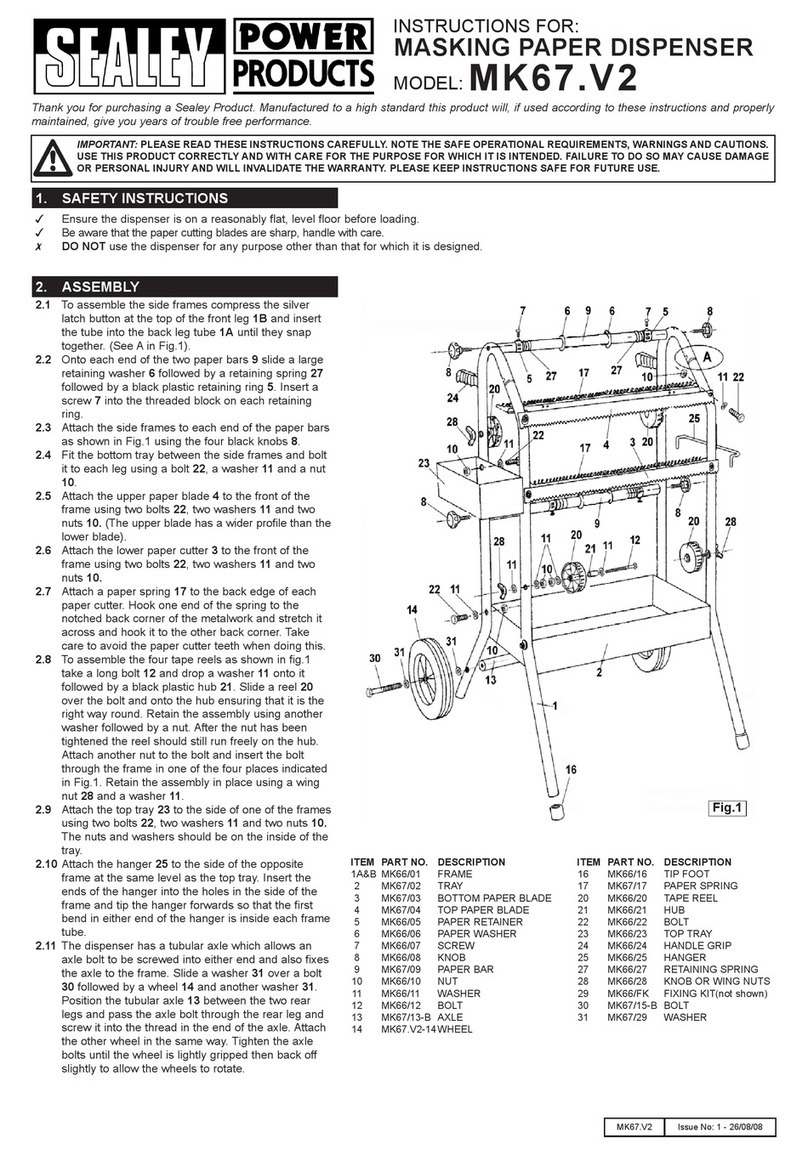
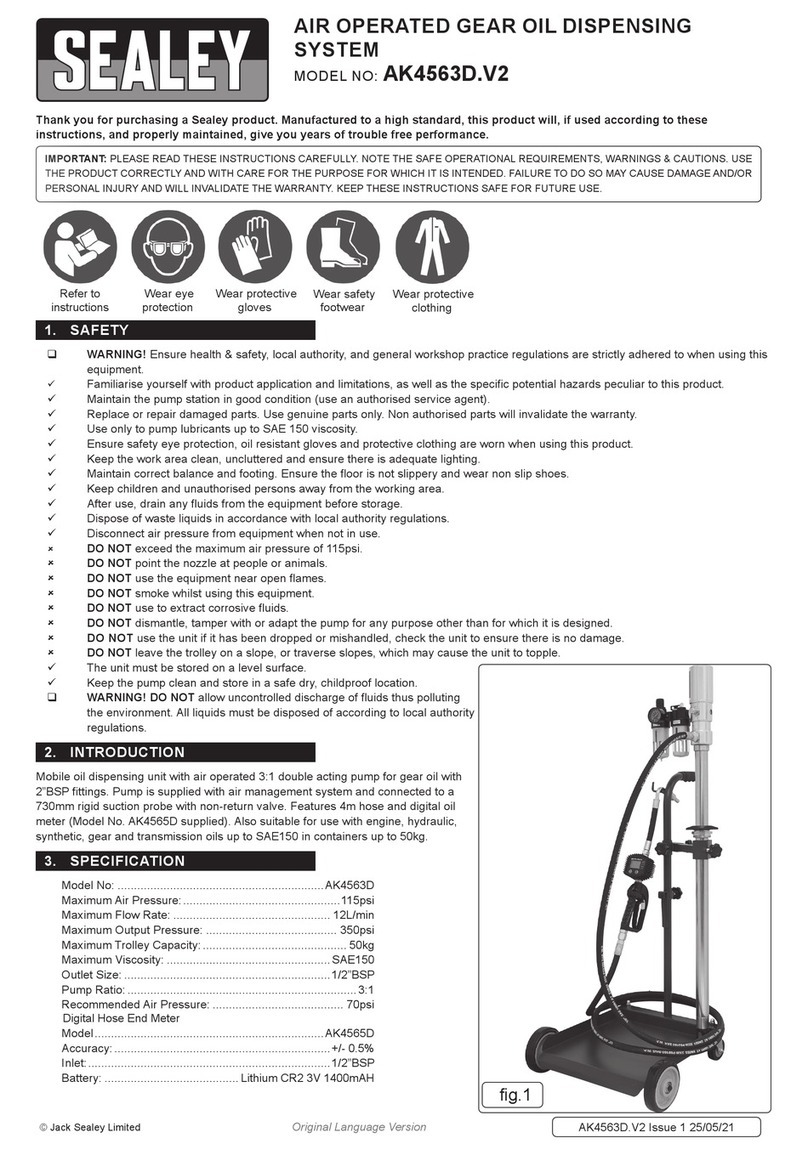
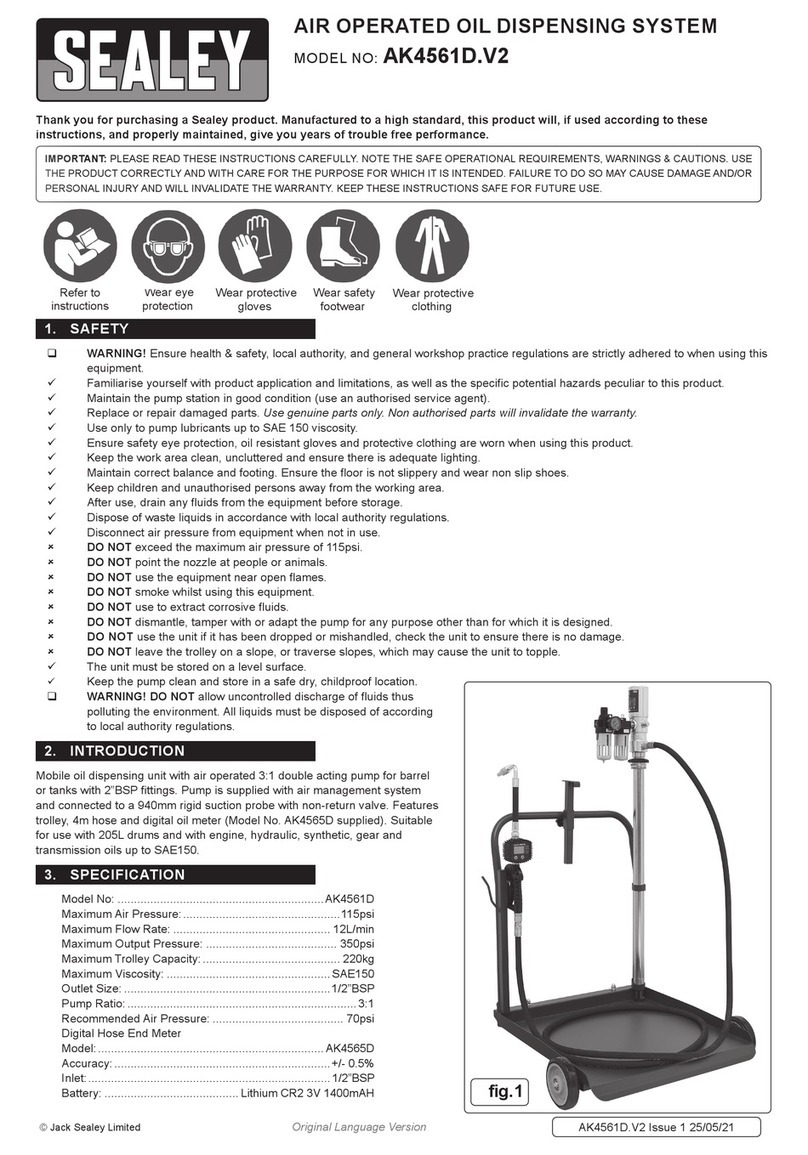
Mobile oil dispensing unit with air operated 3:1 double acting pump for barrel or
tanks with 2”BSP fittings. Pump is supplied with air management system and
connected to a 940mm rigid suction probe with non-return valve. Features 4mtr
hose and digital oil meter Model No. AK4565D. Suitable for use with engine,
hydraulic, synthetic, gear and transmission oils up to SAE150.
Air Operated Pump
Model: AK4561D
Pump Ratio: 3:1
Maximum Flow Rate: 12ltr/min
Maximum Viscosity: 150SAE
Maximum Output Pressure: 350psi
Maximum Air Pressure: 115psi
Recommended Air Pressure: 70psi
Outlet: 1/2”BSP
Trolley Maximum Capacity: 220kg
Digital Hose End Meter
Model: AK4565D
Accuracy: +/- 0.5%
Inlet: 1/2”BSP
Battery: Lithium CR2 3V 1400mAH

AK4561D Issue No: 1 - 14/11/08
3.1 Trolley Assembly (g.1)
3.1.1 Attach the two castor wheels (10) to the base plate (16) using washers (9)
and nuts (8).
3.1.2 Turn the base plate upside down and attach the axles (14) to the base plate
using hex bolts (15) and then slide the wheels (13) onto the axles and
secure using washers (12) and hex bolts (11). Turn the base plate over so
that it is now supported on its wheels.
3.1.3 Slide the two pump support brackets (4) onto the handle (3) and attach
them using hex grub screws (5).
3.1.4 Slide the accessory support (7) onto the other side of the handle and attach
using hex grub screw (5), insert stopper (6) into the top of the accessory
support.
3.1.5 Slide the handle assembly into the base plate until it bottoms out on the
stops and secure with two hex grub screws (17).
3.1.6 Slide the drum holder support into the handle and secure using knob (1).
3.1.7 Adjust the pump support brackets, so that they fully support the pump
assembly and check all nuts are tight.
3.2 Pump and Air Regulator/Lubricator Assembly
3.2.1 Apply a small amount of liquid thread sealant onto the threads of the air
inletofthepumpandattachtheairregulator/lubricator(g.2).
❐ WARNING! DO NOT allow thread sealant to enter the pump.
3.2.2 Attach the outlet pipe to the male outlet thread on the pump and attach the
male threaded end of the pipe to the Digital Hose End Meter.
3.2.3 Attach the nozzle valve pipe assembly to the outlet of the Digital Hose End
Meter.
❐ WARNING! DO NOT overtighten the swivel connections.
3.2.4 Slide the locking nut, locking ring and the barrel nut onto the pick up probe
ofthepump(g.3),screwthelockingnutontothebarrelnuttolockthe
assembly to the pick up probe.
3.2.5 Insert the pump assembly into the support brackets on the trolley and hang
the meter onto the accesssory support bracket.
g.1
g.2
A
BC
g.3
Locking Nut
Lock Ring
Barrel Nut
3. ASSEMBLY

4.1 Place a 205ltr drum onto the trolley, locate the drum using the drum holder
support(g1.2)andsecurewithknob(g.1.1).
4.2 Installing the pump
4.2.1 Remove the bung from the 2"BSP opening of the drum.
4.2.2 Slacken off the locking nut on the pump probe and insert the pump into
the drum until the probe bottoms out, tighten the barrel nut and then
tightenthelockingnuttoxthepumptothedrum.
4.3 Setting up the pump
4.3.1 Ensure that the air regulator valve is fully wound anti-clockwise and then
connect the air supply onto the quick release connector on the air
regulator.
4.3.2 Lift the knob on the regulator and slowly turn clockwise until the
recommended operating pressure of 70psi is reached, push down on the
regulator knob to lock the position.
Note: Check the system for leaks, should an air leak be discovered, release the
pressure, disconnect the air line and repair the joint or seal before
continuing.
4.4 Operating the gun
❐ WARNING! Ensure that the trigger is not depressed before opening the
nozzle valve.
4.4.1 Press the Reset button for 1 sec to zero the display.
4.4.2 With the nozzle pointing into the receiving container, open the nozzle valve
asshowning.4.
4.4.3 Depress the trigger and dispense the liquid the amount dispensed is
shownonthedisplay(g.5.4).
4.4.4 Release trigger and close the nozzle valve.
4.5 Determining the Correction Factor
4.5.1 Dispense at least 1 litre of liquid into a calibrated container.
4.5.2 Record the quantity of liquid in the container and record the quantity of
liquid dispensed as indicated on the meter display. Press the Move +
Resetbuttons(g.5.1andg.5.2)simultaneouslytodisplaythecurrent
correction factor.
Qty Dispensed
Qty Indicated x Current Correction Factor = New Correction Factor.
4.6 Programming the Correction Factor
4.6.1 Remove the rubber protective cover from the meter and unscrew the four
phillipsscrews(g.6)holdingthedigitalmeter,removefromthegun.
4.6.2 Pressbutton"2"ontherearofthemeter(g.7.2)for1sectoenterthe
Correction Factor mode.
4.6.3 Press the Move button to select the digit to be changed, each press of the
Move button will select the next digit.
4.6.4 Press the Reset button to add 1 on the digit, press as many times as
required until the correct number is reached.
4.6.5 Press "2" for 1 sec to quit the Correction Factor mode.
4.6.6 Press the Move + Reset buttons simultaneously to display the new
correction factor.
4.7 Changing the Units
Note: The meter is pre-set to display litres.
4.7.1 Press button "2" on the rear of the meter for 1 sec to enter the Correction
Factor mode.
4.7.2 PresstheMovebuttonvetimestoselecttheunits(g.5.3).
4.7.3 Press the Reset button to scroll through the Units (L/Gal/PT/QT), select
the Unit required.
4.7.4 Press "2" for 1 sec to quit the Correction Factor mode.
4. OPERATION
AK4561D Issue No: 1 - 14/11/08
g.5
3
4
12
g.7
2
1
g.4
g.6
Meter
Screws
Battery Cover
3.3 Pre-Operation
3.3.1 Liftuptheknob(g.2A)ontheairregulatorandensurethattheknobis
wound fully anti-clockwise.
3.3.2 Removethellerplug(g.2B)fromthelubricatorandllthelubricatorwith
aqualityairtooloil(SealeyATO1000S),retthellerplug.
3.3.3 The lubricator feed is set when the unit is running, adjust the feed knob
(g.2C)thedripratecanbeseenthroughthesightglassofthedome.The
rate of oil feed will automatically increase or decrease inline with the air
ow.
NOTE: It is our policy to continually improve products and as such we reserve the right to alter data, specifications and component parts without prior notice.
IMPORTANT: No liability is accepted for incorrect use of product.
WARRANTY: Guarantee is 12 months from purchase date, proof of which will be required for any claim.
INFORMATION: Call us for a copy of our latest catalogue on 01284 757525 and leave your full name and address including your postcode.
01284 757500
sales@sealey.co.uk
www.sealey.co.uk
01284 703534
Sole U.K. Distributor
Sealey Group
Bury St. Edmunds
Suffolk.
Web
6. DECLARATION OF CONFORMITY
Declaration of Conformity We, the sole importer into the UK, declare that the product listed below is in conformity with the following
standards and directives
The construction file for this product is held by the Manufacturer and may be inspected on
request by contacting Jack Sealey Ltd.
For Jack Sealey Ltd. Sole importer into the UK of Sealey Power Products.
Oil Dispensing System
Air Operated
Model: AK4561D
2002/95/EC RoHS Directive
2002/96/EEC WEEE Directive
14th November 2008
Signed by Steve Buckle
AK4561D Issue No: 1 - 14/11/08
g.9
5.1 Changing the Digital Meter Battery
5.1.1 Remove the rubber protective cover from the meter.
5.1.2 Remove the screw and cover from the side of the meter.
5.1.3 Removeandreplacebattery(g.8).
5.1.4 Replace cover and secure with screw.
5.1.5 Replace the protective rubber cover.
Note: If the LCD display does not activate, remove the meter as in section 4.3.1,
pressbutton1(g.7.1)torebootthemeter.
5.2 Before every use visually check the supply hose for damage and check
all joints for leaks, any damaged component must be replaced or leaks
repaired before using.
5.3 Check the nozzle valve for leaks, if it does not seal, replace before using.
5.4 Drain air regulator water trap daily.
5.5 Top up lubricator as required, using a quality air tool oil.
5.6 Tochangethesilencer,removethecirclip(g.9)andremovetheold
silencer,placeanewsilencerintotherecessandretthecirclip.
Note: For any other maintenance and repairs the unit should be returned to your
Sealey dealer.
5. MAINTENANCE
g.8
Table of contents
Other Sealey Dispenser manuals

Sealey
Sealey DT55BCOMBO1 User manual

Sealey
Sealey MK66.V3 User manual

Sealey
Sealey MK65.V2 User manual

Sealey
Sealey MK64 User manual

Sealey
Sealey MK77 User manual

Sealey
Sealey MK77 User manual

Sealey
Sealey MK77 User manual

Sealey
Sealey MK67.V2 User manual

Sealey
Sealey AK4563D User manual

Sealey
Sealey MK67 User manual

Sealey
Sealey MK64 User manual

Sealey
Sealey TP16.V3 User manual

Sealey
Sealey AK4562D User manual

Sealey
Sealey MK65.V2 User manual

Sealey
Sealey MK64 User manual

Sealey
Sealey AK4560D User manual

Sealey
Sealey MK66.V4 User manual

Sealey
Sealey POWER PRODUCTS CT01 User manual

Sealey
Sealey AK424DX User manual

Sealey
Sealey AK4561D.V2 User manual