DRAIN UNBLOCKER
MODEL NO: SDC01
Thank you for purchasing a Sealey product. Manufactured to a high standard, this product will, if used according to these instructions,
and properly maintained, give you years of trouble free performance.
IMPORTANT: PLEASE READ THESE INSTRUCTIONS CAREFULLY. NOTE THE SAFE OPERATIONAL REQUIREMENTS, WARNINGS & CAUTIONS. USE
THE PRODUCT CORRECTLY AND WITH CARE FOR THE PURPOSE FOR WHICH IT IS INTENDED. FAILURE TO DO SO MAY CAUSE DAMAGE AND/OR
PERSONAL INJURYAND WILL INVALIDATE THE WARRANTY. KEEP THESE INSTRUCTIONS SAFE FOR FUTURE USE.
Refer to
instruction
manual
Wear protective
clothing
SDC01 V1 Issue:1 19/10/22
Original Language Version
© Jack Sealey Limited
Wear eye
protection Wear a mask
Wear protective
gloves
1. INTRODUCTION
Perform a risk assessment of the task to be undertaken before beginning.
WARNING! Wear approved safety eye protection.
9Wear appropriate protective clothing.
9Familiarise yourself with the applications, limitations and potential hazards of the job at hand.
9Maintain the drain unblocker in good condition and kept clean.
9 Maintaincorrectbalanceandfooting.Ensuretheoorisnotslipperyandwearnon-slipshoes.
2. INTRODUCTION
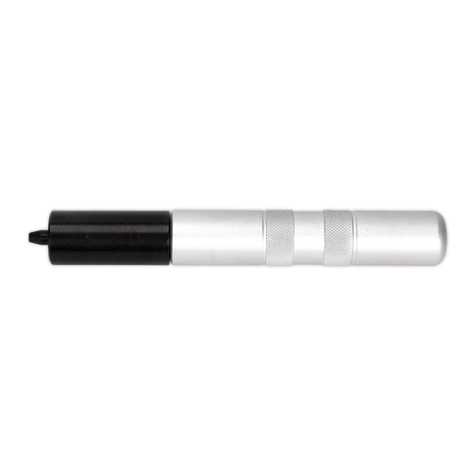
Hand-fed7.6mhand-fedcoiledwirerodwithrotatinghandletoclearstubbornblockagesandresidue.Lockingmechanismretainswire
rodoncefedbackintounit.Ø14mmtipandØ6mmrodidealforclearingofsmalldiameterpipeworkaswellassinks,showers,baths
and drains. SPECIFICATION
3. FEATURES
Extendable,handfedspiralrodwithstraightauger.(g1.1)
Rotatinghandle.(g1.2)
Ergonomicpistolgriphandle.(g1.3)
WormscrewforremovingstubbornblockagesandclearingdrainsandPVCpipes.(g1.4)
LockingScrew(g1.5)
4. INSTRUCTIONS
WARNING! Put on your PPE. Drain clearing is a messy and unpleasant job, so it’s crucial that you protect yourself from any spray or
splashes that may occur.
4.1. Locatethepipeandunscrewthedrainunblockerlockscrew(g1.5).Pulloutappropriatelengthofwormscrew(g1.4)andinsertinto
the pipe as far as you can until you feel like you may have reached the blockage.
4.2. Tightenlockscrew(g1.5)androtatehandle(g1.2)inaclockwiserotation.
4.3. Continuetorotatethewormscrewhandle(g1.2)andwiggletherodinandoutofthedrainslightlytoseeifitloosensanyofthe
blockages.
4.4. Keep an eye on the water level to see if it starts to drop at all.
4.5. Whenthewaterleveldrops,removethewormscrew(g1.4)byturninganticlockwiseandcontinuetoseekotherpartsofthepipe
which may still be blocked.
4.6. Re-insertthewormscrew(g1.4)andcontinuetowiggleinandoutuntiltheblockageiscompletelyremovedandthewaterleveldrops
completely.
4.7. Once you’re happy that the blockage has been removed and the water level
is as it should be,remove the worm screw and clean.
4.8. Loosenlockingscrew(g1.5)andpushbackwormscrewintoitscasing
then tighten locking screw.
fig.1
1
2
3
4
5
