manuals.online logo
Brands
  1. Home
  2. •
  3. Brands
  4. •
  5. Sealey
  6. •
  7. Tools
  8. •
  9. Sealey AUTO SERVICE LINE SX0407 User manual

Sealey AUTO SERVICE LINE SX0407 User manual

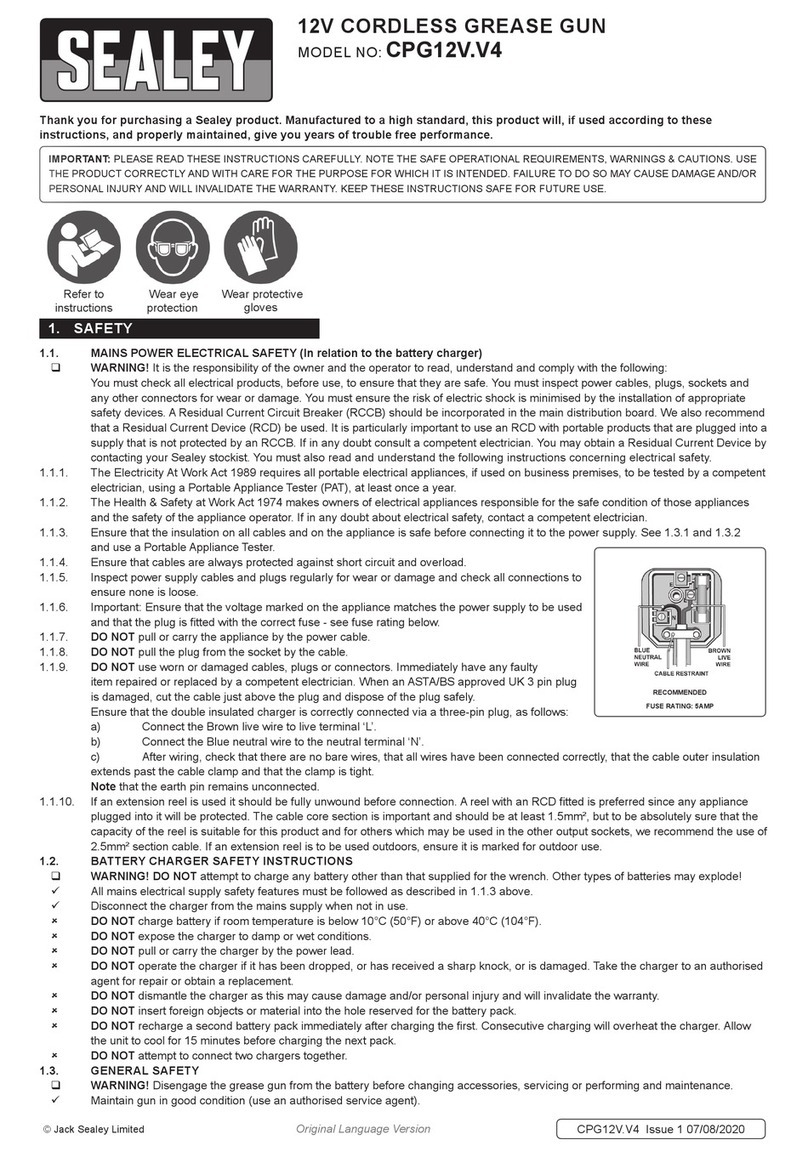
Thank you for purchasing a Sealey product. Manufactured to a high standard this product will, if used according to these instructions and properly
maintained, give you years of trouble free performance.
IMPORTANT: PLEASE READ THESE INSTRUCTIONS CAREFULLY. NOTE THE SAFE OPERATIONAL REQUIREMENTS, WARNINGS AND CAUTIONS.
USE THE PRODUCT CORRECTLY AND WITH CARE FOR THE PURPOSE FOR WHICH IT IS INTENDED. FAILURE TO DO SO MAY CAUSE DAMAGE
AND/OR PERSONAL INJURY AND WILL INVALIDATE THE WARRANTY. PLEASE KEEP INSTRUCTIONS SAFE FOR FUTURE USE.
INSTRUCTIONS for:
Glow Plug Removal Set
MODEL No: SX0407
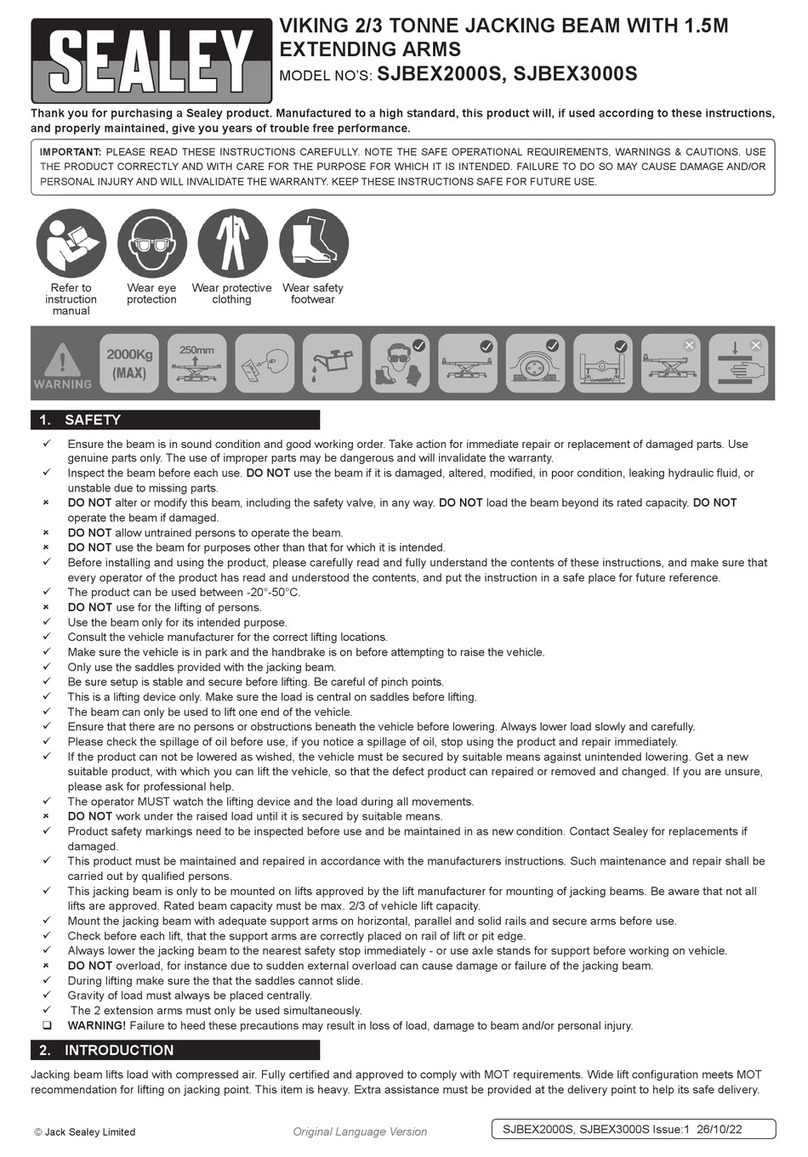
 WARNING! Ensure Health and Safety, local authority and general workshop practice regulations are adhered to when using tools.
DO NOT use tools if damaged.
Maintain tools in good and clean condition for best and safest performance.
 Ensure that a vehicle which has been jacked up is adequately supported with axle stands.
 Wear approved eye protection. A full range of personal safety equipment is available from your Sealey dealer.
 Wear suitable clothing to avoid snagging. DO NOT wear jewellery and tie back long hair.
 Account for all tools and parts being used and do not leave them in or near the engine.
  DO NOT attempt to start engine or move vehicle, whilst tools are fitted and work is in progress.
 Ensure any disconnected fuel pipes are plugged to avoid spillage.
 Account for all tools and parts being used, DO NOT leave them in or near the engine. Return all parts to the case and store this in a
safe, dry, childproof location.
IMPORTANT: These instructions are provided as a guide only. Always refer to the vehicle manufacturer’s service instructions,
or a proprietary manual, to establish the current procedure and data.
 WARNING! The warnings referred to in this guide cannot cover all possible conditions and situations that may occur. It must be understood
that common sense and caution are factors which cannot be built into this product, but must be applied by the operator.
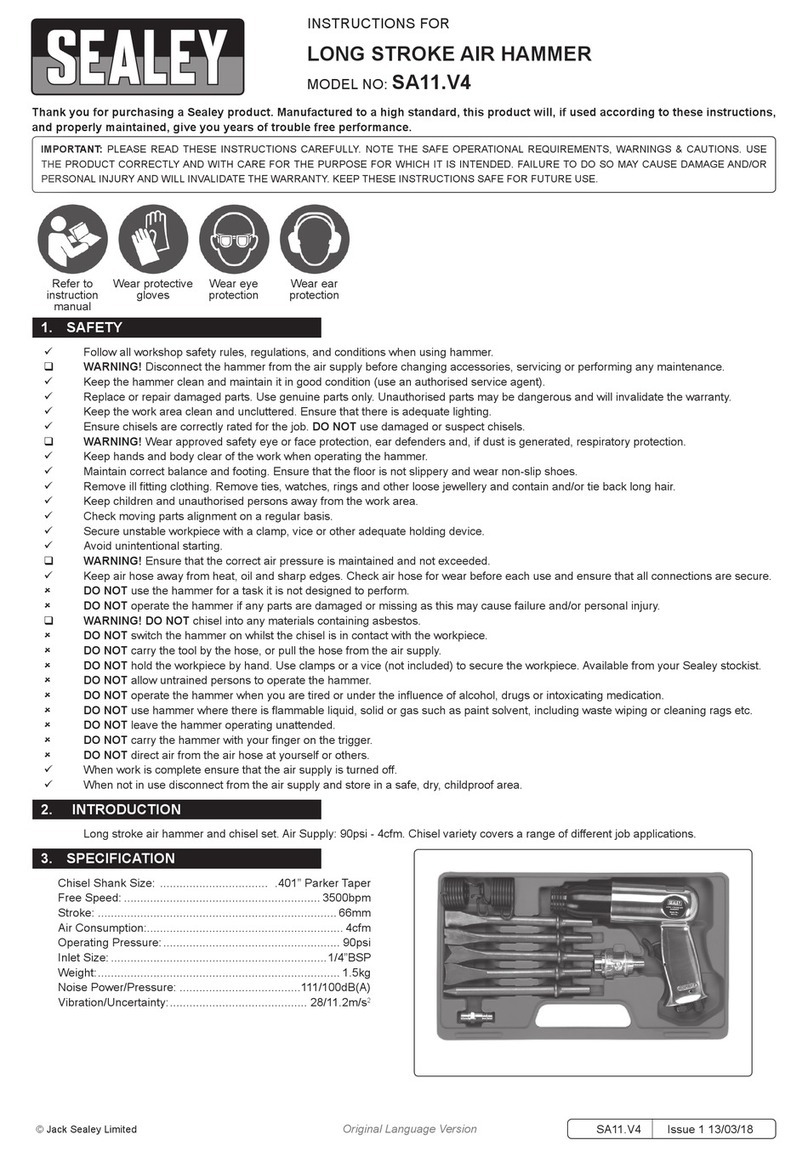
1. SX0407.01 De-carbonising Wire Brush (8mm)
2. SX0407.02 De-carbonising Wire Brush (5mm)
3. SX0407.03 Glow Plug Top Remover, 2.5mm
4. SX0407.04 Glow Plug Top Remover, 3.5mm
5. SX0407.05 Glow Plug Top Remover, 4.0mm
6. SX0407.06 Tap, M5.5 x 9mm
7. SX0407.07 Tap, M8 x 10mm
8. SX0407.08 Pilot Drill, 4.5mm
9. SX0407.09 Pilot Drill, 2.6mm
10. SX0407.10 T-Bar
11. SX0407.11 Pilot Drill Centring Sleeve (x2)
12. SX0407.12 Bit - Glow Plug Top Nut Remover &
Drill Holding Adaptor (also for items 8 & 9)
13. SX0407.13 Glow Plug Removal Thread Rod (x2)
14. SX0407.14 Removal Nut
15. SX0407.15 Tap Holding Adaptor (for items 6 & 7)
16. SX0407.16 Centring Adaptor
17. SX0407.17 Glow Plug Removal Sleeve
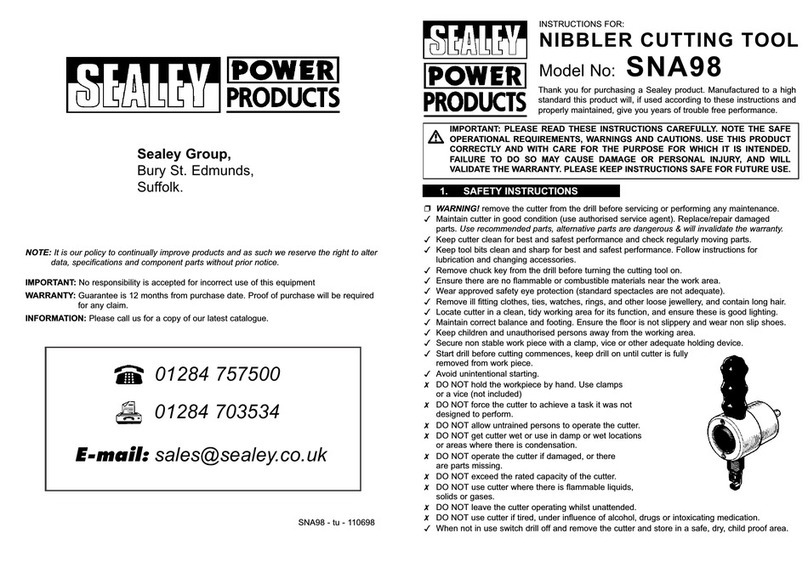
Designed for removal of damaged/broken glow plugs from cylinder heads. Suitable for glow plugs with a M8 x 1.0 thread. Set includes all required
adaptors, centring and cleaning tools to safely remove the glow plug without damaging the engine.
2. INTRODUCTION
1. SAFETY INSTRUCTIONS
SX0407 Issue No: 1 - 07/12/10
Original Language Version
01284 757500
sales@sealey.co.uk
www.sealey.co.uk
01284 703534
Sole UK Distributor, Sealey Group,
Kempson Way, Suffolk Business Park,
Bury St. Edmunds, Suffolk
IP32 7AR
Web
NOTE: It is our policy to continually improve products and as such we reserve the right to alter data, specifications and component parts without prior notice.
IMPORTANT: No liability is accepted for incorrect use of this equipment.
WARRANTY: Guarantee is 12 months from purchase date, proof of which will be required for any claim.
INFORMATION: For a copy of our latest catalogue and promotions call us on 01284 757525 and leave your full name and address, including postcode.
email
NOTE: To minimise the possibility of damage to the engine, it is advisable to remove the cylinder head from the engine to work on it. Alternatively
remove the relevant injector and connect an air line via an appropriate adaptor to the aperture, to ensure dirt and swarf do not enter the
combustion chamber as the procedure is carried out. Ensure adequate eye protection is worn when cleaning any swarf away from the
engine.
3.1. SelecttheappropriatelysizedGlowPlugTopRemovertool(3,4or5),pushttoolontothetopoftheglowplug,itmayneedtobetapped
on lightly, then using a spanner or socket, remove/break off the top part of the glow plug.
3.2. Insert a Centring Sleeve (11) into the recess in the top of the glow plug. Fit Pilot Drill (9) to an electric drill and insert pilot drill into
centring sleeve, drill a pilot hole in the centre of the glow plug. Clean away the swarf using an air line. Alternatively for greater accuracy,
 tthePilotDrill(9)intotheDrillHoldingAdaptor(12)andlockinplacewiththegrubscrew.Fitthedrillholdingadaptortoanelectric
drill. Place Centring Adaptor (16) in the glow plug recess and slide the drill holding adaptor/drill into this and drill out a pilot hole in the
centre of the glow plug.
3.3. FitGlowPlugTopNutRemover(12)intoDrillHoldingAdaptor(12)andtbothtoadrill.Drillofftopofglowplug(ifrequired).Cleanaway
swarf with an air line.
3.4. Fit 4.5mm Pilot Drill (8) into the Drill Holding Adaptor (12) and lock in place with the grub screw. Fit the drill holding adaptor to a drill. Place
Centring Adaptor (16) in the glow plug recess and slide the drill holding adaptor/drill into this and carefully drill out the centre of the glow
plug. Clean out the swarf using an air line.
3.5. FitTap(6)toTapHoldingAdaptor(15)andthenttotheT-bar(10).Cutathreadintothecentreoftheglowplug(usingcuttinguid).Clean
out swarf using an air line.
3.6. Thread the Glow Plug Removal Thread Rod (13) into the hole in the glow plug. Slide Glow Plug Removal Sleeve (17) over the rod and into
the glow plug recess, then thread the Removal Nut (14) (nut side up) onto the end of the rod and thread it down until it meets the sleeve.
Using a 5mm spanner to hold the rod, and a 13mm spanner to turn the removal nut, remove the glow plug.
3.7. Thoroughly clean inside the glow plug aperture using one of the De-carbonising Wire Brushes (1 or 2). Clean out the combustion chamber
using an air line.
3.8. Clean the original glow plug’s thread using the M8 x 10mm Tap (7).
3.9. Whensatisedthatallswarf/debrishasbeenclearedfromthecombustionchamber(ifheadstillinsitu),tanewglowplug.
3.10. Ensure all tools are removed from the engine bay and returned to the case, and store this in a safe, dry, childproof location.
3. INSTRUCTIONS
SX0407 Issue No: 1 - 07/12/10
Original Language Version
This manual suits for next models

1

Other Sealey Tools manuals

Sealey SA90.V2 User manual

Sealey

Sealey SA90.V2 User manual

Sealey AK45X.V2 User manual

Sealey

Sealey AK45X.V2 User manual

Sealey GA50.V3 User manual

Sealey

Sealey GA50.V3 User manual

Sealey AK9894 User manual

Sealey

Sealey AK9894 User manual

Sealey VSE5217 User manual

Sealey

Sealey VSE5217 User manual

Sealey AK629 User manual

Sealey

Sealey AK629 User manual

Sealey CPG12V.V4 User manual

Sealey

Sealey CPG12V.V4 User manual

Sealey VS2055.V4 User manual

Sealey

Sealey VS2055.V4 User manual

Sealey VS4830 User manual

Sealey

Sealey VS4830 User manual

Sealey VS2386 User manual

Sealey

Sealey VS2386 User manual

Sealey TS01 User manual

Sealey

Sealey TS01 User manual

Sealey VS779.V4 User manual

Sealey

Sealey VS779.V4 User manual

Sealey TC900.V2 User manual

Sealey

Sealey TC900.V2 User manual

Sealey Auto Service Line VSE6000 User manual

Sealey

Sealey Auto Service Line VSE6000 User manual

Sealey ASV100 User manual

Sealey

Sealey ASV100 User manual

Sealey AK452X.V2 User manual

Sealey

Sealey AK452X.V2 User manual

Sealey MS016.V2 User manual

Sealey

Sealey MS016.V2 User manual

Sealey VS0202.V2 User manual

Sealey

Sealey VS0202.V2 User manual

Sealey GSA11.V2 User manual

Sealey

Sealey GSA11.V2 User manual

Sealey VS8621 User manual

Sealey

Sealey VS8621 User manual

Sealey ES601.V2 User manual

Sealey

Sealey ES601.V2 User manual

Sealey CP20VPSH User manual

Sealey

Sealey CP20VPSH User manual

Sealey DG06 User manual

Sealey

Sealey DG06 User manual

Sealey VS550 User manual

Sealey

Sealey VS550 User manual

Popular Tools manuals by other brands

XTline XT105305 user manual

XTline

XTline XT105305 user manual

Berner 407716 operating instructions

Berner

Berner 407716 operating instructions

Con-Treat Grinder Dolly Safety & Operators & Parts Manual

Con-Treat

Con-Treat Grinder Dolly Safety & Operators & Parts Manual

Carbon MCS-352 Service manual

Carbon

Carbon MCS-352 Service manual

Powerfix Profi 282447 Operation and safety notes

Powerfix Profi

Powerfix Profi 282447 Operation and safety notes

Max TA551B/16-11 Operating instructions manual

Max

Max TA551B/16-11 Operating instructions manual

Victaulic VE106 Groove-N-Go Operating and maintenance instruction manual

Victaulic

Victaulic VE106 Groove-N-Go Operating and maintenance instruction manual

Josef Kihlberg JK35-590 operating instructions

Josef Kihlberg

Josef Kihlberg JK35-590 operating instructions

Lamello Zeta P2 instructions

Lamello

Lamello Zeta P2 instructions

DURHAND C20-025 instruction manual

DURHAND

DURHAND C20-025 instruction manual

ELEY 1043 manual

ELEY

ELEY 1043 manual

Carl Stahl Kromer 7251 manual

Carl Stahl Kromer

Carl Stahl Kromer 7251 manual

Matco Tools HG10S quick start guide

Matco Tools

Matco Tools HG10S quick start guide

Alemlube 630A Owner technical manual

Alemlube

Alemlube 630A Owner technical manual

BGS technic 1230 instruction manual

BGS technic

BGS technic 1230 instruction manual

Parkside 89169 Operation and safety notes translation of original operation manual

Parkside

Parkside 89169 Operation and safety notes translation of original operation manual

BGS GENERAL 5261 instruction manual

BGS GENERAL

BGS GENERAL 5261 instruction manual

JAMEC PEM PRO Series operating instructions

JAMEC PEM

JAMEC PEM PRO Series operating instructions

manuals.online logo
manuals.online logoBrands
  • About & Mission
  • Contact us
  • Privacy Policy
  • Terms and Conditions

Copyright 2025 Manuals.Online. All Rights Reserved.