Seametrics INW LevelSCOUT User manual

PROUDLY
MADE
IN THE
USA
C
e
r
t
i
f
i
e
d
C
o
m
p
a
n
y
ISO
9001:2008
INW LevelSCOUT
Level/Temperature
Smart Sensor and Datalogger

INW LEVELSCOUT INSTRUCTIONS
Seametrics • 253.872.0284 Page 2 inwusa.com
©1997 - 2016 Seametrics. All rights reserved. INW is a Division of Seametrics.
Registered trademarks and trademarks belong to their respective owners.

INW LEVELSCOUT INSTRUCTIONS
Seametrics • 253.872.0284 Page 3 inwusa.com
Introduction .....................................................................................................................................4
What is the LevelSCOUT? .....................................................................................................................4
Initial Inspection and Handling ..........................................................................................................4
Do’s and Don’ts.........................................................................................................................................4
How Pressure/Level Sensors Work....................................................................................................5
Installation and Operation...........................................................................................................6
Power............................................................................................................................................................6
Connecting the LevelSCOUT to a Computer.................................................................................6
Installing the Aqua4Plus Lite or Aqua4Plus Software................................................................6
Installing the Sensor...............................................................................................................................7
Battery Life Calculator............................................................................................................................7
Collecting Data .........................................................................................................................................8
Maintenance .................................................................................................................................. 12
Changing Batteries............................................................................................................................... 12
Miscellaneous......................................................................................................................................... 13
Troubleshooting ........................................................................................................................... 14
Erratic Readings..................................................................................................................................... 14
Zero Readings When Pressurized................................................................................................... 14
Grounding Issues .................................................................................................................................. 14
Appendix A: Technical Specications ................................................................................... 15
General Specication........................................................................................................................... 15
Logging..................................................................................................................................................... 15
Power......................................................................................................................................................... 15
Temperature............................................................................................................................................ 15
Level........................................................................................................................................................... 16
Wiring and Component Information ............................................................................................ 16
Appendix B: Settings and Calibration ................................................................................. 17
Preparation.............................................................................................................................................. 17
Submergence ......................................................................................................................................... 19
Depth-to-Water..................................................................................................................................... 20
Elevation Above Sea Level................................................................................................................. 21
Staff Gauge.............................................................................................................................................. 22
Appendix C: Alternate Connection Options ...................................................................... 23
Connecting via RS232 Serial Port ................................................................................................... 23
Connecting with a USB/Serial Adapter......................................................................................... 23
Appendix D: Reading the LevelSCOUT via Direct Read ............................................... 25
Setting Units for Direct Read............................................................................................................ 25
Reading Via Modbus®RTU ............................................................................................................... 26
Limited Warranty/Disclaimer - INW LevelSCOUT............................................................ 27
TABLE OF CONTENTS

INW LEVELSCOUT INSTRUCTIONS
Seametrics • 253.872.0284 Page 4 inwusa.com
Introduction
What is the LevelSCOUT?
The INW LevelSCOUT Smart Sensor is an integrated datalogger and level/temperature
sensor and is ideal for site assessments, tidal studies, environmental monitoring,
surface water discharge measurement, and aquifer level monitoring, as well as aquifer
storage and recovery. This sensor networks with all of the INW Smart Sensor family. Its
compatibility with INW’s Wireless Data Collection technology makes it ideal for remote
monitoring.
This industry standard digital RS485 interface device records up to 50,000 records of
level, temperature, and time data, operates with low power, and features easy-to-use
software with powerful features. Constructed with 316 stainless steel, acetal, and Viton®,
this sensor provides high-accuracy readings in rugged and corrosive eld conditions.
The LevelSCOUT is an absolute sensor, requiring no vent tubes, desiccant, or bellows.
It can be paired with a BaroSCOUT barometric sensor and used with the Aqua4Plus
Barometric Compensation Utility to adjust the LevelSCOUT readings for current
atmospheric pressure.
A 1/2 AA 3.6v lithium battery powers the LevelSCOUT. The unit is programmed using
INW’s easy-to-use Aqua4Plus Lite or Aqua4Plus control software. Once programmed the
unit will measure and collect data at the time interval programmed.
Replace your analog sensor/datalogger with the INW LevelSCOUT as a stand-alone
unit or network with other INW Smart Sensors. While most will use the LevelSCOUT
with INW’s Aqua4Plus Lite or Aqua4Plus software, it is by no means limited to that
software. You can use your own Modbus®RTU software or logging equipment to read
measurements via RS485, tying into your existing systems and data bases.
Initial Inspection and Handling
Upon receipt of your smart sensor, inspect the shipping package for damage. If any
damage is apparent, note the signs of damage on the appropriate shipping form.
After opening the carton, look for concealed damage, such as a cut cable. If concealed
damage is found, immediately le a claim with the carrier.
Check the etched label on the sensor to be sure that the proper range and type were
provided. Also check the label attached to the cable at the connector end for the proper
cable length.
Do’s and Don’ts
Do handle the device with care.
Do store the device in a dry, inside
area when not in use.
Do install the device so that the
cable connector is kept dry.
Don’t support the device with the connector.
Use a strain relief device to take the
tension off the connectors.
Don’t allow the device to free-fall down a well
as impact damage can occur.
Don’t bang or drop the device on hard
objects.
INTRODUCTION

INW LEVELSCOUT INSTRUCTIONS
Seametrics • 253.872.0284 Page 5 inwusa.com
How Pressure/Level Sensors Work
Liquids and gasses do not retain a xed shape. Both have the ability to ow and are
often referred to as uids. One fundamental law for a uid is that the uid exerts
an equal pressure in all directions at a given level. Further, this pressure increases
with an increasing depth of “submergence”. If the density of a uid remains constant
(noncompressible...a generally good assumption for water at “normal” pressures and
temperatures), this pressure increases linearly with the depth of “submergence”.
We are all “submerged” in the atmosphere. As we increase our elevation, the pressure
exerted on our bodies decreases as there is less of this uid above us. It should be
noted that atmospheric pressure at a given level does vary with changes in the weather.
One standard atmosphere (pressure at sea level at 20º C) is dened to be 14.7 PSI
(pounds per square inch).
There are several methods to reference a pressure measurement. Absolute pressure is
measured with respect to an ideal vacuum (no pressure). Gauge pressure is the most
common way we express pressure in every day life and is the pressure exerted over and
above atmospheric pressure. With this in mind, gauge pressure (Pg) can be expressed
as the difference between the absolute pressure (Pa) and atmospheric pressure (Patm):
Pg = Pa - Patm.
The LevelSCOUT is an absolute sensor and will require an outside barometric reference
to obtain “gauge” type readings.
TABLE OF CONTENTS

INW LEVELSCOUT INSTRUCTIONS
Seametrics • 253.872.0284 Page 6 inwusa.com
Installation and Operation
Power
The LevelSCOUT comes with a 1/2 AA 3.6v lithium battery.
Connecting the LevelSCOUT to a Computer
In its cabled conguration, the sensor cable is terminated with a weather-resistant
connector. In its cableless conguration, the sensor is terminated with a weather-
resistant connector inside a screw-cap. Connect the weather-resistant connector to
your computer’s USB port as shown below. (For alternate connection options, see
Appendix C.)
Connect the sensor to your PC using INW’s USB to RS485
adapter. (See Appendix C for alternate connections.)
Installing the Aqua4Plus Lite or Aqua4Plus Software
The LevelSCOUT comes with the Aqua4Plus Lite host software that is installed on your PC
or laptop. Use this software to program the datalogger, to retrieve data from the logger,
to view collected data, and to export data to external les for use with spreadsheets or
databases.
Refer to the Aqua4Plus Lite software manual for details on installing and using
Aqua4Plus Lite. LevelSCOUT can also be used with the full Aqua4Plus software.
Using the LevelSCOUT Without Aqua4Plus Lite or Aqua4Plus
Most users will use the LevelSCOUT with INW’s Aqua4Plus Lite or Aqua4Plus software.
However, the LevelSCOUT is quite versatile, communicating via Modbus®RTU, allowing
you to use your own software or logging equipment. (See Appendix D for further
details.)
PC or Laptop
Computer
USB Port
USB to RS485
Adapter
Sensor
Cableless
Conguration
Screw-
Sensor
cap
INSTALLATION AND OPERATION

INW LEVELSCOUT INSTRUCTIONS
Seametrics • 253.872.0284 Page 7 inwusa.com
Installing the Sensor
The LevelSCOUT measures level. The most common application is measuring liquid
levels in wells and tanks. In order to do this, the sensor must be installed below the
water level at a xed depth. The installation depth depends on the range of the
sensor. The sensor should not be installed below its maximum depth. (See Technical
Specications in Appendix A for maximum depth.) If the sensor is installed below its
maximum depth, damage may result to the sensor and the output reading will not be
correct.
Lower the sensor to the desired depth. Fasten the cable to the well head using tie wraps
or a weather proof strain-relief system. Take a measurement to insure the sensor is not
installed below its maximum range.
Be sure the supplied cap is securely placed on the weather-resistant connector at the
top of the cable. Do not install such that the connector might become submerged with
changing weather conditions. The connector can withstand incidental splashing but is
not designed to be submerged.
The sensor can be installed in any position; however, when it leaves the factory it is
tested in the vertical position. Strapping the sensor body with tie wraps or tape will not
hurt it. If the sensor is being installed in a uid environment other than water, be sure
to check the compatibility of the uid with the wetted parts of the sensor.
Battery Life Calculator
The LevelSCOUT has a battery life calculator that is set at the factory when batteries are
rst put in the sensor. If you need to replace the batteries, see the Maintenance section
for replacement information and for information on resetting the battery life calculator.
If the battery life calculator is not reset, the remaining life information will be
incorrect.
INSTALLATION AND OPERATION

INW LEVELSCOUT INSTRUCTIONS
Seametrics • 253.872.0284 Page 8 inwusa.com
Collecting Data
Following is a brief overview on using Aqua4Plus Lite or Aqua4Plus to collect data.
Please refer to the software instruction manuals for further details.
Real Time Monitor
Click Single to get a single reading.
Click Start to get a reading once a second for 60 seconds.
Click Stop to stop the reading.
Note: These are snapshot readings and are not recorded on the sensor.
The Real Time Monitor gives a snapshot of the
current readings on the sensor.
INSTALLATION AND OPERATION

INW LEVELSCOUT INSTRUCTIONS
Seametrics • 253.872.0284 Page 9 inwusa.com
Setting up Data Recording
Click the tool button. A Logging Schedule window will open. Refer to the software
manual for details in describing your schedule. Click the Start button to send the
schedule to the sensor and begin recording. Note: The LevelSCOUT is limited to only one
phase.
Using the Logging Schedule Window, describe
the test steps for your particular test.
Retrieving Data from the Sensor/Datalogger
• Click on the le you want to retrieve.
• Click the tool button.
• Select a le location.
• Click Save.
• Click Start.
Select the data le you are ready to
retrieve.
INSTALLATION AND OPERATION

INW LEVELSCOUT INSTRUCTIONS
Seametrics • 253.872.0284 Page 10 inwusa.com
Viewing Data
• Click the or tool button to view data as a table.
• Click the tool button to view data as a graph.
• Navigate to the desired le, then click the Open button.
The File Display window displays your
data in a tabular format.
The Graph Window displays your data on an X Y
coordinate graph.
INSTALLATION AND OPERATION

INW LEVELSCOUT INSTRUCTIONS
Seametrics • 253.872.0284 Page 11 inwusa.com
Exporting Data to .csv or .xls Files
• Click the or tool button to view data as a table.
• Click on the tool button.
• Select a le location and enter a name for the le.
• Select a le type.
• Click Save.
A Word About Units
Readings from the LevelSCOUT Smart Sensor can be displayed in various units, such
as PSI, Ft. H2O, or mm H2O for level, or degrees Celsius or degrees Fahrenheit for
temperature. Select the units you want from the Options | Display Units menu or from
the Congure Menu | Program Conguration | Set Computer Display Units.
INSTALLATION AND OPERATION

INW LEVELSCOUT INSTRUCTIONS
Seametrics • 253.872.0284 Page 12 inwusa.com
Maintenance
Changing Batteries
The LevelSCOUT is powered by a single 1/2 AA 3.6 lithium battery. In most situations the
battery will last for years. If you need to replace the battery, contact INW for information
on getting it replaced. You cannot simply replace the battery itself but must replace the
entire compartment.
Reset the Battery Life Calculator if you change the battery.
IMPORTANT NOTE!
When changing batteries, it is important to reset the Battery Life Calculator.
If the battery life calculator is not reset, the remaining life information
will be incorrect. Access the Battery Life Calculator from the Congure Menu
- Battery Information and Reset. If you have put in new batteries, checkmark
the box “I have just put in fresh batteries.” Click Save and Close.
MAINTENANCE

INW LEVELSCOUT INSTRUCTIONS
Seametrics • 253.872.0284 Page 13 inwusa.com
Miscellaneous
Sensor: There are no user-serviceable parts, other than the batteries. If problems
develop with sensor stability or accuracy, contact INW. If the sensor has been exposed to
hazardous materials, do not return it without notication and authorization.
Cable: Cable can be damaged by abrasion, sharp objects, twisting, crimping, crushing,
or pulling. Take care during installation and use to avoid cable damage. If a section
of cable is damaged, it is recommended that you send your sensor back to replace the
cable harness assembly.
End Connections: The connectors used by INW are not submersible, but are designed
to be splash-resistant.
MAINTENANCE

INW LEVELSCOUT INSTRUCTIONS
Seametrics • 253.872.0284 Page 14 inwusa.com
Troubleshooting
Erratic Readings
Erratic readings can be caused by a poor connection, damaged cable, moisture in the
unit, or a damaged transmitter. In most cases, erratic readings are due to moisture
getting into the system. The rst thing to check is the connection. Look for moisture
between contacts or a loose or broken wire. Next, check the cable for cracking or
fraying. If the connections and cable appear OK, but the readings are still erratic,
the transmitter may be damaged. Contact INW for evaluation and repair. Erratic and
erroneous readings can also occur due to improper grounding. See Grounding Issues,
below.
Zero Readings When Pressurized
Continuous zero readings are usually caused by an open circuit which may indicate
a broken cable, a bad connection, or possibly a damaged transmitter. Check the
connector to see if a wire has become loose or if the cable has been cut. If damage is
not readily apparent, contact INW for evaluation and repair.
Grounding Issues
It is commonly known that when using electronic equipment, both personnel and
equipment need to be protected from high power spikes that may be caused by
lightning, power line surges, or faulty equipment. Without a proper grounding system, a
power spike will nd the path of least resistance to earth ground – whether that path is
through sensitive electronic equipment or the person operating the equipment. In order
to ensure safety and prevent equipment damage, a grounding system must be used to
provide a low resistance path to ground.
When using several pieces of interconnected equipment, each of which may have its own
ground, problems with noise, signal interference, and erroneous readings may be noted.
This is caused by a condition known as a Ground Loop. Because of natural resistance in
the earth between the grounding points, current can ow between the points, creating
an unexpected voltage difference and resulting erroneous readings.
The single most important step in minimizing a ground loop is to tie all equipment
(sensors, dataloggers, external power sources, and any other associated equipment) to a
single common grounding point. INW recommends connecting the shield to ground
at the connector end.
TROUBLESHOOTING

INW LEVELSCOUT INSTRUCTIONS
Seametrics • 253.872.0284 Page 15 inwusa.com
Appendix A: Technical Specications
General Specication
The INW LevelSCOUT is a microprocessor based digital intelligent sensor designed to
measure and record level, temperature, and time, utilizing state-of-the-art low power,
battery operated circuitry.
Level is measured with an extremely rugged and stable piezo-electric media-isolated
pressure element combined with an analog-to-digital converter. This provides extremely
accurate and stable pressure input into the microprocessor on the circuit board.
Temperature is measured with an epoxy bead thermistor. The data is stored in non-
volatile memory. A serial communication link (RS485) provides communication to the
host computer.
Length (cabled version) 6.6” (16.7 cm)
Length (cableless version) 5.1” (12.9 cm)
Diameter 0.875” (2.22 cm)
Body Material 316 stainless steel or titanium
Wetted Materials 316 stainless steel or titanium, acetal, uoropolymer
Communication RS485 Modbus® RTU
Direct Modbus Read Output 32-bit IEEE oating point
Internal Math 32-bit oating point
Operating Temp. Range -20° C to 60° C
Storage Temp. Range -40° C to 80° C
Logging
Memory 50,000 records
Logging Rate 1x per second
Software Complimentary Aqua4Plus Lite
File Formats .xls / .csv / .a4d
Power
Internal Battery One 1/2 AA 3.6 lithium battery
Expected Battery Life 4.5 years (depending on use)
Temperature
Element Type Thermistor
Accuracy ± 0.1° C
(from -20° C to 60° C)
Resolution 0.01° C
Units Celsius, Fahrenheit, Kelvin
TECHNICAL SPECIFICATIONS

INW LEVELSCOUT INSTRUCTIONS
Seametrics • 253.872.0284 Page 16 inwusa.com
Level
Transducer Type Silicon strain gauge
Transducer Material 316 stainless steel
Ranges
Absolute1
PSI
FtH2O (max. depth)
mH2O (max. depth)
30, 50, 100, 300
35, 81, 196, 658
10, 24, 59, 200
Units PSI, FtH2O, inH2O, cmH2O, mmH2O, mH2O, inHg,
cmHg, mmHg, Bars, mBars, kPa
Accuracy ± 0.05% FS (@ 20° C)
± 0.10% FS (0° C to 40° C)
Resolution 0.0034% FS (typical)
Maximum Operating Pressure 1.1 x FS
Over Range Protection 3x FS (for >300 psi2, 1.75 FS)
Burst Pressure 600 psi (approx. 1350 ft or 410 m)
Wiring and Component Information
White
Purple
Yellow
Brown
Blue
Shield
12 VDC+ (Vaux)
Modbus D-
Modbus D+
SDI-12 (Not used)
Ground
1
2
3
4
5
5-Pin
Connector
¹Depth range has 15 PSI subtracted to give actual depth allowed.
²Approx. 658 feet or 200 meters
TECHNICAL SPECIFICATIONS

INW LEVELSCOUT INSTRUCTIONS
Seametrics • 253.872.0284 Page 17 inwusa.com
Appendix B: Settings and Calibration
Settings and calibration values can only be changed when there is no data on the
sensor. Be sure to retrieve any data and then erase the data on the sensor before
proceeding.
The temperature channel rarely needs adjustment. If you think your temperature
channel needs calibrating, contact your service representative.
Before leaving the factory, your LevelSCOUT has been inspected using precision
instruments. However, you may want to change some of the settings for the level
channel for the following reasons:
• To set a specic zero-reference point for submergence
• To return values as depth-to-water
• To return values as elevation in relation to sea-level
• To return values relative to a staff gauge
Preparation
• Run Aqua4Plus Lite or Aqua4Plus and scan for sensors.
• On the Sensor Map, click the sensor you want to adjust.
• From Aqua4Plus Lite:
◦Select the units you want to use for measurements, i.e., psi, feet of water, inches
of mercury, etc. Set this from the Congure Menu | Program Conguration | Set
Computer Display Units.
◦Open the Settings and Calibration window by clicking on the
Settings button.
• From Aqua4Plus:
◦Select the units you want to use for measurements, i.e., psi, feet of water, inches
of mercury, etc. Set this from the Options Menu | Display Units.
◦ Open the Settings and Calibration window from the Congure Menu |
Settings and Calibration.
Select the setting type from the Select Setting Type dropdown box. A picture will display
illustrating the type of selection. Step-by-step instructions will be displayed on the right.
SETTINGS AND CALIBRATION

INW LEVELSCOUT INSTRUCTIONS
Seametrics • 253.872.0284 Page 18 inwusa.com
Sample Settings and Calibration Window
SETTINGS AND CALIBRATION

INW LEVELSCOUT INSTRUCTIONS
Seametrics • 253.872.0284 Page 19 inwusa.com
Submergence
One-Point Calibration:
-- Computing Offset --
• Place sensor in the uid you are measuring at a precise known level.
• In the Ref box for the rst point, enter this level or pressure.
• Click rst Measure button.
• When readings have stabilized, click the Accept button in the pop-up box.
-- Applying Offset --
• Click the Apply button to apply calculated offset.
• The calculated offset will be transferred to the offset eld near the top of the
window.
• Click OK to save the value to the sensor!!!
Two-Point Calibration:
-- Compute First Calibration Point --
• Place sensor in the uid you are measuring at a precise known level.
• In the Ref box for the rst point, enter this level or pressure.
• Click rst Measure button.
• When readings have stabilized, click the Accept button in the pop-up box.
-- Compute Second Calibration Point --
• Place sensor in the uid you are measuring at a second precise known level.
• In the Ref box for the second point, enter this level or pressure.
• Click second Measure button.
• When readings have stabilized, click the Accept button in the pop-up box.
-- Applying Slope and Offset --
• Click the Apply button to apply calculated values.
• The calculated slope and offset will be transferred to the elds near the top of
the window.
• Click OK to save the value to the sensor!!!
-- Verifying Settings --
• Using the Real Time Monitor, take a few readings to verify it is reading as expected.
IMPORTANT NOTE!
When taking readings on an absolute sensor, such as the LevelSCOUT, you
will need to SUBRACT the current barometric pressure to get submergence.
See the Barometric Compensation Utility Application Note (9C0275) for
information on how the Barometric Utility can help automate this process.
SETTINGS AND CALIBRATION

INW LEVELSCOUT INSTRUCTIONS
Seametrics • 253.872.0284 Page 20 inwusa.com
Depth-to-Water
When using the Depth-to-Water setting, you may want to change the channel label at
the top of the Settings window to read “Depth” or “Depth-to-Water”.
NOTE: Be sure to use the same units for all measurements in this calculation. For
example, if you have the program set to display in Ft H2O then be sure to enter the
barometric pressure and depth-to-water readings in Ft H2O.
-- Computing Offset --
• Enter the current barometric pressure in the Barometric box.
• Place the sensor in the well.
• Using a water level indicator or other measuring device, determine the depth-to-
water from the top of the well (or other reference point).
• Enter this value in the DTW box.
• Click the Measure button.
• When readings have stabilized, click the Accept button in the pop-up box.
-- Applying the Slope and Offset --
• Click the Apply button to apply the calculated values.
• The calculated slope and offset will be transferred to the elds near the top of the
window.
• Click OK to save the values to the sensor!!!
-- Verifying Settings --
• Using the Real Time Monitor, take a few readings to verify it is reading as expected.
IMPORTANT NOTE!
When taking readings on an absolute sensor, such as the LevelSCOUT, you
will need to ADD the current barometric pressure to the sensor reading to
get depth-to-water. See the Barometric Compensation Utility Application
Note (9C0275) for information on how the Barometric Utility can help
automate this process.
SETTINGS AND CALIBRATION
Table of contents
Other Seametrics Accessories manuals
Seametrics
Seametrics TX800 Series User manual
Seametrics
Seametrics INW CT2X User manual
Seametrics
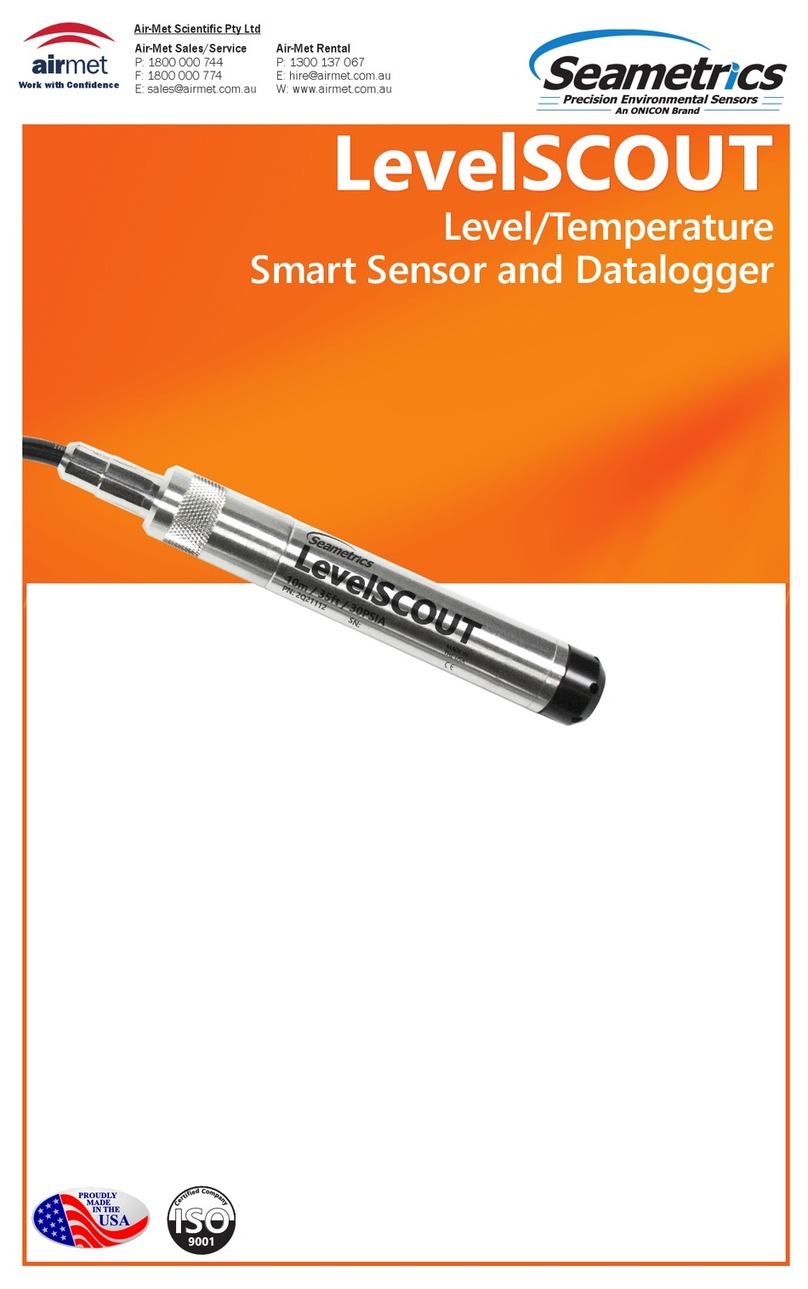
Seametrics LevelSCOUT User manual
Seametrics
Seametrics Multi-Parameter Smart Sensor User manual
Seametrics
Seametrics TX81 Series User manual
Seametrics
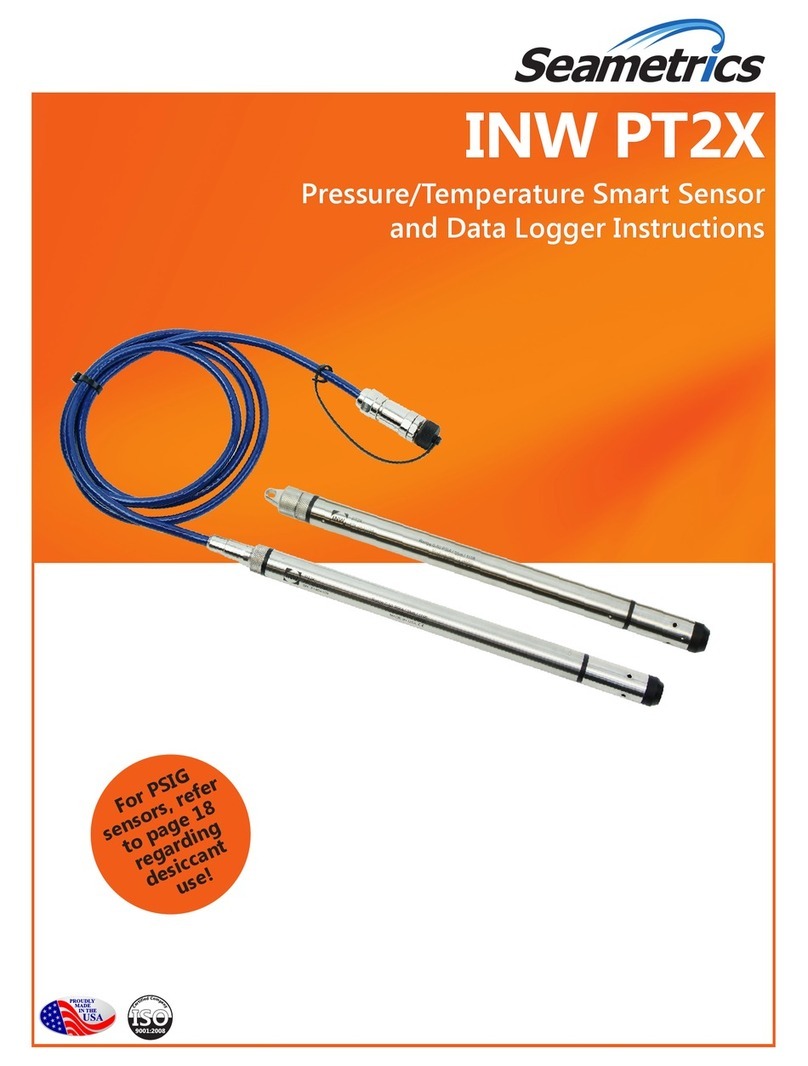
Seametrics INW PT2X User manual
Seametrics
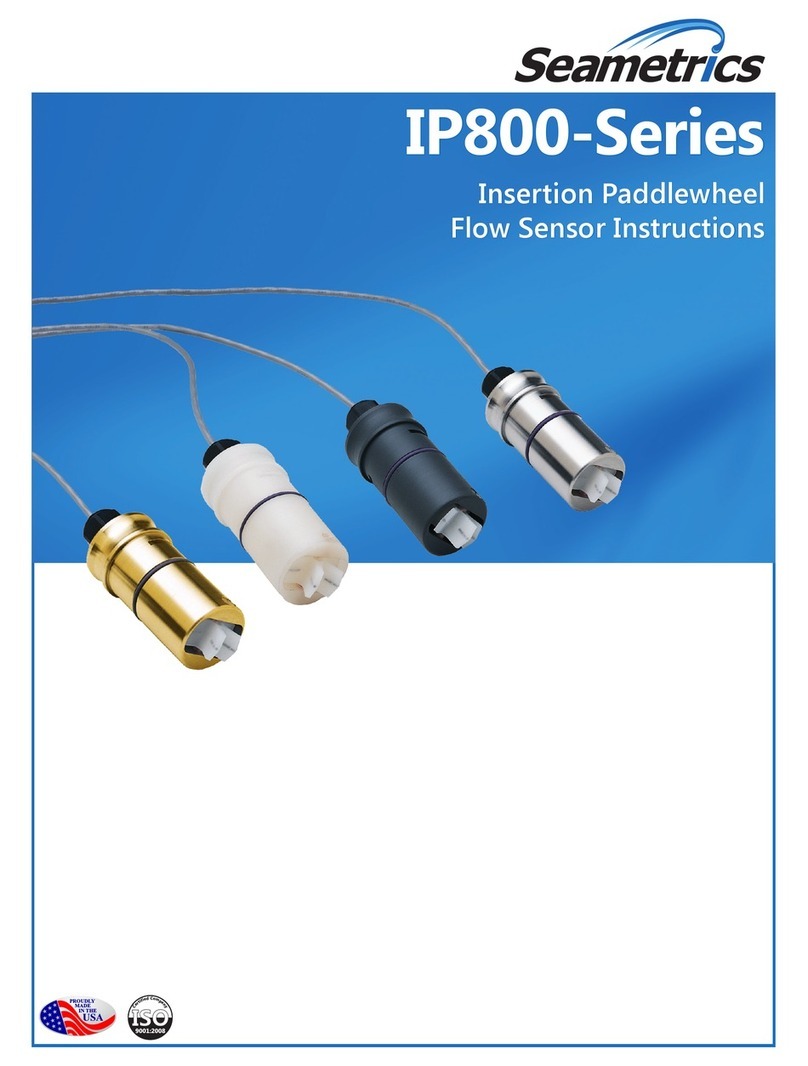
Seametrics IP800 Series User manual
Seametrics
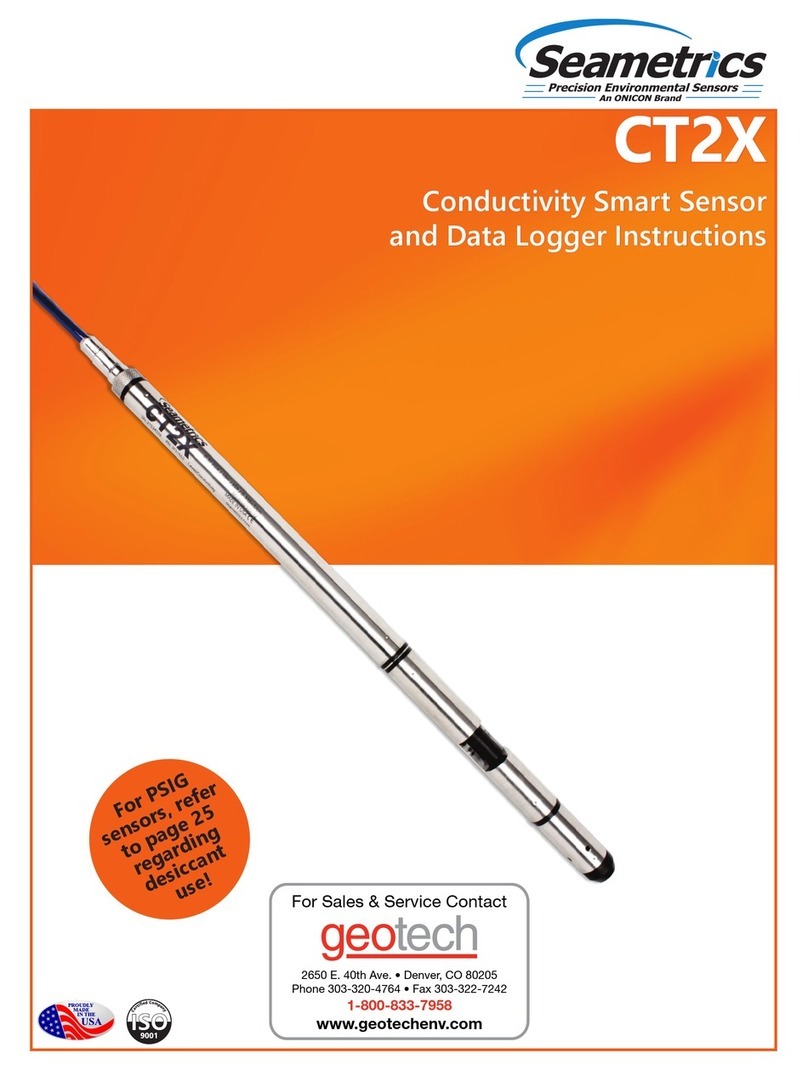
Seametrics CT2X User manual
Seametrics
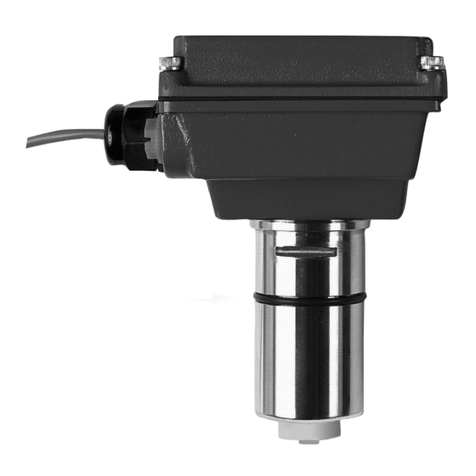
Seametrics EX80 Series User manual
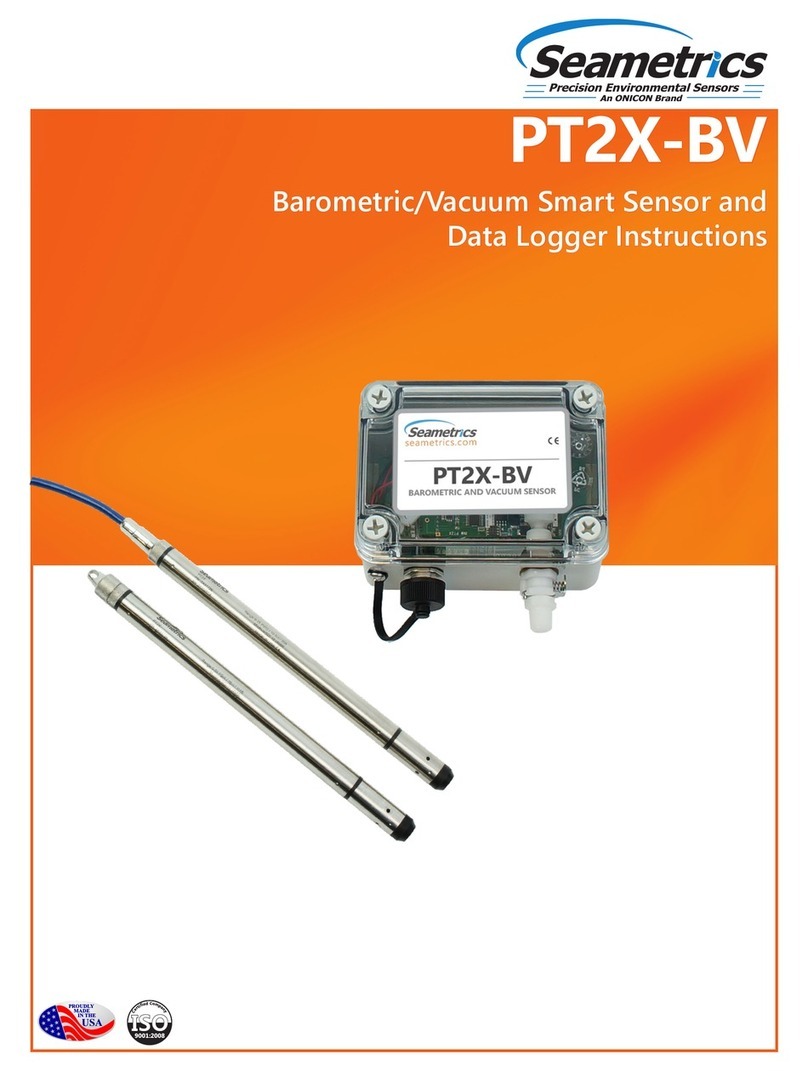
Seametrics
Seametrics PT2X-BV User manual
