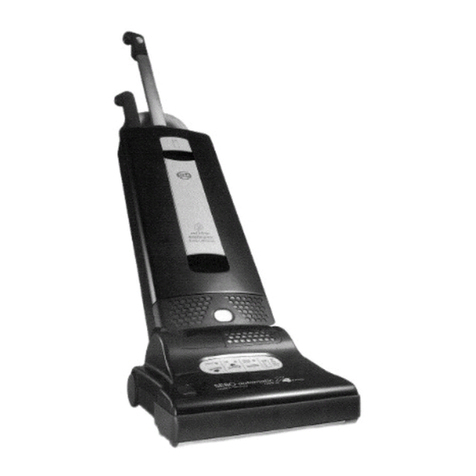
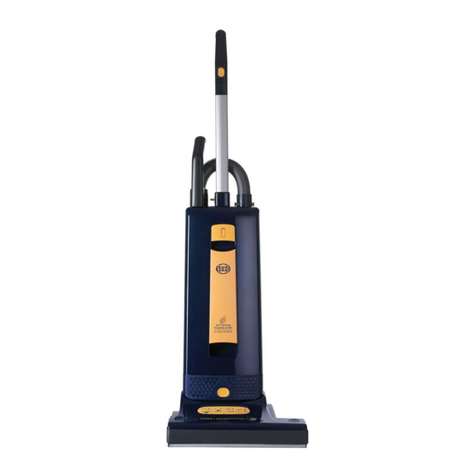
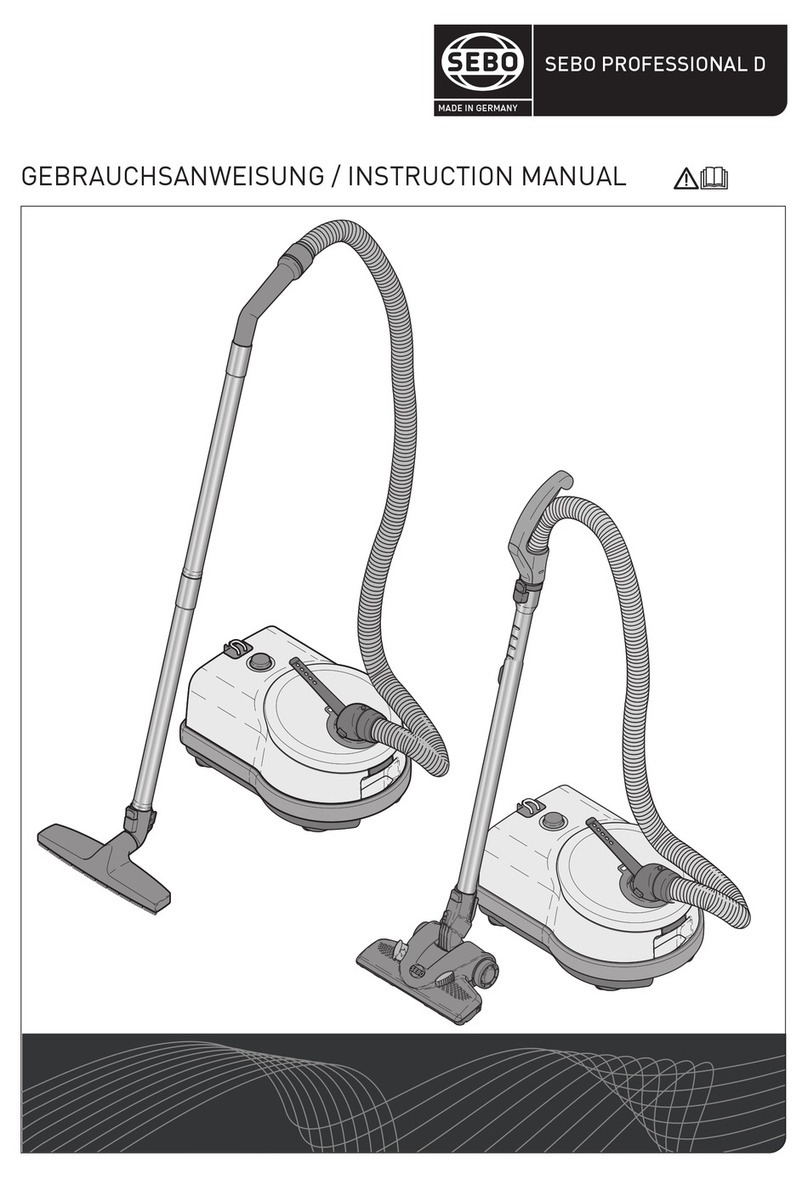
Sebo 370 comfort User manual

SE
0 370
electronic
SE
BO
370 electronique
(I
For Household Use Only
Pour utilisation domestique seulement
For warranty purposes please retain a copy
of
your original purchase receipt.
5arder
LIne
copie de votre
rec;u
en
cas de besoin d'utrlisaton de
la
garantie.

MPORTANT SAFETY INSTRUCT ONS
When using an electrical appliance, basic precautions must always be followed,
including the following
READ ALL INSTRUCTIONS BEFORE USING THIS MACHINE
WARNIN
G:
To
reduce the risk of fire, electric shock,
or
injury:
1.
Do not leave appliance when plugged in. Unplug from outlet when not
in
use and before servicing.
2.
Do
not
use
outdoors
or
on
wet
surfaces.
3.
Do
not
use near small children
or
pets. Do not allow
to
be used as a toy. Close attention is necessary
when used
by
or
near children.
4.
Use only as described
in
this manual. Use only manufacturer's recommended attachments.
5.
Do not use with damaged cord
or
plug. If appliance is not working as it should, has been dropped,
damaged, left outdoors, or
dropped
into water, return it to a service center.
6.
Do
not
pull
or
carry
by
cord, use cord as a handle, close a
door
on cord,
or
pull cord around sharp edges
or
corners. Do
not
run appliance over cord. Keep cord away from heated surfaces.
7.
Do
not
unplug by pul'Iing on cord.
To
unplug, grasp the pl'ug,
not
the cord.
8.
Do
not
handle plug or appliance with wet hands.
9.
Do
not
put
any object into openings. Do not use with any opening blocked; keep free
of
dust, lint, hair,
and anything that may reduce air flow.
10. Keep hair, loose clothing, fingers, and all parts
of
body
away from openings and moving parts.
Do
not
place fingers or other
body
parts under vacuum unless unplugged.
111.
Do not
pick
up anything that is burning
or
smoking, such as cigarettes, matches, or hot ashes.
12. Do not use without dust bag and/or filters
in
place.
13. "fum off all controls before unplugging.
14. Use extra care when cleaning on stairs.
15. Do not use
to
pick
up
flammable or combustible liquids such as gasoline
or
use
in
areas where
they
may
be present.
16. Machines can cause a fire when operated near flammable vapors or materials. Do
not
operate this
machine near flammable flu'ids,
dust
or vapors.
17. Maintenance and repairs must be done by qualified personnel.
18. Use only identical replacement parts. See instructions for Servicing
of
Appliances.
19. Do
not
use machine as a step.
20. Do
110t
leave machine
in
one place with machine turlled on, for extended periods.
21. Do
110t
use the handle
in
the
dust
bag housing cover
to
carry the machine.
SAVE
THESE INSTRUCTIONS

mportant Safeguards
Accidents due to misuse can only be prevented by those using the machine.
To
guard against injury, basic safety
precautions should be observed, including the following:
WARNING: ELECTRIC SHOCK COULD OCCUR IF USED
Read and follow all safety instructions. OUTDOORS OR ON WET SURFACES
This vacuum cleaner
is
designed to be safe when used to perform cleaning functions. Should damage
occur
to
electrical or mechanical parts, cleaner should be repaired by SEBO
or
aljthoriLed SEBO dealer before using
in
order to avoid further damage
to
machine or physical injury to user.
A damaged
power
cord could cause electrical shock
and/or
fire.
To
minimize this possibility observe the
following precautions:
Do not run cleaner over
power
cord.
Avoid closing doors on
power
cord, pulling it around sharp edges, or placing
sharp~edged
objects
upon it.
Wind cord no tighter than is necessary
to
retain it on the cord hooks.
When disc;:onnecting
power
cord from electrical outlet, grasp the p'lug. Pulling it out by the cord itself
can damage cord insulation and internal connections to plug.
Your vacuum cleaner creates suction and contains a revolving brush.
To
avoid bodily injury from suction or
moving parts, vacuum cleaner brush should not be placed against, or
in
close proximity
of
loose clothing, jewelry,
hair or
body
surfaces while cleaner
is
connected
to
electrical outlet. Cleaner should not be used to vacuum
clothing whil'e it is being worn.
keep
children away from machine when
in
operation or plugged
in.
If used on plush carpet or carpet with thick padding, turn off unit when handle
lis
in
upright position. When using
accessory tools, keep floor brush off carpet by keeping handle
in
Ilocked position and lowering
hand~e
with one
hand
to
raise brush off floor. Operate accessories with other hand.
Always plug your cleaner into a standard wall outlet. Use of extension cord or lignt socket with inadequate cur-
rent-carrying capacity could result
in
electric snock or fire hazard.
Disconnect cleaner from electrical outlet before servicing, such as changing bags or filters.
You
could receive
bodily injury from moving parts
of
macnine shoulld switch accidentally be turned on. Disconnect cleaner from
electrical outlet before detac'hing powerhead.
Do not use your vacuum cleaner
in
areas where flammable and/or explosive vapor or dust is present to avoid
possibility
of
fire or explosion. Some cleaning f,luids can produce such vapors. Areas on which cleaning fluids
have been used shou'ld be completely dry and thoroughly aired before being vacuumed.
To
avoid fire ha;mrd,
do
not pick up matches, fireplace ashes, or smoking material with cleaner.
Keep your work area well lighted to avoid picking up harmful matenials (such as liquids, sharp objects, or burning
substances) and avoid tripping accidents.
Use care when operating the cleaner on irregular surfac:es such as stairs. A falling cteaner could cause bodily
injury and/or mechanical damage. Proper storage
of
machine
in
an out-of-the-way area immediately after use
will also prevent accidents caused by tripping over cleaner.
Store your vacuum indoors
in
a cool,
dry
area not exposed
to
the weather
to
avoid electrical shock and/or
cleaner damage.
Exercise strict supervision
to
prevent injury when using vacuum cleaner near children or when
chi1ld
is al,lowed
to
operate vacuum cleaner. Do not allow children
to
play with vacuum cleaner and never leave cleaner plugged
in
arld unattended.
SAVE THESE INSTRUCTIONS

VACUUM CLEANERS WITH ROTATING BRUSHES
CAN DAMAGE
SOME
TYPES OF FLOORS
WARNING
The quality, condition, coating, texture, age, and manufacturing technique of
all
floor surfaces
vary.
Therefore,
upright vacuums with rotating brushes, including your SEBO, may damage some floor coverings or surfaces.
High-gloss hardwood floors, Berber carpets, cushion vinyl, and some wool loop carpets
are
particularly vulnera-
ble
to
damage by rotating brushes. When possible, consult the materials supplied by your floor's manufacturer
for information on proper upkeep and cleaning.
To
ensure that your new SEBO vacuum cleaner
is
compat1ible
with your floor, please test the vacuum cleaner on each type
of
flooring surface in a small inconspicuous area to
determine if any damage occurs. If damage occurs, stop using vacuum cleaner immediately!
WARN NG
As with all vacuum cleaners with rotating brushes, (lOlding the vacuum cleaner
in
a stationary position on the
floor for
an
extended period
of
time may damage any type
of
floorir)g.
Therefore, use a normal, continuous, back-and-forth motion when
the
vacuum is
in
use. When using the hose
and attachments, make sure the handle is
in
the upright, locked position, and watch that the brush roller
does not remain
in
contact with the flooring surface. Also,
do
not tilt the powerhead on
to
the floor when
using the hose. These situations can cause marking or damage.
Caution! -Safety Advice
Do not re-use bags.
Do not wash filters.
Do not remove any screws.
Do not leave machine plugged-in when not
in
use.
Do not place brush head (powerhead) over rug / carpet edges.

OPERA ING INSTRUCT ONS
HOW TO START
In
addition, to the safety instructions, you should be aware
of
specific limitations of your machine.
'Because
of
your machine's aggressive cleaning power, do not use the machine on long shag, delicate or
Ihand
woven carpets. These fine carpets may be damaged by the brushes.
Please try your machine
in
an
inconspicuous
spot
of
each kind
of
flooring it is supposed to be used on
to determine whether the flooring
is
likely
to
face physical damage.
If so,
don't
use machine.
Before turning on your machine, ensure that you have a firm hold on the handle grip to keep the
machine from moving forward.
1.
Turn the
quick
release cord hook
in
the up position.
2.
Release the power cord plug from the power cord and lift the cord off the upper cord hook.
NOTE:
To
reduce the risk of electric shock, this machine has a polarized plug; one blade
i's
wider than
the other. This plug will fit
in
a pol'arized outlet only one way. If the plug does not
,fit
futly
in
the outlet,
reverse the plug. If it still does not fit, contact a qualified electrician
to
install the
proper
outlet. Do not
change the plug
in
any way.
3.
With the switch
in
the "0"
(OFF)
position, plug the polarized
power
cord into a 120 Volt outlet located
near the floor.
NOTE: Only connect
to
the outlet type specified on the
seriall
number plate underneath the machine.
WARNING!
• DO NOT plug
in
if
switch
is
in
the"I" (ON) position. Personal injury or
damage could result
• DO NOT use outlets above counters. Damage to items
in
the
surrounding area could occur.

1----l-
2----1
12
3 13
4
5
6
7 14
15
16
17
18
19
20
21
22
10
11
+-----12
2
"'--Ht-13
/"'1l~~---27
SESO 370 electronic
SESO 370 electronique
1 Handle grip
2 l=iandle assembly
3
Ba9'
full ifldicator
4
On
I Off switch
5 Cover release latch
6 Exhaust filter cover
7 Front cover
8 Motor cover
9 Power head
10 Locking catch
11
Foot pedal
12
Hose
13 Retaining ring
14
Cable
15
Attachment tube handle
16
Handle catch
17
Carrying handle
18 Cable hook
19
Attachment tube
20 Dust bag housing
21
Crevice nozzle
22 Upholstery nozzle
23 Pile adjustment knob
Assembling the vacuum cleaner
Put the power head
(9)
on
the floor with swivel
neck
(26)
and support lever
(27)
upright. Turn
the locking catch
(10)
on
tile
filter bag housing
(20)
to the left and place it carefully on the
swivel neck and the support lever. Then turn
the locking catch back.
To
lock the handle turn the handle catch
(16)
at the handle joint of the filter bag housing
(20)
forward, then slide the handle assembly
(2)
in
as
far
as
possib'le and lock
it
with the handle
catch.
Insert the attachment tube
(19)
into its storage
position on the side of the machine. The
attachment tube handle
(15)
must be placed on
the projection
(24).
Slide the proper end of the
hose into the tube
(19).
To
connect the hose with the filter bag housing
insert the black hose end into the connecting
tube
(25)
and slide it
in
completely.
To
unlock
the hose press the retaining ring
(13)
at the
projecting sections.
1.
Poignee du manche
2.
Assemblage du manche
3.
Indicateur "sac plein"
4.
Interrupteur AllumelEteint
5.
Levier de degagement du couvercle
6.
Couvercle du filtre d'echappement
7.
Couvercle avant
8.
Couvercle du moteur
9.
Tete
de
I'aspirateur
10.
Attachement du levier
11. Pedale
12. Tuyau
13. Anneau
de
retenue
14. Cordon
15. Attachement du tuyau supplementaire
16.
Attachement de
la
poignee
17. Poignee de transport
18. Crochet du cordon
19. Tuyau supplementaire
20. Logement du double sac apoussiere
21. Suceur pour
les
recoins
22. Suceur pour les tissus d'ameublement
23. Bouton de reglage
de
la
pile
Assemblage de I'aspirateur
Placer
la
lete de I'aspirateur
(9)
sur
Ie
sol avec
Ie
pivot du manche
(26)
et
Ie
levier de support
(27)
vers
Ie
haut. Tourner vers la gauche
Ie
levier
verrouilleur
(10)
du logement du sac
11
poussiere
(20)
et
Ie
placer doucement sur
Ie
pivot du
manche et sur
Ie
support
du
levier. Replacer
ensuite
Ie
levier fermoir vers I'arriere.
Pour verrouiller
Ie
manche, tourner
Ie
loquet du
manche
(16)
au
joint du manche du logement du
sac filtre
(20)
vers I'avant, puis inserer I'assemb- lage
du
mancile
(2)
aussi profondement que
possible et I'attacher avec
Ie
loquet du manche.
Inserer
Ie
tube supplementaire
(19)
dans sa posi- tion d'entreposage sur
Ie
cote de I'aspirateur.
Le
manche du tube supplementaire
(15)
do
it
etre
place sur
la
saillie
(24).
Placer
Ie
bout correct du
tuyau dans
Ie
tube
(19).
Pour brancher
Ie
tuyau
au
logement du sac filtre,
engager
Ie
bout du tuyau noir dans
Ie
tube
de
connexion
(25)
et
I'inserer completement. Pour
degager
Ie
tuyau, faire pression sur
I'an~neau
de
retenue
(13)
11
I'endreit de la saillie.

Preparation / Franzosisch
23
Maintenance / Entretien
Brush control
The electronic brush control monitors the
operation of the brush.
Green light: Brush correctly set and running.
Green light and red light: Adjust the brush
setting by turning the Pile adjustment knob
(23)
to a lower number.
If the lights still
show
at position number one
the brush strip is worn out and must be
replaced.
Red light: The brush has become blocked and
is
not turning. Switch off. Unplug from the
outlet and clear the blockage.
Filter level indicator
If warning light
(3)
comes on check:
a)
Is
the dust bag full?
b)
Is
there a blockage
in
the hose
or
power
head?
Swivel neck latch
To
release the machine from the upright
postion depress the foot pedal
(11)
Changing the paper bag
If red light
(3)
shows, change paper filter bag.
To
do this first pull cover release latch
(5)
-forward and lift the cover from the dust bag
housing. Slide the dust bag sealing plate
(28)
from the holder
(29).
Slide the sealing plate
(28)
of
a new bag into the holder and push firmly in.
Insert cover into
dLJst
bag housing. Push it
forward then lock it
in
place by pushing down
the cover release latch.
Changing the motor filter
Hospital Grade Filter (30, Part-No. 1875) needs
to be replaced after using 20 filter bags to
maintain HIGH GRADE FILTRATION. Lift the
front
of
the filter slightly and slide it
out
of
its
slot. Insert a new Hospital Grade Filter.
N.
B.
The Hospital Grade Filter
is
not
washable.
Changing the exhaust filter
Change the exhaust filter (31. Part-No. 1878)
always with the
motor
filter (30). Press the
button and slide the exhaust cover
(6)
to the
side.
Never use the machine without correctly
attached filters.
Controles de
la
brosse
Le
contr61e electronique de
la
brosse surveille
Ie
tonctionnement
de
la brosse.
Voyant
vert;
La brosse fonctionne
de
fa<;on
normale.
Voyants vert
et
rouge. Ajuster les parametres de
la brosse
en
tournant
Ie
bouton
de
reglage
(23)
vers un numero plus petit.
5i les voyants sont toujours allumes lorsque
Ie
bouton est sur
Ie
plus petit numero, la bande
de
la
brosse est usee et doit etre remplacee.
Voyant rouge:
La
brosse est bloquee et ne peut
pas tourner. Eteindre I'aspirateur,
Ie
debrancher et
debloquer la brosse.
Indicateur
du
niveau du filtre
Si
Ie
voyant d'alerte
(3)
s'allume, verifier
si
:
a)
Le
sac apoussiere est plein,
b} Le tuyau
ou
la
tete de I'aspirateur est bloque.
Loquet du pivot
du
manche
Pour
en
lever I'aspirateur de la position relevee,
appuyer sur
la
pedale (11)
Changement
du
sac
en
papier
Si
Ie
voyant rouge
(3)
est allume, changer
Ie
sac du
filtre
en
papier. Pour ce faire, tirer vers I'avant sur
Ie
levier de degagement
(5)
du couvercle et soulever
Ie
couvercle du logement du sac apoussiere. Faire
glisser
la
plaque de fermeture herrnetique
(28)
du
nouveau sac dans son receptacle et appuyer ferme- ment. La pousser vers I'avant puis I;attacher
en
poussant
Ie
levier
de
degagement du couvercle vers
Ie
bas.
Changement
du
filtre
du
moteur
Les filtres de qualite H6pital (30, piece
nO
1875)
doivent etre changes apres I'utilisation de 20 sacs
filtrants afin de maintenir un BON NIVEAU DE
FILTRATION. Soulever h'lgerement I'avant du filtre et
Ie
faire glisser hors de
sa
fente. Inserer un nouveau
filtre de qualite H6pita!.
N.B. :
Le
filtre de qualite H6pital n'est pas lavable.
Changement
du
filtre de I'echappe-
ment
II
faut toujours changer
Ie
filtre de I'echappement
(31, piece
nO
1878) avec
Ie
filtre du moteur
(30).
Appuyer sur
Ie
bouton et faire glisser
Ie
couvercle de
I'echappement
(5)
vers
Ie
cote.
Ne jamais utiliser I'aspirateur sans attacher
correctement lasftltres.

Clearing blockages
Blockages
in
the hose can be cleared by taking
the hose off the machine and reversing it
in
the
connecting tube
(25),
holding it upright with
one hand blocking the
top
and switching on
the machine.
If
necessary rapidly lift your hand
on and off the end
of
the hose.
Changing the brush strip
To
replace brush strip: Remove brush strip
cover
(32).
Turn
brush roller so that the brush
strip can then be pulled out. Ensure that the
new brush strip is fully inserted.
Replace the brush strip before the bristles
wear down
to
the level of the support rod.
Maintenance
CAUTION -Maintenance and
repairs must be done by qualified
personnel.
WARNING -
To
reduce the risk of
electric shock -unplug before
cleaning or servicing.
Degager les blocages
Les blocages du tuyau peuvent etre degages
en
deconnectant
Ie
tuyau et
en
inversant
Ie
tuyau
de connexion
(25),
en
Ie
tenant verticalement
avec une main bouchant
la
sortie, puis
en
allu-
mant I'aspirateur.
Si
necessaire, enlever puis
remettre rapidement
la
main sur
la
sortie du
tuyau.
Changement de
la
bande
de
la
brosse
Pour remplacer
la
bande de la brosse, enlever
Ie
couvercle de
la
bande de
la
brosse
(32)
puis
tourner la brosse de
fac;:on
que
la
bande puisse
etre tiree. S'assurer que
la
nouvelle bande de
la
brosse est bien inseree.
Remplacer
la
bande
de
la
brosse avant que les
poils de
la
brosse soient uses jusqu'a
la
tige de
support.
Entretien
ATTENTION -L'entretien et les
reparations doivent etre effectues
par
un
reparateur qualifie.
AVERTISSEMENT -Pour redulre les
risques de chocs electriques,
debrancher I'apparell avant Ie net-
toyage
ou
.I'entretien de l'apparell.

#9703AM 370 Light Gray Machine
Pos. Part # Description
1 1037EH Handle grip (incl. pos. 2, 3 + 12)
2 1596HG Handle cover
3 0127 Screw M4 x 10
4 1954DG Power supply cord
5 1848 Handle tube
6 1831HG Dust bag housing
7 1835DG Internal Cover
8 5289 Seal
9 5842 Seal
10 5424DG Retaining ring
11 1823HG Attachment clip
12 5359HG Grommet
13 0502 Terminal block 2-wire
14 1030UL Cable clamp
15 1812HG Cover
16 1814HG Carrying Handle
17 5146 Stop spring
18 1813HG Cable hook
19 1859DG Handle catch
20 0161 Clip 4 DIN 6799
21 0850DG Locking catch
22 1811 Locking rod
23 1265UL Terminal block
24 1807HG Connector
25 1836UL Female contact holder
26 1851 Sound insulation
27 1047 Vac motor seal
28 1843/2 Vac motor 120 V
(incl.Pos. 29 + 30)
05118S Carbon brush set (After 2001)
0511/1 Carbon brush set (Before 2001)
29 1821UL Motor cover
30 1822 Support for motor
31 1027 Leaf spring
32 1073 Clamp
33 1824 Connecting rod
34 1875 Micro-Hospital-Filter
35 1935ER Printed circuit board w/switch
1903 PC Board cover
36 1860 Fitting
37 1852HG Suction pipe cover
38 1869HG Lens, bag light indicator
39 1830DG Switch button
40 1862 Return spring
41 1833UL Internal cable
42 1878 Exhaust filter
43 1802HG Exhaust filter cover
44 1853SE Motor cover
45 1804HG Dust bag housing bumper
46 1846HG Front cover complete
(incl. pos., 47-50)
47 1818DG Cover release
48 6040 Seal, cover release
49 1819 Bearing cover
50 1847 Bag holder, complete
(incl. pos. 51 + 52)
51 5091 Safety catch spring
52 1817 Safety catch
53 5093AM Filter bag
54 5045DG Extension Tube
55 5040HG Hose complete
56 1491DG Upholstery nozzle
57 1092DG Crevice Nozzle
58 0102 Screw 3.9 x 13
59 0103 Screw 3.9 x 16
60 1884HG Retaining button
61 1524 Terminal block cover
62 1081DG Mounting clip with screw
63 1329DG Dusting brush
1
SEBO ELECTRONIC 370 Bag Housing ith Handle
#9703AM 370 - Light Gray

2
#9703AM 370 Light Gray Machine
Pos. Part # Description
100 2543HG Chassis
101 2005ER Metal plate set for 370
102 2522HG Bumper
103 2525 Axle
104 2528 R Foot pedal - orange
105 2010 Axle spring
106 2014 Axle clamp
107 2614HG Wheel, complete
108 2524 Pile adjustment axle
109 2608HG Pile adjustment wheel
110 2622HG Pile adjustment knob
111 4019 Spring
112 2241UE Brush motor 120 V, 150 W
05095S Carbon brush set
0512/1 Carbon brush set for 2241ER
(Before 2001)
113 2025 Motor pulley
114 2049 Drive belt
115 2609UL Swivel neck assembly
116 2611UL Wire, swivel neck
117 2602HG Swivel neck cover
118 2467 Plastic bearing inside
119 0155 Washer
120 2613 Swivel Support
121 2624 Micro switch support, cpl.
122 0531 Micro-switch
123 2605 Switch. lever
124 0849UL Wire on neck to switch
125 2572ER Electronic controller
126 2030ER Brush assembly, cpl. (incl
pos. 127)
127 2046 Brush strip
128 2047 Bearing block- right hand
129 2091 Bearing block- left hand
130 2458 Brush roller pulley
131 2653HG Support lever with spring
133 2623AM Cover, complete
134 2542 Brush strip cover w/screw
135 0111TL Screw AM5 x 30
136 0102 Screw 3.9 x 13
137 0103 Screw 3.9 x 16
138 0105 Screw 3.9 x 19
139 0174 Screw 3.9 x 22
140 0141 Locking washer
SEBO ELECTRONIC 370 Po er Head
#9703AM 370 - Light Gray

--
A3
::x>
4
2
1
~
B
2
1
5
C
1
20
3-
A Attachments
1
2
3
4
B
1
2
3
4
5
C
1
2
3
A
1
2
3
4
B
1
2
3
4
5
C
1
2
3
1491 dg Upholstery Nozzle
1092
dg
Crevice Nozzle
1081
dg
Attachment
clamp
1329
dg
Dusting Brush
Optional Attachments
1495 AM Extension Hose
1084 hg Straight Tube
1090 hg Upholstry Nozzle
1325 hg Wall- and Floor Brush
1383 AM Combination Nozzle
Service Parts
5093 AM Paper Bag
1878
AM
Exhaust Filter
1875 AM Micro Filter
Accessoires
1491
dg
Suceur pour les tissus
d'
ameublement
1092
dg
Suceur pour les recoins
1081 dg Collier
de
serrage pour les
accessoires
1329
dg
Brosse apoussiere
Accessoires en option
1495 AM Tuyau de rallonge
1084 hg Tuyau droit
1090 hg Suceur pour les tissus
d'ameublement
1325 hg Brosse combinaison sols/murs
1383 AM Suceur mixte
Pieces de rechange
5093 AM Sacs apoussieres
en
papier
1878
AM
Filtre
d'lkhappement
1875 AM Micro-filtre
WARNING! Electric shock could occur if used outdoors or
on
wet suriaces!
AVERTISSEMENT! Utiliser cet appareil sur une suriace mouillee
ou
aI'exterieur peut causer
un
choc electrique
Technical Details Wiring
Diagram
I
Schema
Electrique
Voltage
Vacuum
motor
Airflow
Dust bag
Brush
motor
Brush width
Brush drive
Brush strip
Height
Width
Weight
120 volt
8,6 amp.
117 cfm
5,3 liters
1,4 amp.
12 3/4 inches
non slip drive belt
with electronic
overload protection
replaceable
48 inches
14 inches
16 Ibs
Details techniques
Voltage 120 V
Moteur aspiration 8.6 Amp.
Colonne
d'eau
204 cm
Sac apouissiere 5.3 litres
Moteur
de
la
brosse 1.4 Amp.
Largeur
de
la
brosse
32
cm
Transmisson Courroie
de
transmission
de la brosse anti-derapage avec controle
electronique contra
la
surcharge
Bande
de
la brosse Remplayable
Hauteur 122
cm
Largeur 36 em
Poids 8 kg
06570-02.2007
Static "Electrode" / "Electrode" statique
Handle
Tube
/ Hose /
120 V
Tuyau
du
manche
Tur-au
Resi~
Resistance
ON-OFF
switch I
Interrupteur
Electronic
Control
/
Contr61e
e.fectronique
Vacuum Motor /
Moreur
d'aspiration
SEBO America, LLC
7472
S.
Tucson Way Suite 190
Centennial, CO 80112
Tel.
(8GO)
334-6614
(303) 792-9181
Fax (303) 792-9196
E-mail: info@sebo-
vacuums.com
www.sebo-vacuums.com
FLOOR CARE
EQUIPMENT
LTD.
3410 -25th Street
N.E.
Calgary, Alberta
T1
Y
6C1
Tel.
(403) 250-5005
Fax (403) 250-5057
Other manuals for 370 comfort
7
Table of contents
Other Sebo Vacuum Cleaner manuals
Sebo
Sebo AIRBELT C User manual
Sebo
Sebo Automatic X-series User manual

Sebo
Sebo BS 36 Comfort User manual

Sebo
Sebo AIRBELT D4 User manual

Sebo
Sebo duo User manual
Sebo
Sebo automatic X Series User manual

Sebo
Sebo Automatic X4 User manual
Sebo
Sebo 470 Comfort User manual
Sebo
Sebo AUTOMATIC X Series User manual
Sebo
Sebo AIRBELT K User manual
