manuals.online logo
Brands
  1. Home
  2. •
  3. Brands
  4. •
  5. SECO-LARM
  6. •
  7. Keypad
  8. •
  9. SECO-LARM ENFORCER SLI SK-B141-DQ User manual

SECO-LARM ENFORCER SLI SK-B141-DQ User manual

™
Specifications: Sample Wiring Diagram:
Operating voltage 9~25 VDC
Current
draw
Standby 29mA@12VDC 16mA@24VDC
Active (max.) 34mA@12VDC 20mA@24VDC
Outputs Form C 2.5A@30VDC (Solid state relay)
Alarm 50mA@30VDC
Egress input N.O. Ground
Door sensor input N.C. Ground
IP Rating IP65 Weather-resistant
Enclosure material Zinc alloy
Operating humidity 0-95% non-condensing
Operating temperature -4°~122° F (-20°~50° C)
Dimensions 3
1
/
8
"x4
13
/
16
"x
7
/
8
" (79x123x23 mm)
Weight 1-lb 4.9-oz (593g)
1x SK-B141-DQ ENFOR ER Bluetooth
®
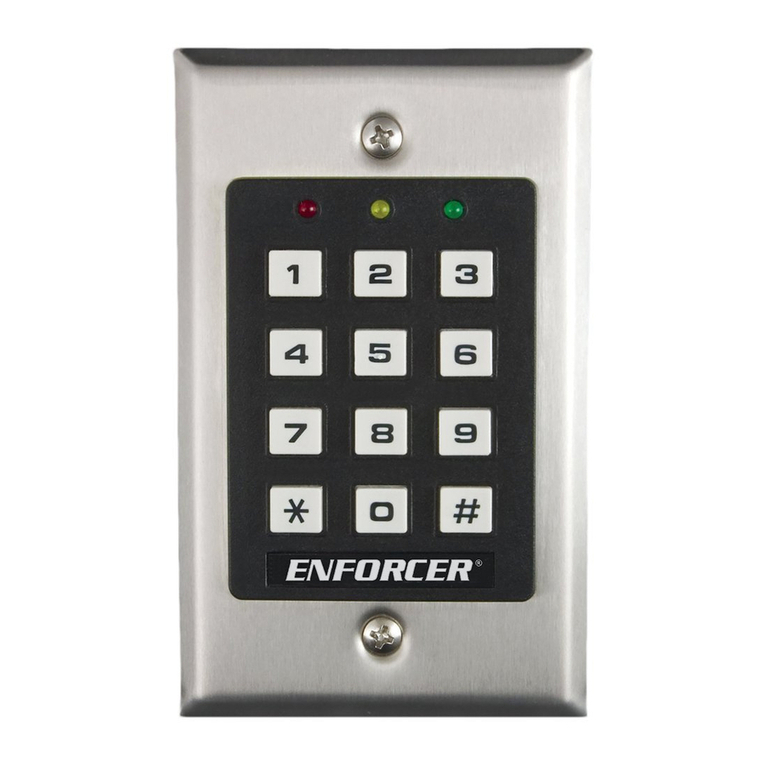
Single-Gang Keypad
4x
Mounting screws
4x
Plastic wall anchors
12x
Wire
crimps
1x
Diode
1x
Varistor
1x Security screw bit 1x Quick Installation/Setup Guide 1x Additional Information
Bluetoot
h
®
Single
-
Gang Keypad
SK-B141-DQ
Additional Information
What's in
the Box:
™
SL Access
–
+
or†
+ Lock –
MOV
*
Red – power (+)
Black – power (–)
Yellow – N.C. fail-safe
White – COM
Blue – N.O. fail-secure
Green pair – RTE button
Brown pair – door sensor
IMPORTANT NOTES:
*Because the keypad uses a solid-state relay you must install the enclosed diode—
with the cathode (striped
end ) toward the positive side—for DC powered locks and install the varistor (MOV )
for AC powered locks and for electromagnetic locks unless your lock has a diode/MOV built in. Failure to
use these as directed will void the warranty.
†Use the blue wire for fail-secure applications and the yellow wire for fail-safe applications. Use electrical
tape to insulate the end of any unused wire.
Orange pair – external alarm
Power
Supply
12/24 VDC
Diode
*
Cathode
ENFORCER Bluetooth
®
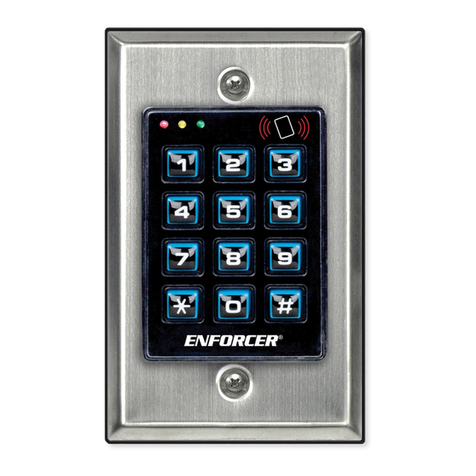
Single-Gang Keypad with Reader
2SECO-LARM U.S.A., Inc.
Installation and Mounting:
SECO-LARM
® U.S.A., Inc.
16842 Millikan Avenue Irvine CA 92606
Website:
www.seco
-
larm.com
Phone: (949) 261-2999 | (800) 662-0800 Email: sales@seco-larm.com
PITGW1
MA_SK-B141-DQ_210818.docx
NOTI E:
The SECO
-
LARM
policy is one of continual development and improvement. For that reason SECO
-
LARM reserves the right to change specifications without notice.
SECO-LARM is also not responsible for misprints. All trademarks are the property of SECO--LARM U.S.A. Inc. or their respective owners. Copyright © 2021
SECO-LARM U.S.A. Inc. All rights reserved.
WARRANTY: This SECO-LARM product is warranted against defects in material and workmanship while used in normal service for one (1)
year from the date of sale to the original
customer. SECO-LARM’s obligation is limited to the repair or replacement of any defective part if the unit is returned transportation prepaid to SECO-
LARM. This Warranty is void
if damage is caused by or attributed to acts of God physical or electrical misuse or abuse neglect repair or alteration improper or abnormal usage or faulty insta
llation or if for any
other reason SECO-LARM determines that such equipment is not operating properly as a result of causes other than defects in material and workma
nship. The sole obligation of
SECO-LARM and the purchaser’s exclusive remedy shall be limited to the replacement or repair only at SECO-LARM’s option. In no event shall SECO-
LARM be liable for any
special collateral incidental or consequential personal or property damage of any kind to the purchaser or anyone else.
F /I OMPLIAN E STATEMENT FOR BLUETOOTH MODULE F ID: K7TRB8762 I ID: 2377ARB8762
THIS DEVICE COMPLIES WITH PART 15 OF THE FCC RULES. OPERATION IS SUBJECT TO THE FOLLOWING TWO CONDITIONS: (1) THIS DEVICE MAY NOT CAUSE
HARMFUL INTERFERENCE AND (2) THIS DEVICE MUST ACCEPT ANY INTERFERENCE RECEIVED INCLUDING INTERFERENCE THAT MAY CAUSE UNDESIRED
OPERATION.
Notice: The changes or modifications not expressly approved by the party responsible for compliance could void the user’s authority to operate the equipment.
IMPORTANT NOTE: To comply with the FCC RF exposure compliance requirements no change to the antenna or the device is permitted. Any change to the antenna or the device
could result in the device exceeding the RF exposure requirements and void user’s authority to operate the device.
This device complies with Industry Canada licence-exempt RSS standard(s). Operation is subject to the following two conditions: (1) this device may not cause interference and
(2) this device must accept any interference including interference that may cause undesired operation of the device.
Le présent appareil est conforme aux CNR d'Industrie Canada applicables aux appareils radio exempts de licence. L'exploitation est autorisée aux deux conditions suivantes:
(1) l'appareil ne doit pas produire de brouillage et (2) l'utilisateur de l'appareil doit accepter tout brouillage radioélectrique subi même si le brouillage est susceptible d'en
compromettre le fonctionnement.
IMPORTANT:
Users and installers of this product are responsible for ensu
ring that the installation and configuration of this product complies with all national state and local laws
and codes related to locking and egress devices. SECO-LARM will not be held responsible for the use of this product in violation of any current laws or codes.
IMPORTANT WARNING:
For a weather
-
resistant installation ensure that the housing back is installed tightly against the wall and properly sealed. Incorrect mou
nting may lead to
exposure to rain or moisture in the enclosure which
could cause a dangerous electric shock damage the device and void the warranty. Users and installers are responsible for
ensuring that this product is properly installed and sealed
.
The Bluetooth
®
word mark and logos are registered trademarks owned by Bluetooth SIG Inc. and any use of such marks by SECO
-
LARM is under license. Other trademarks and
trade names are those of their respective owners.
Remove Back
Using the security bit remove
the screw and housing back.
Mark Holes for Drilling
Using the back mark mounting
and wiring holes.
Drill Holes
Drill the five holes. The wiring hole
should be at least ø11/4" (ø 3cm).
At least
11/4" (3cm)
5/16" (8mm)
15/16"
(24mm)
15/16"
(24mm)
11/2"
(39mm)
13/4"
(45
mm)
1. Feed Wires into Wall
Push connected wires through
the hole in the wall taking care
not to loosen any connectors.
2. Mount Back to Wall
Mount the back to the wall
using the supplied screws and
wall anchors or other screws.
3. Mount Keypad to Back
Slide the device to engage the
tab on the top of the back and
secure with the security screw.









alifornia Proposition 65 Warning:
These products may contain chemic
als which are known to the State of California to cause cancer and birth defects or other reproductive harm.
For more information go to www.P65Warnings.ca.gov.

Other SECO-LARM Keypad manuals

SECO-LARM Enforcer SK-1123-FDQ User manual

SECO-LARM

SECO-LARM Enforcer SK-1123-FDQ User manual

SECO-LARM ENFORCER SK-4131-SPSQ User manual

SECO-LARM

SECO-LARM ENFORCER SK-4131-SPSQ User manual

SECO-LARM ENFORCER SK-B141-PQ User manual

SECO-LARM

SECO-LARM ENFORCER SK-B141-PQ User manual

SECO-LARM SLI ENFORCER SK-B111-PQ Installation manual

SECO-LARM

SECO-LARM SLI ENFORCER SK-B111-PQ Installation manual

SECO-LARM Enforcer SK-1123-FQ User manual

SECO-LARM

SECO-LARM Enforcer SK-1123-FQ User manual

SECO-LARM SLI ENFORCER SK-1131-SPQ User manual

SECO-LARM

SECO-LARM SLI ENFORCER SK-1131-SPQ User manual

SECO-LARM Enforcer SK-1011-SQ User manual

SECO-LARM

SECO-LARM Enforcer SK-1011-SQ User manual

SECO-LARM ENFORCER SK-3523-SDQ User manual

SECO-LARM

SECO-LARM ENFORCER SK-3523-SDQ User manual

SECO-LARM Enforcer SK-1123-SQ User manual

SECO-LARM

SECO-LARM Enforcer SK-1123-SQ User manual

SECO-LARM Enforcer SK-1323-SDQ Operating instructions

SECO-LARM

SECO-LARM Enforcer SK-1323-SDQ Operating instructions

SECO-LARM SK3133-PPQ User manual

SECO-LARM

SECO-LARM SK3133-PPQ User manual

SECO-LARM Enforce SK-1131-SQ User manual

SECO-LARM

SECO-LARM Enforce SK-1131-SQ User manual

Popular Keypad manuals by other brands

Alarm Lock A-100IMWP Wiring & programming instructions

Alarm Lock

Alarm Lock A-100IMWP Wiring & programming instructions

Honeywell 6160V - Ademco Talking Alpha Display Keypad user guide

Honeywell

Honeywell 6160V - Ademco Talking Alpha Display Keypad user guide

SEA ROCK quick start guide

SEA

SEA ROCK quick start guide

Ness Navigator user manual

Ness

Ness Navigator user manual

FE TP-E1U installation manual

FE

FE TP-E1U installation manual

Satel INT-SCR-BL manual

Satel

Satel INT-SCR-BL manual

GE NX-108E - Security NetworX NX-4 System user manual

GE

GE NX-108E - Security NetworX NX-4 System user manual

iPort xPRESS Setting up

iPort

iPort xPRESS Setting up

TOPMAQ LM175P user manual

TOPMAQ

TOPMAQ LM175P user manual

SOMFY DecoFlex WireFree 1870908 instructions

SOMFY

SOMFY DecoFlex WireFree 1870908 instructions

Elecom TK-TCM014 manual

Elecom

Elecom TK-TCM014 manual

DSC PK5500 installation instructions

DSC

DSC PK5500 installation instructions

Lutron Electronics seeTouch QSWS2-1B installation guide

Lutron Electronics

Lutron Electronics seeTouch QSWS2-1B installation guide

AJAX KeyPad Short manual

AJAX

AJAX KeyPad Short manual

NAPCO RP1054D KEYPAD operating guide

NAPCO

NAPCO RP1054D KEYPAD operating guide

Balcrank FUSION ZONE KEYPAD Operation, installation, maintenance and repair guide

Balcrank

Balcrank FUSION ZONE KEYPAD Operation, installation, maintenance and repair guide

RSI VIDEO TECHNOLOGIES Videofied XMB711 Installation datasheet

RSI VIDEO TECHNOLOGIES

RSI VIDEO TECHNOLOGIES Videofied XMB711 Installation datasheet

Videofied XMA Installation datasheet

Videofied

Videofied XMA Installation datasheet

manuals.online logo
manuals.online logoBrands
  • About & Mission
  • Contact us
  • Privacy Policy
  • Terms and Conditions

Copyright 2025 Manuals.Online. All Rights Reserved.