,
‒ ‒ ≐Ↄද‡ CAUTIONS≐‒
‒
‚‣‛ ஜ↝ɟᢿ↭↞μᢿ⇁ૺ᠃᠍ↈ↺ↂ↗↞⅚ᅠഥↄ↻↕ⅹ↹↭ↈ⅛‒
‚․‛ ஜ↝ϋܾ↚↓ⅳ↕↞⅚ݩஹʖԓ↙ↆ↚٭ↈ↺ↂ↗ⅻⅱ↹↭ↈ⅛‒
‚‥‛ ஜ↝ϋܾ↚↓ⅳ↕↞⅚ɢμ⇁ↆ↕˺ⅳↆ↭ↆⅻ⅚ɢɟↃɧݙ↙ໜ↳ᛚ↹↙↘⅚ⅹൢ↔ⅼ
↝ໜⅻⅱ↹↭ↆ↸Ↄᡲዂⅾↄⅳ⅛‒
‚…‛ ஜᙌԼⅻⅹܲಮ↚↷↹ɧᢘ࢘↚ဇↄ↻↹⅚ஜ↝ϋܾ↚ࢼ↾↉↚ӕ↹ৢ↾↻↹⅚↭↞࢘ᅈ
ⅹ↷↢࢘ᅈܭ↝⇛≐⇹⇟ᢿᧉˌٳ↝ᇹɤᎍ↚↷↹ྸ∝٭ↄ↻ↂ↗↚ឪ׆ↆ↕ဃↇܹ↚
↓ⅼ↭ↆ↕↞⅚ᝧ˓⇁ⅳⅺ↜↭ↈ↝↖Ↄʕ১ⅾↄⅳ⅛‒
(1) This manual is the property of SEIKO and may not without the express written consent of SEIKO
be copied or reproduced in any form, in whole or in part, or used for any purpose other than that
for which it is supplied.
(2) This manual may be subject to change without notice.
(3) This manual has been prepared to give complete information necessary for the operation, use,
handling and maintenance of MODEL QBT-30. For the purpose of our constant technical manual
improvement program, your questions, advice, suggestions and comments on the descriptions,
illustrations, procedures or any matter concerning this manual are highly appreciated.
(4) SEIKO shall have no liability to the user in respect of any loss or damages, whether consequential
or incidental, sustained by the user if such loss or damages are:
1) due to abuse, misuse, failure to observe instructions given in the manual furnished by SEIKO
and neglect of other reasonable care and servicing due to be done by the user irrespective of
such instructions, and failure due to deliberate actions or gross negligence or accident;
2) caused by changes, modifications, or alterations made without prior written consent of SEIKO
or by any person other than authorized by SEIKO; or,
3) due to negligence on the part of the user of what should be done or should not be done as a
good caretaker of Bell Timer Model QBT-30.
‒
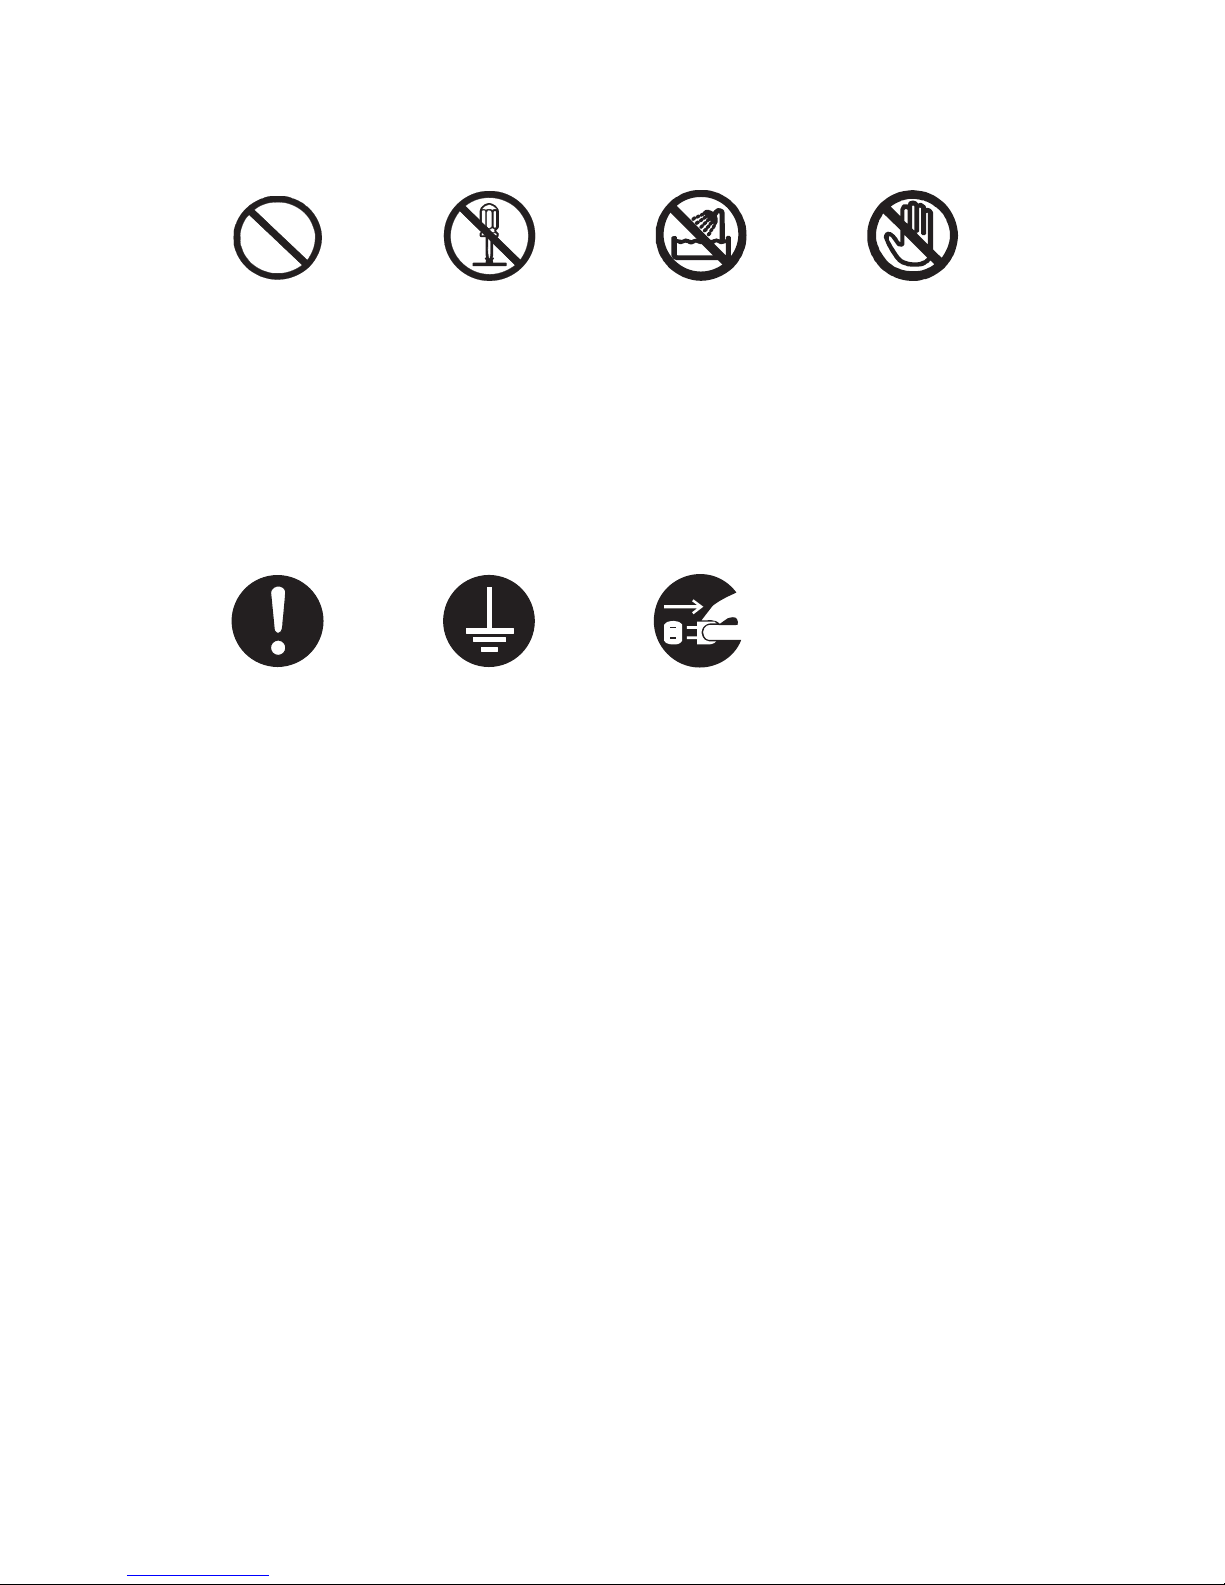
‒ ‒ ‒ ‒ ≐ஜ↖ဇ↝ᚡӭ↚↓ⅳ↕‡SYMBOLS AND THEIR MEANINGS≐
‒ ‒ ‒ ‒ ‒ ‒ ‒ ‒ ‒ ஜ↚ဇↄ↻↺ᚡӭ↝ԛ↞ഏ↝ᡫ↹↖ↈ⅛‒
‒The symbols and terms used in this manual are explained below.
‒
‒
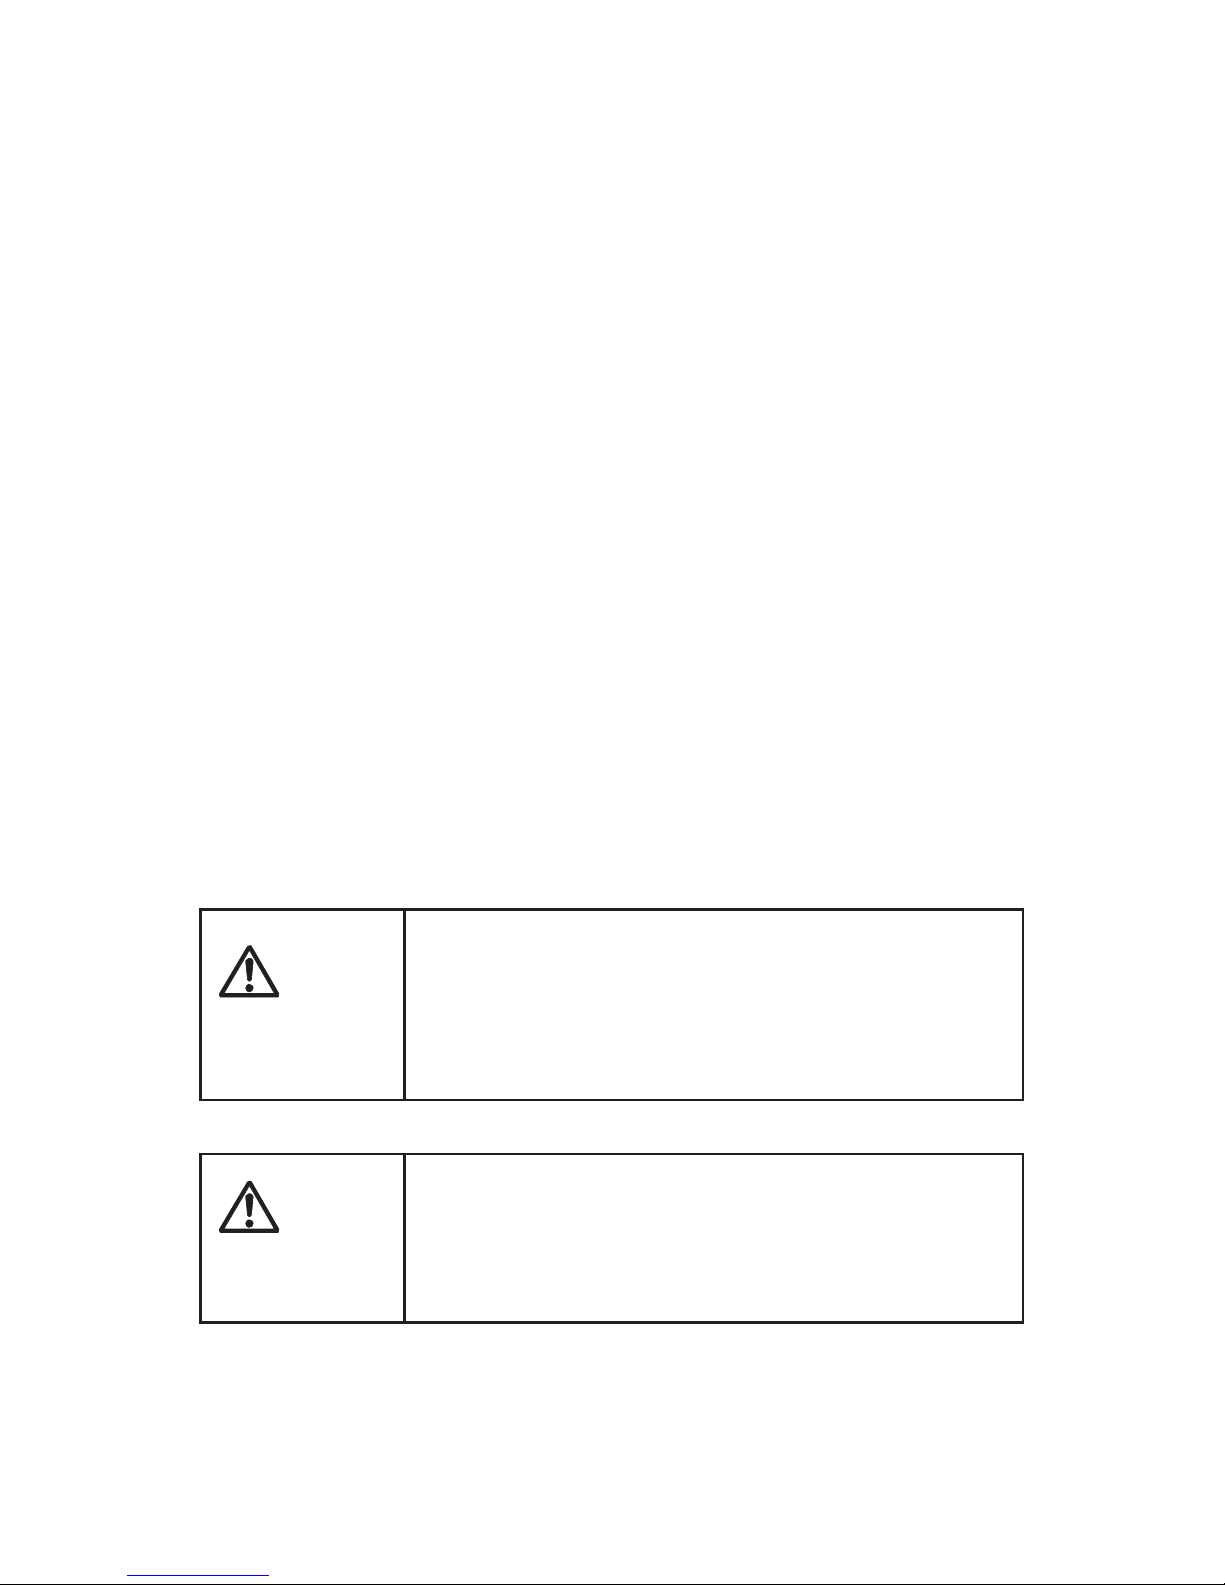
‒ ‒ үᨖ‒
DANGER
ᛚ→ӕ↹ৢⅳ⇁ↆ↗ⅼ⅚രʧ↭↞ͻ⇁ⅵүᨖⅻЏᡐↆ↕
ဃↇ↺ↂ↗ⅻܭↄ↻↺ϋܾ⇁ᅆↆ↭ↈ⅛‒
DANGER is used to indicate the presence of an imminent hazard
which is LIKELY to cause SEVERE personal injury, death, or
substantial property damage if the instructions under this heading
are ignored.
‒
‒
‒ ‒ ᜩԓ‒
WARNING
ᛚ→ӕ↹ৢⅳ⇁ↆ↗ⅼ⅚രʧ↭↞ͻ⇁ⅵӧᏡࣱⅻܭ‒
ↄ↻↺ϋܾ⇁ᅆↆ↭ↈ⅛‒
WARNING is used to indicate such operational procedures,
practices, or situations that may result in personal injury or loss of
life if relevant instructions are not followed correctly.
‒
‒
‒
‒
‒
‒
‒