7
English
●Follow the procedures below to check the calendar, and if necessary, to adjust it.
●Do not check and adjust the calendar between 11:00 p.m. and 1:00 a.m. If the calendar
is checked and adjusted between 11:00 p.m. and 1:00 a.m., the date may not change
properly. In such case, first change the time to any time outside this period, and then
set the date. After that, move the hands back to the correct time.
●If the crown is pulled out to the second click while the numeral in the calendar frame
is advancing or moving back, the second hand may be misaligned from the 12 o’clock
position (initial position).
●The button and crown operation cannot be made while the numeral in the calendar
frame is advancing or moving back. Press the button or turn the crown after the
numeral stops.
●If the watch is left untouched for more than 2 or 3 minutes while checking or adjusting
the calendar, the watch will resume normal movement. In such a case, start again
from the beginning of the procedures in “HOW TO CHECK AND ADJUST THE
CALENDAR.”
●Do not leave the crown at the first or second click when you use the watch, as this will
shorten the battery life.
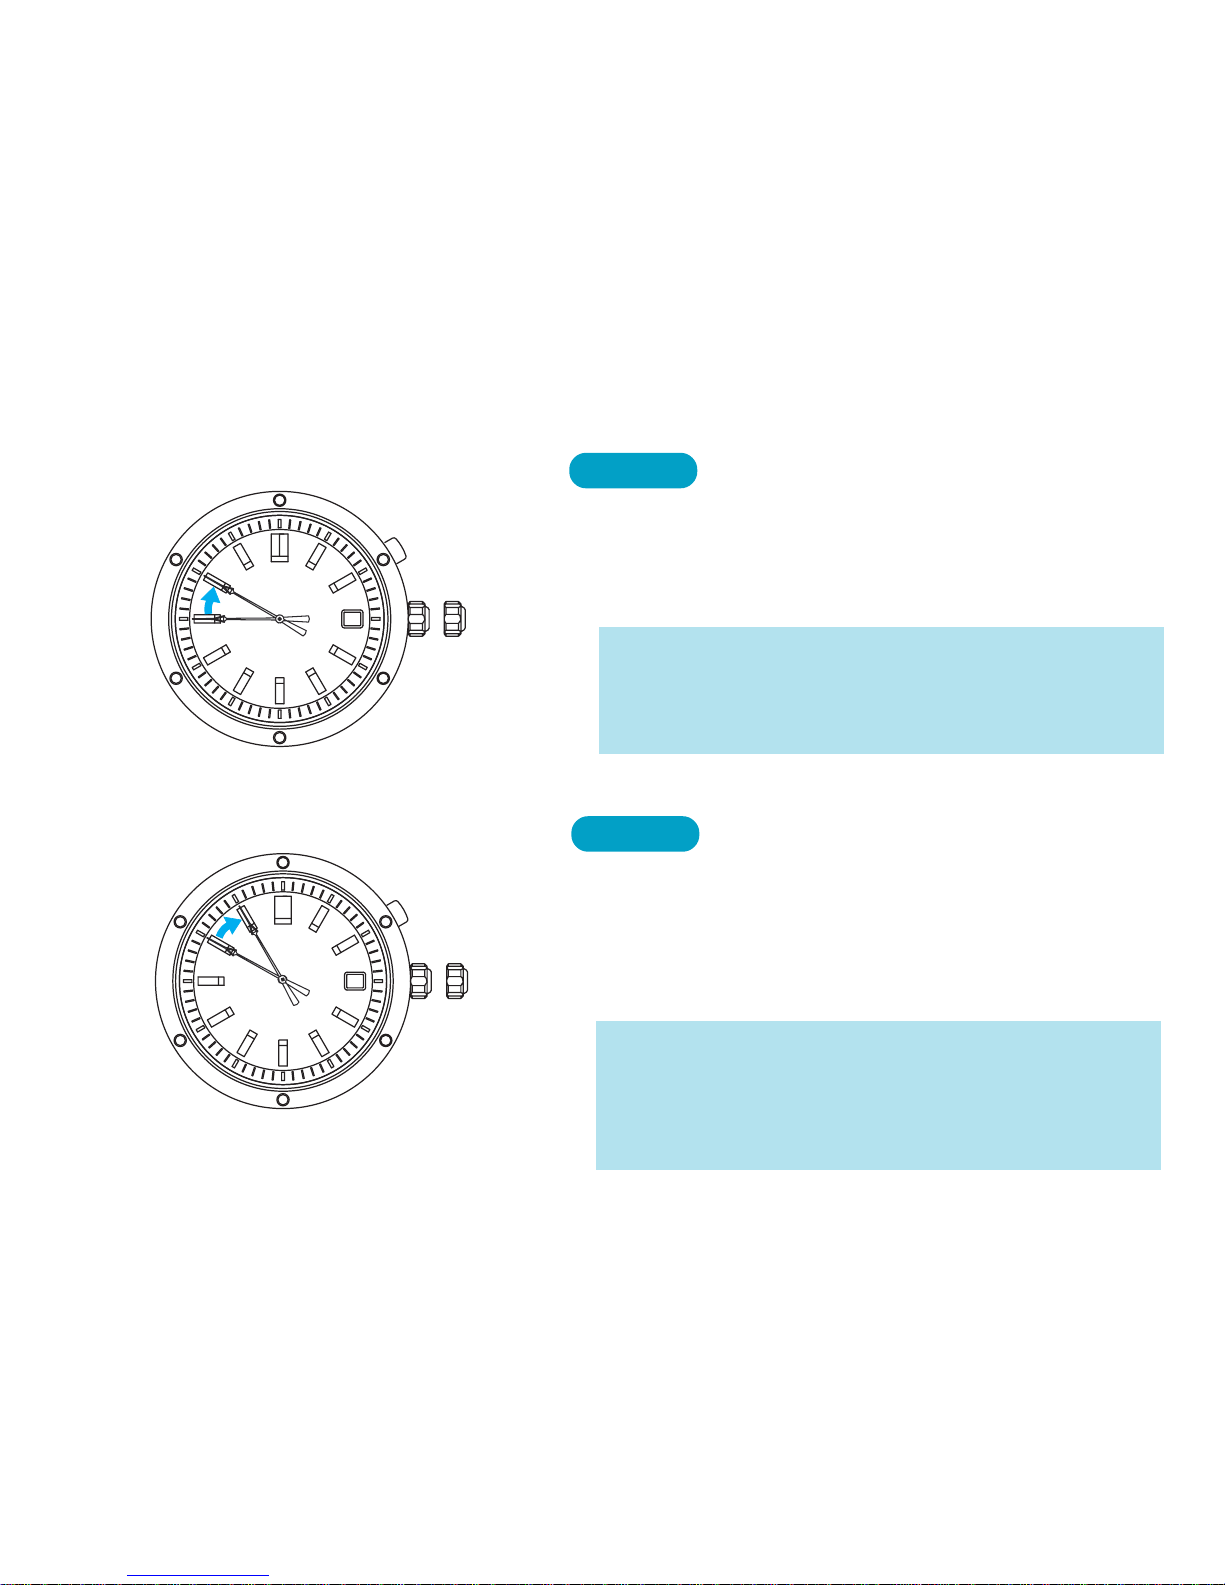
HOW TO CHECK AND ADJUST THE CALENDAR
3. If the calendar indication is not correct after setting the time and date, check that AM/PM is correctly set.
If the calendar indication is still not correct even though AM/PM is correctly set, the initial position of the
calendar may not be set correctly. In such a case, adjust the initial position of the calendar following the
procedures in "HOW TO CHECK AND ADJUST THE CALENDAR."