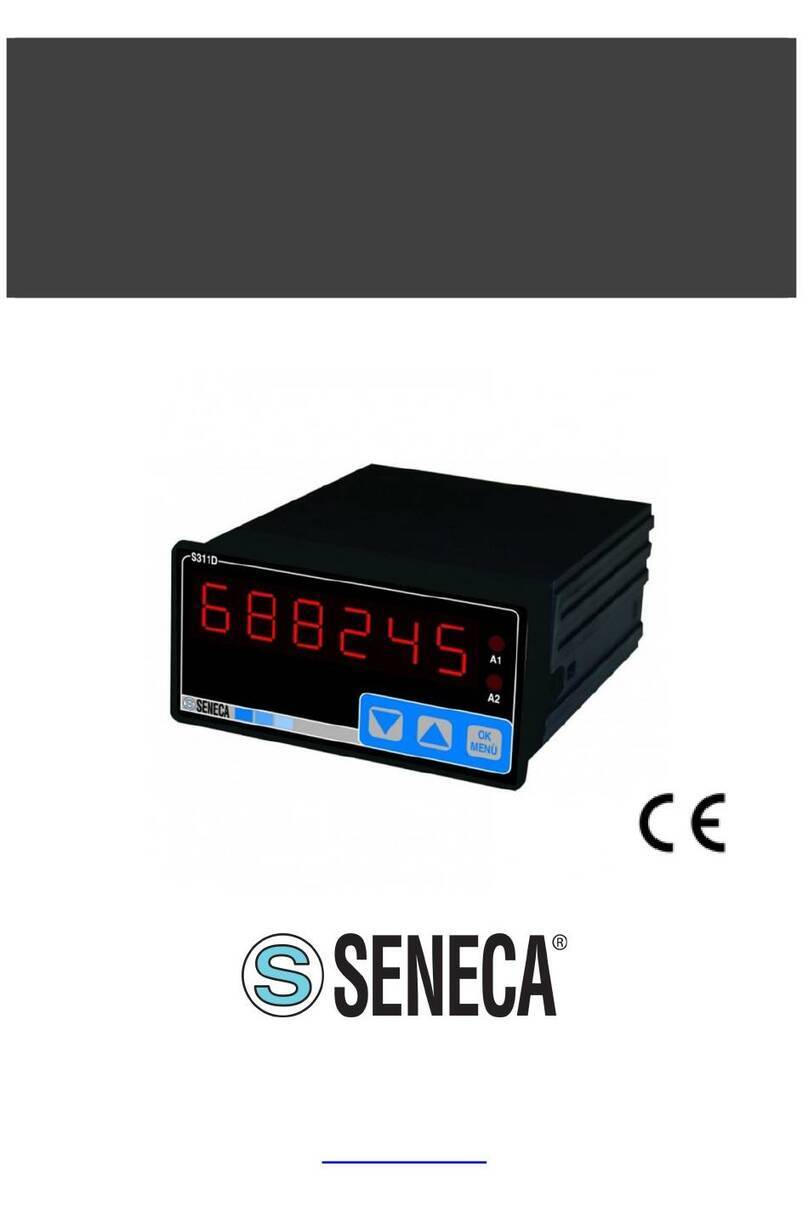
Seneca Z-LTE Series User manual

INSTALLATION MANUAL
4G + worldwide Datalogger with integrated I/O, remote control
functions, integrated UPS, GPS and advanced programming
SENECA s.r.l.
Via Austria, 26 – 35127 – PADOVA – ITALY
Tel. +39.049.8705355 - 8705359 - Fax +39.049.8706287
For manuals in other languages and the conguration software, visit www.seneca.it/products/z-lte
EN
MI00514-4-EN 1/6
Z-LTE (Z-LTE / Z-LTE - ww)

MODULE LAYOUT
LED STATUS LED meaning
PWR
(Green)
ON Log not active and status waiting for startup
Slow ashing Log active and status in normal operation
Flashing intermittently Status in operation from backup battery (battery life 1 hour)
Fast ashing Error, see Webserver diagnostics
Off Device OFF
(GSM LEVEL)
(Green)
ON Maximum signal (Level 4)
Flashing
3 ashes (Level 3)
2 ashes (Level 2)
1 ash (Level 1)
Off Minimum signal
GSM
(STATUS)
(Yellow)
Short ash Network search (200ms High / 1800 ms Low)
Long ash Connected (1800 ms High / 200ms Low)
Fast ashing Data transfer in progress (125ms High / 125ms Low)
On Voice call
MOD
(Yellow)
On Recorded on 4G network
Off Connected to another network
DO (1 and 2)
(Red)
On Digital output, relay energised
Off Digital output, relay de-energised
DI (from 1 to 4)
(Red)
ON (NPN) Digital input energised (GND closed contact)
ON (PNP) Digital input energised (contact closed to +12 V)
Off Digital input not energised
COM
(Red)
Slow ashing Activity in the RS485 or RS232 serial interface
Off RS485 or RS232 serial interfaced not used
Fast ashing Timeout in the RS485 or RS232 communication
SD
(Red)
On SD card inserted correctly
Slow ashing Activity on SD card
Fast ashing SD card error
Off No SD card
ETH LNK Flashing Connection on RJ45 active
ETH ACT Flashing Packet transit on Ethernet port
SIGNALS VIA LED ON FRONT PANEL
2/6
mm
35
mm
111
mm
102.5
Weight: 270 g;
Container: PA6, Black

3/6
INSTALLATION REGULATIONS
The module has been designed for vertical installation on a DIN 46277 rail. For optimal operation and long life,
adequate ventilation must be provided. Avoid positioning ducting or other objects that obstruct the ventilation slots.
Avoid mounting modules over heat-generating equipment. Installation in the bottom part of the electrical panel is
recommended.
Guida DIN
MODULO
Inserimento nella
guida DIN
Insertion in the DIN rail
As shown in gure:
1. Insert the IDC10 rear connector of the module on a
free slot of the DIN rail
(the insertion is univocal since the connectors are
polarized).
2. To secure the module to the DIN rail, tighten the two
hooks on the sides of the IDC10 rear connector.
PRELIMINARY WARNINGS
The word WARNING preceded by the symbol indicates conditions or actions that put the user's safety at
risk. The word ATTENTION preceded by the symbol indicates conditions or actions that might damage the
instrument or the connected equipment. The warranty shall become null and void in the event of improper use or
tampering with the module or devices supplied by the manufacturer as necessary for its correct operation, and if
the instructions contained in this manual are not followed.
WARNING: The full content of this manual must be read before any operation.
The module must only be used by qualied electricians.
Specic documentation is available at www.seneca.it/products/z-lte
Important: Obstructing ventilation slots with any object is prohibited.
Installing the module next to devices that generate heat is prohibited.
Electrical and electronic waste disposal (applicable in the European Union and other countries with recycling).
The symbol on the product or its packaging shows the product must be surrendered to a collection centre
authorized to recycle electrical and electronic waste.
The module must be repaired and damaged parts replaced by the Manufacturer. The product is sensitive to
electrostatic discharges. Take appropriate measures during any operation.
USE OF THE Z-PC-DINAL ACCESSORY
Power supply and Modbus interface are available using the Seneca DIN rail bus, via the IDC10 rear connector, or
the Z-PC-DINAL-17.5 accessory.
RS485GND
RS485A
RS485B
Power Supply AC / +
Power Supply AC / -
IDC 10
1
Back connector (IDC 10)
The illustration shows the meanings of the various
IDC10 connector pins if signals are to be sent via
them directly.
Power Supply AC
Ground
Power Supply AC
GNDSHLDG ND
CANL / BCANL / A
DIP SWITCH
Z-PC-DINAL2-17.5 accessory use
If the Z-PC-DINAL2-17.5 accessory is used, signals
can be sent via terminal boards. The illustration
shows the meaning of the various terminals and
DIP-switch position (found in all supports for the DIN
rail listed in Accessories) for the termination of the
CAN network (not used for the Modbus network).
GNDSHLD:
Connection cable signal protection shield
(recommended).
Insertion in the
DIN rail
DIN rail
MODULE

4/6
TECHNICAL SPECIFICATIONS
STANDARDS
EN61000-6-4 Electromagnetic emissions, industrial environment.
EN61000-6-2 Electromagnetic immunity, industrial environment.
EN301 511 Global standards for mobile communications.
EN301 489-1 Electromagnetic compatibility for mobile radio equipment.
EN301 489-7 Specic conditions (EMC) for mobile radio equipment.
EN60950 Security in information processing equipment.
INSULATION
ENVIRONMENTAL
CONDITIONS
Temperature: -10– + 50°C / (-10– + 40°C if the internal UPS is used).
Humidity: 30%– 90% non condensing.
Storage temperature: -20– + 65°C / (-20– + 45°C < 6 months if the internal UPS is used).
protection rating: IP20.
ASSEMBLY IEC EN60715, 35mm DIN rail in vertical position.
INTERNAL UPS Rechargeable backup batteries. Duration: up to 1 hour.
CONNECTIONS Removable 3-way screw terminals, 5 mm pitch for cable up to 2.5 mm²,
Rear IDC10, RJ45 socket, Micro USB socket and 2 SMA for 4G antenna and GPS antenna.
POWER SUPPLY Voltage: 19 ÷ 40 Vdc or 19 ÷ 28 Vac 50 ÷ 60 Hz. Absorption: < 6.5W.
DIGITAL INPUTS
Number of channels 4. Congurable PNP or NPN.
Voltage OFF<4V, ON>8V (Max. 24Vdc).
Max frequency 30Hz. Absorbed current 3mA @ 12Vdc 10mA @ 24Vdc.
TOTALIZERS 4 x 32-bit totalizers on non-volatile memory
COUNTERS: 4 x 32-bit resettable counters on non-volatile memory.
DIGITAL OUTPUTS Number of channels 2. SPDT free contact relay. Max. voltage 250Vac. Max. current 2A.
ANALOGUE
INPUTS
Number of channels 2. Congurable mAdc or Vdc.
Voltage input 0 – 30V. precision 0.1% of Full Scale, impedance: 200 kohm.
Current input 0– 20mA precision 0.1% of Full Scale, impedance: < 60 ohm.
Input protection 40V / 25mA. Resolution 16 bit.
COMMUNICATION
PORTS
RS485 COM1 on rear IDC10 connector, RS485 or RS232 on terminals M10-M11-M12,
Ethernet 10/100 base T with autoswitch on front RJ45 socket and micro USB on side socket.
MODEM 4G
4G/LTE Model (Europe, Africa, Middle Est, Korea, Thailand, India) Contact Seneca for other
countries. GSM / GPRS/ EDGE Dual-band: 1800 / 900 Mhz. UMTS / HSPA+, Tri-band: WCDMA
2100 / 850 / 900 Mhz. 4G LTE Band 6- Band: 2100/1800/850/2600/900/800 MHz Certications: CE/
GCF/Vodafone (Europe), KC/SKT/KT/LGU+ (Korea)
4G / LTE
WORLD WIDE
MODEM
(Z-LTE-WW)
LTE-FDD: B1/B2/B3/B4/B5/B7/B8/B12/B13/B18/ B19/B20/B25/B26/B28 LTE-TDD: B38/B39/B40/
B41 - WCDMA: B1/B2/B4/B5/B6/B8/B19
GSM: B2/B3/B5/B
For further information, refer to the User Manual.
Certications: Deutsche Telekom (Europe) Verizon*/AT&T*/T-Mobile*/Sprint* (North America)
GNSS GPS / GLONASS / BeiDou(compass) / Galileo / QZSS
STORAGE
UNIT microSD and microSDHC 32GB max.
CPU / S.O. ARM 32bit, operating system: Real Time Multitasking, built-in Webserver and on microSD.
Digital

ANALOGUE INPUTS
Voltage Active sensor current
(4 wires)
Passive sensor current (2 wires)
(*) Not available without external power supply
The module has two
analogue inputs that
can be congured via
software as voltage
or current. For the
conguration software,
see the user manual.
5/6
ELECTRICAL CONNECTIONS
Power supply
Terminals 2 and 3 can be used to provide the module with power supply as an
alternative to the connection using the Z-PC-DINx bus.
The power supply voltage must remain in the range of either 19 and 40V DC (any
polarity), or 19 and 28V AC.
The upper limits must not be exceeded as this can seriously damage the module.
If the power supply source is not protected against overload, a safety fuse with a 1 A
max permissible value must be installed in the power supply line.
Serial port 2: RS485 SW2 = OFF
Z-LTE has a serial port that can be set with the SW2 switch.
If switch SW2 is in the OFF position, the RS485 COM 2 port is available at terminals
10-11-12. The illustration shows how to complete connections.
N.B.: the indication of the RS485 connection polarity is not standardised and in some
devices may be inverted.
1
2
3
10
11
12
Serial port 2: RS232 SW2 = ON
Z-LTE has a serial port that can be set with the SW2 switch.
If switch SW2 is in the ON position, the RS232 COM 2 port is available at terminals
10-11-12.
The illustration shows how to complete connections.
The RS232 interface is fully settable.
10
11
12
GND
A (+)
B (-)
GND
RX
TX
Aux. volt.
Vac/Vdc
Vac/Vdc
CAUTION
On rst start-up the module must be supplied without any interruptions for at least 72 hours to charge the internal
batteries. Switch the module off with the PS1 button before connecting inputs and outputs.
To meet the electromagnetic immunity requirements:
- use shielded signal cables;
- connect the shield to a preferential instrumentation earth system;
- separate shielded cables from other cables used for power installations (transformers, inverters, motors, etc...).
+
+
+
+
DIGITAL INPUTS
NPN with internal power PNP with internal power PNP with external power

6/6
DIP-SWITCHES
SW1 Default settings: all DIP switches in OFF position.
For more information see the USER MANUAL.
SW2
RS232 or RS485 settings on terminals 10-11-12 (COM2 serial port)
RS232 ON
RS485 OFF
DIGITAL OUTPUTS
The module has two
digital outputs with free
contacts. The gures
show the internal relay
contacts available.
ANALOGUE INPUTS
Inserting the SIM into
the rear slot next to
the IDC10 connector.
Inserting the microSD
or microSHDC card,
into the side slot.
MAX 32 GB.
Push-push connector.
SIM
PROCEDURE FOR MODULE SWITCH-OFF
The module is equipped with an integrated UPS that allows it to remain on even in the absence of external power.
To turn off the module, rst disconnect the external power supply and then press the PS1 button on the right side
of the module for at least 6 seconds.
When the button is released, the PWR LED turns off to indicate that the module is turned off.
DIP - SWITCH SETTINGS
CONTACT INFORMATION
This document is the property of SENECA srl. Copies and reproduction are prohibited unless authorised.
The content of this document corresponds to the described products and technologies.
Stated data may be modied or supplemented for technical and/or sales purposes.
Table of contents
Other Seneca Controllers manuals
Popular Controllers manuals by other brands

Keysight
Keysight M9536A Startup guide

VERDER
VERDER CARBOLITE GERO 3216 Series Installation, operation and maintenance instructions

Emerson
Emerson CASH VALVE B Installation instruction

Zener
Zener MSC-3 instruction manual

Primex
Primex PrimexEVENT Series installation guide

Toss
Toss ROPEX RESISTRON RES-407 operating instructions