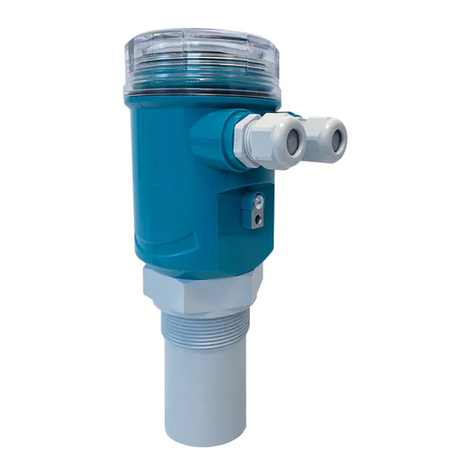
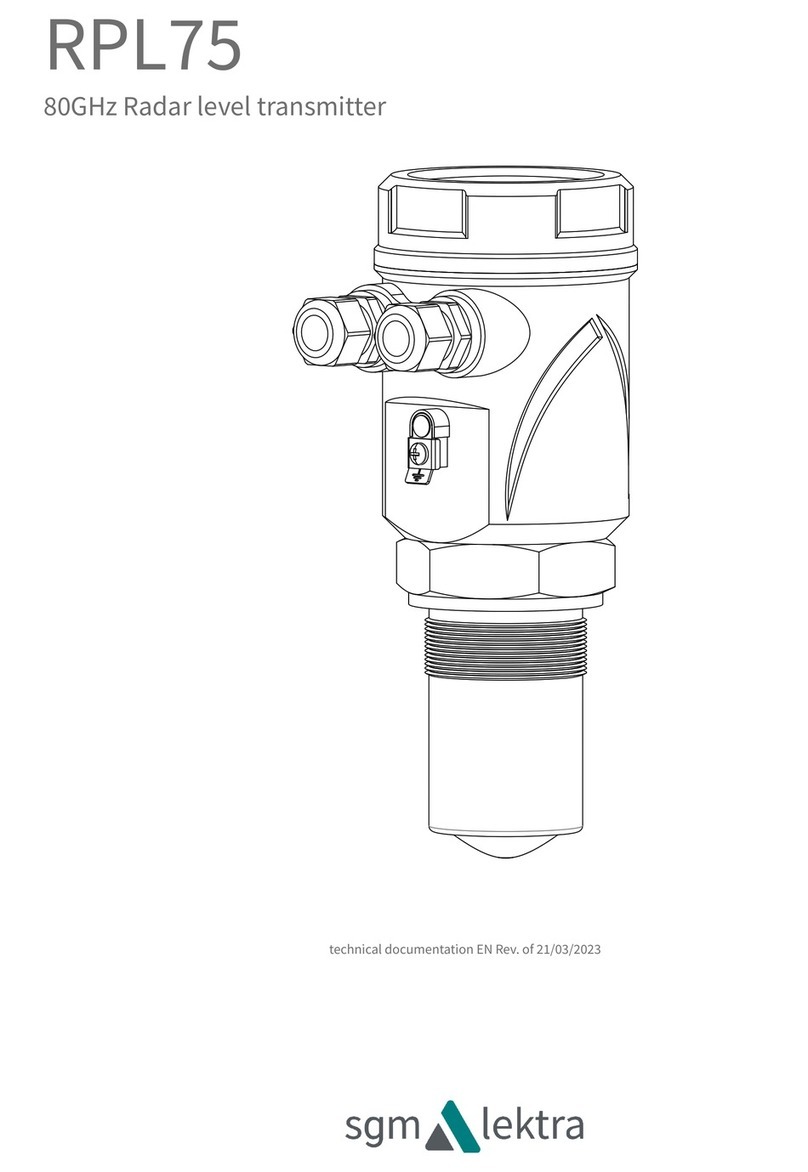
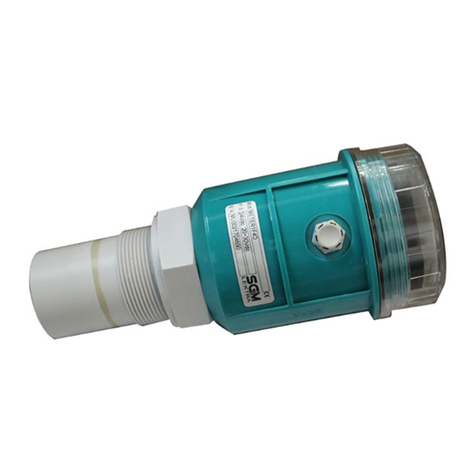
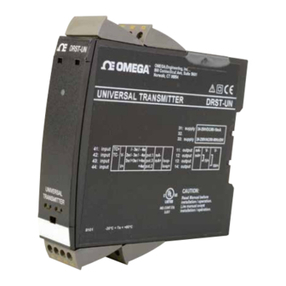
SGM LEKTRA RPL75 User manual

RPL75
80GHz Radar level transmitter
technical documentation EN Rev. of 08/01/2021

Page 2 of 40 www.sgm-lektra.com
RPL75 - contents
CONTENTS
1-WARRANTY
2-PRODUCT
3-PERFORMANCE SPECIFICATIONS
4-DIMENSIONS
5-INSTALLATION
6-ELECTRICAL CONNECTIONS
7-CONFIGURATION MODES
8-OPERATOR INTERFACE
9-QUICK SETUP
10-ADVANCED SETUP
11-NOTE
12-FACTORY TEST AND QUALITY CERTIFICATE
page 3
page 4
page 5
page 6
page 7
page 10
page 11
page 14
page 15
page 22
page 38
page 40

Page 3 of 40
www.sgm-lektra.eu
RPL75 - warranty
Products supplied by SGM LEKTRA are guaranteed for a period of 12 (twelve) months from delivery date
according to the conditions specified in our sale conditions document.
SGM LEKTRA can choose to repair or replace the Product.
If the Product is repaired it will maintain the original term of guarantee, whereas if the Product is replaced it will
have 12 (twelve) months of guarantee.
The warranty will be null if the Client modifies, repair or uses the Products for other purposes than the normal
conditions foreseen by instructions or Contract.
In no circumstances shall SGM LEKTRA be liable for direct, indirect or consequential or other loss or damage
whether caused by negligence on the part of the company or its employees or otherwise howsoever arising out
of defective goods
1-WARRANTY

Page 4 of 40 www.sgm-lektra.com
RPL75 - product
2- PRODUCT
2.1 IDENTIFICATION
Each meter has an adhesive identi cation plate on which are indicated the meter main data.
The following picture describes the information on the identi cation plate.
1. Product code 3. Serial number2. Power supply
1. Anticondensation lter
2. M20 skintop
3. VL601 (opt.)
4. Sensor
RPL751F4D
24Vdc 20÷30Vdc
MU0081604506
2
3
1Mod.
P.S.
S.N.
1
1
2
3
4

Page 5 of 40
www.sgm-lektra.eu
3-FEATURES
RPL75 - features
Housing/sensor material
PC / PP wetted part
Mechanical installation
2” GAS M (Flange in PP DN80 (opt.)
Protection degree
IP67/IP68 (Antenna)
Electrical connection
Internal push connectors
Working temperature
-20 ÷ +60°C
Pressure
from 0,5 to 1,5 bar (absolute)
Power supply
24Vdc
Power consumption
5W peak; 2,5W average
Analog output
4...20mA, max 750ohm
Relays output
n°2 3A 230Vac (n.o.)
Digital communication
MODBUS RTU
Max measure range
0.05 ÷ 20mt max
In case of non perfectly reecting surfaces, the maximum distance value will be reduced
Blind distance
0,05m
Accuracy
±0,2% (of the measured distance) not better than ±3mm.
Resolution
2mm.
Calibration
4 buttons or via MODBUS RTU or Bluetooth
LCD Display
Removable programming module VL601 (opt.) display/keyboard 4 buttons matrix LCD

Page 6 of 40 www.sgm-lektra.com
4-DIMENSIONS
RPL75 - dimensions
5.1 MECHANICAL DIMENSIONS
93
127,5
250
Ø55,5
Ø95
93
127,5
Ø55,5
Ø95
260
2" G
2" G
IP67
IP68

Page 7 of 40
www.sgm-lektra.eu
RPL75 - installation
5-INSTALLATION
5.1 MOUNTING PRECAUTIONS
5.1.1 Mounting position
- Leave a 300mm (d) minimum distance between the sensor and the tank smooth wall.
- Use a protective cover to protect the sensor from weather and direct sunlight (c).
- Do not install the sensor near the load zone (a).
- Make sure that in the sensor emission beam (lobe “α” 5°) there are no obstacles (f,e) that can be
intercepted as level.
5.1.2 Blind distance
During installation is important to remember that in the sensor proximity there is a blind zone (or BLIND DISTANCE)
of 0.05m where the sensor can not measure.
Blind Distance
0.05

Page 8 of 40 www.sgm-lektra.com
RPL75 - installation
5.1.3 Installation in nozzle
In case of nozzle installation, make sure the sensor bottom protrudes at least 10mm from the bottom of the nozzle.
≥10mm.

Page 9 of 40
www.sgm-lektra.eu
RPL75 - installation
5.1.4 Agitators presence
The level measurement is possible thanks to the Auto-Tuned statistical lter.
Should rarely need to adjust the lter setting by editing 2 RPL75 sensor programming parameters:
- FILTER; this parameter is present in the Quick Setup menu and in the Advanced Conguration “SETUP” menu;
increasing the parameter value, decreases the sensor sensitivity to the level measurement sudden variations.
- F-WINDOW; this parameter is present in the Advanced Conguration “SERVICE” menu; decreasing the parameter
programmed value, increases the sensor immunity to false echoes.

Page 10 of 40 www.sgm-lektra.com
RPL75 - electrical connections
6-ELECTRICAL CONNECTIONS
No
c
No
c
-
+
A
B
RL1
RL2
4÷20mA
MUDBUS
ALIM. 24Vdc
4÷20mA (24Vdc)
HART (opz.)
2 - WIRE VERSION 4 - WIRE VERSION
6.1 WIRING
1) Separate the engine control cables or power cables from the RPL75 connection cables
2) Open the cap by unscrewing.
3) Lead the cables into the transmitter through the glands
4) Do not use sleeves terminals, because they might interfere with the VL601 module insertion
5) Close the cap and tighten the cable glands
6.2 HUMIDITY INFILTRATIONS
To avoid the humidity inltration inside the housing is recommended:
- for electrical connections, use a cable with a 6÷12mm outer diameter and fully tighten the M20 cable gland
- fully tighten the cap
- position the cable so that it forms a downward curve at the M20 output; in this way the condensation and/or rain
water will tend to drip from the curve bottom

Page 11 of 40
www.sgm-lektra.eu
RPL75 - electrical connections / conguration modes
7.1 DIGITAL COMMUNICATIONS CONNECTION
7.1.1 RPL75 MODBUS RTU PC connection
1) RPL75 with MODBUS RTU communication protocol
2) USB/RS485 interface module, cod.694A004A
3) MODBUS RTU communication S/W, cod.010F105A, for RPL75 transmitter
With this software is possible:
- to connect the RPL75 transmitters in MODBUS RTU network by selecting the UID address
- to read on your PC monitor all measures in reading and RPL75 operation data
- to program all RPL75 conguration parameters
- to store the measurement readings and the operating status of RPL75
7-CONFIGURATION MODES
The RPL75 have 3 conguration/calibration modes:
- via digital communication: via MODBUS RTU, by PC
- via programming module VL601
- via Bluetooth with Android App
1
2
3
USB/RS485

Page 12 of 40 www.sgm-lektra.com
MODBUS REGISTERS FOR RPL75
Address
(dec)
Address
(hex)
(N°of
registers)
Type Description
0 0 1 unsigned int Distance
1 1 1 unsigned int Level
2 2 2 oat Level %
6 6 2 oat Analog output
10 A 1 unsigned int Distance 4mA
11 B 1 unsigned int Distance 20mA
12 C 1 unsigned int DAC 4mA
13 D 1 unsigned int DAC 20mA
14 E 1 unsigned int Blind distance
22 16 1 unsigned int Filter coecent
24 18 1 unsigned int UID
37 25 1 unsigned int Delay setpoint RL1
39 27 1 unsigned int Delay setpoint RL2
42 2A 1 unsigned int Delay pump control RL1
43 2B 1
44 2C 1 unsigned int Alarm mode (MAX/MIN) RL1
45 2D 1 unsigned int Safety (NO/YES) RL1
46 2E 1 unsigned int Enable RL1
47 2F 1 unsigned int Alarm mode (MAX/MIN) RL2
48 30 1 unsigned int Safety (NO/YES) RL2
49 31 1 unsigned int Enable RL2
50 32 1 unsigned int Pump control mode RL1
51 33 1 unsigned int Enable pump control RL1
52 34 1 unsigned int Enable diagnostic alarm RL2
53 35 1 unsigned int Measurement return power
54 36 1
55 37 1 unsigned int Echo error
56 38 1
57 39 1 unsigned int Distance error
58 3A 1 unsigned int Output alarm status for analog output
59 3B 1 unsigned int Relay RL1 status
60 3C 1 unsigned int Relay RL2 status
65 41 1 unsigned int F_WINDOW value
69 45 1 unsigned int Setpoint threshold RL1 (Distance from sensor)
70 46 1 unsigned int Setpoint threshold RL2 (Distance from sensor)
71 47 1 unsigned int UPPER Setpoint pump RL1 (Distance from sensor)
72 48 1 unsigned int LOWER Setpoint pump RL1 (Distance from sensor)
73 49 1 unsigned int Modbus RS485 Parity
74 4A 1 unsigned int Modbus RS485Baudrate

Page 13 of 40
www.sgm-lektra.eu
MODBUS REGISTERS FOR RPL75
Measure
unit
R W Note
mm 03h
mm 03h
% 03h
mA 03h
mm 03h 06h
mm 03h 06h
03h
03h
mm 03h 06h
03h 06h
03h 06h
s 03h 06h
s 03h 06h
s 03h 06h
03h 06h 0:MAX 1:MIN
03h 06h 0:Norm_disexcited 1:Norm_excited
03h 06h 0:disabled 1:enabled
03h 06h 0:MAX 1:MIN
03h 06h 0:Norm_disexcited 1:Norm_excited
03h 06h 0:disabled 1:enabled
03h 06h 0:EMPTYING 1:FILLING
03h 06h 0:disabled 1:enabled
03h 06h 0:disabled 1:enabled
03h 0…32767
03h
03h
03h 06h 4:21.5mA 6:38.5mA 8:HoldLastValue
03h 0: o 1:on
03h 0: o 1:on
03h 06h 0: lters disabled
mm 03h 06h
mm 03h 06h
mm 03h 06h
mm 03h 06h
03h 06h 0:NoParity 1:Even 2:Odd
03h 06h 0:9600 1:19200

Page 14 of 40 www.sgm-lektra.com
8.1 VL601 FEATURES
The VL601 program module has 4 buttons which allow to perform all operational, control and programming instrument
functions. In the conguration menus, is possible:
1. Submenus and parameters access; press to select and press to access.
2. Parameter options choice: Press to select the option and press to store the option.
Press to exit without storing.
3. Congure the parameter values; in some parameters the conguration is done by setting a value (eg., in the
SET DISTANCE 4mA parameter is possible to change the the corresponding distance value, in mm):
press to select the digit to be modied (the digit is highlighted in inverse ), press to change the high
lighted digits number, press to save the set value and exit automatically.
Press to exit without storing.
LEFT ARROW button:
• Exit conguration
• Back to previous menu
UP ARROW button:
• Parameter values modication
• Parameter scroll
SCROLL button:
• Cursor movement (to the right)
• Parameter scroll
ENTER button:
• Conguration access
• Options conrmation
• Parameters values conrmation
RPL75 - operator interface
8-OPERATOR INTERFACE
Displayed at the bottom indicates the correct echo signal reception
!Displayed at the top alerts that there is a generic error; press SCROLL to show the message that
indicates the present error type.
The RPL75 returns automatically to RUN mode.
QUICK SETUP - Menu with easy access for quick basic parameters conguration.
To access: from “RUN” mode press ENTER to the quick setup menu mode access, LEFT ARROW to exit.
ADVANCED SETUP - Full menu with access to all parameters, including functional parameters.
It is recommended to carefully read the complete documentation before accessing.
To access: from “RUN” mode, holding down UP ARROW, press ENTER to the advanced conguration mode
access, LEFT ARROW to exit

Page 15 of 40
www.sgm-lektra.eu
Set Distance 4mA
Set Distance 20mA
Filter Type
Filter Coecient
Blind Distance
Display
RL1 Threshold
RL2 Threshold
Set Distance 4mA
0000 mm
Set Distance 20mA
0000 mm
Standard
Fast
Slow
Filter Coecient
000
Blind Distance
0000 mm
RL1 Threshold
0000 mm
RL1 Threshold
0000 mm
Distance mm
Level mm
Level %
Output mA
Parameter Default Values
10000mm
Starndard
20
200mm
Distance mm
0mm (Disabled RL1)
0mm (Disabled RL2)
500mm
>
RPL75 - quick setup
9-QUICK SETUP
9.1 - Quick Setup menu structure
9.2 - QUICK SETUP MODE
From “RUN” mode press ENTER to access the Quick Setup menu.
Select the parameters by moving the cursor with SCROLL, and conrm
with ENTER; press LEFT ARROW to exit.
4321
D
mm
SET DISTANCE 4mA
SET DISTANCE 20mA
FILTER TYPE
FILTER COEFFICENT
BLIND DISTANCE
DISPLAY
RL1 THRESHOLD
RL2 THRESHOLD
►

Page 16 of 40 www.sgm-lektra.com
RPL75 - quick setup
9.2.1 SET DISTANCE 4mA
Press ENTER to display the distance value associated with 4mA output.
Use SCROLL and UP ARROW to modify that value; in the example the
4mA distance is 3500mm.
Press ENTER to conrm.
9.2.2 SET DISTANCE 20mA
Press ENTER to display the distance value associated with 20mA output.
Use SCROLL and UP ARROW to modify that value; in the example the
20mA distance is 500mm.
Press ENTER to conrm.
SET DISTANCE 4mA
SET DISTANCE 20mA
FILTER TYPE
FILTER COEFFICENT
BLIND DISTANCE
DISPLAY
RL1 THRESHOLD
RL2 THRESHOLD
►
3500 mm
SET DISTANCE 4mA
SET DISTANCE 4mA
SET DISTANCE 20mA
FILTER TYPE
FILTER COEFFICENT
BLIND DISTANCE
DISPLAY
RL1 THRESHOLD
RL2 THRESHOLD
►
0500 mm
SET DISTANCE 20mA
100%
0%
20mA distance
4mA distance
Level measurement
RPL75
Reference point

Page 17 of 40
www.sgm-lektra.eu
RPL75 - quick setup
9.2.3 FILTER TYPE
3 congurations are available:
STANDARD: The update speed of the measurement variation is directly
proportional to the value set in the FILTER parameter.
FAST: The update speed of the measurement variation is accelerated until it
approaches the value measured by the sensor.
SLOW-: The update speed of the measurement variation is slowed until it
approaches the value measured by the sensor.
Press SCROLL to delect the lter type.
Press ENTER to conrm.
SET DISTANCE 4mA
SET DISTANCE 20mA
MEDIUM
FILTER COEFFICENT
BLIND DISTANCE
DISPLAY
RL1 THRESHOLD
RL2 THRESHOLD
►
STANDARD
FAST
SLOW
►

Page 18 of 40 www.sgm-lektra.com
9.2.4 FILTER COEFFICIENT
Press ENTER.
Use SCROLL and UP ARROW to modify the value.
Input a value from 1 to 99.
1 maximum speed, 99 maximum slowness.
The function is deactivated with 0 (immediate response).
Press ENTER to conrm
Fast resp. 5÷10 Normal resp. 20 Slow resp. 40÷100
RPL75 - quick setup
SET DISTANCE 4mA
SET DISTANCE 20mA
FILTER TYPE
FILTER COEFFICENT
BLIND DISTANCE
DISPLAY
RL1 THRESHOLD
RL2 THRESHOLD
►
20
FILTER COEFFICENT

Page 19 of 40
www.sgm-lektra.eu
9.2.5 BLIND DISTANCE
Press ENTER.
The BLIND ZONE is used to avoid undesired measures near the transmitter.
Use SCROLL and UP ARROW to modify the value. Press ENTER to conrm.
The minimum value is 0050mm.
9.2.6 DISPLAY
Press ENTER to access the settings change.
With the SCROLL button is possible to select the data to display
Press ENTER to conrm.
RPL75 - quick setup
SET DISTANCE 4mA
SET DISTANCE 20mA
FILTER TYPE
FILTER COEFFICENT
BLIND DISTANCE
DISPLAY
RL1 THRESHOLD
RL2 THRESHOLD
►
0050 mm
BLIND DISTANCE
SET DISTANCE 4mA
SET DISTANCE 20mA
FILTER TYPE
FILTER COEFFICENT
BLIND DISTANCE
DISPLAY
RL1 THRESHOLD
RL2 THRESHOLD
►
DISTANCE mm
LEVEL mm
LEVEL %
OUTPUT mA
►
BLIND ZONE
BLIND
DISTANCE
RPL75
reference point

Page 20 of 40 www.sgm-lektra.com
9.2.7 RL1 THRESHOLD
Press ENTER to display the previous setting.
Set the distance from the sensor.
Use SCROLL and UP ARROW to modify the value; in the example the RL1
max. level threshold distance is 700mm.
Press ENTER to conrm.
NB - RL1 inactive with 0000mm
When conrming with the ENTER button the maximum level threshold value storage, in the example 3000mm
the PL75 activates RL2 with the following default settings for level alarm threshold:
1) MIN / MAX = MIN; minimum distance alarm
2) DELAY = 0 sec.; no switching delay
3) SECURITY = YES; relay de-energized, and contact open, during the maximum level alarm
4) ENABLE / DISABLE = ENABLE; alarm threshold function enabled
5) MIN/MAX HYSTERESIS mm = 40mm
To change these relay setting it is necessary to access the advanced setup menu and any subsequent changes
to the RL1 threshold value will not aect the relay custom settings.
RPL75 - quick setup
0250 mm
BLIND DISTANCE
SET DISTANCE 4mA
SET DISTANCE 20mA
FILTER TYPE
FILTER COEFFICENT
BLIND DISTANCE
DISPLAY
RL1 THRESHOLD
RL2 THRESHOLD
►
0250 mm
BLIND DISTANCE
SET DISTANCE 4mA
SET DISTANCE 20mA
FILTER TYPE
FILTER COEFFICENT
BLIND DISTANCE
DISPLAY
RL1 THRESHOLD
RL2 THRESHOLD
►
SET DISTANCE 4mA
SET DISTANCE 20mA
FILTER TYPE
FILTER COEFFICENT
BLIND DISTANCE
DISPLAY
RL1 THRESHOLD
RL2 THRESHOLD
►
0700 mm
RL1 THRESHOLD
Level
SET
RL1 “ON”
RL1 “OFF”
RL1 RL1 RL1 RL1
RL1 RL1 RL1 RL1
Max.
Alarm
Max.
Alarm
Max level
allarm zone
700mm.
RPL75
reference point
RL1 THRESHOLD
RL1, MAX LEVEL ALARM
HYSTERESIS
Other manuals for RPL75
1
Table of contents
Other SGM LEKTRA Transmitter manuals
SGM LEKTRA
SGM LEKTRA KPT Guide
SGM LEKTRA
SGM LEKTRA MTU5 User manual
SGM LEKTRA
SGM LEKTRA RPL81 User manual

SGM LEKTRA
SGM LEKTRA PTU51 User manual
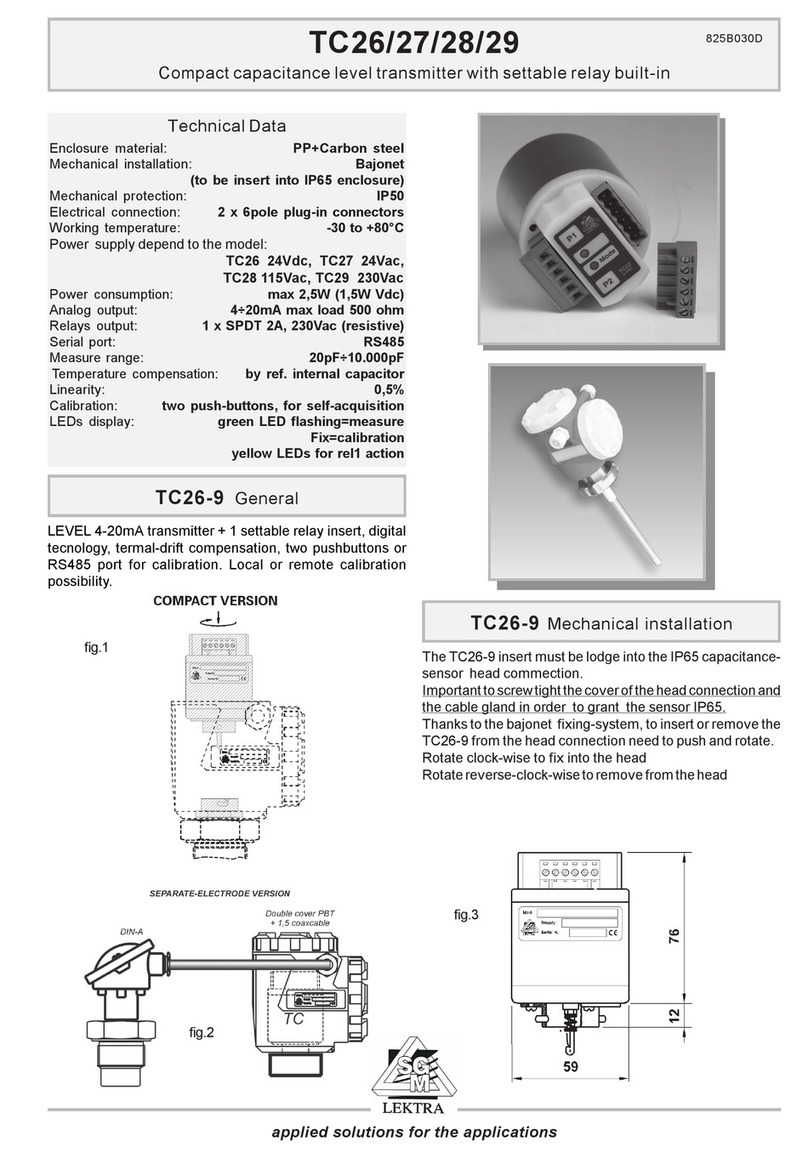
SGM LEKTRA
SGM LEKTRA TC26 User manual

SGM LEKTRA
SGM LEKTRA PTU05 User manual
SGM LEKTRA
SGM LEKTRA METER Series Quick start guide
SGM LEKTRA
SGM LEKTRA PTU50 Guide
SGM LEKTRA
SGM LEKTRA PTU50 User manual

SGM LEKTRA
SGM LEKTRA PTU15 User manual
