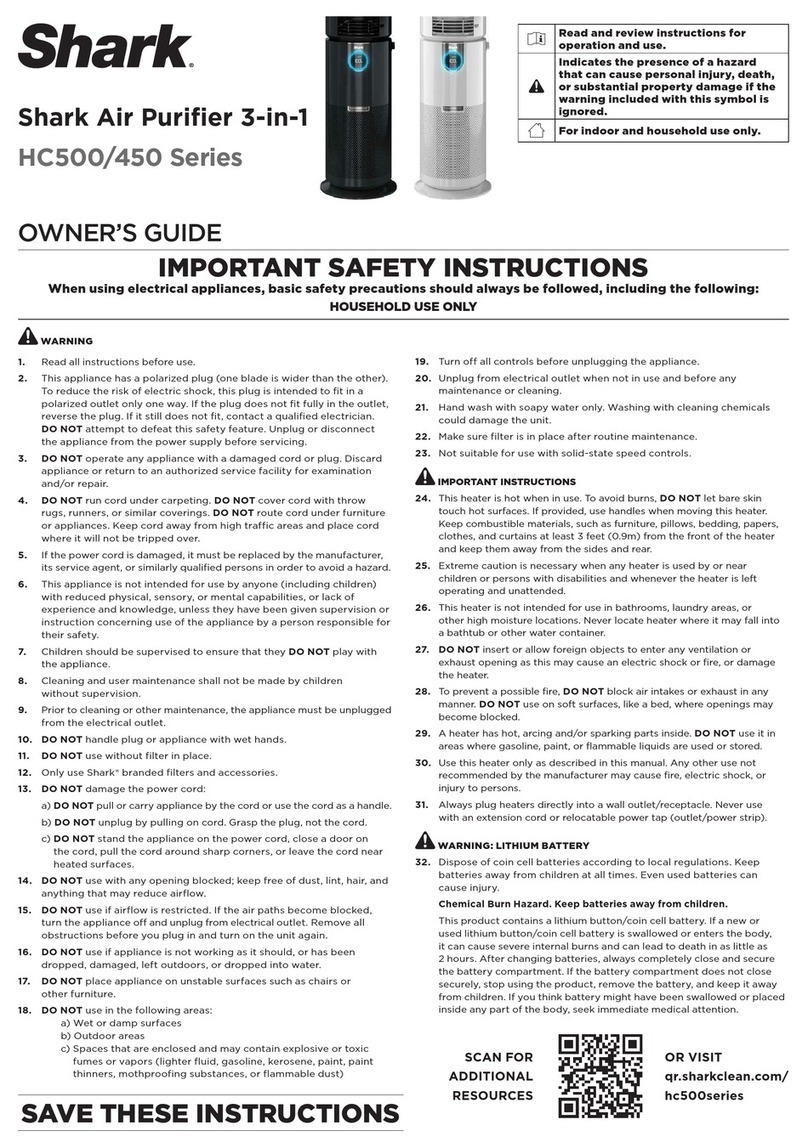
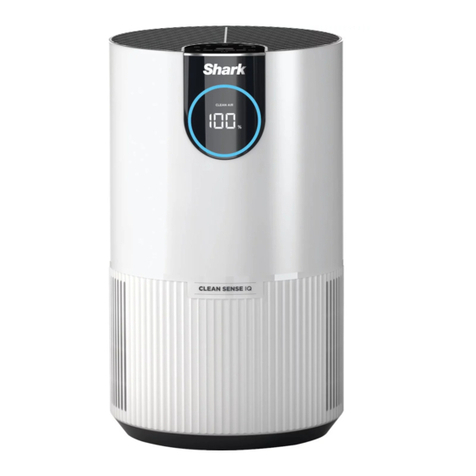
Shark HE400 Series User manual

Read and review instructions for
operation and use.
Indicates the presence of a hazard
that can cause personal injury, death,
or substantial property damage if the
warning included with this symbol is
ignored.
For indoor and household use only.
When using electrical appliances, basic
safety precautions should always be
followed, including the following:
Air Purifier
HE400 series
OWNER’S GUIDE
Remove Enclosed Filter From
Packaging Before Operating
visit
www.sharkclean.co.uk/air-purifier-HE400UK/IB
or scan here using your smartphone camera
IMPORTANT SAFETY INSTRUCTIONS
HOUSEHOLD USE ONLY • READ ALL INSTRUCTIONS BEFORE USE
NOTE: SAVE THESE INSTRUCTIONS. KEEP FOR FUTURE REFERENCE.
GENERAL WARNINGS
1. DO NOT operate with a damaged cord or plug. Discard or
return to an authorised service facility for examination
and/or repair.
2. DO NOT run cord under carpeting. DO NOT cover
cord with throw rugs, runners, or similar coverings.
DO NOT route cord under furniture or appliances.
Arrange cord away from traffic area and where it will
not be tripped over.
3. If the supply cord is damaged, it must be replaced by the
manufacturer, its service agent, or similarly qualified persons
in order to avoid a hazard.
4. This appliance is not intended for use by persons (including
children) with reduced physical, sensory or mental capabilities,
or lack of experience and knowledge, unless they have
been given supervision or instruction concerning use of the
appliance by a person responsible for their safety.
USE WARNINGS
5. Children should be supervised to ensure that they DO NOT
play with the appliance. Keep the cord out of reach of children.
6. Cleaning and user maintenance should not be done by children.
7. Prior to cleaning or other maintenance, the appliance must be
disconnected from the supply mains.
8. DO NOT handle plug or appliance with wet hands.
9. DO NOT use without filter in place.
10. Only use Shark®branded filters and accessories.
11. DO NOT damage the power cord:
a) DO NOT pull or carry appliance by the cord or use the cord
as a handle.
b) DO NOT unplug by pulling on cord. Grasp the plug, not
the cord.
c) DO NOT stand the appliance on the power cord, close a
door on the cord, pull the cord around sharp corners, or
leave the cord near heated surfaces.
12. DO NOT use with any opening blocked; keep free of dust, lint,
hair and anything that may reduce airflow.
13. DO NOT use if airflow is restricted. If the air paths become
blocked, turn the appliance off and unplug from electrical
outlet. Remove all obstructions before you plug in and turn on
the unit again.
14. DO NOT use if appliance is not working as it should, or has
been dropped, damaged, left outdoors, or dropped into water.
15. DO NOT place appliance on unstable surfaces such as chairs
or tables.
16. DO NOT use in the following areas:
a) Wet or damp surfaces
b) Outdoor areas
c) Spaces that are enclosed and may contain explosive or toxic
fumes or vapours (lighter fluid, petrol, kerosene, paint, paint
thinners, mothproofing substances, or flammable dust).
17. Turn off all controls before unplugging the appliance.
18. Unplug from electrical outlet when not in use and before any
maintenance or cleaning.
19. Hand wipe external surfaces with water only. Wiping with
cleaning chemicals could damage the unit.
20. Make sure filter is in place after routine maintenance.
REMOTE CONTROL BATTERY WARNINGS
21. The battery must be disposed of properly, including keeping it
away from children, as even used batteries can cause injury.
WARNING: Chemical Burn Hazard. Keep batteries away
from children.
This product contains a lithium button/coin cell battery. If
a new or used lithium button/coin cell battery is swallowed
or enters the body, it can cause severe internal burns and
can lead to death in as little as 2 hours. Always completely
secure the battery compartment. If the battery compartment
does not close securely, stop using the product, remove the
batteries and keep it away from children. If you think batteries
might have been swallowed or placed inside any part of the
body, seek immediate medical attention.
Unplug or disconnect the appliance
from the power supply before servicing.
WARNING
TO REDUCE THE RISK OF FIRE,
ELECTRIC SHOCK OR INJURY:
Read and review instructions for operation and use.
Indicates the presence of a hazard that can cause personal injury,
death, or substantial property damage if the warning included with this
symbol is ignored.
For indoor and household use only.
When using electrical appliances, basic safety precautions should always be
followed, including the following:

1. Before plugging in the unit for the
first time, you must remove the filter
and take it out of its packaging. First,
remove the filter cover from the back of
the unit. Press the tabs near the top and
pull the cover toward you.
2. Remove the filter from the unit. Take the
filter out of its sealed plastic packaging.
To reinstall it, insert it into the unit.
3. With the filter installed, replace the filter
cover. Insert the tabs on the bottom of
the cover into the slots on the unit. Press
the top of the cover, then the sides, until
it clicks into place. DO NOT run the air
purifier unless the filter is removed from
its packaging and installed correctly.
4. Set up the unit upright on a level floor.
For best results, set it up in the space
you spend the most time in, such as the
kitchen, living room, or bedroom. Make
sure the unit is at least 3 inches (8cm)
away from all walls, large objects, or
electronics.
5. Plug the unit into an electrical outlet
and press the power button on the top
control panel or on the remote.
6. When the unit is powered on, it will begin
to analyse the air quality indicated by the
rotating lights. After a few seconds the
unit will display the current air quality
and you can customise the settings on
your unit.
8cm+
4
32
Remove filter
from plastic
packaging
MAX
5
MAX
6
1
1
2
3
8
47
5
6
9
TIPS FOR SETTING UP YOUR UNIT
• Make sure the front panel of the unit faces away
from the closest wall.
• Do not move the unit while it is running. Turn
o the power and unplug the unit before
moving it.
• Use the handles on the sides when lifting or
moving the air purifier.
• Make sure the vents are not blocked.
• Do not place anything on the air purifier.
• Do not place the air purifier near heaters or
radiators.
• Keep the unit out of direct sunlight and away
from water or other liquid.
• Keep all nearby doors and windows closed
when operating the air purifier.
• Avoid using in very humid environments.
SETTING UP YOUR UNIT
Parts:
1. Top Control Panel
2. Front Panel
3. Handles
4. Front Display
5. Air Vents
6. Purifier Base
7. Filter
8. Filter Cover
9. Remote Control

1
5 6
2 43
CONTROL PANEL
Your Air Purifier is equipped with digital displays on both the top and front of the unit.
TOP CONTROL PANEL
Displays the current air quality status based on the air info
MAX
option selected, and includes controls that allow you to customise
the settings.
MAX
FRONT DISPLAY SCREEN
Displays the current air quality status based on the air info mode
selected on the top control panel.
TOP CONTROL PANEL BUTTONS
MAX
On/O: Press to turn the power on or o.
MAX
Air Info: Press to switch between air quality display options. See the
Air Info Settings section for more information.
MAX
Auto Mode: Automatically adjusts fan speed based on air quality.
If air quality decreases, fan speed will increase. When air quality is
100% fans will go into power-saving standby mode. Leave your unit in Auto
Mode for optimal filter life and performance.
MAX
Filter Life: Press to show the remaining filter life in hours. Once
the filter has 0 hours remaining, the filter life
MAX
button will flash
to indicate the filter needs to be changed. See Installing and Removing the
Filter section for more information.
MAX
Brightness: Adjusts the brightness of both the front display
screen and the top control panel. Switch between 3 options: full
brightness, partially dim, fully dim.
MAX
Shut-O Timer: Set the number of hours for the air purifier to run
before it automatically shuts o. Timer can be set between 1–12
hours.
MAX
Fan Speed: Adjusts the speed of the fan. Select one of 4 settings: 1
Low, 2 Medium, 3 High, 4 Maximum. Note: If fan speed is manually
changed, auto mode will be deactivated. For tips on optimal fan setting, see
Optimising Fan Speed section.
REMOTE CONTROL
Your air purifier includes a remote control that can turn the power on or o, and adjust the settings.
USING THE REMOTE CONTROL
To use the remote control, aim it at the front display screen and press the
buttons on the remote. The remote control has a range of 5 metres.
For best results, make sure no obstacles are between the remote control
and the display screen.
REMOTE CONTROL BATTERY
This remote uses AAA batteries. To replace the battery, follow the
steps below.
1. With a Phillips-head screwdriver (not included) unscrew the battery tray
on the back of the remote.
2. Slide out the battery tray.
3. Remove the old battery and dispose of it according to local regulations.
Take additional caution to keep old battery out of reach of children.
4. Insert the new battery, making sure the polarities (+) (–) are oriented
correctly.
5. Reinsert the battery tray and use the screw to completely secure it
in place.
REMOTE CONTROL BUTTONS
1.
MAX
Turns the unit on/o.
2.
MAX
Switch between air quality display options.
3.
MAX
Enables Auto Mode.
4.
MAX
Adjusts brightness.
5.
MAX
Adjusts fan speed.
6.
MAX
Sets timer.

AIR INFO SETTINGS
The built-in sensor detects your air quality to give you real-time information. Use the
MAX
button to switch between air quality display
options.
INFO TOP CONTROL
PANEL FRONT DISPLAY
SCREEN REAL-TIME READING
% CLEAN AIR
MAX
Displays the air quality rating:
• Poor (Red): 0%–69%• Fair (Yellow): 70%–84%• Good (Blue): 85%–100%
If your unit reads 100% this means your air quality is very good.
Should the air quality drop, the % will adjust accordingly.
TIME TO CLEAN AIR
MIN
MAX
Shows the estimated time remaining until your air is clean.
PARTICLE SIZES The PM (particulate matter) value is the amount of particulate in your air, measured in micrograms
(μg) per cubic metre. Your air purifier measures two particles sizes, PM2.5, and PM10.
PM2.5
MAX
MAX
Amount of PM2.5-sized particles in your air,
including smoke and bacteria.
PM10
MAX
MAX
Amount of PM10-sized particles in your air,
including dust, pollen, and mould.
UNDERSTANDING YOUR AIR QUALITY
The ring on the front and top displays will change colour as your air quality changes, allowing you to easily monitor your air quality even
when you are far from the unit.
GOOD
85–100%
A blue ring means your air quality
is good, with a low level of particle
concentration.
FAIR
70–84%
An amber ring means your air quality
is fair, with a moderate level of particle
concentration. For quicker results,
increase fan speed or select Auto Mode.
POOR
0–69%
A red ring means your air quality
is poor, with a high level of particle
concentration. For quicker results,
increase fan speed or select Auto Mode.
Note: Air quality sensor uses a cumulative particle count across all particle sizes to determine air quality percentage.
OPTIMISING FAN SPEED
Your air purifier is equipped with 4 fan speed settings. Adjust fan speed to optimise your cleaning performance.
DISPLAY SPEED BEST FOR
1Quiet Operation
2Reducing Odours
3Reducing Allergens
4Maximum Cleaning

INSTALLING AND REMOVING THE FILTER
NOTE: Always remove all protective packaging from the filter before installing.
When the filter timer has 0 hours remaining, the
MAX
button on the top control panel will blink, indicating that it’s time to install a new filter.
1. Turn o and unplug the unit before removing or installing filters.
2. Remove the back cover from the unit by pressing the tabs at the
top (1), then pulling the cover toward you.
3. To remove the old filter, pull it out by the tabs at the top and
bottom of the filter (2). Discard old filter in dustbin.
4. Remove all packaging and wrapping from the new filter.
5. Insert the new filter, then replace the filter cover. Insert the tabs
on the bottom of the cover into the slots on the unit (3). Press
the top of the cover, then the sides, until it clicks into place.
6. Plug the unit back in and turn on power. Calibration will begin.
7. After installing a new filter, press and hold the
MAX
button on the
top control panel for 3 seconds to reset the timer. The unit will
beep when the timer is activated.
Disposing of used filters
Filters cannot be cleaned or recycled. After removing a used filter, wrap it in an airtight plastic bag for disposal. As an extra precaution, wear
gloves when handling a dirty filter.
MAINTAINING YOUR AIR PURIFIER
NOTE: Always unplug the unit before doing any cleaning or maintenance.
Exterior Cleaning:
For best results, clean the exterior of the unit every two months or
as needed. Use a microfibre cloth to remove dust. To sanitise, wipe
down the exterior with a microfibre cloth dampened with warm,
soapy water. Avoid excess water and abrasive chemical cleaners to
prevent damage.
Interior Cleaning:
For best results, clean the interior of the unit every two months
or as needed. Remove the filter cover, take out the filter, and
use a vacuum cleaner or a microfibre cloth to remove dust and
debris from the interior of the unit. DO NOT use abrasive chemical
cleaners on the inside of the unit.
32
Remove
filter
from
plastic
packaging
1

AVAILABLE ACCESSORIES
ORDER ADDITIONAL ACCESSORIES AND REPLACEMENT FILTERS
Additional accessories and replacement filters are available on sharkclean.co.uk.
Remote Control
Use the remote control to operate your air purifier from a distance.
SHARK® AIR PURIFIER MULTI-FILTER
Removes 99.97% of particles down to 0.3 microns from the air and
is equipped with carbon for protection against household odours
and VOCs.
TROUBLESHOOTING
PROBLEM SOLUTION
My air purifier is not powering on. What should I do? • Make sure the unit is plugged in and that the outlet works. Press the power button to start air
purification.
• Make sure the filter cover is properly installed.
Why is there no air flow? • Increase the fan speed on your unit to improve performance.
• Make sure that all packaging is removed from the filter and it is properly installed in the unit.
• Unplug the unit and clean o any dust or debris from the intake and the air vent areas.
Why is my air purifier vibrating or making unusual loud
noises?
• Make sure the unit is set up on its base, and on a flat, level space on the floor.
Why does my air smell bad? • If there recently have been odours in the area, such as from cigarettes or food, allow more time
for the unit to remove them.
• Clean o any dust or debris from the intake and the air vent areas.
• The filter may need to be replaced.
Can I wash the filter? • No, the filter is not washable. Keep filter away from water and dispose of it when it is dirty.
How do I know when my air purifier is in Auto Mode? • The
MAX
button on the top control panel illuminates when the unit is in Auto Mode.
Customer Service
For further assistance, call 0800 8620453.
@sharkcleaninguk @sharkcleanuk
@sharkcleanuk

When a consumer buys a product in the UK, they get the benefit of legal rights relating to the quality of the product (your “statutory rights”).
You can enforce these rights against your retailer. However, at Shark® we are so confident about the quality of our products that we give the
product owner an additional manufacturer’s guarantee of up to two years - one year as standard, two years on registration. These terms and
conditions relate to our manufacturer’s guarantee only - your statutory rights are unaected.
The conditions below describe the prerequisites and scope of our guarantee. They do not aect your statutory rights or the obligations of your
retailer and your contract with them.
Shark® Guarantees
A household appliance like a Air Purifier constitutes a sizeable investment. Your new machine needs to work properly for as long as possible.
The guarantee it comes with is an important consideration - and reflects how much confidence the manufacturer has in its product and
manufacturing quality.
Every Shark® machine comes with a free parts and labour guarantee. Our customer service helpline (0800 862 0453) is open from 9.00am
to 6.00pm Monday - Friday. It’s free to call, and you’ll be put straight through to a Shark® representative. You’ll also find online support at
www.sharkclean.co.uk.
How do I register my extended Shark® guarantee?
You can register your guarantee online within 28 days of purchase. To save time, you’ll need the following information about your machine:
• Date you purchased the machine (receipt or delivery note).
To register online, please visit www.Sharkclean.eu/uk/register-guarantee. Products purchased directly from Shark® are automatically registered.
What is covered by the free Shark® guarantee?
Repair or replacement (at Shark’s discretion) of your Shark® machine, including all parts and labour. A Shark® guarantee is in addition to your legal
rights as a consumer.
What are the benefits of registering my free Shark® guarantee?
The key benefit is the additional one year guarantee. When you register your guarantee we’ll have your details to hand if we ever need to get in
touch. If you further agree to receive communications from us, you can also receive tips and advice on how to get the best out of your Shark® Air
Purifier and hear the latest news about new Shark® technology and launches.
If you register your guarantee online, you’ll get instant confirmation that we’ve received your details.
How long are new Shark® machines guaranteed for?
Our confidence in our design and quality control means that your new Shark® Air Purifier is guaranteed for a total of up to two years - one year as
standard, two years on registration.
Where can I buy genuine Shark® spares and accessories?
Shark® spares and accessories are developed by the same engineers who developed your Shark® Air Purifier. You’ll find a full range of Shark® spares,
replacement parts and accessories for all Shark® machines at www.sharkclean.co.uk.
Please remember that damage caused by use of non-Shark® spares is not covered under your guarantee.
What is not covered by the free Shark® guarantee?
1. Normal wear and tear of wearable parts, which require regular maintenance and/or replacement to ensure the proper functioning of your unit,
are not covered by this guarantee. Replacement parts are available for purchase at sharkclean.co.uk.
2. Any unit that has been tampered with or used for commercial purposes.
3.
Accidental damage and faults caused by negligent use or care, misuse, neglect, careless operation or handling of
the Air Purifier which is not in accordance with this Shark® Instruction booklet supplied with your machine.
4. Use of parts not assembled or installed in accordance with these instructions.
5. Faulty installation (except where installed by Shark®).
6. Repairs or alterations carried out by parties other than Shark® or its agents.
TWO (2) YEAR LIMITED GUARANTEE
HE400UK_IB_MP_210727_Mv2
PRINTED IN CHINA
PLEASE READ CAREFULLY AND KEEP FOR FUTURE REFERENCE.
This Instruction Guide is designed to help you get a complete understanding of your new Shark®
Air Purifier
.
Illustrations may dier from actual product. We are constantly striving to improve our products; therefore the specifications contained herein
are subject to change without notice.
© 2021 SharkNinja Operating LLC. SHARK is a registered trademark of SharkNinja Operating LLC.
SharkNinja Europe Limited,
3150 Century Way, Thorpe Park,
Leeds, LS15 8ZB, UK
+44 (0)800 862 0453
www.sharkclean.co.uk
SharkNinja Germany GmbH
c/o Regus Management GmbH,
Excellent Business Center 10
+11/Stock, Westhafenplatz 1,
60327 Frankfurt am Main, Germany
www.sharkclean.eu
Other manuals for HE400 Series
2
This manual suits for next models
1
Table of contents
Other Shark Air Cleaner manuals

Shark
Shark HE400 Series User manual

Shark
Shark HP100 Series User manual

Shark
Shark HP100EU User manual

Shark
Shark HE600 Series User manual

Shark
Shark HP100 Series User manual

Shark
Shark HP300 Series User manual

Shark
Shark HP200 Series User manual

Shark
Shark HC450 Series User manual

Shark
Shark HE600 Series User manual

Shark
Shark HP100 Series User manual