Sharp UX-222 User manual


WARNING.— AUSTEL Regulations state that no unauthorized changes or modifications
to this equipment are permitted. .
Note: Complies with the AUSTEL standards TS 002-1990 regarding Emission of
Electromagnetic Interference.
These limits are designed to provide reasonable protection against interference in an
installation. This equipment generates, uses and can radiate radio frequency energy and,
if not installed and used in accordance with the instructions, may cause interference.
However, there is no guarantee that interference will not occur in aparticular installation.
If this equipment does cause interference to radio or television reception, which can be
determined by turning the equipment off and on, the user is encouraged to try to correct
the interference by one or more of the following measures:
Reorient or relocate the receiving antenna. .
—
—Increase the separation between the equipment and receiver.
—Connect the equipment intoanoutleton acircuitdifferent from thattowhich the receiver
is connected.
—Consult the dealer or an experienced radio/TV technician for help.
FOR YOUR RECORDS
Please record below the model number and serial number, for easy reference, in
case of loss or theft. These numbers are located on the rear side of the unit.
Space is provided for further pertinent data.
Model Number
Serial Number
Date of Purchase
Place of Purchase

.
Congratulationsonyour purchase of the UX-222, and thank you for having chosen Sharp!
The UX-222 is G3 compatible, the most commonly usedtype of facsimilemachinetoday. It
combinesafacsimiletransceiverandansweringmachineintoasingleunit,enablingyoutoengage
in both fax and voice communication with convenience and economy. This makes it an ideal tool
for the office,nomatterhow big or small the scale of operation.
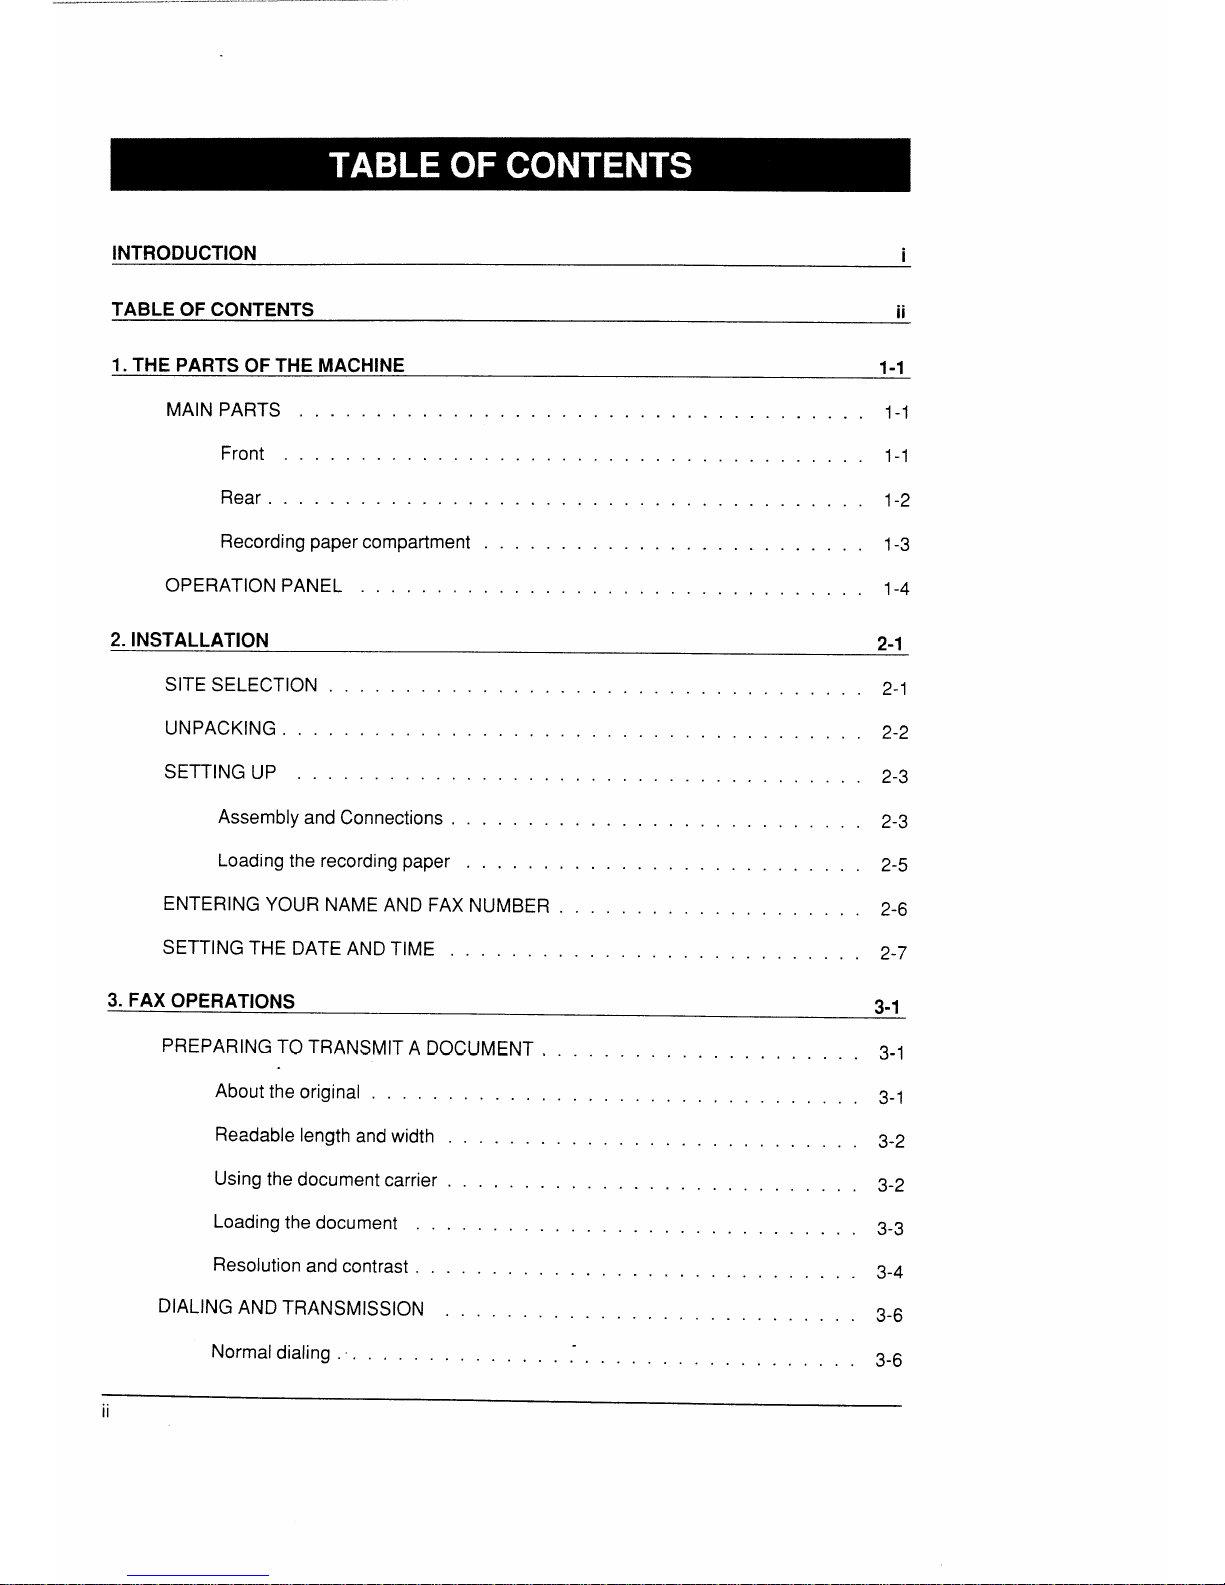
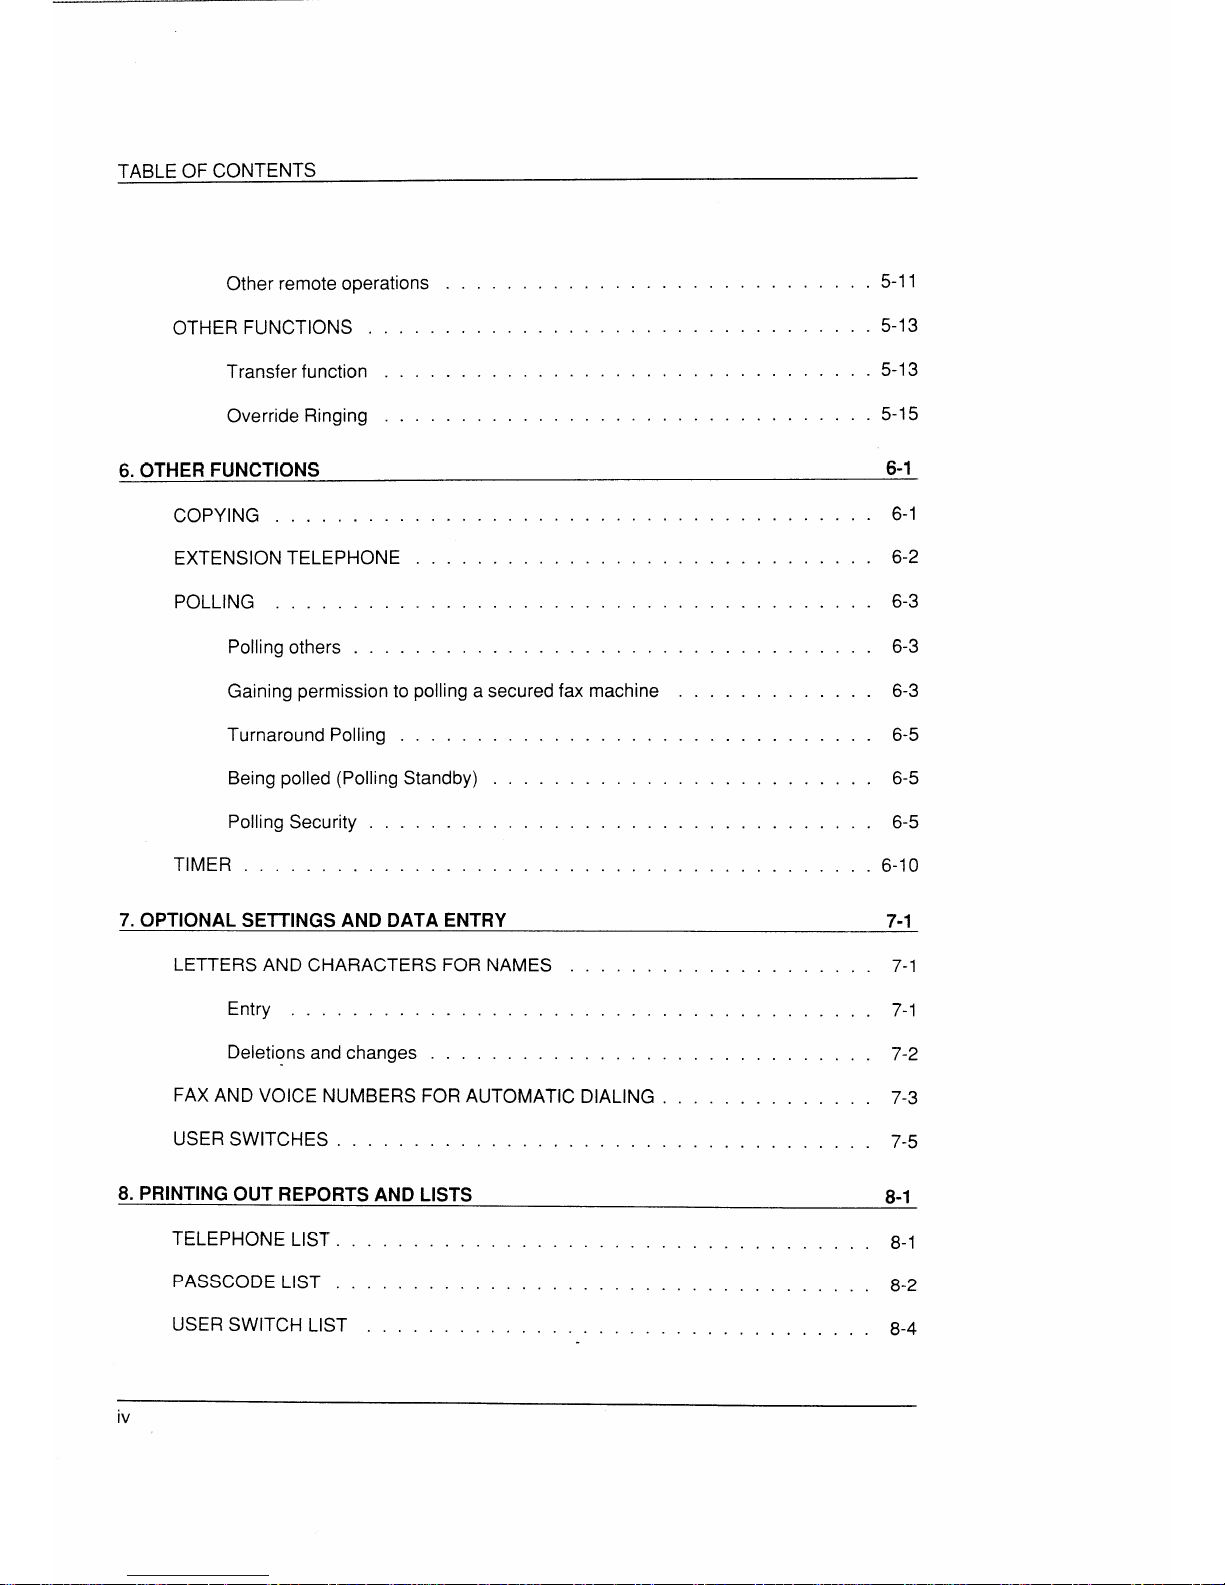
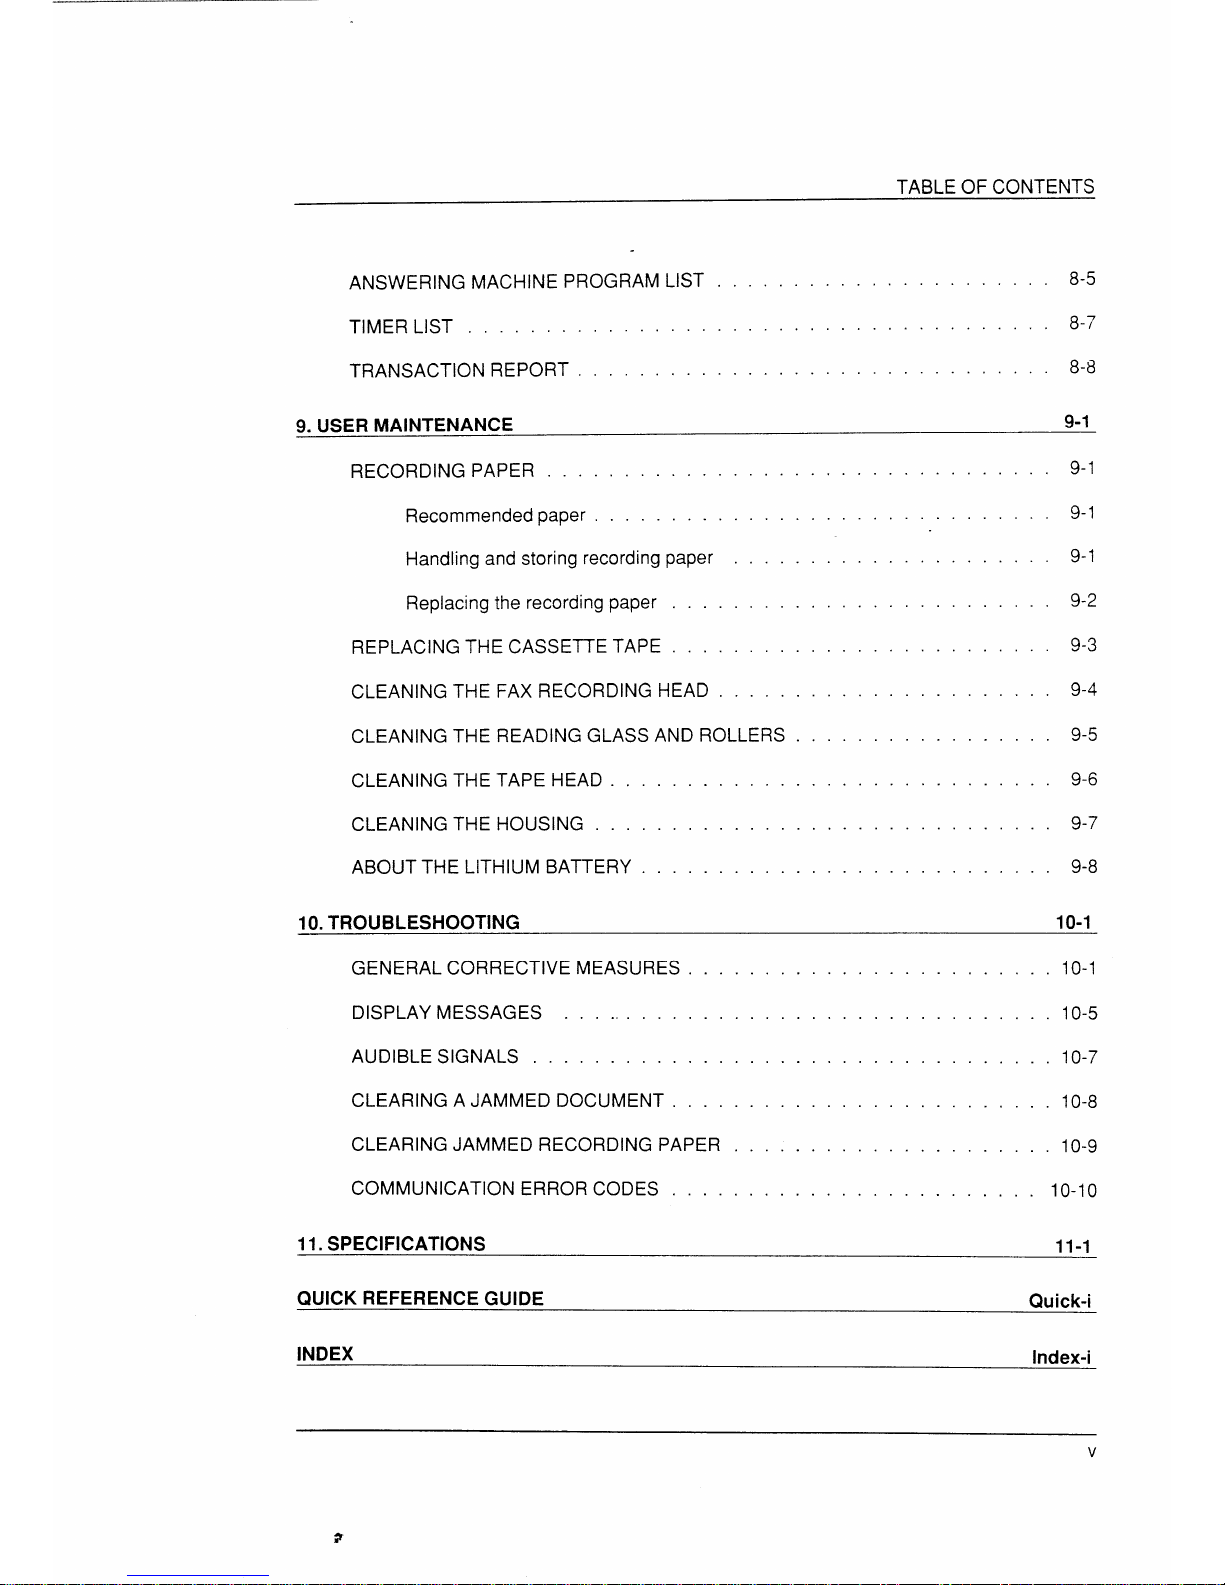
This manual gives you easy-to-follow instructions for installing and using the UX-222. The Table
of Contents will show you where instructionsfor using eachfeature are located. Whileyoumaynot
need to read every section in detail at first, we recommend you at least review them briefly.
The following conventions are used in this manual:
●Keys, switches, and labels on the machine are indicated in BOLD print.
●Messages appearing in the display are indicated in CAPITAL LETTERS.
If you have any questions or problems which cannot be solved by reading this manual, please
contact your Sharp dealer.
IMPORTANT
●Do not open tile mac-llinedu]-iflgope~-ation(tl-un.fmittinq,)-ece’il%ing,0/-cop>ing).
●Do )~otspill an>’liql[ids on IIzemuc]~i}~e.Tl~esecan da[?luqetl~ei)lte~-nal(i~-cl~itf->.
The Austel Registration
shown on the label on
numbers.
Your fax machine and the telephone system
Number and Ringer Equivalence Number (REN) for this equipment are
the back of the machine. The telephone company may require these
The sum of all Ringer Equivalence Numberson yourtelephone lineshould be three or less inorder
to assure proper service from the telephone company.
If any of your equipment is not operating properly, you should immediately remove it from your
telephone line, as it may cause harmto the telephone network. If the telephone company notes a
problem, they may temporarily disconnect service.
I

INTRODUCTION i
TABLE OF CONTENTS ii
1. THE PARTS OF THE MACHINE 1-1
MAIN PARTS , . . . . . . . , . . . . . . . . . . . . . . . . . . . . . . . . . . . . 1-1
Front . . . . . . . . . . . . . . . . . . . . . . . . . . . . . . . . . . . . . . 1-1
Rear. . . . . . . . . . . . . . . . . . . . . . . . . . . . . . . . . . . . . . . 1-2
Recordingpapercompartment ......................... 1-3
OPERATION PANEL ................................. 1-4
2.INSTALLATION 2-1
SITESELECTION . . . . . . . . . . . . . . . . . . . . . . . . . . . . . . . . . . . 2-1
UNPACKING. . . . . . . . . . . . . . . . . . . . . . . . . . . . . . . . . . . . . . 2-2
SETTINGUP . . . . . . . . . . . . . . . . . . . . . . . . . . . . . . . . . . . . . 2-3
AssemblyandConnections. .......................... 2-3
Loadingtherecordingpaper .......................... 2-5
ENTERINGYOUR NAMEAND FAXNUMBER. ................... 2-6
SETTINGTHE DATEANDTIME . . . . . . . . . . . . . . . . . . . . . . . . . . , 2-7
3.FAXOPERATIONS 3-1
PREPARING TOTRANSMITA DOCUMENT,
Abouttheoriginal . . . . . . . . . . . .
Readable length andwidth .......
Using the document carrier . . . . . . .
Loadingthedocument . . . . . . . . .
Resolutionandcontrast. . . . . . , . .
DIALING AND TRANSMISSION . . . . . . .
Normal dialing ..............
. . . .
. . . .
....
. . . .
. . . .
. . . .
. . . .
. . . .
. . .
. . .
. . .
,,.
. . .
,..
...
. . .
. . . .
. . . .
. . . .
. . . .
. . . .
. . . .
. . . .
. . . .
. . .
. . .
...
. . .
. . .
. . .
. . .
. . .
3-1
3-1
3-2
3-2
3-3
3-4
3-6
3-6
II

TABLE OF CONTENTS
Direct Keypad Dialing . . . . .
Using the Autodialer (automatic
Redialing when the line is busy
RECEIVING ADOCUMENT .
Modesof reception . .
Fax mode . . . . . . .
Telephone mode . . .
. . . . .
dialing)
Automatic Fax/Phone Changeover
Paper cutting ...........
4. USING THE UX-222 AS A TELEPHONE
..
——
3-7
3-7
3-8
3-9
3-9
3-10
3-10
3-11
3-12
4-1
5. USING THE ANSWERING MACHINE 5-1
SETTING UP . . . . . . . . . . . . . .
Answering machine modes ....
Recording the outgoing messages
Setting the time allowed for incoming messages
Setting for when the tape becomes full . . . . .
USING THE ANSWERING MACHINE . . . . . . . .
Activating the answering machine .......
Listening to received messages when you return
Erasing received messages . . . . . . . . . . .
Playing the tape back manually ..........
Checking the date and time of received messages
REMOTE OPERATIONS . . . . . . . . . . . . . . . .
Programming your remote code number . . . . .
Listening to your messages ............
5-1
5-1
5-2
5-3
5-4
5-5
5-5
5-5
5-6
5-7
5-8
5-9
5-9
5-9
...
Ill

TABLE OF CONTENTS
5-11
5-13
5-13
5-15
6-1
Other remote operations
OTHER FUNCTIONS . . . . .
Transfer function . . . .
Override Ringing . . . .
6. OTHER FUNCTIONS
. .
. .
. .
. .
. .
. .
. .
. .
. . .
. . .
...
...
. .
. .
. .
. .
. .
. .
. .
. .
COPYING . . . . . . . . .
EXTENSION TELEPHONE
POLLING .........
Polling others . . . .
. . . . . . . . . . . . . 6-1
............. 6-2
............. 6-3
............. 6-3
............. 6-3
............. 6-5
............. 6-5
. . . . . . . . . . . . . 6-5
.............6-10
. . .
. . .
. . .
. . .
. .
. .
. .
. .
. . .
. . .
. . .
...
. . .
...
. . .
. . .
....
. . . .
. . . .
. . . .
Gaining permission to polling asecuredfax machine
Turnaround Polling ..................
Being polled (Polling Standby) ............
Polling Security ....................
TIMER . . . . . . . . . . . . . . . . . . . . , . . . . . .
7. OPTIONAL SETTINGS AND DATA ENTRY 7-1
LETTERS AND CHARACTERS FOR NAMES
Entry ..................
Deletions and changes . . . . . . . . .
7-
7-
. .
. .
. .
. . .
. . .
. . .
. .
. .
. .
. .
. .
7-2
7-3
7-5
FAX AND VOICE NUMBERS FOR AUTOMATIC DIALING
USER SWITCHES . . . . . . . . . . . . . . . . . . . . .
8. PRINTING OUT REPORTS AND LISTS
TELEPHONE
PASSCODE L
LIST . . . . . . . . . . . . . . . . . . . . . . . . . . . . . . . . . . . 8-1
1ST ................................... 8-2
USER SWITCH LIST . . . . . . . . . . . . . . . . . . . . . . . . . . . . . . . . . 8-4
iv

TABLE OF CONTENTS
ANSWERING MACHINE PROGRAM LIST . . 8-5
. . 8-7
. . 8-8
. .
. .
. .
—
. . .
. . .
...
. .
. .
. .
. .
. .
. .
. .
. .
. .
TIMER LIST . . . . . . . -...... . .
. . .
TRANSACTION REPORT . . . . . .
9-1
9. USER MAINTENANCE
9-1
9-1
9-1
9-2
9-3
9-4
9-5
9-6
9-7
9-8
RECORDING PAPER . . . .
Recommended paper .
. .
. .
. .
. .
Handling and storing recording paper
Replacing the recording paper . . . .
REPLACING THE CASSETTE TAPE . . . .
CLEANING
CLEANING
CLEANING
CLEANING
THE FAX RECORDING HEAD .
THE READING GLASS AND
THE TAPE HEAD . . . . . .
THE HOUSING . . . . . . .
ROLLERS
. . . . . .
......
. . . . . .
ABOUT THE LITHIUM BATTERY . . . .
10.TROUBLESHOOTING 1o-1
GENERAL CORRECTIVE
DISPLAY MESSAGES .
AUDIBLE SIGNALS . . .
MEASURES .
. . .. . . . . s
........
10-1
10-5
10-7
10-8
10-9
10-10
—
. .
. .
. .
. .
. .
. .
CLEARING
CLEARING
AJAMMED DOCUMENT . .
JAMMED RECORDING PAPER
COMMUNICATION ERROR CODES . . . .
11. SPECIFICATIONS 11-1
QUICK REFERENCE GUIDE Quick-i
INDEX Index-i
v

TABLE OF CONTENTS
Notes
vi

.,.”—.. --.. -—. -.--. --. ”——-— ....—-.——-—-——
“\
MAINPARTS
Front
12 3
1
2
3
4
5
6
7
8
9
456 78 9
Handset
Use the handset for ordinary telephone conversations or to listen for fax connection tones.
Tape compartment cover
Pull upon the tab on the cover to open the tape compartment.
Adjustable document guide
When transmitting or copying adocument, set these guides to the width of the document.
Microphone
This is activated when you record the outgoing message for the answering machine.
Operation panel
Use the keys on the operation panel to input instructions to the machine.
Original document exit
The original comes out ofthe machine hereafter beingscannedfor transmission orcopying.
Operation panel knob
Pull this knob to open the operation panel.
Document feeder
Documents to be transmitted or copied are placed face down here.
Received document tray
Holds received documents and copies.
THE PARTS OF THE MACHINE 1-1

MAIN PARTS
Rear
1
2
3
4
5
6
7
8
9
12 34 5
D
RINGING SPEAKER DIAL
VOLUME VOLUME . ,
HML H- .
67 8 9 10
POWER switch
Turns the machine on and off.
Received document exit
Received documents and copies come out of the machine here.
Tape compartment
This holds the micro-cassette tape for recording incoming messages with the answering
machine.
Monitor speaker
Voices or fax tones are heardfrom herewhen the SPEAKER key ispressed before dialing.
Handset jack
The handset cord is inserted into this jack.
Power cord
Connects the-machine to apower outlet.
Telephone line jack (TEL. LINE)
The telephone line is inserted into this jack.
Ringing volume selector
Usethis to adjust the ringing volume.
Speaker volume control
Usethis to adjust the speaker volume.
10 Line selector
Use this to set the fax machine to the type of telephone line you are on (tone “T” or pulse
“P”).
1-2 THE PARTS OF THE MACHINE

MAIN PARTS
.
Recording paper compartment
12345
1Document rollers
These move the document through the machine during scanning.
2Reading glass
This scans the document for transmission and copying.
3Recording paper compartment
Holds the rollofrecordingpaper.
4Recording head
Appliesheattotherecordingpapertoprintoutdocumentswhich have been received.
5Paper cutter guide
The end of the recording paper isfed through here.
THE PARTS OF THE MACHINE 1-3

1
2
3
4
5
6
7
8
OPERATIONPANEL
12 34 5 67 8
TI11- I1II
<(1III)1 RECEnlONM03E )
\J
LI
●CGW ●REC 4PLAV *R6ti 8STOP RESO.1
mFLINCTIW
)01 02 03 04 05 I
Liquid crystal display
Displaysvarious messages during operation and programming.
SPEEDDIALkey
Pressthis key to entera 2-digit Speed Dial number,
REDIAL key
Press this key to automatically redial the last number dialed, or to enter apause during
programming.
RESOLUTION key
Usethis key to adjust the resolution and contrast for transmitting or copying adocument.
FUNCTION key.
Usethis keyto selectvariousspecialfunctionsandenterdata. Prompts indicating selections
will appear on the display.
POLLING key
Usethis key to poll (activate receptionsfrom) other machines.
Reception mode indicator
This lights next to the reception mode currently selected.
RECEPTION key
Usethis key to select the mode of reception.
1-4 THE PARTS OF THE MACHINE

OPERATION PANEL
.
9 10 111213
\
STOP
mSTART COPY
o
9OGMkey
Press this key to record the outgoing message for the answering machine.
10 REC key
Press this key to record atelephone conversation.
11 PLAY key
Press this key to play back arecorded message.
12 REW key
Press this key to rewind the tape.
13 STOP key
Press this key to stop the tape.
THE PARTS OF THE MACHINE 1-5

OPERATION PANEL
I II
14 15 16
14 Numeric keys (0 to 9,*, #)
17 II
18 19
Usethese keys to dial numbers and enter various kinds of data.
15 SPEAKER key
Pressthis key to dial
16 HOLD key
Pressthis key to put
1? Rapid Keys (01 to 20)
anumber without picking upthe handset.
the other party on hold during atelephone conversation.
Usethese keys to dial fax and voice numbers automatically.
18 STOP key
Use this key to terminate operations before they are completed. It also serves as aclear
keyfor programming and data entry.
19 START/COPY key
Usethis key to start transmission, reception, or copying. It also serves as an entry key for
programming and data entry.
1-6 THE PARTS OF THE MACHINE

.
SITESELECTION
Take the following points into consideration when selecting asite for your UX-222:
ENVIRONMENT
●The machine must be installed on a levelsurface.
●Keep the machine away from air conditioners, heaters, direct sunlight, and dust.
●Provide easy access to the front, back, and sides of the machine.”In particular,
keep the area in front of the machine clear, or the original document mayjam as it
comes out after scanning.
●The temperature should be between 5°and 35”C.
●The humidity should be between 300/0and 850/~(without condensation).
ELECTRICITY
●A240 V, 50 Hz, grounded (3-prong) AC outlet is required.
~>Note:
●If >-ourarea e.rperiences ahigh incidence of [ightningor power surges, we recommend that )JOU
“.
install asurge protectorj-or thepowlerand telephone lines. Surgeprotectors can be purchased at
most telephone specialh’ stores.
TELEPHONE JACK
Astandard telephone wall jack must be located near the machine.
INSTALLATION 2-1

.. ..
UNPACKING
Take the machine out of the box carefully, and remove all packing material. Make sure you
have all the items listed below. If any are missing, contact your dealer.
Document carrier
Received
document tray p
dd
report
//,
F
J
Handset
/Business products
dealer installation
!P~< ‘apidkey’abe’s
‘oWarranty card
[&@Operation manual
~Machine
~>Note:
●l)?addition to tlzcabo~eitems, >*oL[s~~ouldlza~’ea~lF080TP adapto~-(fax-li~~eco~-d).T}zisis supplied
sepa]-ateljbj.\’ouI-deale]-.
. .
2-2 INSTALLATION

SEITING UP
Assemblv and Connections
1. Pull the operation panel knob on the right side of
the machine forward, and open the operation
panel. Remove the packing paper from the paper
compartment.
2.
3.
4.
Plug the power cord into a 240 V, 3-prong AC
outlet. Setthe POWER switch to ON toturn onthe
power.
Open the cassette compartment cover. Insertthe
cassette into the compartment with Side Aup as
shown. Firstinsert itinthe direction ofArrow 1,and
then press down inthe direction of Arrow 2. Close
the cover.
●Ifthe tape is loose,tighten itbefore insert-
ing the cassette.
2U ‘
Insertone end of the handset cord intothe jack at I
the base ofthe handset, andthe other end intothe
jack on the left side of the machine. The ends are
identical, so they will go into either jack. Placethe 3’
0
handset on the handset rest. *4
&
@
INSTALLATION 2-3

SETTING UP
5.
6.
Insertthe small modular plug which terminates the
F080TP adaptor linecord intothejack onthe back
of the machine marked TEL. LINE. Plug the
F080TP adaptor into the telephone jack on the
wall.
Mountthe receiveddocument tray by insertingthe
tabs of the tray into the holes at the rear of the
machine.
T. Adjusttheswitches onthe Ieftside ofthe ma;hine:
●DIAL: This switch sets the mode of dial-
ing. Select Tif you are on a touch-tone
line,or Pifyou are on a pulse dial (rotary)
line.
Note: If this setting is incorrect, you will
not be able to make acall.
●SPEAKER VOLUME: Adjust the setting
from high (H) to low (L) as desired.
●RINGING
high (H),
desired.
VOLUME: Set the switch at
medium (M), or low (L) as —
IRINGING SPEAKER
VOLUME VOLUME DIAL I
WARNING NOTICE: For all units installed in NewZealand, only the Tsetting for tone dialing is
permitted. The Psetting for pulsedialingdoesnotoperateproperlyandmustnot be used.
2-4 INSTALLATION

SETTING UP
Loading the recording paper
1.
2.
3.
4.
Unwrap the roll of recording paper.
Pull the operation panel knob on the right side of
the machine forward, and open the operation
panel. The buzzer will sound briefly.
Place the roll of paper in the paper compartment
so that the hubs on each end of the paper com-
partment fit intothe ends ofthe roll.The hubonthe
leftendofthe compartment ismounted on aspring
to allow for inseftion.
●Important: The roll should be placed so
that the leading edge of the paper feeds
from the top of the roll.
Passthe leading edge ofthe paper underthecutter
guide andpull itoutthrough the receiveddocument
exit. Remove any slack.
s. Close the operation panel by gently pushingdown
onthe center.Ashort length ofthe recordingpaper
will be fed out and cut off.
●Ifthis does nothappen, repeatthe loading
procedure.
INSTALLATION 2-5

ENTERING YOUR NAME AND FAX NUMBER
‘<ournameandfax number (calledthe“Sender’s name”and“Sender’snumber”)areusedinseveral
functions which the machine performs. In particular, they are printed at the top of each page you
transmit. To give the machine your name and fax number. press the panel keys as shown in the
procedure
Note:
●T()
●T(I
7
,,
below.
etlte?”l(~tte~-,~,f?)i->’OUI-IIume.see “Lctte}-.vand (ha~-a(tel-s~ol-nanles”itzChaptel-7.
Step Press these keys:
PROCEDURE
Comments
FUNCTION
1mm Enter ENTRY MODE.
—...—
2~~~1 WI Scroll down to OWN FAX# SET.
—
S- A,- :3..
3noPress START/COPY to select it.
(Example)
Enter your fax number (max. of 20 digits) with the
numeric keys. (To insert aspace between digits,
press the “#” key.To insert a“+”, press the ‘k” key.)
5.-.-.
D
/.
\Press START/COPY.
[2j~ml . . .
r1~] Enteryourname (max.of24characters) .(see’’Letters
6andcharactersfor names” in Chapter 7). If you don’t
(Example) want to make an entry, skip this step.
—
.,42 ~-,-. . .
711
<> Press START/COPY.
8STOP Press STOP to exit ENTRY MODE,
-.
2-6 INSTALLATION
Table of contents
Other Sharp Fax Machine manuals

Sharp
Sharp FO-135 User manual

Sharp
Sharp FO-2950M - B/W Laser - All-in-One User manual

Sharp
Sharp FO-2200 User manual

Sharp
Sharp FO-1660 User manual

Sharp
Sharp FO-781 User manual

Sharp
Sharp UX-A255 User manual

Sharp
Sharp FO-4ML User manual

Sharp
Sharp UX-E800 User manual

Sharp
Sharp FO-3150 User manual

Sharp
Sharp FO-780A User manual