manuals.online logo
Brands
  1. Home
  2. •
  3. Brands
  4. •
  5. Sharp
  6. •
  7. Stereo System
  8. •
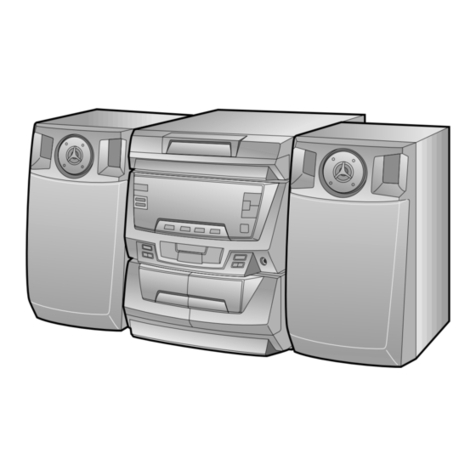
  9. Sharp CD-BA2600 User manual

Sharp CD-BA2600 User manual

This manual suits for next models

1

Other Sharp Stereo System manuals

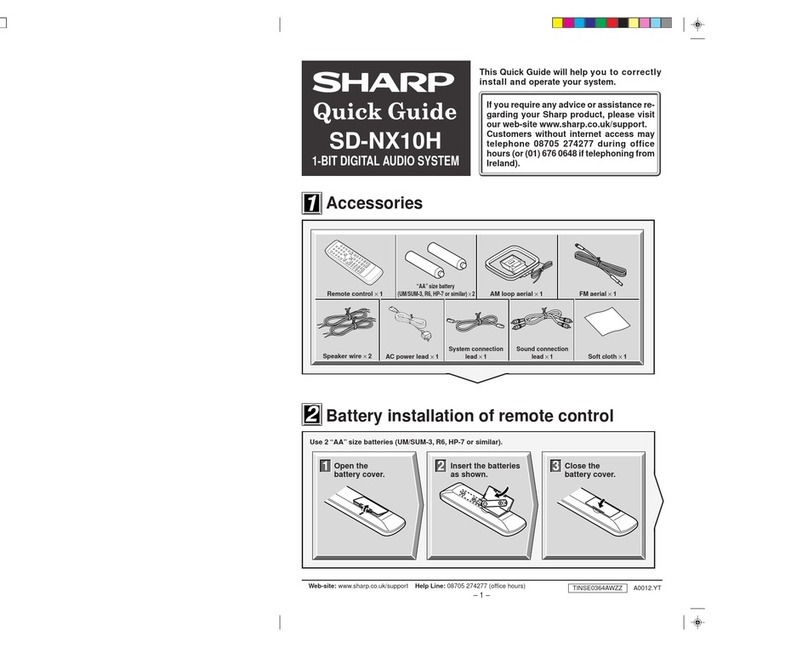
Sharp CD-MPS660H User manual

Sharp

Sharp CD-MPS660H User manual

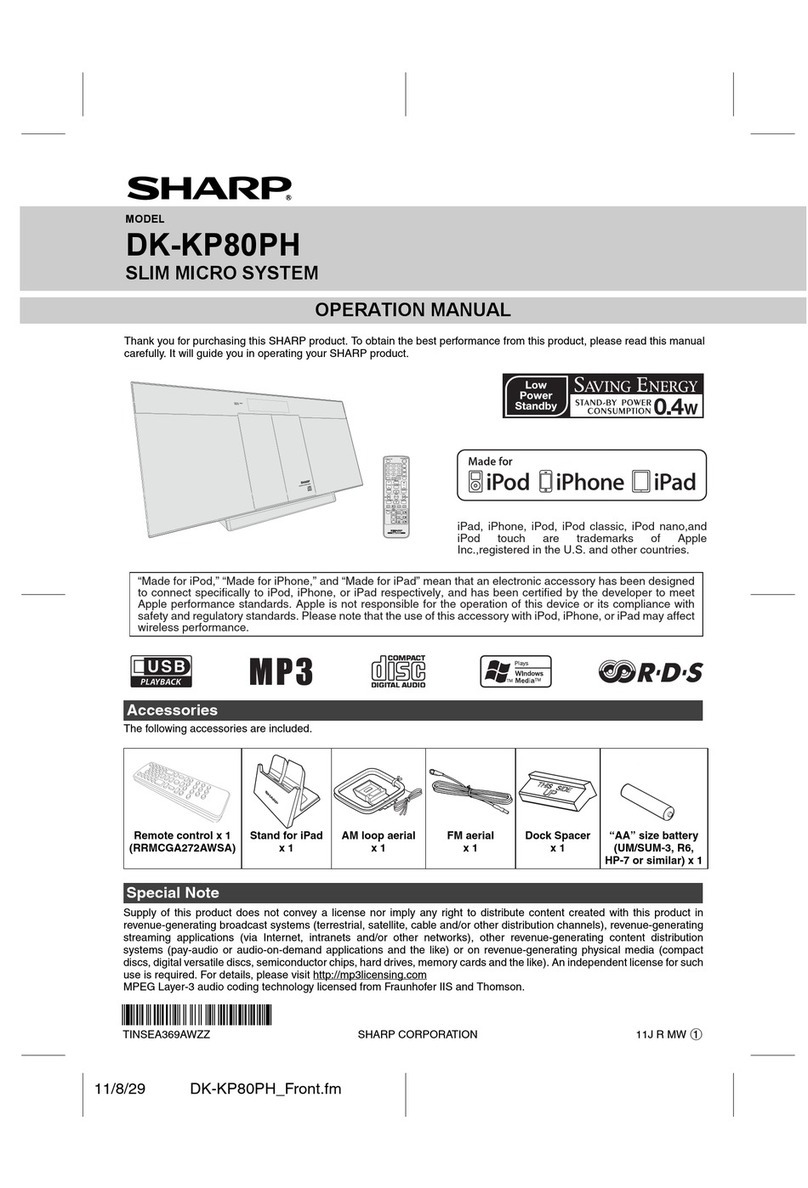
Sharp XL-MP40H User manual

Sharp

Sharp XL-MP40H User manual

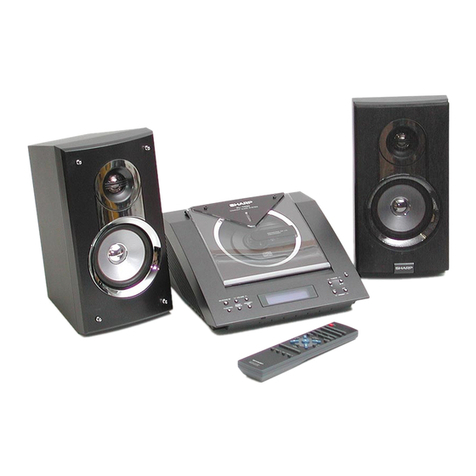
Sharp CD-MPS900 User manual

Sharp

Sharp CD-MPS900 User manual

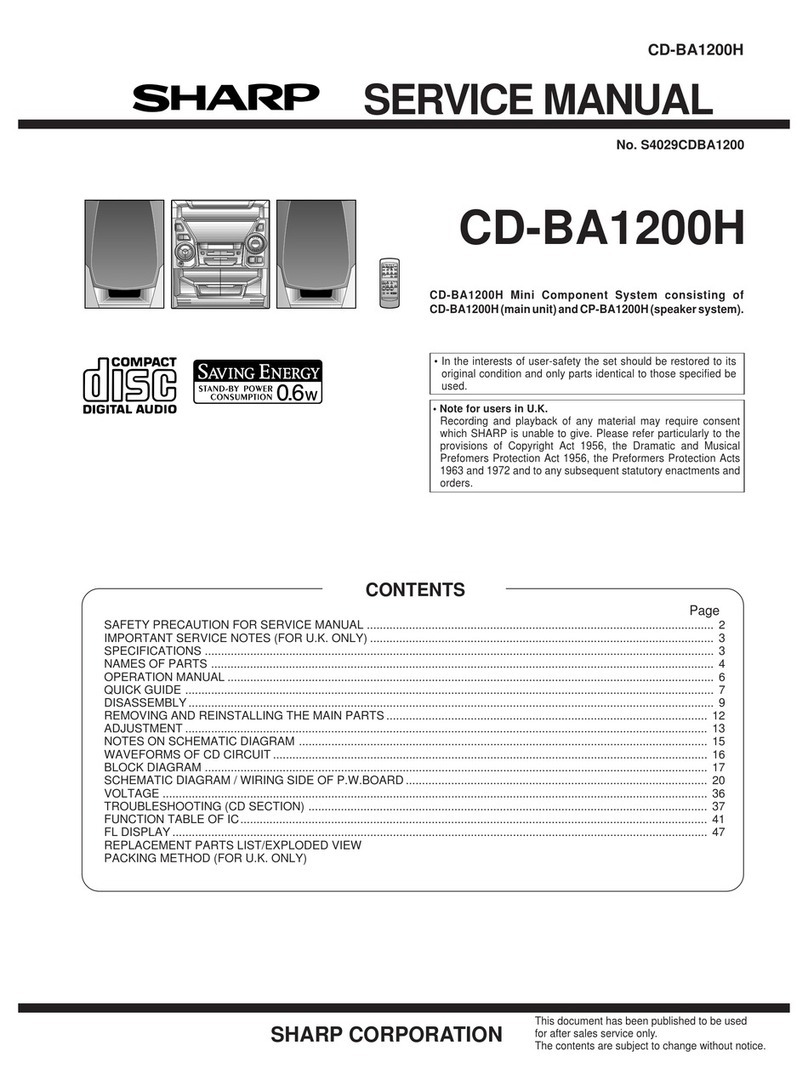
Sharp CD-BK3100W User manual

Sharp

Sharp CD-BK3100W User manual

Sharp CD-K7000W User manual

Sharp

Sharp CD-K7000W User manual

Sharp XL-E80E User manual

Sharp

Sharp XL-E80E User manual

Sharp CD-MPX880H User manual

Sharp

Sharp CD-MPX880H User manual

Sharp CD-C250X BK User manual

Sharp

Sharp CD-C250X BK User manual

Sharp CD-ES900 User manual

Sharp

Sharp CD-ES900 User manual

Sharp CP-UH240H User manual

Sharp

Sharp CP-UH240H User manual

Sharp XL-HP600E User manual

Sharp

Sharp XL-HP600E User manual

Sharp VZ-1600H User manual

Sharp

Sharp VZ-1600H User manual

Sharp CD-XP250E User manual

Sharp

Sharp CD-XP250E User manual

Sharp XL-UH240H User manual

Sharp

Sharp XL-UH240H User manual

Sharp XL-3000C User manual

Sharp

Sharp XL-3000C User manual

Sharp CD-C471H User manual

Sharp

Sharp CD-C471H User manual

Sharp XL-HP700H User manual

Sharp

Sharp XL-HP700H User manual

Sharp XL-LS703B User manual

Sharp

Sharp XL-LS703B User manual

Sharp XL-B520D User manual

Sharp

Sharp XL-B520D User manual

Sharp CD-DVD500H User manual

Sharp

Sharp CD-DVD500H User manual

Sharp QT-CD131H User manual

Sharp

Sharp QT-CD131H User manual

Sharp CD-XP700 User manual

Sharp

Sharp CD-XP700 User manual

Sharp QT-CD210H User manual

Sharp

Sharp QT-CD210H User manual

Sharp CD-MPX860H User manual

Sharp

Sharp CD-MPX860H User manual

Popular Stereo System manuals by other brands

Sony HCD-VX88 Service manual

Sony

Sony HCD-VX88 Service manual

Philips MCM398D/12 user manual

Philips

Philips MCM398D/12 user manual

Sony CMT-SPZ90DB operating instructions

Sony

Sony CMT-SPZ90DB operating instructions

LG OM4560 owner's manual

LG

LG OM4560 owner's manual

JVC UX-G3 instructions

JVC

JVC UX-G3 instructions

Odys ODYS - LOOP instruction manual

Odys

Odys ODYS - LOOP instruction manual

Aiwa NSX-AJ700 Service manual

Aiwa

Aiwa NSX-AJ700 Service manual

Panasonic SC-AK100 operating instructions

Panasonic

Panasonic SC-AK100 operating instructions

Bogen NEARSCAPES 4.1 manual

Bogen

Bogen NEARSCAPES 4.1 manual

Panasonic SCPM29 - MINI HES W/CD PLAYER operating instructions

Panasonic

Panasonic SCPM29 - MINI HES W/CD PLAYER operating instructions

Meyer LD-3 operating instructions

Meyer

Meyer LD-3 operating instructions

THOMSON MIC302U manual

THOMSON

THOMSON MIC302U manual

Philips MCM530 Service manual

Philips

Philips MCM530 Service manual

Sony SS-CEP50 Service manual

Sony

Sony SS-CEP50 Service manual

Cetacea Sound CVS-II user guide

Cetacea Sound

Cetacea Sound CVS-II user guide

Sony MHC-V21D Service manual

Sony

Sony MHC-V21D Service manual

Denon UCD-250 Service manual

Denon

Denon UCD-250 Service manual

Exibel BDX600-UK user manual

Exibel

Exibel BDX600-UK user manual

manuals.online logo
manuals.online logoBrands
  • About & Mission
  • Contact us
  • Privacy Policy
  • Terms and Conditions

Copyright 2025 Manuals.Online. All Rights Reserved.

– 1 –
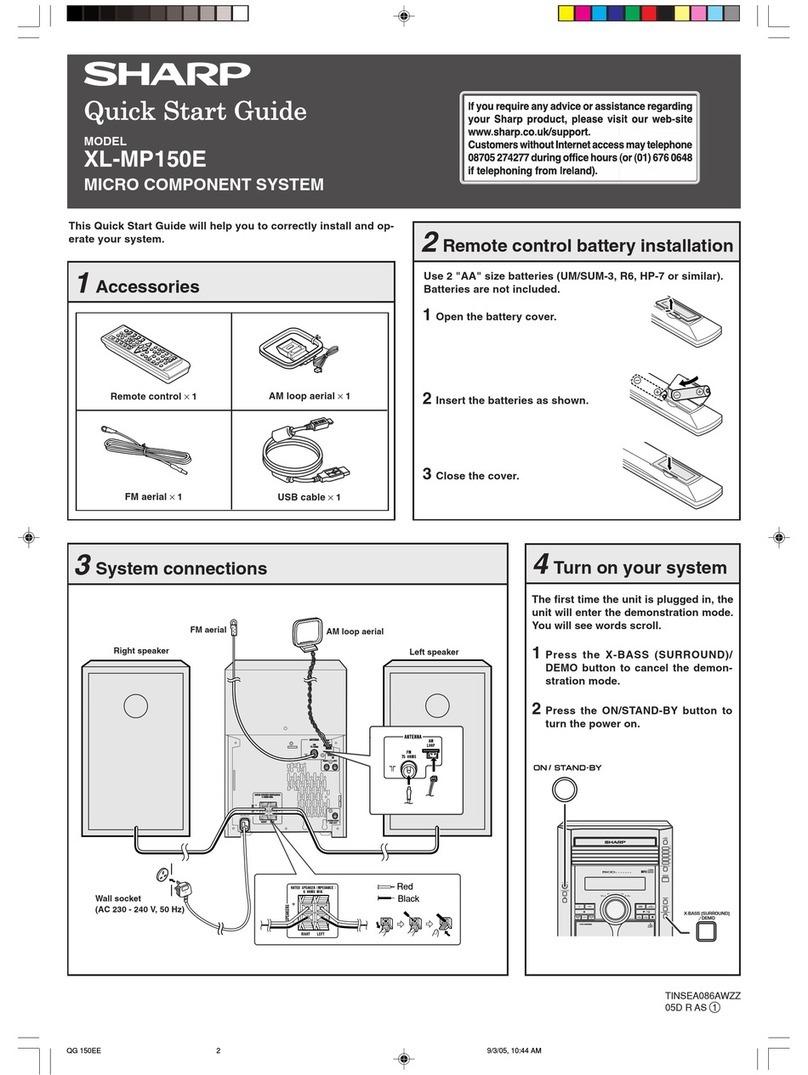
Accessories
Accesorios
FM/AM loop antenna × 1
Antena de cuadro de FM/AM
×
1
Remote control × 1
Controlador remoto
×
1
1
1
CD-BA250
CD-BA2600
MINI COMPONENT SYSTEM
SISTEMA MINI
This Quick Guide will helpyou to correctly
install and operate your system.
Esta guía rápida le ayudará a instalar y operar
correctamente su sistema.
1 2 3
Battery Installation of the Remote Control
Instalación de las pilas del controlador remoto
Use 2 “AA” size batteries (UM/SUM-3, R6, HP-7 or similar). Batteries are not included.
Use dos pilas del tamaño “AA” (UM/SUM-3, R6, HP-7 o equivalentes). Las pilas no están incluidas.
Remove the
Insert the batteries
Replace the cover.
battery cover.
as shown.
Extraiga la cubierta Inserte las pilas Vuelva a colocar la
de las pilas. como se muestra. cubierta.
2
2
TINSZ0649AWZZ Printed in Malaysia A0012.HK
Impreso en Malaysia
*BA250_QG 00.12.27, 1:34 PM1
– 2 –
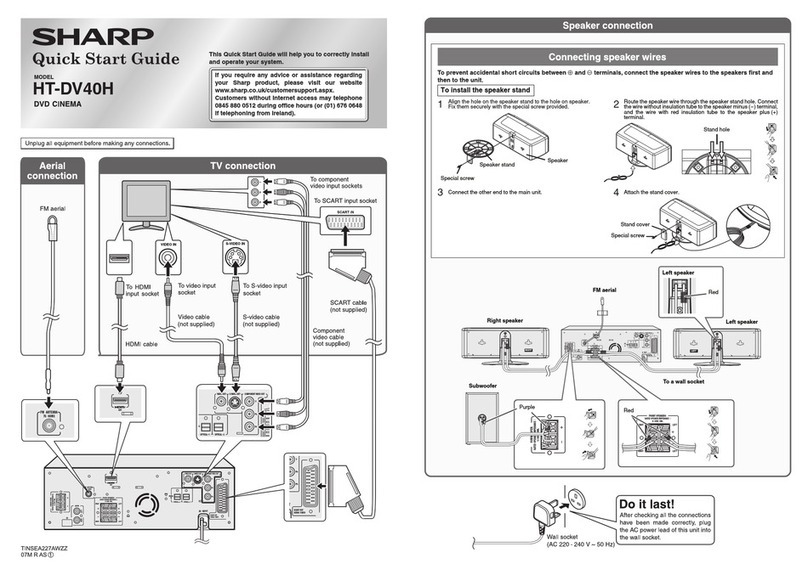
System Connections
Conexiones del sistema
3
3
AM loop antenna
Antena de cuadro de AM
FM antenna
Antena de FM
Red
Rojo
Black
Negro
Right speaker
Altavoz derecho
Left speaker
Altavoz izquierdo
AC outlet
(AC 120 V, 60 Hz)
A un tomacorriente de
CA (120 V de CA, 60 Hz)
Right speaker
Altavoz derecho
Left speaker
Altavoz izquierdo
RCA cord
(not supplied)
Cable RCA
(no suministrado)
To the line
output jack
A la toma de
salida de línea
VCR
Videograbadora
TV
TV
*BA250_QG 00.12.27, 1:34 PM2
– 3 –
Turning on Your System
Conexión de la alimentación de su sistema
4
4
The first time the unit is plugged,
the unit will enter the demonstra-
tion mode. You will see words
scroll.
Cuando se enchufe por primera vez
el aparato, se establecerá en el
modo de demostración. Verá un
desplazamiento de palabras.
12
Press the
X-BASS/DEMO
button to cancel
the demonstration
mode.
Pulse el botón
X-BASS/DEMO para
cancelar el modo de
demostración.
Press the ON/
STAND-BY button to
turn the power on.
Pulse el botón ON/
STAND-BY
para
conectar la
alimentación.
Listening to a CD (CDs)
Audición de un disco CD (discos CD)
1Press the CD button.
Pulse el botón CD.
2Press the 77
77
7 OPEN/CLOSE button to
open the disc tray.
Pulse el botón
77
77
7
OPEN/CLOSE para abrir
la bandeja de discos.
3Place the CD(s) on the disc tray, label
side up.
When loading a third disc, press the
DISC SKIP button to turn the disc tray,
then place the CD in the open position.
Coloque el disco compacto en la bandeja
de discos, con el lado de la etiqueta hacia
arriba.
Cuando ponga un tercer disco, pulse el
botón DISC SKIP para girar la bandeja de
discos, y coloque el disco compacto en la
posición abierta.
4Press the 77
77
7 OPEN/CLOSE button to
close the disc tray.
Pulseelbotón
77
77
7
OPEN/CLOSEparacerrar
la bandeja de discos.
5To select the CD you want to listen to
first, press one of ss
ss
s1 - ss
ss
s3 buttons on
the remote control.
Para seleccionar el disco CD que desee
escucharprimero,pulseunodelosbotones
s
1 -
s
3 del controlador remoto.
6Press the 0 / R0 / R
0 / R0 / R
0 / R button to start playback.
Pulse el botón
0 / R
para iniciar la
reproducción.
5” (12 cm)
12 cm
3” (8 cm)
8 cm
*BA250_QG 00.12.27, 1:34 PM3
– 4 –
Listening to a Cassette Tape (TAPE 1 or TAPE 2)
Audición de una cinta de cassette (TAPE 1 o TAPE 2)
Listening to the Radio
Audición de la radio
FM stereo mode indicator
Indicador del modo de FM en estéreo
FM stereo receiving indicator
Indicador de recepción de FM en estéreo
1Open the cassette door by pushing the
area marked “77
77
7 PUSH EJECT”.
Abra la puerta del cassette pulsando la
parte marcada “
77
77
7
PUSH EJECT”.
2Load a cassette into the TAPE 1 or TAPE
2 cassette compartment with the side to
be played facing toward you.
Cargue un cassette en el compartimiento
de cassette de TAPE 1 o de TAPE 2 con la
cara a reproducirse encarada hacia usted.
3Press the TAPE (1 VV
VV
V2) button to select
the cassette you want to listen to.
Pulse el botón TAPE (1
V
2) para
seleccìonar el cassette que desee
escuchar.
4Press the 0 / R0 / R
0 / R0 / R
0 / R button to start playback.
Pulse el botón
0 / R
para iniciar la
reproducción.
1Press the TUNER (BAND) button repeat-
edly to select the desired frequency
band (FM or AM).
Pulse repetidamente el botón TUNER
(BAND) para seleccionar la banda de
frecuencia deseada (FM o AM).
2Press the TUNING/TIME (XX
XX
Xor WW
WW
W) but-
ton to tune in to the desired station.
When the TUNING/TIME button is
pressedformorethan0.5 seconds, scan-
ningwill start automatically andthe tuner
will stop at the first receivable broadcast
station.
PulseelbotónTUNING/TIME(
X
o
W
)para
sintonizar la emisora deseada.
Cuando se pulse el botón
TUNING/TIME
durante más de 0,5 segundos, la
exploración se iniciará automáticamente y
el sintonizador se parará en la primera
emisora difusora que pueda recibirse.
To receive an FM stereo transmission:
Press the TUNER (BAND) button to display the
“ST” indicator.
●“jj
jj
j” will appear when an FM broadcast is in ste-
reo.
Para recibir una transmisión de FM en estéreo:
Pulse el botón TUNER (BAND) para que se encienda
el indicador “ST”.
●
“
j
” aparecerá cuando una difusión de FM sea en
estéreo.
TAPE 1 TAPE 2
*BA250_QG 00.12.27, 1:34 PM4