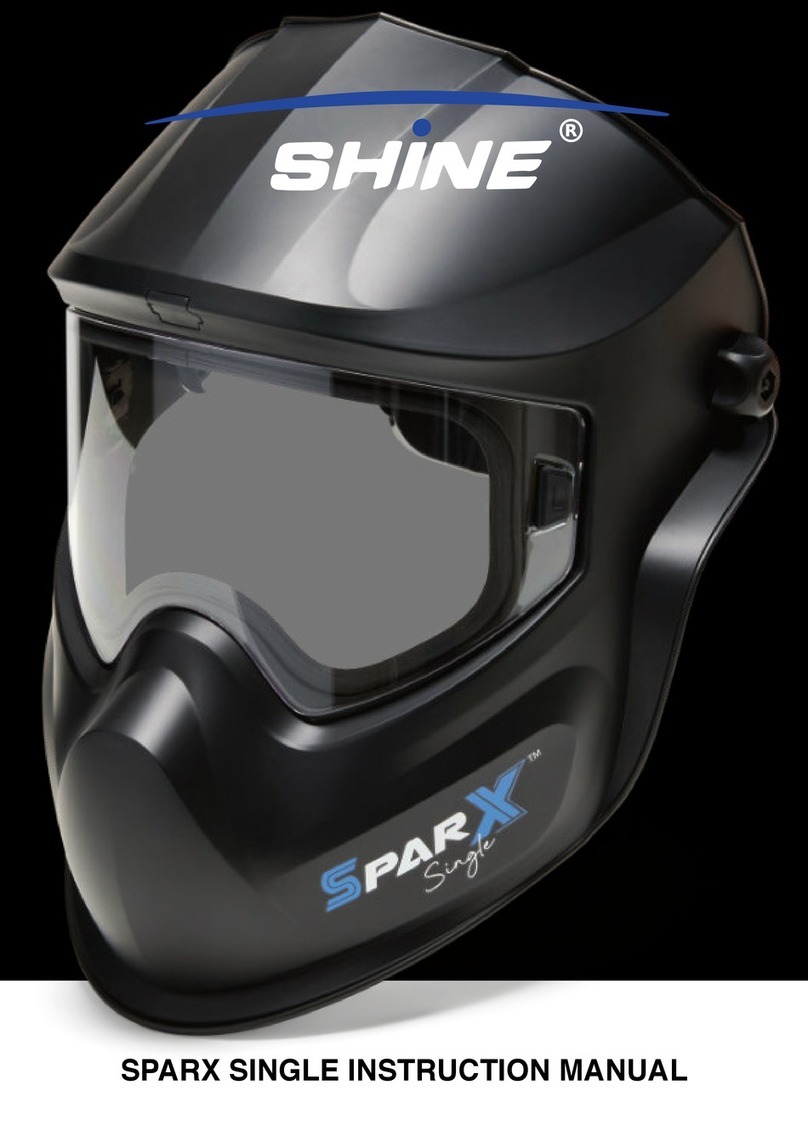
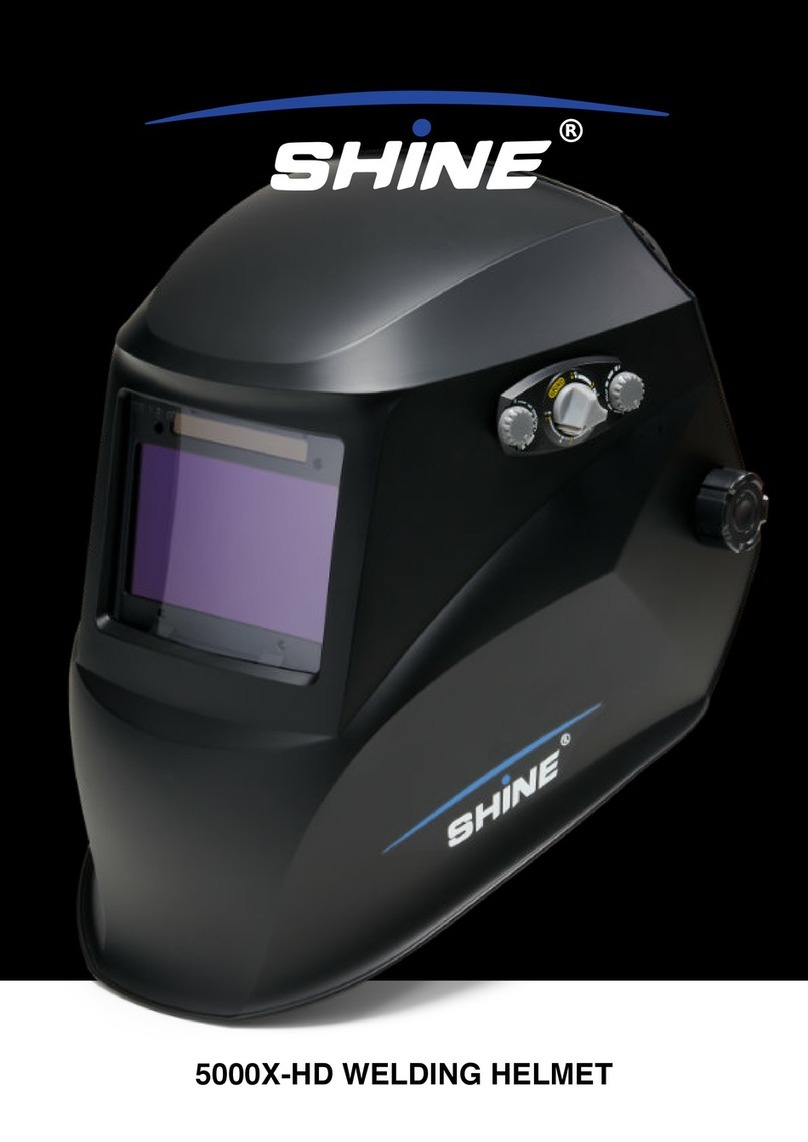
SHINE SPARX SINGLE User manual

SPARX SINGLE AIR INSTRUCTION MANUAL

- English -
2 English
Sparx Single Air
A true winner when it comes to multi-functional disciplines
WARNING Read and Understand All Instructions Before
Using the Equipment.
SAFETY WARNINGS
The respirator system is intended to be used to provide protection when
the user works in the contamination environment. The equipment is able
to lter the contaminated air via the lter build in to the blower and then
supply fresh air from breathing tube to the welding face shield, so that
the user can continue working in the contamination environment. It is
a combined face and breathing protection device for increased safety
and comfort during welding. Please read the instructions carefully
before unpacking. For proper use, see user instructions or contact the
manufacturers for help.
The system complies with the requirements of PPE Regulation 2016/425
and European Standard EN 12941: 1998+A2:2008 class TH3 P R S L.
The respirator system is designed to provide a supply of ltered air via
a breathing tube to a welding headpiece. The equipment can be used in
environments that require a TH3P class breathing protection device. It
protects against particulate contamination.
All components used in the respirator system must be manufacturer
approved parts, and must be used in accordance with the instructions
in this manual.
• The approval is not valid if the product is incorrectly used together
with non-approved parts or components.
• Only the particle lter and pre-lter can be used together with
this system. Filters from other manufactures should under no
circumstances be used.
Failure to follow these warnings and/or failure to follow all of the operating
instructions could result in severe personal injury.
• Before each use, inspect the respirator system for damage and
verify it operates properly. Before using the respirator system, test
air ow to verify it is providing an adequate volume of air.
• Always wear the respirator system and do not remove the head
top or turn off the air lter unit until outside the contaminated area,
otherwise, there is a risk of high concentration of CO2while the
oxygen level in the head top will fall, thus little or no protection is
given.
• If you are not sure about the concentration of pollution, or about
equipment performance, ask the industrial safety engineer.
Warnings:
• The respirator system devices should be used by well trained
personal and qualied persons only.
• Before using the devices, ensure you have understood that at very
high work rates the pressure in the device may become negative at
peak inhalation ow.
• Before and during using the devices, attention shall be drawn to
possible incorrect use and, where appropriate, the possibility of
looped hoses and or cables becoming caught up.
• Before or during using the devices, if the devices are in the power-
off state, little or no respirator protection is to be expected. This is
considered to be an abnormal situation.
• Please leave the work place and remove the headgear when the
devices are in the power off state. A rapid build-up of carbon dioxide
and depletion of oxygen within the hood may occur.
• The lters shall only be tted to the turbo unit and not directly to the
helmet
• The user should not confuse the markings on a lter relating to any
standard other than EN 12941 with the classication of this device
when used with this lter.
Do not:
• DO NOT use the SparX Single Air with the blower unit switched off
• DO NOT use the SparX Single Air in an atmosphere that is
immediately hazardous to user hygiene or health and/or has oxygen
content of less than 19,5% or contains unknown substances
• DO NOT use the SparX Single Air in an explosive atmosphere
• DO NOT use the SparX Single Air in conned spaces or areas of
poor ventilation
• DO NOT use the SparX Single Air in high winds
• DO NOT alter or modify in any way
• DO NOT touch any of the moving parts
• DO NOT allow water or other liquids to enter the impeller chamber,
the lter or battery compartment
The manufacturer is not responsible for injury due to the incorrect
use or incorrect choice of equipment.
Notied Body: Vyzkumny ustav bezpecnosti prace, v. v. i., Jeruzalemska 9, 116 52
PRAHA 1, Country: Czech Republic (Notied body number 1024).
CONTENTS
1. Unpacking and assembly
2. Filter replacement
3. Installing the battery and charging
4. Connecting the tube
5. Fitting
6. LCD
7. Maintenance and storage
8. Warranty
9. Installing the respirator system on the belt
10. Air ow and alarm test
11. Operation
12. Trouble shooting
13. Specication
14. Marking explanation
15. Parts list

- English -
3English
1. UNPACKING AND ASSEMBLY
While unpacking and assembling
• Check whether the correct number of components has been
supplied as in gure 1.
• Check that the apparatus is complete, undamaged and
correctly assembled
Any damaged or defective parts must be replaced before use.
The package must include:
1. The SparX Single Air helmet
2. The respirator protection system (turbo unit + lter + waist
belt)
3. Lithium-ion battery
4. The tube, its anti-re cloth and both end ttings
5. The shoulder harness
6. The air ow tester
7. The lithium-ion battery charger
8. The carrying bag
If any of the above components are not included in your kit,
please contact the supplier immediately.
2. FILTER REPLACEMENT
The pre-lter and lter expected lifetime is 12 months. When
under intensive use, check the lter cleanliness periodically
and if needed, change them more often than every 12
months.

- English -
4 English
3. INSTALLING BATTERY & CHARGING
Battery indication:
• The battery is partially charged when delivered. It must be
charged to 100% (4 bars) before the rst use.
• It is recommended to charge the batteries to 100% before
each use
Charger:
• The charger must not be used for anything else than it was
designed for.
• Do not charge the battery in a potentially explosive area.
• The charger must only be used indoors
Battery storage:
• The battery will discharge itself after long storage periods
• Always charge the battery if the device was stored for more
than 15 days.
• When the battery is new or has been stored for more than 3
months, charge it and discharge it at least twice in a row to
reach the nominal/rated charge capacity
Battery charge:
1. Connect the battery to the charger. The connector is above
the battery.
2. Connect the charger to the mains.
3. The state of charge is displayed via a red LED on the mains
charger
4. Once the charge is nished, the oating charge becomes
active: the red LED switches off and a green LED switches
on.
5. Disconnect the charger from the mains
DO NOT keep the charger plugged to the mains if it’s not in use.
4. CONNECTING THE TUBE
Check that the respirator tube is strongly connected. If the tube
is broken, replace it.

- English -
5English
5. FITTING
Make sure the face seal is positioned properly, otherwise you can
not get sufcient sealing needed to offer the correct protection
factor.
6. LCD
LCD DISPLAY SCREEN
There is a LCD display screen on the SparX Single Air unit to
show the SparX Single Air working condition.
1. Shows the data of current air ow
2. Shows the level of the airow
3. Shows the lter condition
4. Shows the battery
5. Shows the temperature of the battery
Any of them will ash if there are SparX Single Air disfunctions.
7. MAINTENANCE AND STORAGE
Inspect the equipment daily and always check it if any sign of
malfunction occurs.
MAINTENANCE
• The respirator system unit must be checked regularly and
must be changed if it is damaged and causes leakage.
• The lter must be changed if it is broken, or it is blocked and
does not give enough airow.
• The breathing tube must be changed if it is broken or has
crevasse.
• The batteyr must be charged when the low battery alarm
rings.
• Use a soft cloth to wipe the external surfaces. DO NOT use
water.
• The lter should be replaced together with the pre-lter.
STORAGE
• The respirator system must be stored in a dry, clean area,
in the temperature range of -10 °C to +55 °C and relative
humidity less than 90%RH.
• If the equipment is stored at temperature below 0 °C, the
battery must be allowed to warm up to achieve full battery
capacity. The equipment must be protected from dust,
particles and other contamination.
• If the equipment is not going to be used for a long time,
the battery should be fully charged, removed from respirator
system unit and stored separately.
• Transport the equipment with original packaging box and
keep away from direct sunlight.
8. WARRANTY
• The SparX Single Air blower unit is guaranteed for a period
of 12 months from date of purchase against mechanical or
electrical defects.
• The SparX Single Air battery is guaranteed for a period of 6
months from the date of purchase.
The company undertakes to exchange or repair without charge,
any part found to be defective within this period alternatively and
at its discretion. The company may replace.
This guarantee is subject to:
• The SparX Single Air unit has been used solely for the
purpose for which it is intended.
• The SparX Single Air unit has not been subject to misuse,
accident, modication or repair.
In the event of a claim, contact the retailer from which the SparX
Single Air was purchased.
This guarantee does not cover normal wear and tear.

- English -
6 English
9. INSTALLING ON THE BELT
Make sure the belt is securely fastened.

- English -
7English
10. AIR FLOW AND ALARM TEST
AIR FLOW TEST
The airow must be tested before using.
If the marble can’t reach the minimum ow level, do not use the
system. Change the lter or the battery and retest the air ow. MUST TEST
AIR FLOW ALARM TEST
If the alarm does not work, please repair or change respirator system.

- English -
8 English
11. OPERATION
• The respirator system will turn off the turbo unit if the OFF button is pressed for more than 3 seconds.
• The respirator system will cut off the entire circuit and switch to sleep mode if the turbo unit has turned off for more than 30
minutes. Pressing the ON button can activate the system.
• The respirator system must be operated in the temperature range of -5°C to +55°C and relative humidity less than 90%RH.
12. TROUBLE SHOOTING
Problem Probable cause Action
• Motor is stuck
• Motor is damaged
• Blower structure
failure caused by
outer force
• Circuit failure
Check and remove
physical failure and
restart the system.
Return to dealer if
LCD still shows E01
• Motor is damaged
• Motor impeller rubs
blower shell
• Circuit has ecessive
current
Check and remove
physical failure and
restart hte system.
Return to dealer if
LCD still shows E02
• Low battery Change the battery
• Filter blocked
• Tube blocked
• Remove
obstruction
and/or change
the lter
• Clean the tube
• Battery high
temperature
Stop working and
rest
No air ow, no
alarm
• No power
• Battery contact
damaged
Charge the battery
and check battery
contact
Battery run time is
too short
• Battery is not fully
charged
• Filter is blocked
• Battery is damaged
• Charge the
battery
• Remove
obstruction
and/or change
the lter
• Change the
battery
Air supply to hood
smells unusual
• Filter is broken
• Tube is broken
• ADF helmet is
broken
Leave current area
immediately
•Change lter
• Change tube
• Change ADF
helmet
Supply insufcient
air to helmet
• Breathing tube
broken off
• Breathing tube
broken
• Filter is blocked
• Check the tube
connection
to hood and
respirator
system unit
• Change
breathing tube
• Remove
obstruction,
change lter

- English -
9English
13. SPECIFICATION
Size (blower assembly) 9-2/5 x 6-1/2 x 2-3/4 in. (240 x 165 x 70 mm)
Weight 2.4 KG
Particle Filter 1*TH3 P R SL
Air Flow Manufacturer minimum design ow rate: 165 L/Min
Nominal airow:
• Level 1: 170 L/Min
• Level 2: 200 L/Min
• Level 3: 230 L/Min
Noise level Max 75dB
Operate Temperature 23℉ to 131℉ (-5°C ~ 55°C)
Storage Temperature 14℉ to 131℉ (-10°C ~ 55°C)
Battery Type 1. Standard Battery Rechargeable Li-ION 4400mAh
2. Heavy duty Rechargeable Li-ION 6800mAh
Expected Battery
Operation Time
Battery Charging Time
Standard Battery Heavy-Duty Battery (Optional)
• Level 1 > 10h • Level 1 > 15h
• Level 2 > 8h • Level 2 > 12h
• Level 3 > 6h • Level 3 > 10h
3.5 Hours 5 Hours
Battery Life 500 Charges
Run Time Dependent On Air Flow Rate and Filter Load.
LCD Display Air ow level and data
Battery capacity
Filter status
Belt Size 35-2/5 x 51-2/5 in. (900mm x 1300mm)
14. MARKING EXPLANATION
Powered ltering device
• EN 12941:1998 respirator protective decies – Powered lter devices incorporating a helmet or hood – requirements, testing,
marking.
• TH3 P R (SL) classication of the unit. “TH3” denes the level of protection “P R” indicates the lter type (“P” = particle lter, “R”
= Reusable type of particle lters) and “SL” reects the lter has been tested against particles of liquid and solid matter.
Warning sound indicator
• The SparX Single Air PAPR has sound and vibration alarm function. Each grid stands for a period of 100ms. Grey is the beep
sound and blank grid is a quiet period. If several continued grids are in grey hen there’s a continuous beep sound. For example,
when the current is overloaded, the system sounds like beep~beep~beep~~~~~.

- English -
10 English
15. PARTS LIST
ATTENTION if any of these conditions is not kept or
followed, the warranty is automatically invalid.
Drawing
No.
Part No. Description
1 13.02.410 SparX Single
prepared for air
helmet
2 13.02.412 SparX Single Air
Face Seal
3 13.02.111 Airduct with
headgear
4 13.02.411 Inner visor clear
lens
5 13.01.043 Lock sliders
6 13.03.101 Filter cover
7 13.03.104 Spark Arrestor
8 13.03.103 Pre-lter
9 13.03.102 P3 level lter
10 13.03.118 Turbo unit
11 & 12 13.03.108 Waist belt +
shoulder strap
13 13.03.111 Carrying bag
14 & 15 13.03.107 Breathing tube
hose and cover
16 13.03.106 Rechargeable
battery
13.03.114 Heavy duty
battery
17 13.03.110 Battery charger
18 13.03.109 Air Flow Tester
Other manuals for SPARX SINGLE
1
Table of contents
Other SHINE Motorcycle Accessories manuals
