manuals.online logo
Brands
  1. Home
  2. •
  3. Brands
  4. •
  5. Siemens
  6. •
  7. Enclosure
  8. •
  9. Siemens CERBERUS PYROTRONICS ALI-8 User manual

Siemens CERBERUS PYROTRONICS ALI-8 User manual

P/N 315-093305-2
Installation Instructions
CERBERUS PYROTRONICSTM
Model ALI-8
The CERBERUS PYROTRONICSTM Model
ALI-8 is an enclosure assembly that accom-
modates up to eight TRI-60Ds to provide the
interface between the MXL and the
AnaLASER control panels (See also
TRI-60D
Installation Instructions,
P/N 315-092329).
Fasten the enclosure securely to a clean, dry,
shock-free, and vibration-free surface. Con-
sider the following when mounting the box.
—Mounting height for visual and manual
access to the modules in the enclosure
—Weight and size of the enclosure
—Local mounting codes
—The maximum cable length of 200 feet
(18 AWG) for the TRI-60Ds to the
AnaLASER equipment
When mounting, position the backbox clear of
obstruction so that the door can open freely
and so that the modules are easily accessible.
TO INSTALLTHE ALI-8
1. Slip the door off the hinges of the box and
put it to one side temporarily.
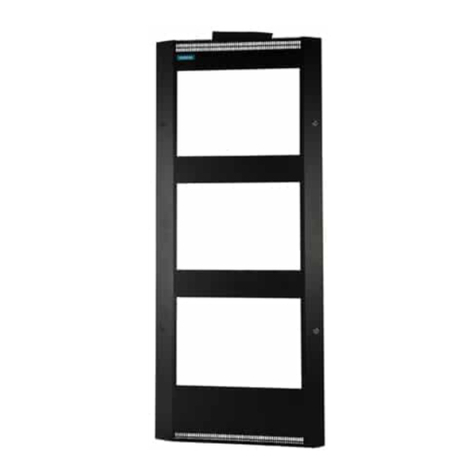
2. Cover the opening in the door by placing
the black metal plate over the studs
located on the door.
Figure 1
Enclosure for the ALI-8
Cerberus Division
Siemens Building Technologies, Inc.
8 Fe nwood Road
Flo ham Pa k, New Je sey 07932
Siemens Building Technologies, Ltd.
50 East Pea ce St eet
Richmond Hill, Onta io L4B 1B7 CN
P/N 315-093305-2
3. Fasten the plate to the door using the six
6-32 nuts provided.
4. (Refer to Figure 1.) Remove knockouts in the
backbox where field wiring is required.
5. Place the interface plate over the four studs
marked Ain Figure 1, and secure it to the
enclosure with the four 6-32 nuts provided.
6. Hold the empty enclosure against the wall at
a height that provides easy access.
7. Mark drill points on the wall in the center of
the two slots on the upper rear of the box.
8. Drill the two holes and screw in the top
screws using 1/4" or 3/8" mounting hardware
(user supplied). Leave a small gap between
the wall and each top screw.
9. Mount the enclosure on the two screws and
then install the bottom screws.
10. Tighten all screws securely against the back
wall of the enclosure.
11. Place the TRI-60Ds on the studs (marked B)
of the interface plate in two rows of four
across making sure that all of the screw
terminals on the TRI-60Ds are facing in the
same direction.
12. Fasten each TRI-60D to the interface plate
using two 6-32 nuts provided.
13. Slip the door back on the hinges of the
enclosure.

Other Siemens Enclosure manuals

Siemens EB-32 User manual

Siemens

Siemens EB-32 User manual

Siemens SIRIUS ACT 3SU180-N Series User manual

Siemens

Siemens SIRIUS ACT 3SU180-N Series User manual

Siemens H200 User manual

Siemens

Siemens H200 User manual

Siemens FHD2012-U1 User manual

Siemens

Siemens FHD2012-U1 User manual

Siemens Simatic 6DL2804-0 Series User manual

Siemens

Siemens Simatic 6DL2804-0 Series User manual

Siemens FHA2040-A1 User manual

Siemens

Siemens FHA2040-A1 User manual

Siemens CAB1-X User manual

Siemens

Siemens CAB1-X User manual

Siemens 8MF2000 User manual

Siemens

Siemens 8MF2000 User manual

Siemens SIRIUS 3SB380D Series User manual

Siemens

Siemens SIRIUS 3SB380D Series User manual

Siemens Milltronics HydroRanger 200 User manual

Siemens

Siemens Milltronics HydroRanger 200 User manual

Siemens 8MF4900 User manual

Siemens

Siemens 8MF4900 User manual
Siemens 7KE6020-1AA00 User manual

Siemens

Siemens 7KE6020-1AA00 User manual

Siemens SINAMICS G120P User manual

Siemens

Siemens SINAMICS G120P User manual

Siemens EAD-3 User manual

Siemens

Siemens EAD-3 User manual

Siemens FDMH292-R User manual

Siemens

Siemens FDMH292-R User manual

Siemens 549-521 User manual

Siemens

Siemens 549-521 User manual
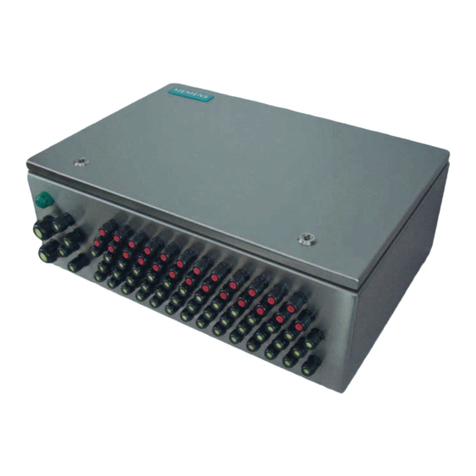
Siemens MTE-2 User manual

Siemens

Siemens MTE-2 User manual

Siemens CAB2-BD/-RD User manual

Siemens

Siemens CAB2-BD/-RD User manual
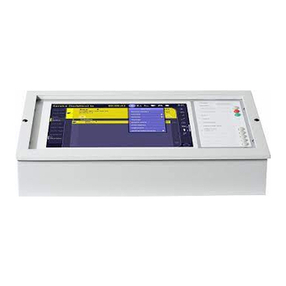
Siemens BZLLRHSE User manual

Siemens

Siemens BZLLRHSE User manual

Siemens FS-250-ENCL/-R User manual

Siemens

Siemens FS-250-ENCL/-R User manual

Siemens TH 180 AP User manual

Siemens

Siemens TH 180 AP User manual

Siemens SENTRON VL 3VL93008BD00 User manual

Siemens

Siemens SENTRON VL 3VL93008BD00 User manual

Siemens MLE-6 User manual

Siemens

Siemens MLE-6 User manual
Siemens BB-55 User manual

Siemens

Siemens BB-55 User manual

Popular Enclosure manuals by other brands

Tripp Lite SREXTENDER owner's manual

Tripp Lite

Tripp Lite SREXTENDER owner's manual

Tripp Lite SmartRack SR12UBFFD owner's manual

Tripp Lite

Tripp Lite SmartRack SR12UBFFD owner's manual

Alarm SAF RMBE Series Operating and installation instructions

Alarm SAF

Alarm SAF RMBE Series Operating and installation instructions

Rocket Fish RF-HD25 Guide de l'utilisateur

Rocket Fish

Rocket Fish RF-HD25 Guide de l'utilisateur

InWin 103 user manual

InWin

InWin 103 user manual

Tripp Lite AG-0189 owner's manual

Tripp Lite

Tripp Lite AG-0189 owner's manual

Timeguard Weathersafe WP401 instructions

Timeguard

Timeguard Weathersafe WP401 instructions

Rocket Fish RF-AHD25 user guide

Rocket Fish

Rocket Fish RF-AHD25 user guide

RED ATOM Space Rack 12 instruction manual

RED ATOM

RED ATOM Space Rack 12 instruction manual

Tripp Lite SmartRack SR18UB owner's manual

Tripp Lite

Tripp Lite SmartRack SR18UB owner's manual

InWin Port 6Gb/s 3.5" user manual

InWin

InWin Port 6Gb/s 3.5" user manual

Tripp Lite SRIN418186 installation guide

Tripp Lite

Tripp Lite SRIN418186 installation guide

ORi 2577U3 user manual

ORi

ORi 2577U3 user manual

Tripp Lite U457-2M2-SATAG2 owner's manual

Tripp Lite

Tripp Lite U457-2M2-SATAG2 owner's manual

j5 create JEE351 manual

j5 create

j5 create JEE351 manual

LDLC BM2-SATA user guide

LDLC

LDLC BM2-SATA user guide

HornetTek JAWS user manual

HornetTek

HornetTek JAWS user manual

geratech EGE-MSI-16416 manual

geratech

geratech EGE-MSI-16416 manual

manuals.online logo
manuals.online logoBrands
  • About & Mission
  • Contact us
  • Privacy Policy
  • Terms and Conditions

Copyright 2025 Manuals.Online. All Rights Reserved.