manuals.online logo
Brands
  1. Home
  2. •
  3. Brands
  4. •
  5. Siemens
  6. •
  7. Enclosure
  8. •
  9. Siemens TH 180 AP User manual

Siemens TH 180 AP User manual

Installation Instructions
Document No. 129-102
March 6, 2018
Installation of TH 19X Thermostat in
TH 180 AP and TH 182 AP Aspirator
Wall Box
Item Number 129-102+4, Rev. BA Page 1 of 3
Product Description
These instructions describe the recommended
method for replacing the thermostat in the
TH 180 AP or TH 182 AP Aspirating Wall Box
with a TH 19X Thermostat using the 192-648
Aspirator Adapter Kit. The TH 180 AP/TH 182
AP has only two air line connections; therefore,
1-pipe and 3-pipe devices should not be
installed in it.
Product Number
192-648
Warning/Caution Notations
WARNING
Personal injury or loss of life
may occur if you do not
perform a procedure as
specified.
CAUTION
Equipment damage or loss of
data may occur if you do not
follow a procedure as
specified.
Installation
Disassembly
NOTE: The numbers found in parentheses in
this procedure correspond to the
numbers shown in Figure 1. See
Table 1 for a parts list of the Aspirator
Adapter Kit.
1. Remove and discard the old cover.
2. Remove the two screws holding the old
thermostat in place and remove the
thermostat.
CAUTION:
Supply air will bleed out of the terminal
until the new thermostat is installed.
3. Remove the five screws (5) holding the old
terminal plate (4) and gasket (2). Remove
the terminal plate and gasket. Discard the
gasket.
Table 1. 192-648 Aspirator Adapter Kit Parts List.
Item Description Quantity
1 Filter 1
2 Gasket 1
3 O-rings 2
4 Terminal plate 1
5 Screws 4-40 × 1/2-inch long 5
6 Screws 4-40 × 1-inch long 2
7 Tubing retainer 1
8 Aspirator nozzle 1
9 Aspirator plate 1
10 Seal gaskets 3
11 Cover 1
12 Cover screws 6/32 × 1-3/8 inch long 2
13 Spacer post 2
Assembly
NOTE: The numbers found in parentheses in
this procedure correspond to the
numbers shown in Figure 1. See
Table 1 for a parts list of the Aspirator
Adapter Kit.
1. Replace the supply air filter (1) with the new
filter provided in the kit.
NOTE: Be sure the gasket fits over the two
locator posts.
2. Make sure the gasket surface is clean.
Place the new gasket (2) into the wall box.
Document No. 129-102
Installation Instructions
March 6, 2018
Page 2 of 3 Siemens Industry, Inc.
Installation, Continued I
Figure 1. TH19X and Aspirator Wall Box
3. Make sure the two O-rings (3) have been placed
into the circular recesses located in the back of
the new terminal plate (4). Place the terminal
plate over the gasket (2) and fasten it securely
to the wall box with the five screws (5) provided.
The new plate is slightly longer than the old. Do
not cut the insulation; it will compress when the
plate is fastened.
4. The wall plate provided with the thermostat is
not used in this installation.
5. Carefully plug the thermostat into the terminal
plate (4). Wet or moisten the thermostat supply
and return ports to faciliate plugging the
thermostat into the O-rings located in the
terminal plate. This will lubricate the O-rings and
allow the thermostat ports to slip through them
more easily.
6. Insert two screws (6) through the thermostat.
Place two spacers (13) over the ends of the
screws (6). Seat the spacers into the recesses
located in the base of the thermostat. Secure the
thermostat to the wall box. When tightening the
screws, make sure the lock washers are not fully
compressed.
CAUTION:
Over-tightening the screws can cause a
shift in the calibration.
7. Set the thermostat to the desired setting.
Document No. 129-102
Installation Instructions
March 6, 2018
Information in this publication is based on current specifications. The company reserves the right to make changes in specifications and
models as design improvements are introduced. © 2018 Siemens Industry, Inc.
Siemens Industry, Inc.
Building Technologies Division
1000 Deerfield Parkway
Buffalo Grove, IL 60089-4513
USA
Tel. +1 847-215-1000
Your feedback is important to us. If you have comments
about this document, please send them to
sbt_technical.editor.us.sbt@siemens.com
Document No. 129-102
Printed in the USA
Page 3 of 3
8. Remove the screw and nut holding the aspirator
plate (9) to the back of the new cover (11). Insert
the aspirator nozzle (8) through the aspirator
plate and reattach it. Tighten until finger tight.
Align holes on the aspirator plate (9) and cover
(11) and fasten securely.
9. If the distance from the back of the wall box
(inside) to the mounting surface exceeds
1-9/16 inch (14 mm), the cover mounting screws
(12) will be too short. Use two 6-32 hex 1/2”
spacer posts (Grainger 6NZWS, Keystone
No. 1952) to correct this problem.
10. Connect the tubing on the terminal plate to the
nozzle fitting (8). A wire coil, which will help
prevent kinking, is provided inside the tubing.
Slide the tubing retainer (7) over the fitting to
secure the connection.
11. If there is a sealing gasket on the surface
around the wall box, remove and discard it.
Make sure the surface is clean. Three new seal
gaskets (10) are already attached to the back of
the new cover.
12. Position the cover (11) over the wall box. Be
sure the tubing does not press against the
thermostat bimetal. Tighten the two socket head
cover screws (12) with a 5/64-inch (2 mm) hex
Allen wrench until the seal gaskets are
compressed and the cover is tight against the
mounting surface.
CAUTION:
There must be a tight seal between the
cover and the wall box to have proper air
flow over the bimetal sensor.
Reference
Specifications, application, operation and
installation of thermostats:
POWERS CONTROLS TH 192 S Single
Temperature Room Thermostat Technical
Instructions - 155-065P25 (TH 192-1)
POWERS CONTROLS TH 192 HC Heating/Cooling
Room Thermostat Technical Instructions -
155-066P25 (TH192-2)
POWERS CONTROLS TH 192 DNV Day-Night-Vent
Room Thermostat Technical Instructions -
155-067P25 (TH192-3)
This manual suits for next models

1

Other Siemens Enclosure manuals

Siemens H200 User manual

Siemens

Siemens H200 User manual

Siemens EAD-3 User manual

Siemens

Siemens EAD-3 User manual

Siemens 8MF4900 User manual

Siemens

Siemens 8MF4900 User manual

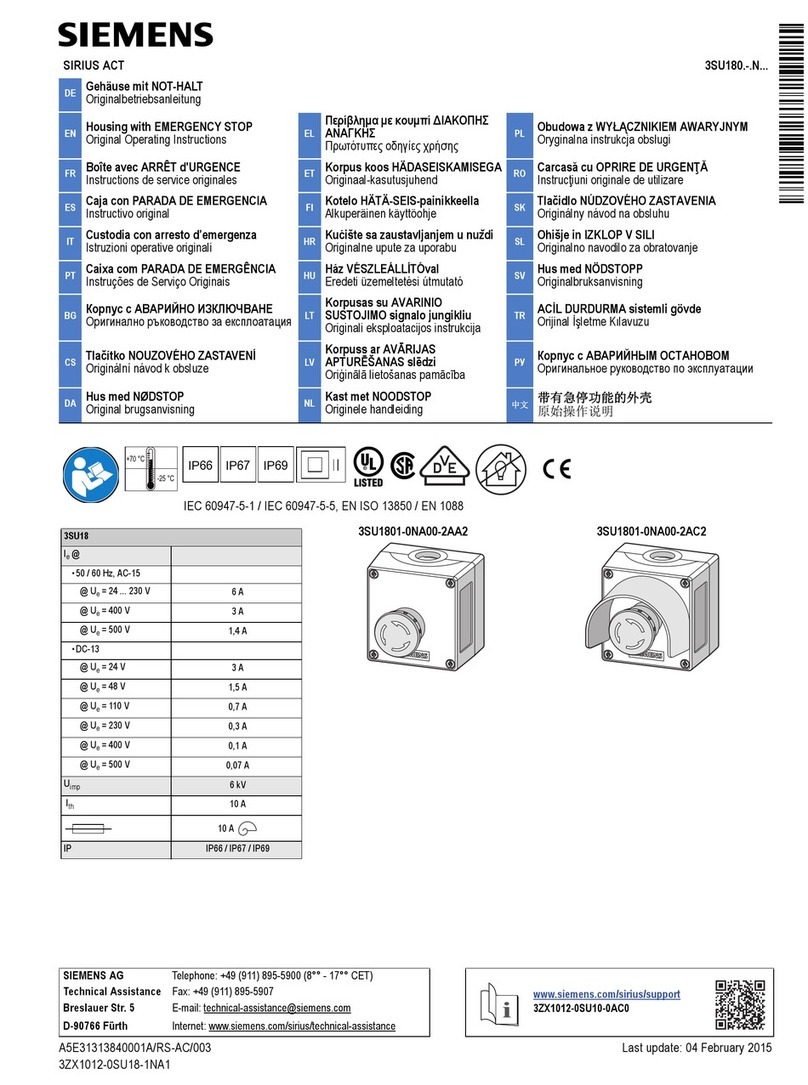
Siemens SIRIUS ACT 3SU180-N Series User manual

Siemens

Siemens SIRIUS ACT 3SU180-N Series User manual

Siemens CERBERUS PYROTRONICS ALI-8 User manual

Siemens

Siemens CERBERUS PYROTRONICS ALI-8 User manual

Siemens FHA2040-A1 User manual

Siemens

Siemens FHA2040-A1 User manual

Siemens MLE-6 User manual

Siemens

Siemens MLE-6 User manual

Siemens EB-32 User manual

Siemens

Siemens EB-32 User manual

Siemens SENTRON VL 3VL93008BD00 User manual

Siemens

Siemens SENTRON VL 3VL93008BD00 User manual

Siemens Simatic 6DL2804-0 Series User manual

Siemens

Siemens Simatic 6DL2804-0 Series User manual

Siemens 7KE6020-1AA00 User manual

Siemens

Siemens 7KE6020-1AA00 User manual

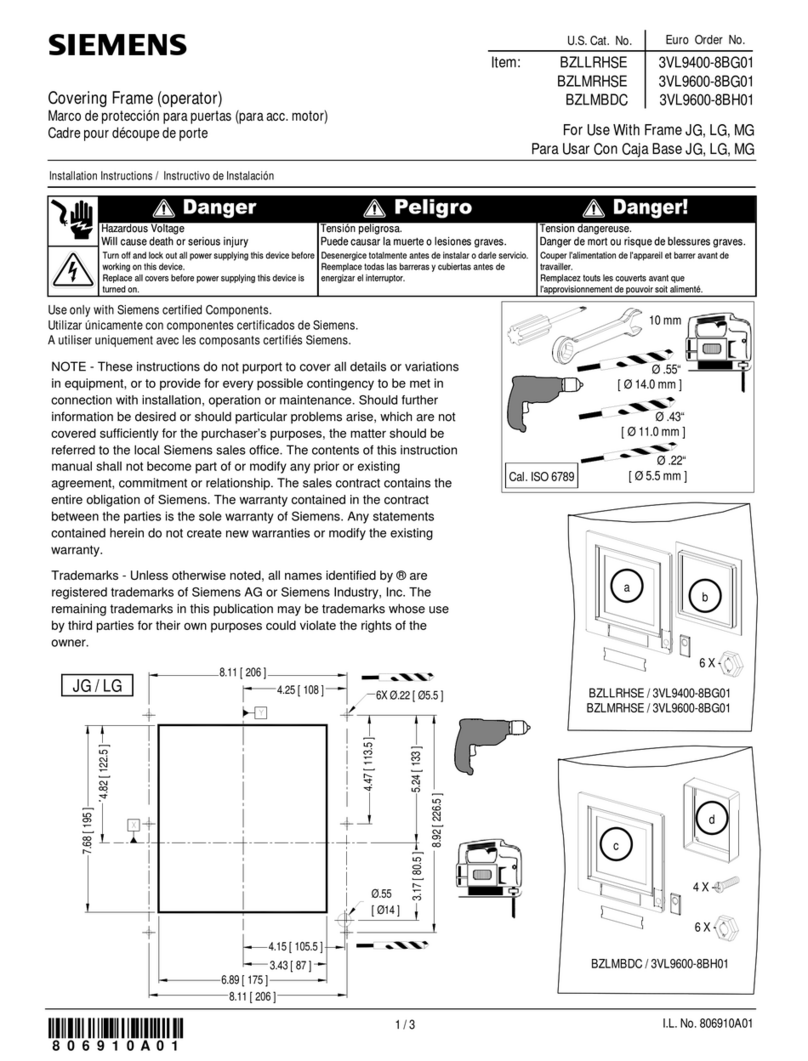
Siemens BZLLRHSE User manual

Siemens

Siemens BZLLRHSE User manual

Siemens FHD2012-U1 User manual

Siemens

Siemens FHD2012-U1 User manual

Siemens SIRIUS 3SB380D Series User manual

Siemens

Siemens SIRIUS 3SB380D Series User manual

Siemens FS-250-ENCL/-R User manual

Siemens

Siemens FS-250-ENCL/-R User manual

Siemens SINAMICS G120P User manual

Siemens

Siemens SINAMICS G120P User manual

Siemens MTE-2 User manual

Siemens

Siemens MTE-2 User manual

Siemens Milltronics HydroRanger 200 User manual

Siemens

Siemens Milltronics HydroRanger 200 User manual

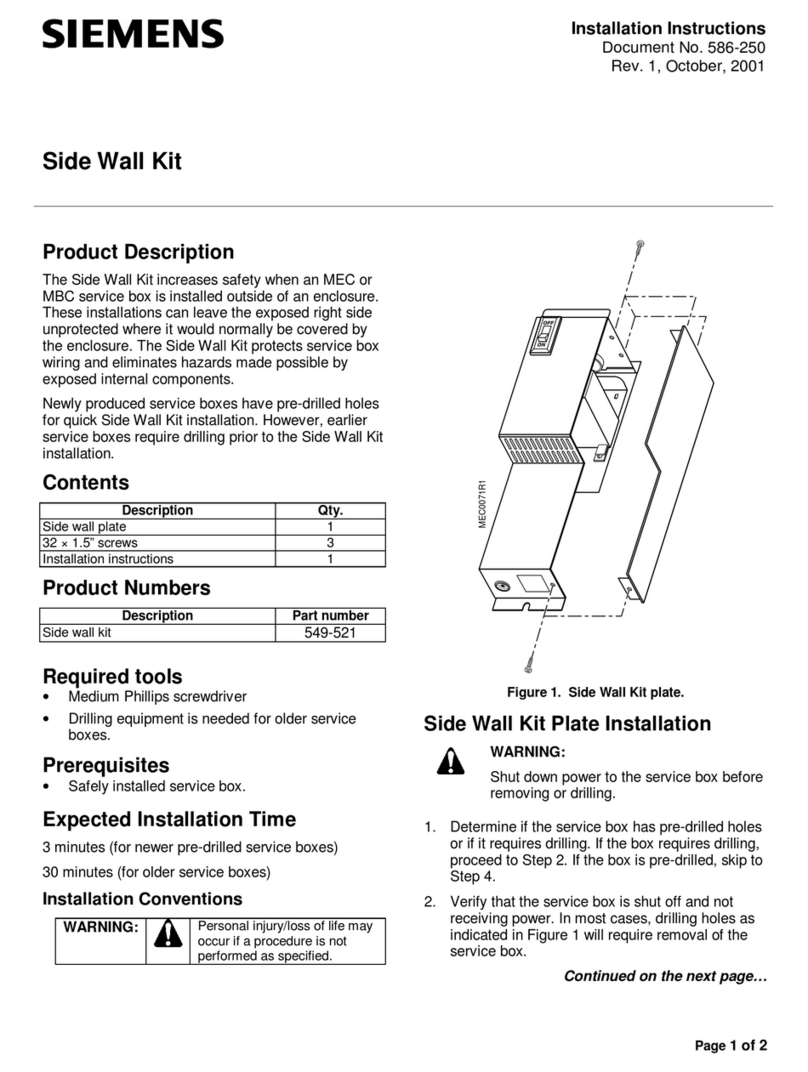
Siemens 549-521 User manual

Siemens

Siemens 549-521 User manual

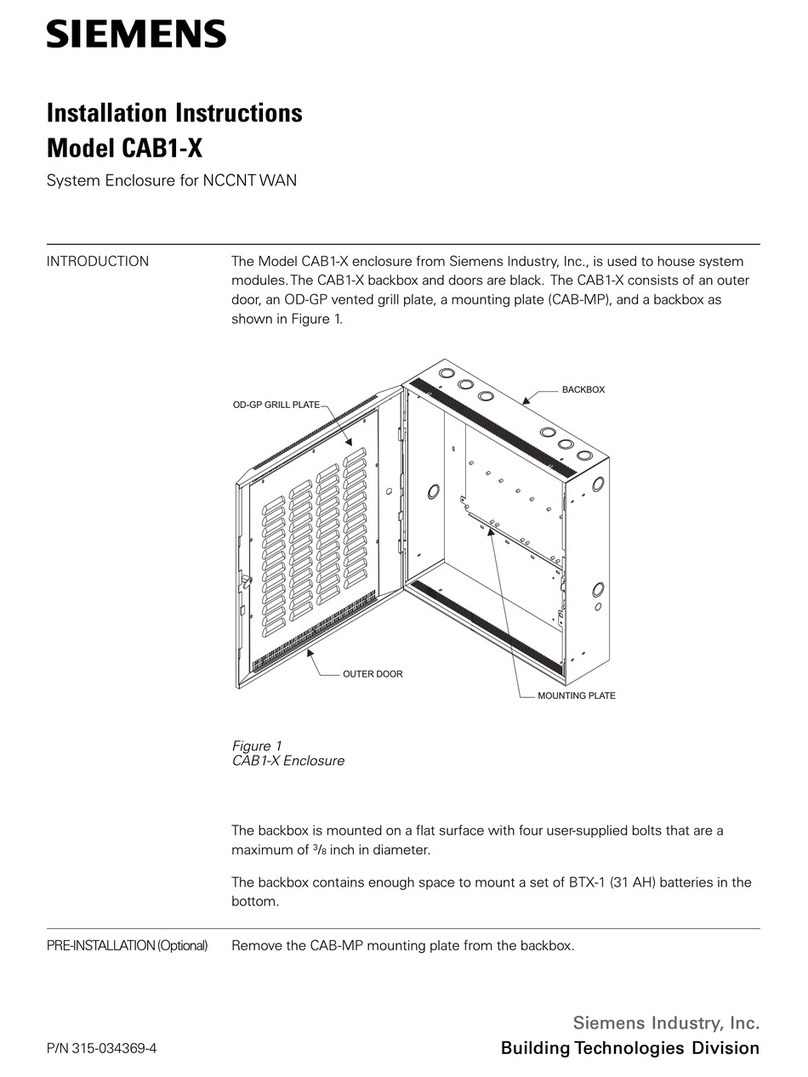
Siemens CAB1-X User manual

Siemens

Siemens CAB1-X User manual

Siemens FDMH292-R User manual

Siemens

Siemens FDMH292-R User manual

Siemens BB-55 User manual

Siemens

Siemens BB-55 User manual

Siemens 8MF2000 User manual

Siemens

Siemens 8MF2000 User manual

Siemens CAB2-BD/-RD User manual

Siemens

Siemens CAB2-BD/-RD User manual

Popular Enclosure manuals by other brands

Sunlover SL8SA instructions

Sunlover

Sunlover SL8SA instructions

TRENDnet TV-H510 - Quick installation guide

TRENDnet

TRENDnet TV-H510 - Quick installation guide

HYDROCOWL Safe-T-Cover 300 Series Assembly instructions

HYDROCOWL

HYDROCOWL Safe-T-Cover 300 Series Assembly instructions

Bartec GWR Series Instructions for use

Bartec

Bartec GWR Series Instructions for use

Belden PPC PHB872 Series installation instructions

Belden

Belden PPC PHB872 Series installation instructions

Lindy 42672 user manual

Lindy

Lindy 42672 user manual

Thermaltake Siver River Duo user manual

Thermaltake

Thermaltake Siver River Duo user manual

Akitio Neutrino U3.1 Setup guide

Akitio

Akitio Neutrino U3.1 Setup guide

Altronix TROVE T1RAG3F8 installation guide

Altronix

Altronix TROVE T1RAG3F8 installation guide

MERLYN ARYSTO COLOUR GHH900H installation guide

MERLYN

MERLYN ARYSTO COLOUR GHH900H installation guide

Altec Lansing 5195X CEILING SPEAKER ACCESSORY manual

Altec Lansing

Altec Lansing 5195X CEILING SPEAKER ACCESSORY manual

GAMDIAS ARGUS M3 Quick installation guide

GAMDIAS

GAMDIAS ARGUS M3 Quick installation guide

TOOQ Shura TQE-2223B user manual

TOOQ

TOOQ Shura TQE-2223B user manual

Icy Dock MB882HX-1SB Quick installation guide

Icy Dock

Icy Dock MB882HX-1SB Quick installation guide

GAMDIAS APOLLO M1 ELITE Quick installation guide

GAMDIAS

GAMDIAS APOLLO M1 ELITE Quick installation guide

Dell EMC MD1280 owner's manual

Dell EMC

Dell EMC MD1280 owner's manual

Sharkoon Rapid-Case 2.5" USB 3.1 Type C manual

Sharkoon

Sharkoon Rapid-Case 2.5" USB 3.1 Type C manual

Lindy 42907 installation guide

Lindy

Lindy 42907 installation guide

manuals.online logo
manuals.online logoBrands
  • About & Mission
  • Contact us
  • Privacy Policy
  • Terms and Conditions

Copyright 2025 Manuals.Online. All Rights Reserved.