5525 PhotoPir
Overview:
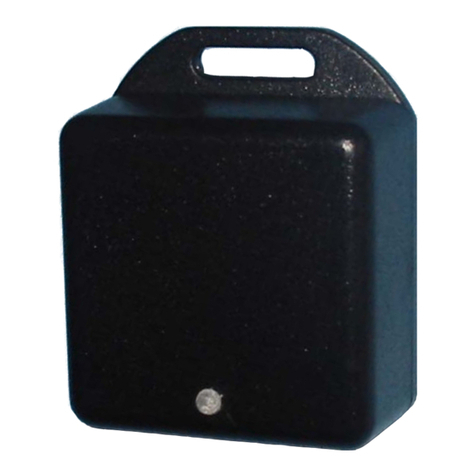
PhotoPir is an intrusion detector with a built-in camera. When the device is enabled, it reports alarm condition to the control panel while it captures and sends
it pictures of the area. The wireless detector is battery operated, but it can also be mains powered using its special power supply unit (see specifications). When
mains powered, batteries are disconnected and are used only in the event of power failure. It features a permanent Wi-Fi connection which allows to send video
frame faster.
Detector's operations: this PIR (passive infra-red) volumetric motion detector detects an intruder by capturing the temperature difference of the target
compared to background temperature. Detection triggers the alarm which is transmitted over Dual Band frequency. The front panel’s red LED indicator displays
detection. LED indicator may be excluded. The unit is temporarily disabled after each alarm when standard operating mode is employed. The device will restore
full operations after 3 minutes of total lack of movement in the area. This setting allows to limit battery use in busy areas. Alarm function does not get
temporarily disabled during TEST mode to allow you to check alarms being displayed by the LED indicator turning on when slowly walking around the area.
You can adjust sensitivity and alarm time for the protected area (see drawings). When parameter adjustments are accurately carried out according to protected
area requirements, the device will report when human beings and warm-blooded animals access the area being able to differentiate between other possible
improper alarm causes.
Built-in camera operations - Capturing video frames:
1) PhotoPir motion detection alarm: partially or fully arm the area (A, B, C) associated with the device to enable the camera. Once enabled, the camera will
capture video frames only after motion detection alarm is triggered. It will capture 2 frames every 2 seconds and send them to the control panel's 3796 board
using Wi-Fi protocol. The control panel will in turn transmit the images as MMS according to settings.
2) Alarm from other detectors: camera will capture video frames after alarm is triggered by other armed detectors if it is associated with them when PhotoPir is
enabled or disabled. Snapshots will take place from 0 to 7 seconds after the other detectors trigger the alarm regardless of alarmed detector's alarm delay
setting.
For example: PhotoPir in Zone A, disarmed - Detector R1 set for immediate alarm in area B, armed, zero seconds trigger delay - R2 detector set with a 15
seconds alarm delay for Zone B, armed, 7 seconds trigger delay.
The above settings will result in: a) R1 alarm = photo shot and immediately siren alarm; b) R2 alarm = photo shot after 7 seconds and siren alarm after 15
seconds. MMS message with picture may not be transmitted if the control panel is disarmed within those 15 seconds as disarming interrupts transmissions. In
the event of longer alarm delay settings, transmission could take place anyway if disarming is delayed.
3) Video frames on demand: you can send an SMS message to the control panel (see detailed instructions) to remotely command the device to immediately
take a snapshot.
Video frames and lens range features
The camera takes 640x480 JPG snapshots and is supplied with a white light flash that is automatically enabled with poor illumination. Lens aperture is over 100
degrees, with approximately a 5m focal length and images located farther than 8m may therefore appear blurry.
Video frames transmission: the camera sends pictures as MMS or as e-mail attachments to the preset phone numbers or e-mail addresses (see 3796 board).
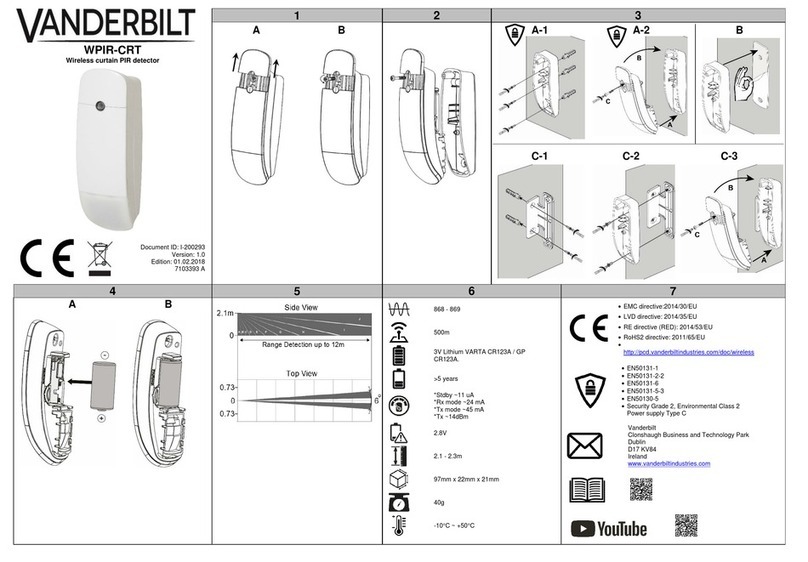
Positioning and installation: the device must be installed on a solid surface (wall, partition) that is not subject to vibrations and be positioned at a 2/2.5 meter
height that allows to achieve as much coverage as possible of the premises (see protected area drawings). The unit should not be installed near hot/cold air
sources and/or other electrical/electronic devices. Moving objects/people/animals should not be in the protected volume when the device is being armed.
Bracket part no. 80850 is available for proper corner installations .
Caution: before establishing the device's permanent location, make sure that the position selected for the unit is within the radio range of the control panel by
setting control panel's TEST MODE and by checking that same receives an adequately strong radio signal.
Caution: camera's Wi-Fi radio range is equivalent to standard supply equipment and can be increased using appropriate repeaters (check that same operate
without mains power supply when used!) Wi-Fi range must be checked before the devices is installed.
To install the device, you must first secure the supplied sliding bracket to the wall making sure that tamper magnet comes into full contact with the mounting
surface in such a way that the magnet is left in position triggering a tamper alarm if the detector and bracket assembly are detached from the wall. For corner
installations, the detector’s sliding bracket must be fastened to part. no. 80850 corner mount with tamper magnet secured on corner mount. The installed
detector must be able to slide into the bracket to allow you to replace the batteries when required.
Note: screws and plugs are not supplied. Please use suitable screws and plugs that are similar to the ones displayed in the drawings.


