Silux Control Tylten Pro User manual

OPERATION MANUAL
SC-TL01
Tylten Pro

Appendix I:
1. Introduction to Silux Control®
2. Introduction to the Tylten Pro®
3. Applications
4. Electrical Specifications
5. Instructions
I. Configuring the Tylten Pro®
II. Installing the Tylten Pro®
III. Replacing the AAA 1.5V batteries
IV. How to pair with Silux Control®devices
V. Hubcentric Topology
VI. Factory Reset
6. Versions and Changes
7. More Silux Control ®automation products
Appendix II:
1. Troubleshooting
2. Warranty
I. What this warranty covers
II. What period does this warranty cover
III. What Silux Control®will do to correct any problems
IV. What is not covered by this warranty
3. Support
4. Disclaimer of Liability

Appendix I:
1. Introduction to Silux Control®
PLEASE NOTE: The Tylten Pro®connects to the Silux Control®
Network through approved Silux Control®devices such as the
Collector®. This is a notification device and is used to alert when an
action is performed.
The idea behind the Silux Control® automation series is to have a
fully automated lifestyle. No longer will you need to push a button
to switch on appliances or lights; it will simply be switched on for
you with motion, schedules and scenes. You can schedule your
geyser or water heater to turn on and set it to the temperature you
wish. Your irrigation system can be automated, and so much more
can be controlled. The sky is the limit, and all this under one app,
all controlled from one place. You can create scenes or even
control a couple of appliances from the convenience of your living
room or anywhere across the world using any smart device
running Android or iOS. At Silux Control®, we tried to keep our
products as affordable as possible, without compromising quality.
Our devices are specially designed to make it as easy as possible
to install with easy usability and a wide range of applications. With
encrypted data control, you are also protected from the outside
world, providing you with a peace of mind. We have thought of
everything. What are you waiting for? Install Silux Control®and let
us help you control your world safely, securely, and efficiently.
2. Introduction to the Tylten Pro®
The Tylten Pro®is one of the many useful and wonderful products
that form part of the the Silux Control®automation series. The
purpose of this product is to monitor your garage doors/gate or
any other open/close object, from your smart device, with the
option of receiving push notifications.
Note that although it can be used for outside gates, the
necessary waterproof protection must be considered, as this
product is only IP54.
The Tylten Pro®requires set up via the Silux Control App.
Warning: Please follow all safety precautions when installing this
product. It is always recommended to use a qualified electrician.
Silux Control® and its distributors and resellers cannot be held
responsible for any injury or death.
3. Applications
The Tylten Pro®was designed to give you feedback on wether a
door, gate, window, etc. is either open/closed or when it is in motion.
Note that although it can be used for outside gates, the
necessary waterproof protection must be considered.
4. Electrical Specifications
Operating Battery: 2 x AAA 1.5V Batteries
Power supply Operating Voltages: Input: 110V AC – 230V AC
Output: 5V/DC
Operating Temperatures: -5°C – 60°C
IP Rating: IP54
Tylten Pro Layout
5. Instructions
I. Configuring the Tylten Pro®
There are 4 configuration settings, namely Magnetic sensor,
Accelerometer, open/closed and closed transition.
The settings are as follows:
Motion detection
1. Magnetic sensor - Sliding, swinging and tylting objects
2. Accelerometer sensor - Swinging and tylting objects
3 Status - What position your object is at when stopped
4. Activity- Notifies you of movement on your object
IntelliHub
Device1
Smart Device
Running
Silux Control
®
App
UP
DOWN
1 3
2 4

Warning: Please follow all safety precautions when installing this
product. It is always recommended to use a qualified electrician.
Silux Control® and its distributors and resellers cannot be held
responsible for any injury or death.
3. Applications
The Tylten Pro®was designed to give you feedback on wether a
door, gate, window, etc. is either open/closed or when it is in motion.
Note that although it can be used for outside gates, the
necessary waterproof protection must be considered.
4. Electrical Specifications
Operating Battery: 2 x AAA 1.5V Batteries
Power supply Operating Voltages: Input: 110V AC – 230V AC
Output: 5V/DC
Operating Temperatures: -5°C – 60°C
IP Rating: IP54
Tylten Pro Layout
5. Instructions
I. Configuring the Tylten Pro®
There are 4 configuration settings, namely Magnetic sensor,
Accelerometer, open/closed and closed transition.
The settings are as follows:
Motion detection
1. Magnetic sensor - Sliding, swinging and tylting objects
2. Accelerometer sensor - Swinging and tylting objects
3 Status - What position your object is at when stopped
4. Activity- Notifies you of movement on your object
We recommend testing your settings before permanent installation
of the Tylten Pro®
II. Installing the Tylten Pro
®
1. Remove the change battery sticker.
2. Unscrew the lid with a star screw driver.
3. Remove the first liner of the double sided tape supplied and
stick it to the back part of the Tylten Pro
®
.
4.Please make sure that the magnet supplied lines up with the
Tylten Pro
®
, before removing the second liner and sticking the
Tylten Pro’s back side firmly onto the
parallel
object, and let it set.
5. Slide the AAA Batteries into the battery holders. The Tylten Pro
®
will now be powered on.
6. Place the lid over the plastic and screw back tightly.
You can keep an eye on your battery levels using the Silux
Control
®
App. Please refer to “V. How to pair with Silux Control
®
Devices”.
To
change
battery
1.
2. 3.
4.
5. 6.

III. Replacing the AAA 1.5V batteries:
There will be two AAA batteries supplied with the product. The two
batteries will have a life span of 1 to 2 years,nd how often the
Tylten Pro
®
is triggered.
1. Open the plastics by removing the ‘change battery’ sticker and
unscrewing the lid
2. Pop out the two old AAA batteries and replace it with two new
AAA batteries. The Tylten Pro
®
will now be powered on.
3. Place the lid over the plastic and screw back tightly.
*Please Note: It’s not necessary to pair the Silux Control
®
devices
again after replacing the batteries.
IV. How to pair with Silux Control
®
Devices:
1. Ensure the Silux Control
®
device you would like to pair is
powered on. Press the Teach button on a Silux Control
®
device like
a Collector
®
as example, in a similar area or room to the Tylten
Pro
®
position. The light will start flashing.
2. Ensure the Tylten Pro
®
is on, then press the Teach button on the
Tylten Pro
®
. The light on the Tylten Pro
®
will start flashing.
3. The light will switch off once successfully paired. If the light
stays on for 30 seconds, the pairing was unsuccessful. Wait for the
light to go off before trying again.

TV
TV
Water Heater
IntelliHub
Tier 1 Tier 2 Tier 3
V. Hubcentric topology.
Your Silux Control®automation system uses a technology known
as Hubcentric topology. This means that all your devices
communicate with each other. In larger areas, it is possible that a
device might be too far from the IntellihHub®to communicate
reliably. Your IntelliHub®will then use other devices which are
more in range to create a more reliable connection to the out of
range device. The distance at which your IntelliHub®can
communicate with your Silux Control®devices varies according to
the environment. The IntelliHub®has been developed to achieve a
distance of 20m, however, thick walls, large electrical appliances
and long distances are 3 factors that can limit communication with
Silux Control®devices pairing your Tylten Pro to the nearest Silux
Control device.
VI. Factory Reset:
This function will remove all paired devices and restore the
settings to the original state. Press and hold the Teach button
on the
Tylten Pro
®
5 seconds. On the 5th second, the light will
flash 3 times. Your device will now be restored to its default
state.

Warning: Please follow all safety precautions when installing this
product. It is always recommended to use a qualified electrician.
Silux Control® and its distributors and resellers cannot be held
responsible for any injury or death.
3. Applications
The Tylten Pro®was designed to give you feedback on wether a
door, gate, window, etc. is either open/closed or when it is in motion.
Note that although it can be used for outside gates, the
necessary waterproof protection must be considered.
4. Electrical Specifications
Operating Battery: 2 x AAA 1.5V Batteries
Power supply Operating Voltages: Input: 110V AC – 230V AC
Output: 5V/DC
Operating Temperatures: -5°C – 60°C
IP Rating: IP54
Tylten Pro Layout
5. Instructions
I. Configuring the Tylten Pro®
There are 4 configuration settings, namely Magnetic sensor,
Accelerometer, open/closed and closed transition.
The settings are as follows:
Motion detection
1. Magnetic sensor - Sliding, swinging and tylting objects
2. Accelerometer sensor - Swinging and tylting objects
3 Status - What position your object is at when stopped
4. Activity- Notifies you of movement on your object
6. Versions and changes
Currently, there is only one variant of this product. In the future, this might
change or new types of
Tylten Pro
®’s may join the family.
The
Tylten Pro
®Model no: SC-TP01
User Manual Revision No: TP01.1
This user manual may be outdated.
Please visit our website at www.siluxcontrol.com for updated
models & versions, updated user manuals, future products and to
see the rest of the wonderful products Silux®has to offer.
7. More Silux Control®automation products
Product Silux Control®Name
Hub IntelliHub®
Relay Module Dry contact Collector®
Relay Module Collector Relay®
Relay Module Dimmable Collector Dimmable®
Repeater/Range Extender Silux RPT®
PIR Sensor Seeker®
Touch Plate EU/SA Touch Lamina Altus®
Touch Plate USA Touch Lamina Artatus®
Plug Electrifier®
Smoke/Gas Detector Halitus®
Water Heater / Geyser Thermo Stabilizer®
High Power Appliances Tolleno®
Irrigation Saturizer®
Garage Tilt Tylten Pro®
Smart Switch Smart Module®
RGB Globe Spektra Globe®
RGB Downlight Spektra Downlight®
*Please note: Not all the products on this list are available yet, but will
become available in the near future. This list can change at any time.
Please refer to www.siluxcontrol.com for new and discontinued
products. New products will be added in time to come as well.
Appendix II
1. Troubleshooting
Please visit our website at www.siluxcontrol.com/FAQ for detailed list of all the
Frequently Asked Questions.
• Ensure that the power going to the device is on.
• Ensure that all the wires are connected to their proper places
• Ensure that the RED Light is on.
• Ensure that the GREEN Light on the front switches on and off when switching
with the app or Tylten Pro®.
• Ensure that the Light flashes when pressing the Teach button.
• Ensure the IntelliHub®is on and connected to your local network.
• Verify that you have the latest app installed on your smart device.
• Verify that the Silux Control® device is added to your device list when using the
app.
• Verify that you have the correct Silux Control®device selected when on the app.
• Verify that you have the latest firmware installed on the IntelliHub®.
2. Warranty
I. What this warranty covers:
Silux Control®warrants to the original purchaser of this Silux Control®product that
the product shall be free from defects in design, assembly, material, or
workmanship under normal use and operation.
Silux Control®‘s sole and exclusive obligation under the foregoing warranty shall
be to repair or replace, at its option, any defective product that fails during the
warranty period. The expense of removal and reinstallation of any item is not
included in this warranty.
WARNING: Silux Control®and its distributors and resellers cannot be held
responsible for any damages this product might have caused including 3rd
party damages.
II. What period does this warranty cover:
Silux Control®warrants this product for 12 months.
III. What Silux Control®will do to correct any problems:
Silux Control®will repair or replace, at its option, any defective product free of
charge (except for shipping charges for this product). Silux Control®reserves the
right to discontinue any of its products without notice and disclaims any limited
warranty to repair or replace any such discontinued products.

Warning: Please follow all safety precautions when installing this
product. It is always recommended to use a qualified electrician.
Silux Control® and its distributors and resellers cannot be held
responsible for any injury or death.
3. Applications
The Tylten Pro®was designed to give you feedback on wether a
door, gate, window, etc. is either open/closed or when it is in motion.
Note that although it can be used for outside gates, the
necessary waterproof protection must be considered.
4. Electrical Specifications
Operating Battery: 2 x AAA 1.5V Batteries
Power supply Operating Voltages: Input: 110V AC – 230V AC
Output: 5V/DC
Operating Temperatures: -5°C – 60°C
IP Rating: IP54
Tylten Pro Layout
5. Instructions
I. Configuring the Tylten Pro®
There are 4 configuration settings, namely Magnetic sensor,
Accelerometer, open/closed and closed transition.
The settings are as follows:
Motion detection
1. Magnetic sensor - Sliding, swinging and tylting objects
2. Accelerometer sensor - Swinging and tylting objects
3 Status - What position your object is at when stopped
4. Activity- Notifies you of movement on your object
Appendix II
1. Troubleshooting
Please visit our website at www.siluxcontrol.com/FAQ for detailed list of all the
Frequently Asked Questions.
• Ensure that the power going to the device is on.
• Ensure that all the wires are connected to their proper places
• Ensure that the RED Light is on.
• Ensure that the GREEN Light on the front switches on and off when switching
with the app or Tylten Pro®.
• Ensure that the Light flashes when pressing the Teach button.
• Ensure the IntelliHub®is on and connected to your local network.
• Verify that you have the latest app installed on your smart device.
• Verify that the Silux Control® device is added to your device list when using the
app.
• Verify that you have the correct Silux Control®device selected when on the app.
• Verify that you have the latest firmware installed on the IntelliHub®.
2. Warranty
I. What this warranty covers:
Silux Control®warrants to the original purchaser of this Silux Control®product that
the product shall be free from defects in design, assembly, material, or
workmanship under normal use and operation.
Silux Control®‘s sole and exclusive obligation under the foregoing warranty shall
be to repair or replace, at its option, any defective product that fails during the
warranty period. The expense of removal and reinstallation of any item is not
included in this warranty.
WARNING: Silux Control®and its distributors and resellers cannot be held
responsible for any damages this product might have caused including 3rd
party damages.
II. What period does this warranty cover:
Silux Control®warrants this product for 12 months.
III. What Silux Control®will do to correct any problems:
Silux Control®will repair or replace, at its option, any defective product free of
charge (except for shipping charges for this product). Silux Control®reserves the
right to discontinue any of its products without notice and disclaims any limited
warranty to repair or replace any such discontinued products.
IV. What is not covered by this warranty
Upon claiming this warranty, all above warranties are null and void
if the purchased Silux Control®product is not returned for an
authorized inspection, at the sole expense of the purchaser, or if
Silux Control®determines that the Silux Control®product has been
improperly installed, altered in any way, or opened/tampered with.
The Silux Control®product warranty does not protect against
instances of uncontrollable natural disasters such as flood,
lightning, earthquake, war, vandalism, theft, normal use wear and
tear, erosion, depletion, obsolescence, physical damage, water
damage, damage due to low voltage disturbances (i.e. brownouts
or sags), non-authorized program, or system equipment
modification or alteration.
3. Support
Please visit our website at www.siluxcontrol.com for any other
support, products, future products, and updated user manuals.
4. Disclaimer of Liability
Please read this user manual thoroughly before using the
product. Follow all safety precautions when installing this
product. It is always recommended to use a qualified
electrician.
Under no circumstances shall Silux Control®or its associates
be liable for any direct, indirect, incidental, special or
consequential damage that results from the use of or inability
to use the Silux Control®products. By using the IntelliHub®or
any other Silux Control®Automation products, you expressly
agree that the use of these products are at own risk. Neither
Silux Control®nor its affiliates, subsidiaries, or designees nor
each of their respective officers, directors, employees,
agents, third party content providers, designers, contractors,
distributors, merchants, sponsors or licensors can be held
responsible for any injury, death or damages this product
might have caused.


Download Our Free Silux Control App
Google Play App Store
Available on
or in the User Manual of the product under the Warranty secon.
SILUX WARRANTY CARD
The full text of warranty is available on our website
www.siluxcontrol.com
Please take a moment to fill out your informaon
.
Please return the warranty card with defective product and the sales receipt as
proof of the date purchase.
Warranty cannot be carried out without it.
Product:
Model No:
Serial No:
Date of Purchase:
Name:
Surname:
E-Mail Address:
Phone No: +
Address:
Country:
D D M M Y E A R
Cut Here
This manual suits for next models
1
Other Silux Control Home Automation manuals
Popular Home Automation manuals by other brands
weinor
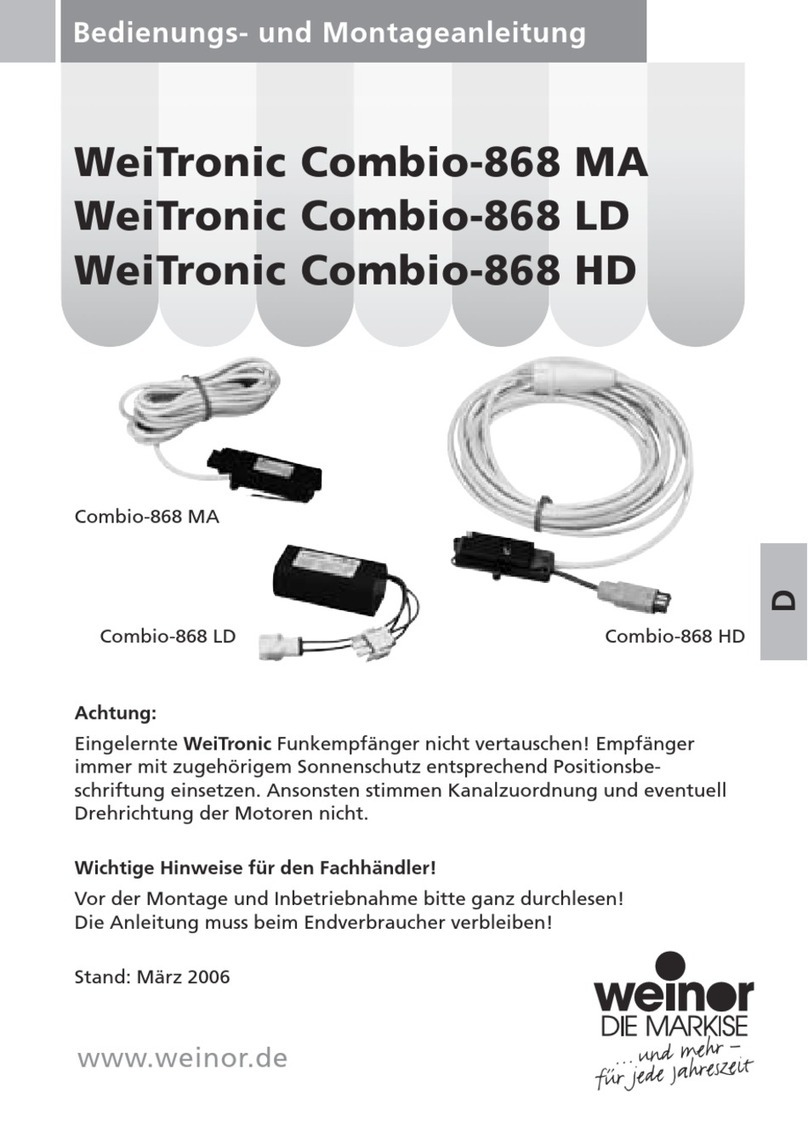
weinor WeiTronic Combio-868 MA Operating and installation instructions
Johnson Controls Unitary Products
Johnson Controls Unitary Products S1-TTSCC01 Zoning User's Information Manual
IntesisHome
IntesisHome PA-AW-WIFI-1 installation guide
Ekinex
Ekinex EK-GD2-DL-1-LV manual

Comm Net Systems
Comm Net Systems Matrix 016-131-10 Setup and operation manual
Epygi
Epygi Leviton OmniTouch 7 manual
