Simplicity Yealink T53 User manual

Phone User Guide - Basic Call Features - Yealink T53
804.412.7283 www.simplicityvoip.netSimplicity VoIP, 1129 Gaskins Rd., Suite 200 Richmond, VA 23238
Handset
Voicemail
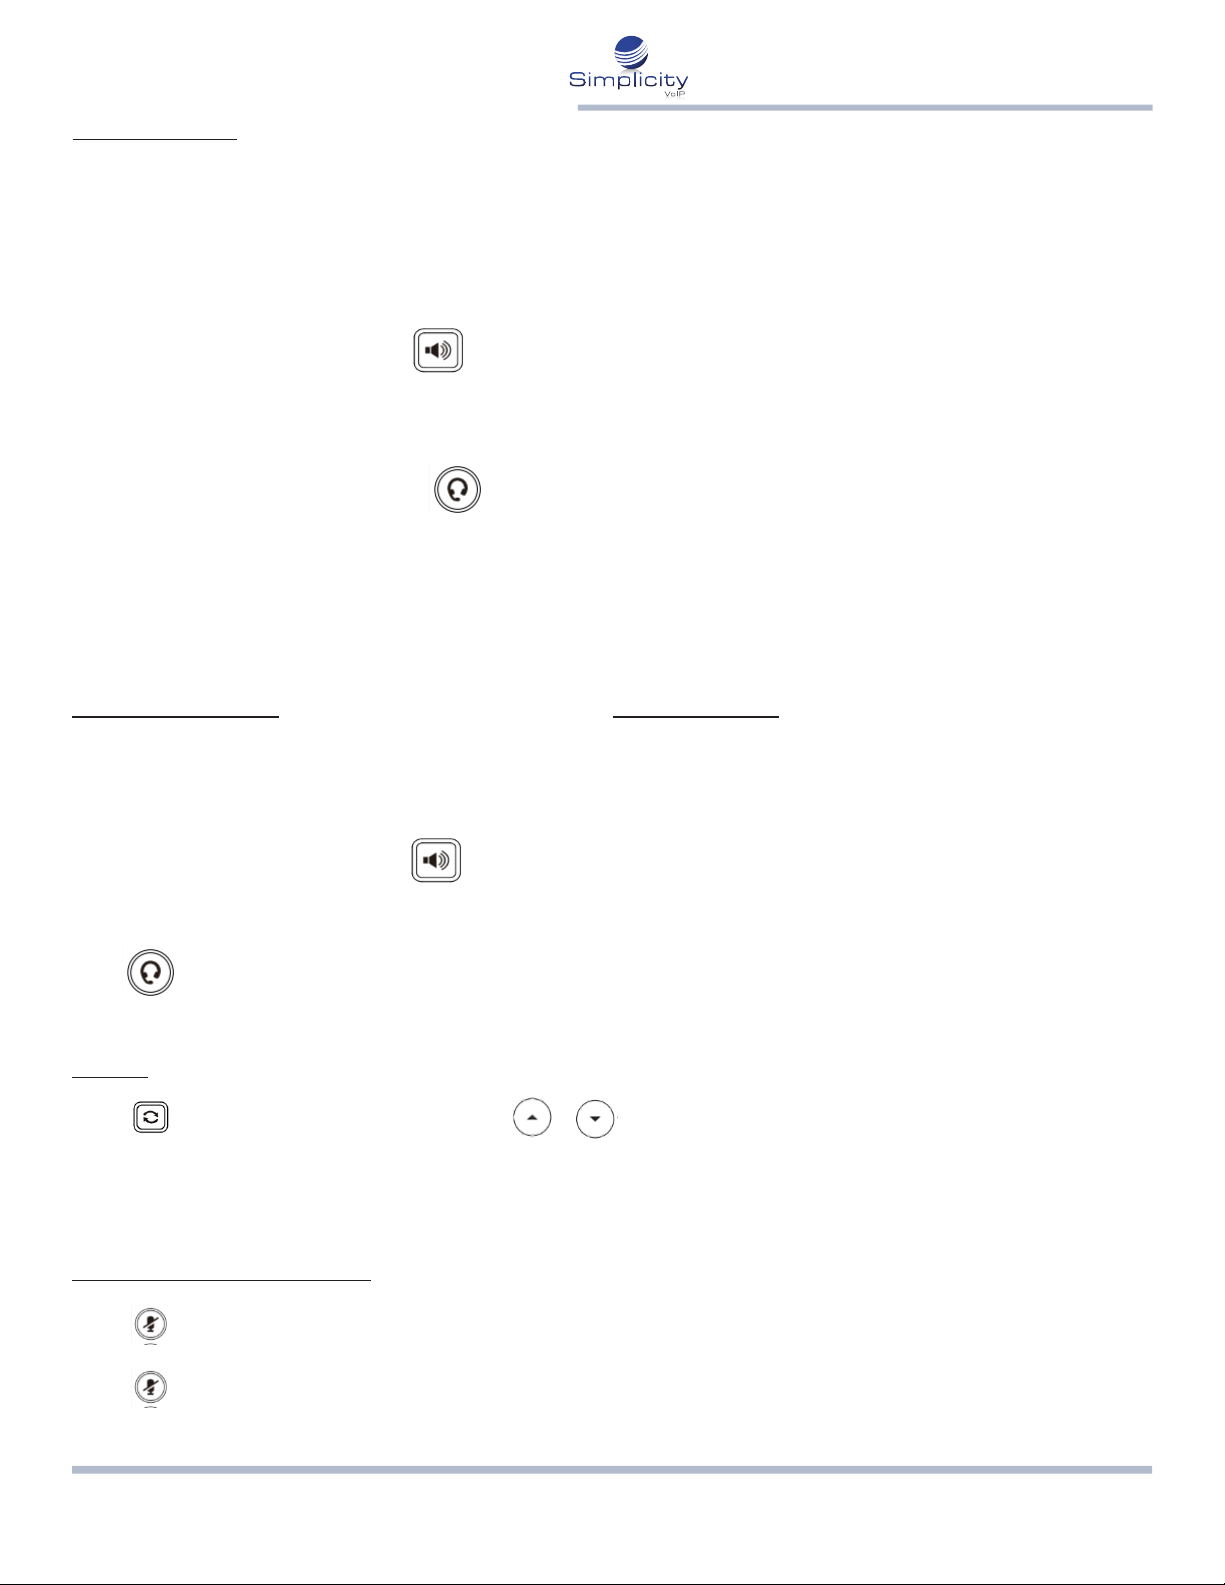
Volume
Mute
Speakerphone
So Keys
Navigaon Keys
OK Key
Line Keys
Power Led Indicator
Headset
Redial
Phone Screen
Phone Screen
Status Bar: Status icons are displayed when features are acvated.
Line Keys: Access your phone lines and features.
So Keys: Access the funcon displayed on the screen above the so keys.
The so keys change depending on what you are doing at the me.
Cancel
804.412.7283 www.simplicityvoip.netSimplicity VoIP, 1129 Gaskins Rd., Suite 200 Richmond, VA 23238
Phone User Guide - Yealink T53 Page / 2
Placing a Call
Using the Handset:
1. Pick up the handset.
2. Enter the number, and then press the Send so key.
Using the Speakerphone:
1. With the handset on-hook, press
2. Enter the number, and then press the Send so key.
Using the Headset:
1. With the headset connected, press to acvate the headset mode.
2. Enter the number, and then press the Send so key.
Note: During a call, you can alternate between the headset, hands-free speakerphone and handset modes by pressing
the HEADSET key, the Speakerphone key or by picking up the handset. Headset mode requires a connected headset.
Answering a Call
Using the Handset:
1. Pick up the handset.
Using the Speakerphone:
1. With the handset on-hook, press
2. Enter the number, and then press the Send so key.
Using the Headset:
Press
Ending a Call
Using the Handset:
1. Hang up the handset or press the End Call so key.
Using the Speakerphone:
1. Press or the End Call so key.
Using the Headset:
1. Press the End Call so key.
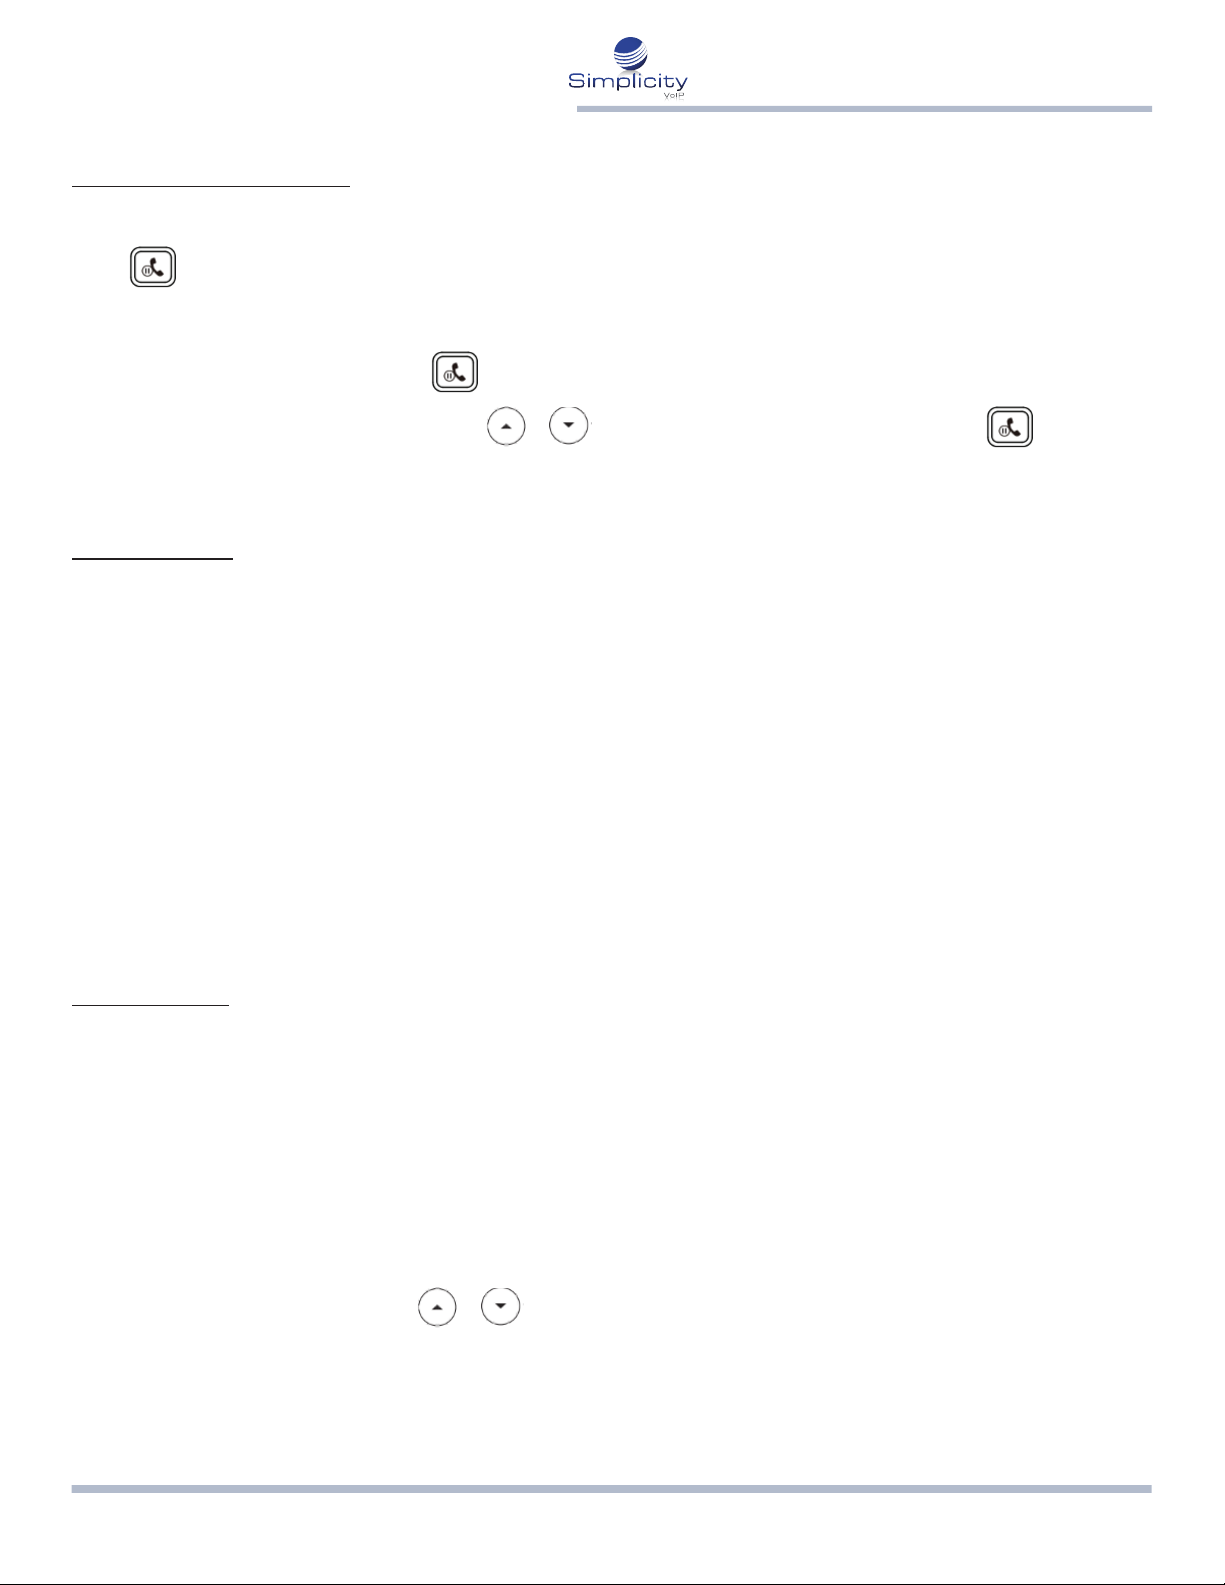
Redial
Press to enter the Placed Calls list, press or to select the desired entry,
and then press or the Send so key.
Press twice when the phone is idle to dial out the last dialed number.
Call Mute and Un-Mute
Press to mute the microphone during a call.
Press again to un-mute the call.
804.412.7283 www.simplicityvoip.netSimplicity VoIP, 1129 Gaskins Rd., Suite 200 Richmond, VA 23238
Phone User Guide - Yealink T53 Page /3
Call Hold and Resume
To Place a Call on Hold:
Press or the Hold so key during an acve call.
To resume the call, do one of the following:
If there is only one call on hold, press or the Resume so key.
If there is more than one call on hold, press or to select the desired call, and then press
or the Resume so key.
Call Transfer
You can transfer a call in the following ways:
Blind Transfer
1. Press the Transfer so key during an acve call. The call is placed on hold.
2. Enter the number you want to transfer to.
3. Press the B Transfer so key.
Aended Transfer
1. Press the Transfer so key during an acve call. The call is placed on hold.
2. Enter the number you want to transfer to, and then press Send.
3. Press the Transfer so key when the second party answers.
Call Forward
To Enable Call Forward:
1. Press the Menu so key when the phone is idle, and then select Features --> Call Forward.
2. Select the desired forward type:
• Always Forward Incoming calls are forwarded uncondionally.
• Busy Forward Incoming calls are forwarded when the phone is busy.
• No Answer Forward Incoming calls are forwarded if not answered aer a period of me.
3. Enter the number you want to forward to.
For No Answer Forward, press or to select the desired ring me to wait before
forwarding from the Aer Ring Time eld.
4. Press the Save so key to accept the change.

804.412.7283 www.simplicityvoip.netSimplicity VoIP, 1129 Gaskins Rd., Suite 200 Richmond, VA 23238
Phone User Guide - Yealink T53 Page /4
Call Conference
1. Press the Conference so key during an acve call. The call is placed on hold.
2. Enter the number of the second party, and then press the Send so key.
3. Press the Conference so key again when the second party answers.
All pares are now joined in the conference.
4. Press the End Call so key to disconnect all pares.
Speed Dial
To Congure a Speed Dial Key:
1. Press the Menu so key when the phone is idle, and then select Features --> DSS keys.
2. Select the desired DSS key, and then press the Enter so key.
3. Select Speed Dial from the Type eld, select the desired line from the Account ID eld, enter a label in the
Label eld and then enter the number in the Value eld.
4. Press the Save so key to accept the change.
To Use the Speed Dial Key:
Press the speed dial key to dial out the preset number.
Voice Message
Message waing indicator on the idle screen indicates that one or more voice messages are waing at
the message center. The power indicator LED slowly ashes red.
To Listen to Voice Messages:
1. Press
2. Follow the voice prompts to listen to your voice messages.
Customizing Your Phone
Call History:
1. Press the History so key when the phone is idle, press or
2. Select an entry from the list, you can do the following:
• Press the Send so key to call the entry.
• Press the Delete so key to delete the entry from the list.
If you press the Opon so key, you can also do the following:
• Select Detail to view detailed informaon about the entry.
• Select Add to Contacts to add the entry to the local directory.
• Select Add to Blacklist to add the entry to the blacklist.
• Select Delete All to delete all entries from the list.

804.412.7283 www.simplicityvoip.netSimplicity VoIP, 1129 Gaskins Rd., Suite 200 Richmond, VA 23238
Phone User Guide - Yealink T53 Page /5
Contact Directory
To Add a Contact:
1. Press the Directory so key when the phone is idle, and then select All Contacts.
2. Press the Add so key to add a contact.
3. Enter a unique contact name in the Name eld and contact numbers in the corresponding elds.
4. Press the Save so key to accept the change.
To Edit a Contact:
1. Press the Directory so key when the phone is idle, and then select All Contacts.
2. Pres or to select the desired contact, press the Opon so key, then select Detail from the prompt list.
3. Edit the contact informaon.
4. Press the Save so key to accept the change.
To Delete a Contact:
1. Press the Directory so key when the phone is idle, and then select All Contacts.
2. Press or to select the desired contact, press the Opon so key and then
select Delete from the prompt list.
3. Press the OK so key when the LCD screen prompts “Delete selected item?”
Note: You can add contacts from call history easily. For more informaon, refer to Call History on page 4.
Volume Adjustment
Press during a call to adjust the receiver volume of the handset/speakerphone/headset.
Press when the phone is idle or ringing to adjust the ringer volume.
Press to adjust the media volume in the corresponding screen.
Ring Tones
1. Press the Menu so key when the phone is idle, and then select Basic --> Sound --> Ring Tones.
2. Press or to select Common or the desired account and then press the Enter so key.
3. Press or to select the desired ring tone.
4. Press the Save so key to accept the change.
Table of contents
Other Simplicity IP Phone manuals


