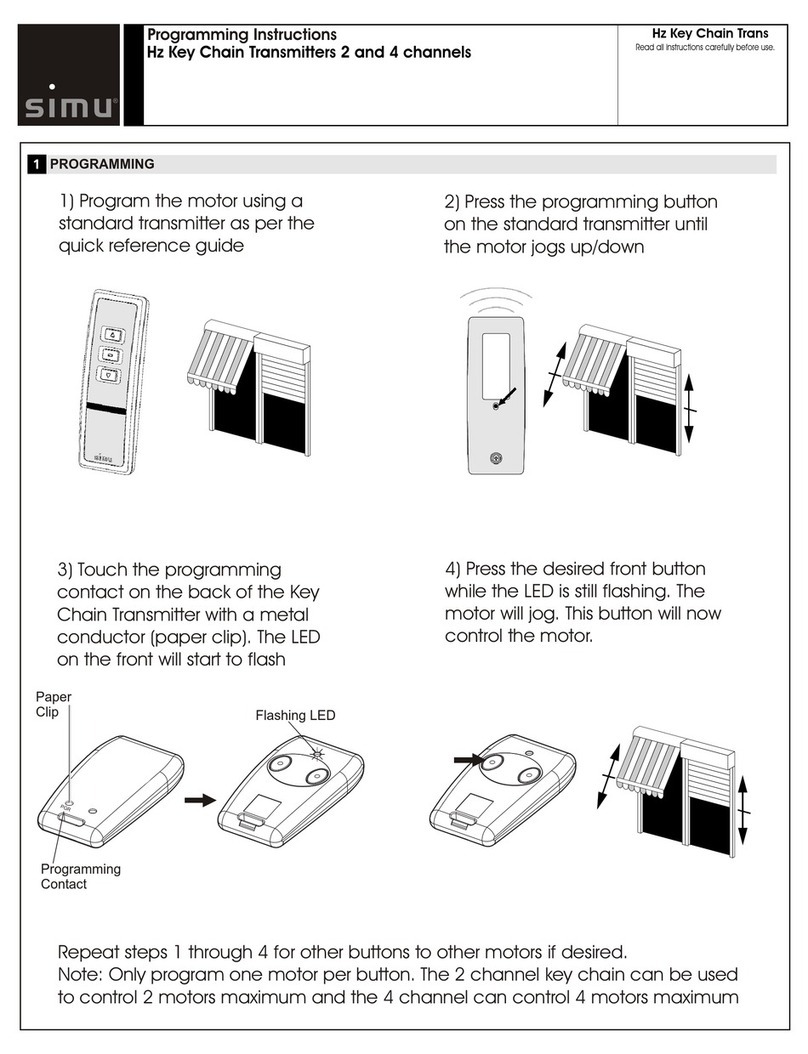
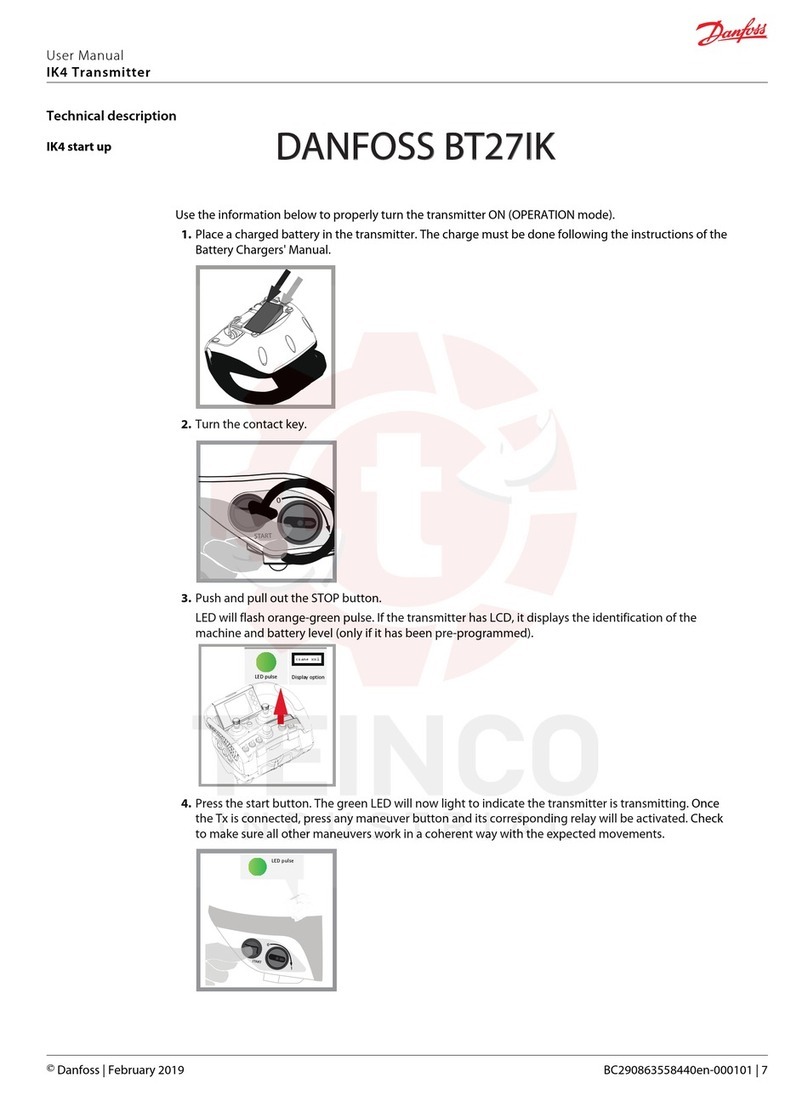
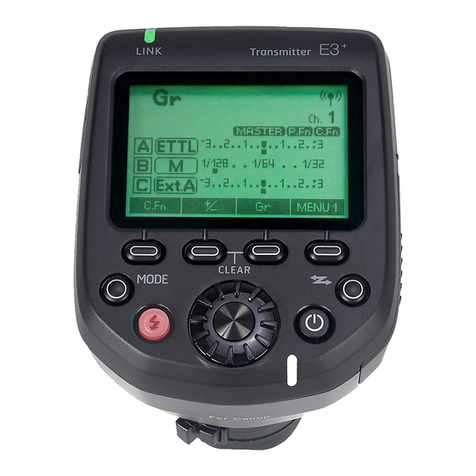
Simu Hz TIMER User manual

The Hz TIMER is a radio transmitter used to derive remote Hz
receivers or Hz motors with a built-in receiver. It is used to issue
individual, group or general controls.
This timer features 5 operating modes:
1 daily or weekly mode (e.g.: ▼20:00)
2 cosmic modes “COS1”and “COS2”, according to sunrise and sunset.
1 security mode “SEC” to simulate presence.
1 “OFF” mode, without closing nor opening time setting.
Technical specifications :
- Power supply : 2 AAA LR 03 1,5Vdc batteries.
- Frequency : 433 MHz
- Range : 200m in free field or 20 between 2 reinforced concrete walls.
- Operating temperature : +5°C / +40°C (indoor use only).
- Storage temperature : 0°C / +70°C
- Protection index : IP 30
- Operating reserve: unlimited for programming, time and date setting
when changing batteries.
- Weight : 145gr.
1- Remove carefully the front cover using a flat
screwdriver.
2- Unclip the timer from its basis.
3- remove the insulation pad.
4- The timer is in “OFF” mode. To set the
clock, press the “-” key
Hz TIMER - Réf.: 2004960
GB
S.A.S. au capital de 5 000 000 €- Z.I. Les Giranaux - BP71 - 70103 Arc-Les-Gray CEDEX - RCS GRAY B 425 650 090 - SIRET 425 650 090 00011 - n° T.V.A CEE FR 87 425 650 090
®
Read carefully these instructions
before any use.
5009577C
1
GB-
Hereby, SIMU, declares that this equipment “Hz-Timer” is in compliance with the essential
requirements and other relevant provision of Directive 1999/5/EC. A declaration of Conformity
is available at the web address: www.simu.fr, heading “Normes”. Usable in EU,
General specifications
1/4
first use of the timer

TO SELECT AN OPERATING MODE: Press and hold the key, the various modes scroll on screen (▼20:00, SEC, COS1,
COS2…). When the required mode is enabled, release the key.
To enable the “OFF” mode, press the “+” on the setting key .
To disable the “OFF” mode, press the “-” on the setting key .
3.1 - Daily mode / Weekly mode :
- Use the daily mode to programm an UP time and a DOWN time identical for all week days.
- Use the weekly mode to programm an UP time and a DOWN time differentfor each week day.
- The factory preset UP and DOWN times are respectively : ▲06:00 et ▼20:00 for all week day.
- To cancel an UP or Down sequence, set its programming to“OFF” located between 23:59 h and 00:00 h
• Weekly programming :
1- Press and hold the key until ▼20:00 is displayed when release.
2- Press the key >> the time and the day blink.
3- Press the key >> The UP time and the day blink.
4- Press several time on the key to select day 1 (monday)
5- Set the UP time with the setting key .
6- Press the key >> The DOWN time and the day 1 blink.
7- Set the DOWN time with the setting key
8- Press the key to select the following day (the programming time and day 2 blink).
9- Repeat the programming sequence for each week day.
10- After programming day 7, press the key to validate the new programming.
• Daily programming :
1- Press and hold the key until ▼20:00 is displayed when release.
2- Press the key >> the time blinks.
3- Press the key >> The programming UP time blinks.
4- Press several time on the key to display all the days currently (1 2 3 4 5 6 7)
5- Set the UP time using the setting key
6- Press the key >> The programming DOWN time blinks.
7- Set the DOWN time using the setting key
8- Validate the programming using the key.
3Configuring and programming the operating modes
After setting the Daily programming, you can modify the programming for each week day. To do this, proceed as with
weekly programming but select only the programming to modify. The las program befor validation (“set” key) will always
have priority.
• To shift from winter time (w) to summer time (S):
1- Press the key >> the current time blinks.
2- Press the key during 5 seconds >> shift to summer time (s).
3- Press the key to validate >> back to current time.
• To shift from summer time (S ) to winter time (w):
1- Press the key >> the current time blinks.
2- Press the key during 5 seconds >> shift to winter time (w).
3- Press the key to validate >> back to current time.
• To set the current time:
1- Press the key >> the current time blinks.
2- Set the time using the setting key:
3- Press the key to validate >> back to current time.
• To set the current date:
1- Press the key >> the date is diplayed on screen.
2- Press the key >> the day blinks.
3- Set the day using the setting key:
4- press the key >> the month blinks.
5- Set the month using the setting key:
6- press the key >> the year blinks..
7- Set the year using the setting key:
8- Press the key to validate >> back to current time.
2Setting the timer
The Hz-Timer is delivered set in the winter time (W). If you install it during the summer time, set the clock apropriately in the summer time (s).
2/4

3.2 - Cosmic mode 1 (COS1) :
The COS1 mode is a programme which calculate an UP time and a DOWN time automatically day after day, throughout the year, according to
sunrise and sunset. There is no daily programming as this is a programme.
- Differed time : Use tis programming to differ the UP and DOWN time of the COS1 programme by +/-1,59h to adjust it to your geographical
location.
- Hold time : Use this programming to hold an UP and a DOWN time at the latest for the summer period, from May to September (e.g. a 6.00H
hold time for openning will program COS1 to prevent it from issuing an openning command before 6.00h)
• Programming the Differed time :
1- Press and hold the key until COS1 is displayed then release.
2- Press the key >> the current time blinks, the time and direction of next command are displayed.
3- Press the key >> ▲0and the Differed time UP blink.
4- Differ the UP time (+/- 1:59 h) using the setting key
5- Press the key >> ▼0and the Differed time DOWN blink.
6- Differ the DOWN time (+/- 1:59 h) using the setting key
7- Validate the programming using the key.
• Programming the Hold time :
1- Press and hold the key until COS1 is displayed then release.
2- Press the key >> the current time blinks, the time and direction of next command are displayed.
3- Press 2 times the key >> ▲5and the hold time UP blink.
4- Set the hold time upward for the period from May to September using the setting key
5- Press 2 times the key >> ▼5and the hold time DOWN blink.
6- Set the hold time downward for the period from May to September using the setting key
7- Validate the programming using the key.
Hold time is factory preset upward at the earliest at 06:00h. To remove this hold time, set the UP time to OFF,
located between 23:59h and 00:00h.
MORNING
EVENING
3.3 -
Cosmic mode
2 (COS2) :
The COS2 mode is a programme which use the “weelky / daily mode” for UP times and COS1 mode for down times.
MORNING
EVENING
3/4

3.4 - “OFF” mode:
The timer acts like a basic radio transmitter (UP and DOWN time setting are disabled).
3.5 - Random mode “SEC” :
The SEC mode use the “weekly/daily” programme and offsets it randomly by +/- 15 minutes to simulate presence in your
home.
- Avoid locating the timer against or close to a metallic
part, as it could result in major lost of range.
- Do not install the timer too close to a receiver. (30cm
minimum).
- Whenever possible, install the timer at a height above
1,5m minimum from the ground.
- Before securing the timer, locate the timer at the
chosen location and press one of the keys (up or
down) for 2 sec. to check proper operation of the
installation. Repeat this operation several times to
validate the chosen location.
- The Hz-Timer is intended for indoor use only.
- A radio appliance using the same frequency (for
example : hi-fi radio headphones) may deteriorate our
product’s performance.
1- Remove carefully the front cover using a flat screwdriver.
2- Unclip the timer from its basis.
3- change the batteries (2 x LR03 - AAA - 1,5V).
4- Refitting : apply the reverse sequence and set the current
time and date.
WARNING : respect polarities (+/–), don’t recharge, don’t throw in fire nor open the used batteries, don’t mix used
batteries or other kind of batteries (coulds explode, leak and cause damage).
- To issue a group control with the timer : repeat opérations 4.1 and 4.2 for each receiver of the group.
- To issue a general control with the timer : repeat opérations 4.1 and 4.2 for each receiver of the facility.
- To remove the timer from the memory using a receiver: repeat operations 4.1 et 4.2 twice.
For programming the timer within the framework of a new facility,
apply the instructions in the receiver’s manual.
4.1 - Open the memory of the Hz receiver using its
individual control translitter:
Press the “PROG” key of the individual control transmitter for
about 3 sec. The motor rotates by about 1/2 second in one
direction, then the other.
4.2 - Validate the operation from the timer :
Press the “PROG” key of th timer for about 1 sec.The motor
rotates by about 1/2 second in one direction, then the other.
The programming is achieved.
4Programming the Hz-Timer on a receiver with an existing installation
7Installation
8Changing the batteries
4/4
PROG
>>>
≤1s
This manual suits for next models
1
Other Simu Transmitter manuals
Simu
Simu HZ MOBILE 1 CANAL User manual
Simu
Simu 2008806 User manual
Simu
Simu Hz COLOR MULTI User manual
Simu
Simu TIMER EASY User manual
Simu
Simu HZ WALL 1 CHANNEL User manual
Simu
Simu TIMER EASY User manual
Simu
Simu COLOR Hz User manual
Simu
Simu 2006020 User manual
Simu
Simu 5C User manual
Simu
Simu LiveIn2 User manual
