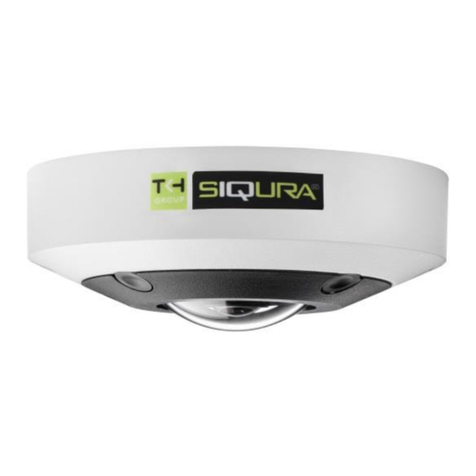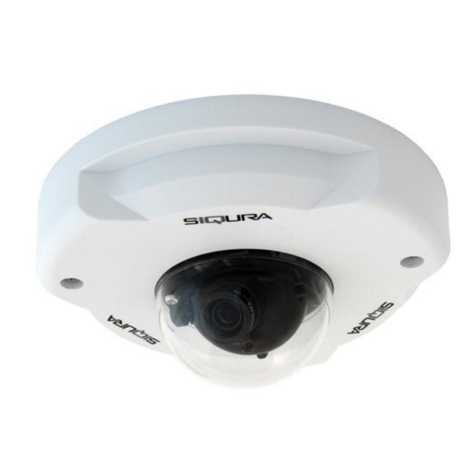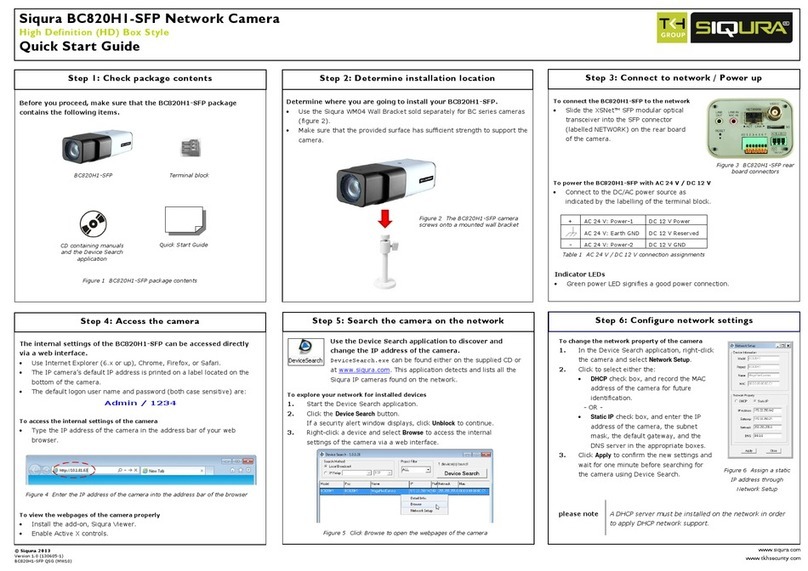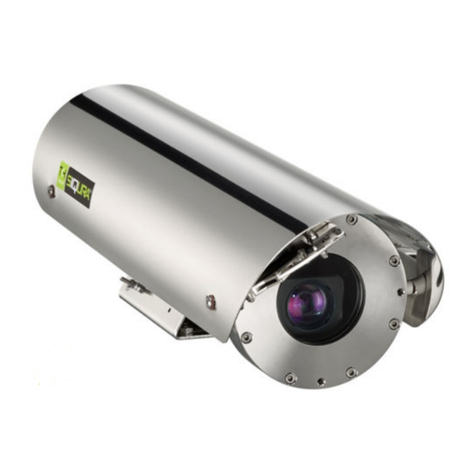
Depending on how the FD820M1(IR)-SFP is mounted, you may need
to rotate the camera image.
With Siqura Device Manager you can detect the FD820M1(IR)-SFP on
your network and access its webpages.
Siqura Device Manager is included on the supplied CD and also available at
www.siqura.com. The tool detects and lists all Siqura IP devices found on the
network.
To access the webpages of the camera
1. Start Siqura Device Manager.
The network is scanned. Detected devices appear in the List View.
2. Right-click the entry for the camera, and then click Open Web Page.
The login page of the camera is opened in your web browser.
3. Right-click a device and select Browse to access the internal settings
of the camera via a web interface.
Use Siqura Device Manager
Across the top of the FD820M1(IR)-SFP home page are five main
menu items.
Home
Here you can monitor a live video stream or double-click the image to
view stream details.
System
Here you can set the host name, system time, root password, and
other network related settings.
Streaming
Here you can set video and audio formats and compression
parameters.
Camera
Here you can adjust various camera settings, including exposure, white
balance, brightness, sharpness, contrast, and digital zoom.
Logout
The Logout option signs the user out of the camera’s webpages and
opens the Login page.
Figure 12 The FD820M1-SFP web interface menus
To open communication with the FD820M1(IR)-SFP
1. Make an IP connection between the camera and the PC.
To achieve initial access, the network adapter of the PC must be set to
the same subnet as the camera. The factory-set IP address is printed
on a label located on the bottom of the camera.
2. Type the IP address of the camera in the address bar of your web
browser (figure 6), and then click ENTER.
3. Enter the default user name (Admin) and password (1234).
Note that the user name is case sensitive.
4. When prompted about an ActiveX control installation, right-click the
information bar, and then click Install ActiveX control.
This installs Siqura Viewer, an add-on required to view camera images
in the webpages. Make sure that ActiveX controls are enabled in your
web browser. For more information, see the User Manual.
Figure 9 Enter the IP address of the camera into the address bar of your browser
Change the network settings
The FD820M1(IR)-SFP has a motorised lens.
Manually adjust the Pan/Tilt/Spin holders of the camera to point the lens for
the desired camera view (figure 13). Use Siqura Viewer to check the image
quality and the field of view as you make changes.
Figure 13 Adjust the pan, rotation,
and tilt of the camera as necessary
Figure 14 Zoom and focus buttons on
the home page of the FD820M1(IR)-SFP
Note: You can set the IR function of FD820M1IR-SFP via the Camera menu.
Figure 15 The FD820M1(IR)-SFP installation requires rotation
To select a video rotation type
1. On the Streaming tab menu, click Video Format.
2. Choose the required rotation type:
Normal video. The camera’s orientation is not modified.
Flip video. The image rotates across the horizontal axis.
Mirror video. The image rotates across the vertical axis.
90 degree clockwise. The image rotates 90° clockwise.
180 degree rotate. The image rotates 180°.
90 degree counterclockwise. The image rotates 90°
counterclockwise.
3. Click Save.
To change the network settings
1. Right-click the camera in
Siqura Device Manager.
2. Click Change Network Settings.
3. Click Enable DHCP.
- or -
click Static IP, and then enter
the new IP address, subnet
mask, and gateway address.
4. Click OK.
Figure 10 Open the FD820M1(IR)-SFP webpages with Siqura Device Manager
With Siqura Device Manager you can directly change the network
settings of the FD820M1(IR)-SFP.
Note: A DHCP server must be installed on the network in order to apply
DHCP network support.
Alternatively, you can change these settings on the Network webpage of the
camera. For more information, see the User Manual.
You can access the settings of the camera via its webpages.
Use Internet Explorer 6.x or higher, Chrome, Firefox or Safari to browse the
webpages.
Figure 11 Network settings
