manuals.online logo
Brands
  1. Home
  2. •
  3. Brands
  4. •
  5. Sloan
  6. •
  7. Plumbing Product
  8. •
  9. Sloan ESD-400 User manual

Sloan ESD-400 User manual

Installation & Operating
Instruction Manual
Thoroughly read this instruction booklet before
installing or operating the Sloan dispenser.
Keep the Installation & Operating
Instruction Manual with other product
information for future reference.
Sensor-Operated Dispenser
ESD-400 Sensor- perated, Deck-Mount Foam
Soap Dispenser
Specifications
Width 1.747” (44.37 mm)
Height 4.40“ (118 mm)
Depth 4.50” (114.3 mm)
Dispenser Rate Approximately
1.2 mL per use
Capacity 1000 mL bottle
Specifications are subject to change without
notice.
Table of Contents Page
Parts/Dimensions 2
Installation Instructions 3-5
peration 6
Maintenance/Replacements 6-7
Emergency Measures 8
Consumables 8
Sensor-
Operated,
Deck-Mount
Foam Soap
Dispenser
Code. 0816685
Rev.1 (02/15)
OVERVIE OF PARTS AND DIMENSIONS
4.40”
(111.8 mm)
9.25”
(235 mm)
2.25”
(57 mm)
7.87”
(200 mm)
4.50”
(114.3 mm)
1.91”
(48.5 mm)
Foam tank
case unit
Foam soap
dispenser
Foam soap
dispenser
Note: Deck mount foam soap dispenser
shown mounted with faucet for reference.
Liquid soap
and air tubes
Wiring
2
INSTALLATION
Check that all parts are included in original
packaging for proper installation.
Package contents:
Foam soap dispenser (1)
Dispenser shank nut, washer and packing
Connector case, stainless steel panhead
screws (2) and adhesive pad (1)
Tubing (1)
Foam tank case unit (1)
Screw kit (4-screw kit x 1)
Foam tank case key (2)
Tube clamp (2)
Wire clip (2)
Tools needed:
Drill
1/8” drill bit
1/4” masonry bit (if attaching to
concrete wall)
1” hole drill for drilling through countertop
Adjustable wrench or basin wrench
Phillips head and slotted screwdrivers
Utility knife
Hammer
Ruler/tape measure
Cautions
Before using the dispenser, thoroughly read the
“Precautions” attached to the liquid products.
Immediately clean any spill on the floor
to help avoid falling, injuries or other hazards.
Choosing Installation Placement
For indoor use only.
Do not install in areas with high humidity or
where the unit may be exposed to direct sunlight.
Install the unit on a sturdy horizontal surface that
is in ambient temperature (0-35°C/32°-95°F).
Make sure foam tank case unit will be accessable
from the underside of sink.
Prior to Installation
An electrical outlet is needed for operation. It
should be protected from any contact with water
and be within the range of the power cord
(approx. 70”.) If no outlet is available, consult
licensed electrician. (GFI outlet suggested per
code.)
Locate final position of foam soap dispenser and
drill 1” hole in counter top.
STEP 1.
Remove unnecessary components
Remove unnecessary components from washbowl
or horizontal surface that are mounted on the
area where the foam soap dispenser will be
installed.
STEP 2.
Install foam soap
dispenser
Insert the foam soap dispenser shank into the
mounting hole. Secure the foam soap dispenser
to the countertop using shank packing, washer
and nut. Foam soap
dispenser
Shank
1” hole in
counter top
Packing
Washer
Nut
3
Removing tubes
When removing a tube from a fitting, remove the
clamp first and then pull out the tube from the
fitting.
To reconnect a removed tube to a fitting, retrim
tip of the tube at right angle prior to connecting.
INSTALLATION
Foam soap tube
from foam soap
dispenser
Air tube from foam
soap dispenser
Foam soap
tube fitting
Air tube
fitting
Fittings
connection label
Foam tank
case unit
Tube clamps
STEP 3.
Install foam tank case unit to wall
Before installing on the wall, check that no other
piping and wiring is running behind hole
locations. Wall should be sufficiently reinforced or
risk failure due to foam tank case unit falling.
• Determine a temporary position for mounting
the foam tank case unit.
• Make sure unit is within reach of the liquid
soap and air tube from the foam soap
dispenser.
• Use the mounting bracket as a guide, mark
where holes need to be drilled. Important:
Make sure bracket and foam tank
case unit is mounted level.
• When installing onto a concrete wall, drill holes
1.125” deep using a 1/4” masonry drill bit.
Insert wall anchors into the holes and mount
the dispenser using screws.
• When installing onto a wood wall, drill holes
using a 1/8” drill bit and attach the dispenser
using screws.
STEP 4.
Connect foam soap tube and air tube
Connect the foam soap tube and air tube from
the foam soap dispenser into the soap tube fitting
and air tube fitting found on top of the foam tank
case unit, respectively.
• Check soap tube tags and align with correct
fittings as indicated on the fittings connection
label.
• Cut the soap tube and the air tube at suitable
lengths. Ends should be cut at right angles and
tubes should be free of kinks and bends when
connected.
• Insert soap tube and air tube into respective
fittings and secure with
tube clamps.
4
Connect wiring
Connect the relay harness, which comes from the
bottom of the foam tank base case unit, with the
hand sensor harness, which comes from the
foam soap dispenser.
Protect wire connections
Feed the connectors of the relay harness and
hand sensor harness into the connector case as
shown in illustration. After positioning all wiring,
fold the connector case in half and close using
two stainless steel panhead screws.
• Be careful not to pinch the wiring in the
connector case.
Mount connector case
Completely clean the area where affixing the
connector case. Remove liner and affix one side
of the adhesive pad to the back of the connector
case.
Remove the adhesive liner on the pad affixed on
the connector case and attach to the underside or
back of basin or sink.
• When mounting the connector case, screws
must be accessable in case wiring needs
accessing.
• Harness openings must face down to keep
water from entering case.
Attach wire guide clips
• Attach wire guide clips to the bracket and
secure wires.
Plug in to electrical outlet
From foam soap
dispenser
Hand
sensor
harness
Relay
harness
From foam
tank case unit
Hand
sensor
harness
Connectors
Relay
harness
Connectors
Harness
openings
Connector case
Stainless
steel
panhead
screws
Adhesive
mounting pad
5
Wire guide
clips
6
Replacing Soap
The foam soap indicator light on the
foam soap dispenser blinks and stops dispensing
when the soap bottle in the foam tank case unit
runs out. Change the soap bottle.
• Turn the key to open the foam tank
case unit
cabinet door.
• Remove the joint
cap and dip tube
and discard empty
soap bottle.
• Insert the dip tube
and attach the
joint cap to the
new bottle and
install the bottle in
the tank cabinet. Be sure to attach the joint
cap securely.
• Close the door and lock using key.
Cleaning
For reliable long-term use, perform regular
maintenance for the unit. Be sure to turn off the
operation switch and check that the operation
light is off when maintenance is done. Remove
soil with a soft, dry cloth. If the unit is seriously
polluted on portions other than the hand sensor,
use wet cloths properly diluted neutral detergent.
Then remove the detergent with a soft damp
cloth and then rub with a soft, dry cloth.
MAINTENANCE
Operation
Mount soap bottle to the foam tank case unit.
Press the reset switch, which begins the pumping
cycle to purge air from the tube. This step may be
required twice to completely prime the unit.
Place hands under foam soap dispenser. The
sensor will detect the presence (approximately
0.6 seconds) and dispense foam soap from the
foam soap dispenser.
Check for leaks from the bottle or dispensing
unit. Soap should only be dispensed through the
outlet spout.
N TE: This procedure must be completed every
time a bottle is replaced.
OPERATION
Liquid soap
bottle
Reset switch
peration light
peration switch
peration panel
Foam tank
case unit
Joint cap
Joint cap
Joint
cap
Cleaning foam soap dispenser
If the tip of the soap nozzle is clogged, the
dispensing capability may fail or function partially.
Clean the nozzle according to the following
procedure:
• Press the operation switch to FF (the
operation light goes off).
• Remove the nozzle using a 2.5 mm Hex key.
Next, remove the internal mesh. Wash it with
lukewarm water.
• Insert the mesh and then the nozzle back
into the spout and tighten with the hex key.
• Turn N the operation switch (the operation
light goes on). Check the foam soap spraying
state.
• Repeat as needed.
7
Cleaning the hand sensor
Clean the hand sensor periodically (about once a
month) according to the following procedure:
• Press the operation switch to FF (the
operation light goes off).
• Gently wipe the hand sensor area with a cloth
moistened with warm water.
• Press the operation switch to N (the operation
light goes on).
• Make sure that the nozzles properly dispenses
foam soap.
N TE: Do not leave water drops on the hand
sensor area. Remaining water drops may cause a
malfunction.
Mesh
Nozzle
Before Calling for Repair
Problem Action
Unit does not operate. Check operation switch is on.
Check power plug is securely inserted to the outlet.
Soap does not dispense. Soap bottle needs replacing.
Check soap dispensing nozzle for clog.
Clean hand sensor.
Liquid soap is not in foam state. Check mesh is mounted in the
foam-dispensing nozzle.
CONSUMABLES
Product No. Description Order No.
SJS-1751 Sensor Deck-Mount Foam Soap 5700751
SJS-1751-1 Sensor Deck-Mount Foam Soap with Moisturizers 5700752
SJS-1751-3 Sensor Deck-Mount Foam Soap (Fragrance Free) 5700754
SJS-1751-4 Sensor Deck-Mount Foam Soap (Rose) 5700755
EMERGENCY MEASURES
Take action according to the chemical being used
as listed on the container. See the Safety Data
Sheets.
Eye Contact: Flush eyes with water for a
minimum of 15 minutes and consult a physician
immediately.
Ingestion: Drink water to induce vomiting and
consult a physician immediately.
Inhalation: Get fresh air immediately. If condition
does not improve, consult a physician
immediately.
The information contained in this document is
subject to change without notice.
Sloan Valve Company
10500 Seymour Avenue
Franklin Park, IL 60131-1259
Phone: 877-652-6726
Fax: 800-447-8329
www.sloanvalve.com
©2015 Sloan Valve Company
Code. 0816685
Rev.1 (02/15)

Other Sloan Plumbing Product manuals

Sloan TRUFLUSH TRF1036-N User manual

Sloan

Sloan TRUFLUSH TRF1036-N User manual
Sloan BASYS EFX-8 Use and care manual

Sloan

Sloan BASYS EFX-8 Use and care manual
Sloan TRF 8036-N User manual

Sloan

Sloan TRF 8036-N User manual

Sloan Royal 310 User manual

Sloan

Sloan Royal 310 User manual
Sloan SF Series User manual

Sloan

Sloan SF Series User manual
Sloan 115 ES-S Service manual

Sloan

Sloan 115 ES-S Service manual
Sloan OPTIMA plus ERF-885 User manual

Sloan

Sloan OPTIMA plus ERF-885 User manual
Sloan EL-485-A User manual

Sloan

Sloan EL-485-A User manual

Sloan EAF-700 Manual

Sloan

Sloan EAF-700 Manual

Sloan Solis EAF-275 Series User manual
Sloan

Sloan Solis EAF-275 Series User manual

Sloan TRUFLUSH TRF1000 User manual

Sloan

Sloan TRUFLUSH TRF1000 User manual
Sloan Optima EBF-750 Use and care manual
Sloan

Sloan Optima EBF-750 Use and care manual

Sloan CX Series User manual

Sloan

Sloan CX Series User manual
Sloan ECOS HET 8100 Series User manual
Sloan

Sloan ECOS HET 8100 Series User manual

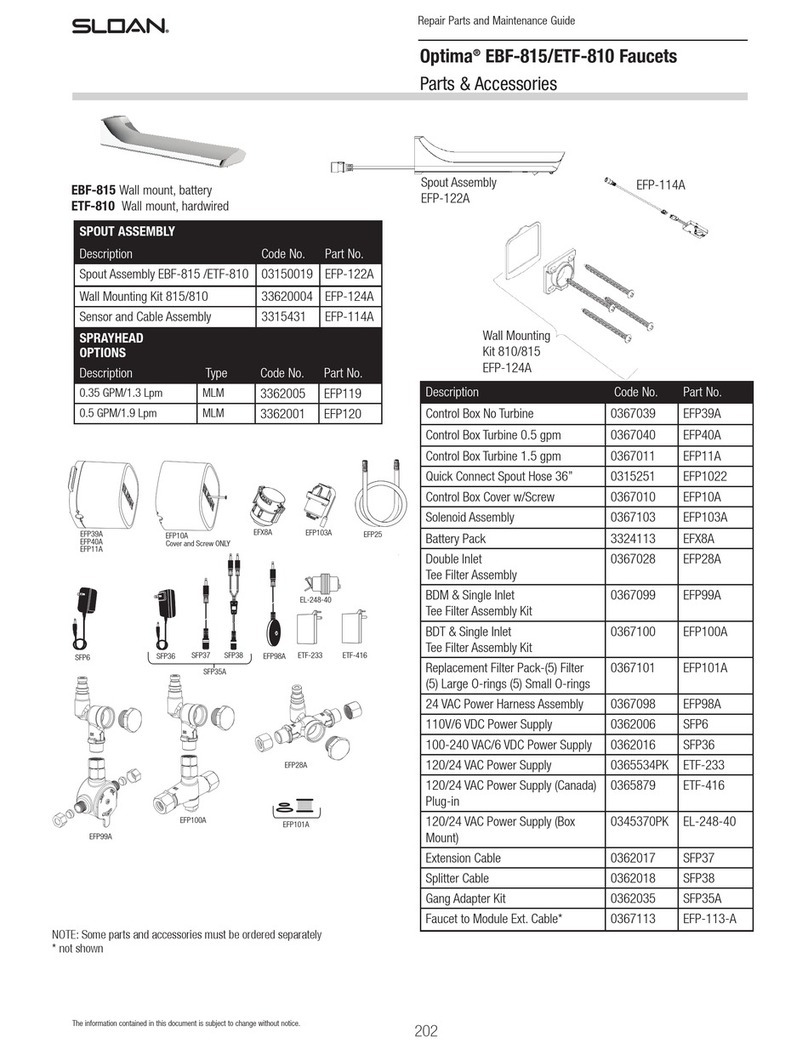
Sloan Optima ETF-810 Use and care manual
Sloan

Sloan Optima ETF-810 Use and care manual

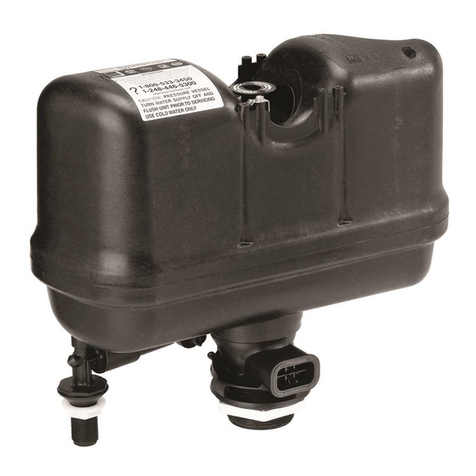
Sloan FLUSHMATE III 503 Series Application guide
Sloan

Sloan FLUSHMATE III 503 Series Application guide

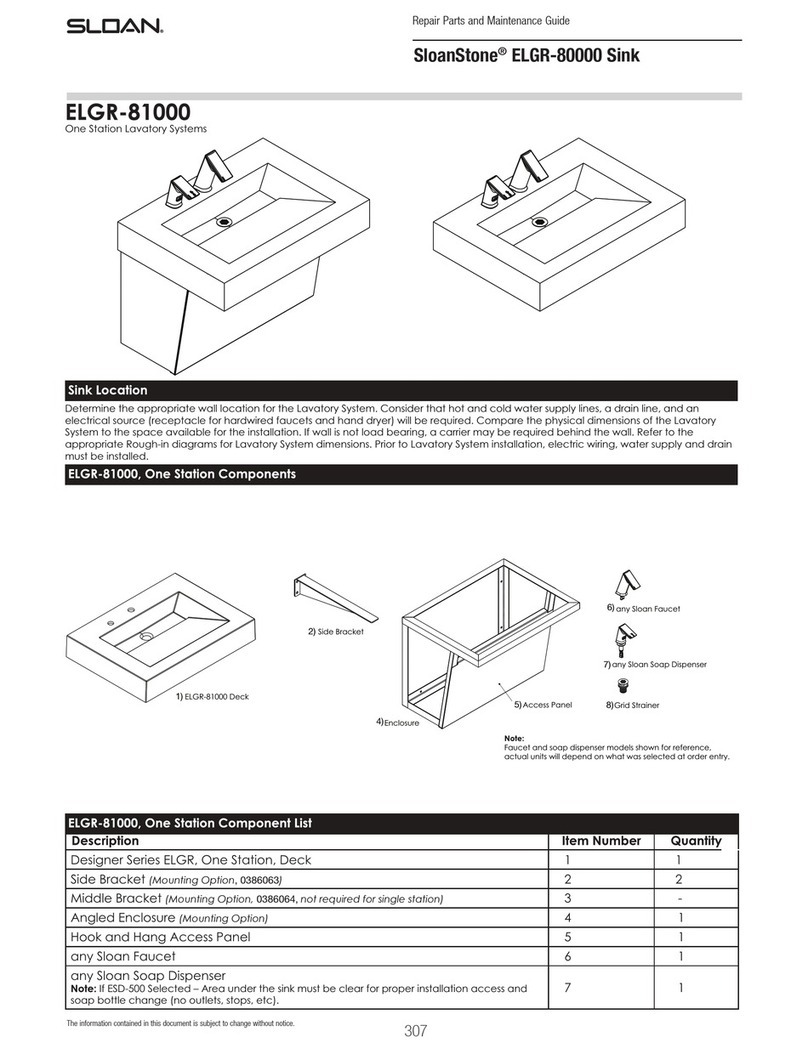
Sloan ELGR-81000 Use and care manual

Sloan

Sloan ELGR-81000 Use and care manual

Sloan BASYS Operating manual

Sloan

Sloan BASYS Operating manual

Sloan ESD601A User manual

Sloan

Sloan ESD601A User manual

Sloan TRF 156-1.1 User manual

Sloan

Sloan TRF 156-1.1 User manual

Sloan BASYS EFX-300 Use and care manual

Sloan

Sloan BASYS EFX-300 Use and care manual

Sloan OPTIMA plus Series User manual

Sloan

Sloan OPTIMA plus Series User manual

Sloan OPTIMA I.Q. EAF-100 Series Use and care manual

Sloan

Sloan OPTIMA I.Q. EAF-100 Series Use and care manual

Sloan BASYS EFX-3 Series Use and care manual

Sloan

Sloan BASYS EFX-3 Series Use and care manual

Popular Plumbing Product manuals by other brands
Kohler K-17230T-DR installation instructions

Kohler

Kohler K-17230T-DR installation instructions

Clark Back to Wall Care & Installation Guide

Clark

Clark Back to Wall Care & Installation Guide

Moen T5240 manual

Moen

Moen T5240 manual

Lacava ELEGANZA 1846L owner's manual

Lacava

Lacava ELEGANZA 1846L owner's manual

Mira Platinum Installation and user guide

Mira

Mira Platinum Installation and user guide

Jacuzzi sasha installation manual

Jacuzzi

Jacuzzi sasha installation manual

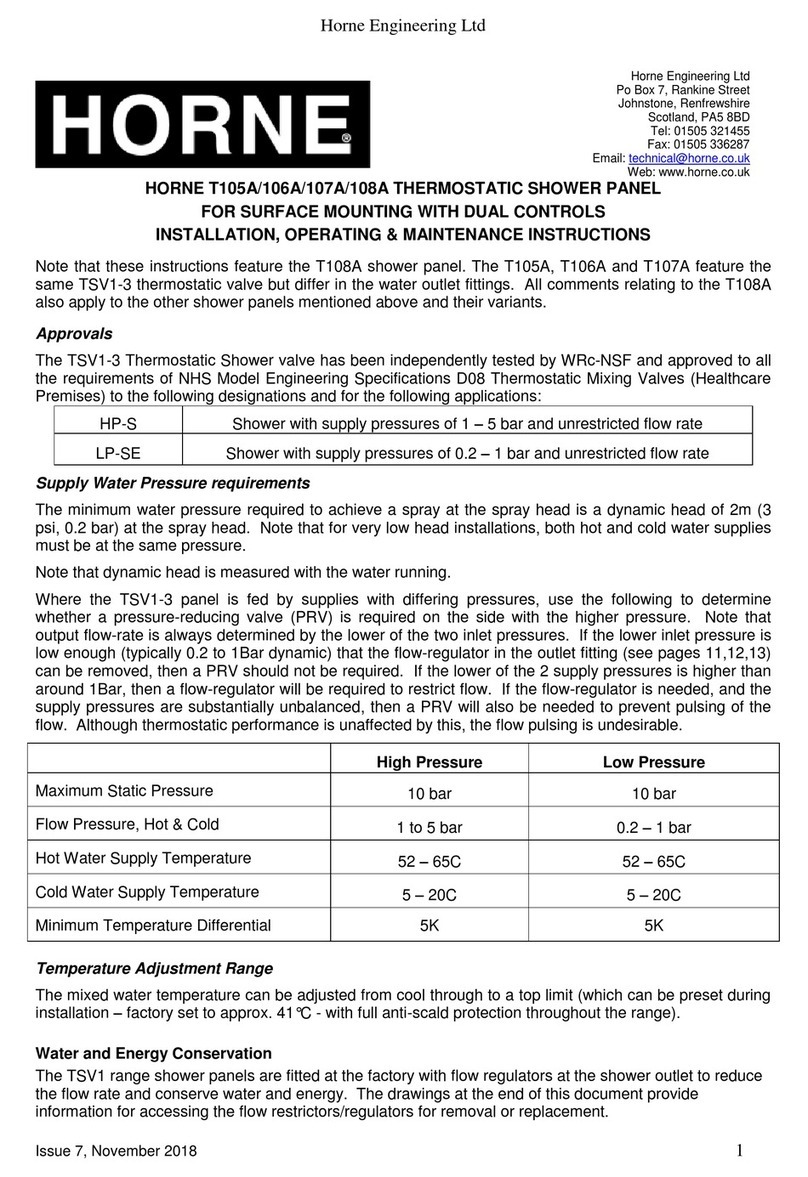
HORNE T105A Installation, operating and maintenance instructions

HORNE

HORNE T105A Installation, operating and maintenance instructions

JADO Pyke Roman 848 installation instructions
JADO

JADO Pyke Roman 848 installation instructions

Mira Advance user guide

Mira

Mira Advance user guide

Symmons Symmetrix S-23 Series Installation and service instructions
Symmons

Symmons Symmetrix S-23 Series Installation and service instructions

Hans Grohe Ecostat S Care 15790000 Instructions for use/assembly instructions

Hans Grohe

Hans Grohe Ecostat S Care 15790000 Instructions for use/assembly instructions
Grohe 37 048 manual

Grohe

Grohe 37 048 manual

Ferguson Enterprises ProFlo PFSH305GCP installation instructions

Ferguson Enterprises

Ferguson Enterprises ProFlo PFSH305GCP installation instructions

Grohe Chiara 19 159 manual

Grohe

Grohe Chiara 19 159 manual

Brizo 65306LF-LHP Series manual

Brizo

Brizo 65306LF-LHP Series manual

Axor Axor Steel 41230800 parts list

Axor

Axor Axor Steel 41230800 parts list

Minerva 5565 Assembly instructions

Minerva

Minerva 5565 Assembly instructions

Elkay Harmony LKHA3041CR Installation & owner's manual

Elkay

Elkay Harmony LKHA3041CR Installation & owner's manual

manuals.online logo
manuals.online logoBrands
  • About & Mission
  • Contact us
  • Privacy Policy
  • Terms and Conditions

Copyright 2025 Manuals.Online. All Rights Reserved.