manuals.online logo
Brands
  1. Home
  2. •
  3. Brands
  4. •
  5. Sloan
  6. •
  7. Plumbing Product
  8. •
  9. Sloan OPTIMA I.Q. EAF-100 Series Use and care manual

Sloan OPTIMA I.Q. EAF-100 Series Use and care manual

238
Repair Parts and Maintenance Guide
The information contained in this document is subject to change without notice.
PARTS LIST—EAF-100 FAUCETS
Item
No. Code No. Part No. Description
1A . 0335021 EAF-22 1.5 gpm (5.7 Lpm) Aerator Spray Head
1B. 0335008 EAF-10 2.2 gpm (8.3 Lpm) Aerator Spray Head
1C. 0335010 EAF-12 0.5 gpm (1.9 Lpm) Multi-Laminar Spray Head
1D. 0335029 EAF-51 0.35 gpm (1.3 Lpm) Spray Head (Multi-Lam)
2A. 0335004 EAF-6-A Sensor Standard Throat Plate Assembly
(Plug-in Adapter Models)
2B. 0335005 EAF-7-A Sensor standard throat plate assembly with i.q.
click (Plug-in adapter models, IC variation)
3. 0335009 EAF-11 90-264 VAC/6.75 VDC Plug-In Adapter (US)
4. 0335000 EAF-1 Faucet Mounting Kit
5. 0335007 EAF-9 Strainer (Filter) (One per package) - Note: 2
required for ISM Models
6A. 3335118 EAF-1022-A Side Mixer Cartridge & Handle
6B. 3335011 EAF-1002 Handle Repair Kit
7. 3335023 EAF-1008 15” (330 mm) Flexible Supply Hose (1)
8. 0362011 SFP-11 Trim Plate for 4” Center-set Sink
9. 3362022 SFP-22 Trim Plate for 8” Center-set Sink
10. 0335001 EAF-2 Solenoid (Solenoid (6 mm hex recess))
11. 0335024 EAF-24-A 11-13/16” (300 mm) Extension Cable
0335025 EAF-25-A 47-1/4” (1200 mm) Extension Cable
0335015 EAF-17-A 126” (3200 mm) Extension Cable
12.†0335044 EAF-44-A Power Splitter†
13. 0335037 EAF-37 6 VDC Box Mount Adapter
14. 0335038 EAF-38 90-264 VAC/6.75 VDC Plug-In Adapter (EURO)
15. 0335039 EAF-39 90-264 VAC/6.75 VDC Plug-In Adapter (UK)
† EAF-44 replaces the separate EAF-23-A Splitter Cable and (Discontinued )EAF-28 Capacitor, which is sold
separately.
EAF-1001 Mixer Handle Assembly and Cartridge (prior to 2004) Discontinued
EAF100 faucets require EAF44 POWER SPLITTER in ganging (or daisy chain)
application.
Electrical Connection for up to Six (6) Faucets
Using One (1) Adapter
(3)
6 VDC PLUG-IN
ADAPTER
(12)
POWER
SPLITTER†
(12)
POWER
SPLITTER†
(12)
POWER
SPLITTER†
TO ADDITIONAL
FAUCETS
(6 MAX.)
EAF-100-ISM-DPU-IC
* EAF-100 faucets require use of EAF-44-A (12) Power Splitter in Ganging (Daisy Chain)
Applications.
Optima®EAF-100 Faucet
EAF-100-ISM
DISCONTINUED
239
Repair Parts and Maintenance Guide
The information contained in this document is subject to change without notice.
Prepare for operation
A. Press the button once.
B. Remove sticker.
C. Water will flow 4 seconds
D. Wait 10 seconds, then the faucet
is ready for use.
If waterflow doesn’t start after
removing the sticker and the red led
within the sensor flashes continue
with the following procedure!!
A. Press the button once.
B. Hold a white sheet of paper 1.5”
(40 mm) in front of sensor until
water flows for 4 seconds
C. Remove paper.
D. Wait 10 seconds, then the faucet
is ready for use.
SERVICE OPERATION
1x
1x
4 Sec.
4 Sec.
10 Sec.
10 Sec.
1x
1x
4 Sec.
4 Sec.
10 Sec.
10 Sec.
1x
1x
4 Sec.
4 Sec.
10 Sec.
10 Sec.
1x
1x
4 Sec.
4 Sec.
10 Sec.
10 Sec.
1x
1x
4 Sec.
4 Sec.
10 Sec.
10 Sec.
1x
1x
4 Sec.
4 Sec.
10 Sec.
10 Sec.
A
B
D
A
B
D
C
C
Optima®EAF-100 Faucet
For sensor recalibration, press and
release iq button 2 quick times,
wait for rapid “temporary off” red
LED flashes, then press and hold
iq button for several seconds and
after four (4) slow red LED flashes,
release button and step away for
fifteen (15) seconds to allow faucet
sensor to recalibrate.
After water turns on then off and red
LED flashes are followed by a single
green flash (calibration complete), test faucet.
AUTO SENSOR CALIBRATION OR RANGE ADJUSTMENT
To manually change range, press
and release iq button 2 quick times,
wait for rapid “temporary off” red
LED flashes, then press and hold
iq button, there will be four (4) red
LED flashes, a pause, then more
red LED flashes (up to eight (8) red
LED flashes); 1-red LED flash for
the shortest range setting, eight (8)
flashes for the longest range setting;
Release iq button after desired red
LED flash for range setting (#6 is
factory setting).
After releasing button, faucet will
cycle through auto calibration
(approximately 15-seconds). Then
test faucet.
NOTE: Updated electronics have
visible RED and GREEN LED. Original
electronics have only RED LED and
range setting is reversed
(1 = longest, 8 = shortest)
MANUAL RANGE ADJUSTMENT
240
Repair Parts and Maintenance Guide
The information contained in this document is subject to change without notice.
Optima®EAF-100 Faucet
1. Faucet DOES NOT function.
A. Adhesive packaging label affixed over sensor eye. Remove adhesive
label from sensor eye.
B. “Permanent Off” activated. Press button on faucet throat one time.
2. Faucet delivers water in an uncontrolled manner.
A. Faucet is not working properly. Contact Sloan Technical Support.
3. Faucet does not deliver any water when sensor is activated.
INDICATOR: Solenoid valve produces an audible “CLICK.”
A. Water supply stop(s) closed. Open water supply stop(s).
B. Water supply stop strainer(s) clogged. Clean water supply stop
strainer(s).
INDICATOR: Solenoid valve DOES NOT produce an audible “CLICK.”
A. Power failure (EAF-100 Models). Check power supply.
4. Faucet delivers only a slow flow or dribble when sensor is
activated.
A. Water supply stop(s) are partially closed. Completely open water supply
stop(s).
B. Water supply stop strainer(s) clogged. Remove, clean, and reinstall
water supply stop strainer(s). Replace strainer(s) if required.
C. Aerator is clogged. Remove, clean, and reinstall aerator. Replace
aerator if required.
D. Faucet is not working properly. Contact Sloan Technical Support.
5. Faucet DOES NOT stop delivering water or continues to drip after
user is no longer detected.
A. Clean Solenoid Valve - Turn off water, remove and unplug
sensor/throat plate assembly with 2.5-mm hex wrench, remove
solenoid using 6-mm hex wrench, clean solenoid diaphragmof
plumbing debris, clean solenoid base in faucet with a dry towel, install
solenoid (do not over-tighten), connect sensor/throat plate and install,
dry fire solenoid (listen for clicking), then turn on water and test faucet.
Also flush lines at stops as well to remove any plumbing debris in the
line, check supply hose filters at that time as well.
6. i.q.-cliq DOES NOT function (-IC models only)
A. Button is not working properly. Contact Sloan Technical Support.
7. The water temperature is too hot or too cold on a faucet
connected to hot and cold supply lines.
A. Supply stops are not adjusted properly. Adjust supply stops.
B. For models with integral mixing valve — mixing valve is set improperly
for the water temperature desired. Rotate mixing valve handle
clockwise to decrease water temperature or counterclockwise to
increase water temperature.
TROUBLESHOOTING GUIDE CARE AND CLEANING
clean faucets that may dull the luster and attack the chrome or special
decorative finishes. Use ONLY mild soap
and water, then wipe dry with clean cloth or towel.
While cleaning the bathroom tile, protect the faucet from any splattering of
cleaner. Acids and cleaning fluids will discolor or remove chrome plating.
When assistance is required, please contact
Sloan Technical Support at: 1-888-SLOAN-14 (1-888-756-2614).
DO NOT USE abrasive or chemical cleaners (including chlorine
bleach) to clean faucets that may dull the luster and attack
the chrome or special decorative finishes. Use
ONLY mild soap and water, then wipe dry with
clean cloth or towel.
While cleaning the bathroom tile, protect the
faucet from any splattering of cleaner. Acids and
cleaning fluids will discolor or remove chrome
plating.
When assistance is required, please contact
Sloan Technical Support at: 1-888-SLOAN-14
(1-888-756-2614).

Other manuals for OPTIMA I.Q. EAF-100 Series

1

This manual suits for next models

2

Other Sloan Plumbing Product manuals

Sloan EFX-3XX SERIES Use and care manual
Sloan

Sloan EFX-3XX SERIES Use and care manual

Sloan SF Series User manual

Sloan

Sloan SF Series User manual
Sloan ECOS HET 8100 Series User manual
Sloan

Sloan ECOS HET 8100 Series User manual

Sloan Solis EAF-275 Series User manual

Sloan

Sloan Solis EAF-275 Series User manual

Sloan ESD-200 User manual

Sloan

Sloan ESD-200 User manual
Sloan ESD Series User manual

Sloan

Sloan ESD Series User manual

Sloan Royal 310 User manual

Sloan

Sloan Royal 310 User manual
Sloan EFX-6 Series User manual

Sloan

Sloan EFX-6 Series User manual
Sloan 115 ES-S Service manual

Sloan

Sloan 115 ES-S Service manual

Sloan TRF 156-1.1 User manual

Sloan

Sloan TRF 156-1.1 User manual

Sloan AER-DEC 81000 Use and care manual
Sloan

Sloan AER-DEC 81000 Use and care manual

Sloan TRUFLUSH TRF1000 User manual

Sloan

Sloan TRUFLUSH TRF1000 User manual
Sloan FLUSHMATE III 503 Series Application guide

Sloan

Sloan FLUSHMATE III 503 Series Application guide

Sloan Optima EBF-650 User manual

Sloan

Sloan Optima EBF-650 User manual
Sloan BASYS EFX-8 Use and care manual

Sloan

Sloan BASYS EFX-8 Use and care manual
Sloan TRF 8036-N User manual

Sloan

Sloan TRF 8036-N User manual

Sloan TRUFLUSH TRF 8036 User manual

Sloan

Sloan TRUFLUSH TRF 8036 User manual
Sloan 0344067 Use and care manual

Sloan

Sloan 0344067 Use and care manual
Sloan TruFlush TRF 8936-CP User manual
Sloan

Sloan TruFlush TRF 8936-CP User manual

Sloan Optima EAF-275 Series Use and care manual

Sloan

Sloan Optima EAF-275 Series Use and care manual

Sloan TruFlush TRF1036-N Use and care manual

Sloan

Sloan TruFlush TRF1036-N Use and care manual

Sloan TRF 8156-1.6 User manual

Sloan

Sloan TRF 8156-1.6 User manual

Sloan EAF-3X0 Series User manual

Sloan

Sloan EAF-3X0 Series User manual

Sloan OPTIMA I.Q. EAF-150 Series User manual

Sloan

Sloan OPTIMA I.Q. EAF-150 Series User manual

Popular Plumbing Product manuals by other brands
Laufen Twintronic instructions

Laufen

Laufen Twintronic instructions

Canadian Spa Whistler Sauna owner's manual

Canadian Spa

Canadian Spa Whistler Sauna owner's manual

Anzzi L-AZ 905 Series Installation & operation manual
Anzzi

Anzzi L-AZ 905 Series Installation & operation manual

Franke F5LT1001 Installation and operating instructions
Franke

Franke F5LT1001 Installation and operating instructions

Rohl Miscelo instruction manual

Rohl

Rohl Miscelo instruction manual

Hans Grohe Tecturis E 240 Fine CoolStart 73072 1 Series Installation/User Instructions/Warranty

Hans Grohe

Hans Grohe Tecturis E 240 Fine CoolStart 73072 1 Series Installation/User Instructions/Warranty

GATTONI KUBIK 2527 Installation and assembly
GATTONI

GATTONI KUBIK 2527 Installation and assembly

Helvex TV-305 installation guide

Helvex

Helvex TV-305 installation guide

Kohler K-6812 installation guide

Kohler

Kohler K-6812 installation guide

Hans Grohe iControl mobile 15942000 Instructions for use/assembly instructions
Hans Grohe

Hans Grohe iControl mobile 15942000 Instructions for use/assembly instructions

FRANZ VIEGENER FV247.BASE Installation and Maintenance
FRANZ VIEGENER

FRANZ VIEGENER FV247.BASE Installation and Maintenance

Axor Montreux 16534XX1 Installation instructions / warranty

Axor

Axor Montreux 16534XX1 Installation instructions / warranty

Hans Grohe Retroaktiv 06126XX0 Installation instructions / warranty

Hans Grohe

Hans Grohe Retroaktiv 06126XX0 Installation instructions / warranty
noken lounge 100063524-N199999987 Installation and Maintenance

noken

noken lounge 100063524-N199999987 Installation and Maintenance

American Standard Green Tea T010.5XX installation instructions

American Standard

American Standard Green Tea T010.5XX installation instructions

azalp Titania 4 59615 Building instructions
azalp

azalp Titania 4 59615 Building instructions

Glacier bay HD67390W-8001 Installation and care guide
Glacier bay

Glacier bay HD67390W-8001 Installation and care guide

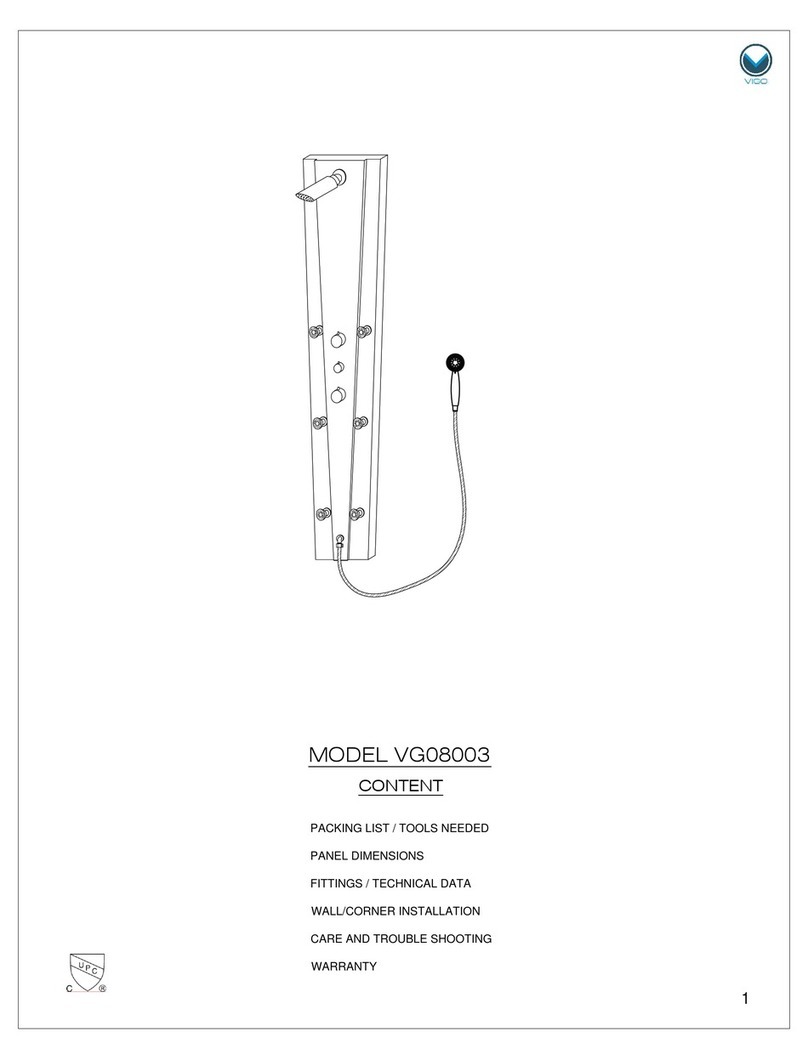
VIGO VG08003 manual

VIGO

VIGO VG08003 manual

manuals.online logo
manuals.online logoBrands
  • About & Mission
  • Contact us
  • Privacy Policy
  • Terms and Conditions

Copyright 2025 Manuals.Online. All Rights Reserved.