manuals.online logo
Brands
  1. Home
  2. •
  3. Brands
  4. •
  5. Sloan
  6. •
  7. Plumbing Product
  8. •
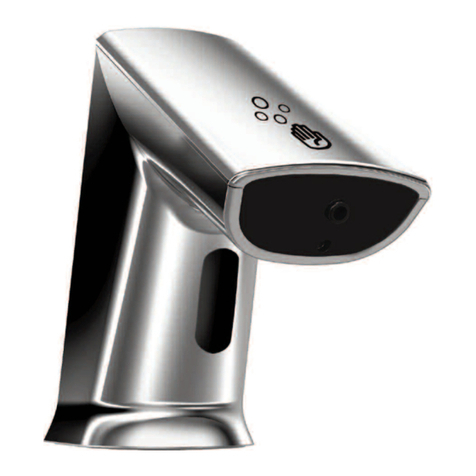
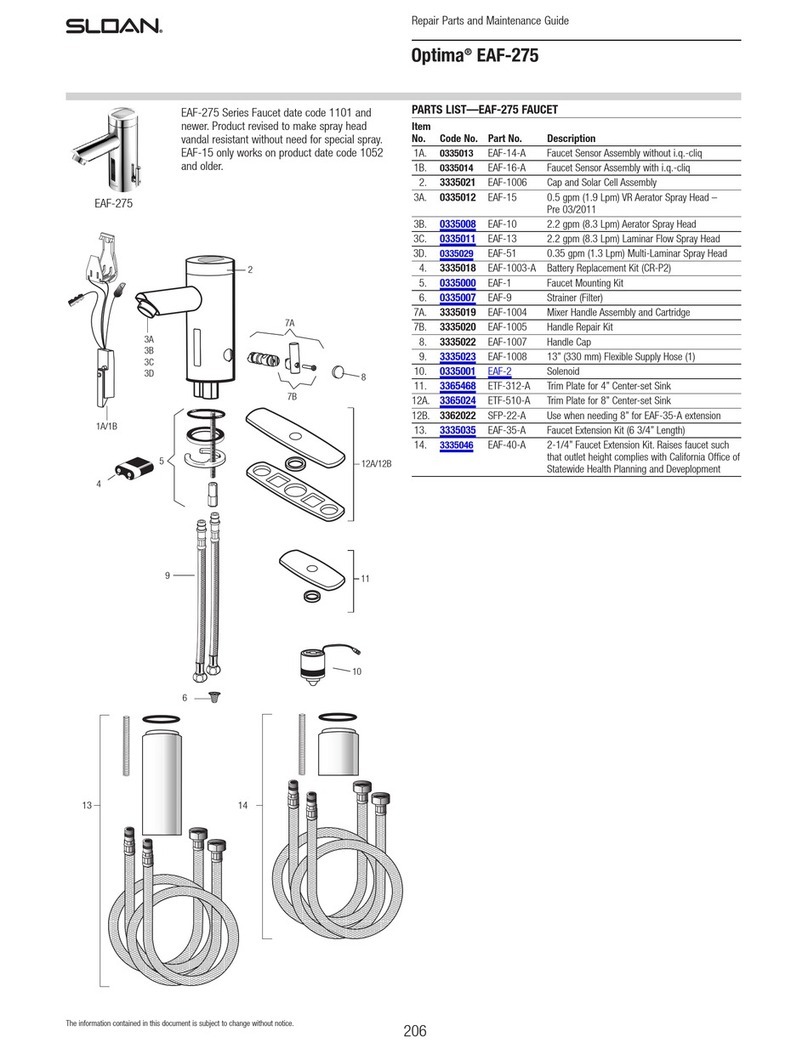
  9. Sloan OPTIMA I.Q. EAF-150 Series Use and care manual

Sloan OPTIMA I.Q. EAF-150 Series Use and care manual

235
Repair Parts and Maintenance Guide
The information contained in this document is subject to change without notice.
EAF-150-ISM EAF-150-ISM-DPU-IC
2A
2B
10
6A
6B
PARTS LIST—EAF-150 FAUCETS
Item
No. Code No. Part No. Description
1A. 0335008 EAF-10 2.2 gpm (8.3 Lpm) Aerator Spray Head
1B. 0335010 EAF-12 0.5 gpm (1.9 Lpm) Spray Head (Multi-Lam)
1C. 0335029 EAF-51 0.35 gpm (1.3 Lpm) Spray Head (Multi-Lam)
1D. 0335021 EAF-22 1.5 gpm (5.6 Lpm) Aerator Spray Head
2A. 0335002 EAF-3-A Throat Plate Assembly (Battery Models)
(from Nov 2018)
2B. 0335003 EAF-4-A Sensor standard throat plate assembly with i.q.
click (Plug-in adapter models, IC variation)
3. 3335009 EAF-1000 Battery Replacement Kit
(6V 2CR5 with 2.5 mm allen Wrench)
4. 0335000 EAF-1 Faucet Mounting Kit
5. 0335007 EAF-9 Strainer (Filter) 2 required for ISM Models (one per
package)
6A. 3335118 EAF-1022 Mixer Handle Assembly and Cartridge (post 2004)
6B. 3335011 EAF-1002 Handle Repair Kit
7. 3335023 EAF-1008 15” (330 mm) Flexible Supply Hose (1) with inlet
filter
8. 0362011 SFP-11 Trim Plate for 4” Center-set Sink
9A. 3365303 ETF-608-A Trim Plate for 8” Center-set Sink
9B. 3362022 SFP22A Trim Plate for 8” Centerset sink
10. 0335001 EAF-2 Solenoid (6 mm hex recess)
EAF-1001 Mixer Handle Assembly & Cartridge Discontinued (Faucets manufactured prior 2004).
Use Mixer Handle Assembly Cartridge kit EAF-1022-A (Faucets manufactured post 2004).
Optima®EAF-150 Faucet
DISCONTINUED
236
Repair Parts and Maintenance Guide
The information contained in this document is subject to change without notice.
For sensor recalibration, press and
release iq button 2 quick times,
wait for rapid “temporary off” red
LED flashes, then press and hold
iq button for several seconds and
after four (4) slow red LED flashes,
release button and step away for
fifteen (15) seconds to allow faucet
sensor to recalibrate.
After water turns on then off and red
LED flashes are followed by a single
green flash (calibration complete), test faucet.
AUTO SENSOR CALIBRATION OR RANGE ADJUSTMENT
To manually change range, press
and release iq button 2 quick times,
wait for rapid “temporary off” red
LED flashes, then press and hold
iq button, there will be four (4) red
LED flashes, a pause, then more
red LED flashes (up to eight (8) red
LED flashes); 1-red LED flash for
the shortest range setting, eight (8)
flashes for the longest range setting;
Release iq button after desired red
LED flash for range setting (#6 is
factory setting).
After releasing button, faucet will
cycle through auto calibration
(approximately 15-seconds). Then
test faucet.
NOTE: Updated electronics have
visible RED and GREEN LED. Original
electronics have only RED LED and
range setting is reversed
(1 = longest, 8 = shortest)
MANUAL RANGE ADJUSTMENT
BATTERY REPLACEMENT
Optima®EAF-150 Faucet
Replace battery when RED LED indicator flashes each time faucet is in use
or when faucet stops functioning.
Step 1
Close supply stop(s).
Step 2
Loosen screw with hex wrench.
Remove throat plate.
Disconnect electrical lead at
connector if required.
Step 3
Remove battery cover using a
No. 1 Phillips head screwdriver.
Remove old battery. Dispose of properly.
Step 4
Wait three (3) minutes
before inserting new battery.
Step 5
Insert a new 6 volt type 2CR5 lithium battery.
The RED LED will flash for one (1) minute.
Reinstall battery cover.
Reconnect electrical lead at connector
if previously disconnected. Reinstall
throat plate.
If LED doesn’t flash or if it just lights up,
remove the battery. Wait three (3) minutes,
then reinsert the battery.
If water flows continuously after inserting
the new battery and opening the supply stops,
remove the battery. Wait three (3) minutes,
then reinsert the battery.
Step 6
Open supply stops.
237
Repair Parts and Maintenance Guide
The information contained in this document is subject to change without notice.
1. Problem: Faucet not activating after installation.
Cause: Not properly started up. See step 5
Solution: Remove adhesive label from sensor eye.
Solution: Press button on faucet throat one time.
2. Problem: Faucet delivers water in an uncontrolled manner.
Cause: Faucet is not working properly.
Solution: Contact the Sloan Valve Company Installation Engineering
Department (see below).
3. Problem: Faucet does not deliver any water when Sensor is
activated.
Indicator: Solenoid valve produces an audible “CLICK.”
Cause: Water supply stop(s) closed.
Solution: Open water supply stop(s).
Cause: Water supply stop strainer(s) clogged.
Solution: Clean water supply stop strainer(s).
Indicator: Solenoid valve DOES NOT produce an audible “CLICK.”
Cause: Battery low (EAF-150 Models).
Solution: Replace battery (refer to Battery Replacement on Previous page).
Cause: Power failure (EAF-100 Models).
Solution: Check power supply.
4. Problem: Faucet delivers only a slow flow or dribble when
Sensor is activated.
Cause: Water supply stop(s) are partially closed.
Solution: Completely open water supply stop(s).
Cause: Water supply stop strainer(s) clogged.
Solution: Remove, clean, and reinstall water supply stop strainer(s).
Replace strainer(s) if required.
Cause: Aerator is clogged.
Solution: Remove, clean, and reinstall Aerator. Replace Aerator if required.
Cause: Faucet is not working properly.
Solution: Contact the Sloan Valve Company Installation Engineering
Department (see below).
5. Problem: Faucet drips between uses or runs on. Solenoid is
heard activating
Cause: Debris caught in solenoid
Solution: Clean Solenoid Valve - Turn off water, remove and unplug
sensor/throat plate assembly with 2.5-mm hex wrench, remove solenoid
using 6-mm hex wrench, clean solenoid diaphragmof plumbing debris,
clean solenoid base in faucet with a dry towel, install solenoid (do not
over-tighten), connect sensor/throat plate and install, dry fire solenoid
(listen for clicking), then turn on water and test faucet. Also flush lines
at stops as well to remove any plumbing debris in the line, check supply
hose filters at that time as well.
6. Problem: LED indicator blinks when Faucet is in use.
Cause: Battery low (EAF-150 Models).
Solution: Replace battery (refer to Battery Replacement on Previous Page)
7. Problem: i.q. - doesn’t function (-IC models only)
Cause: Button is not working properly.
Solution: Replace sensor throat plate; see parts breakdown on next page
for correct sensor throat plate replacement (item #2B).
8. Problem: The water temperature is too hot or too cold on a
Faucet connected to hot and cold supply lines.
CAUSE: Supply Stops are not adjusted properly.
SOLUTION: Adjust Supply Stops.
CAUSE: For models with integral mixing valve - Mixing valve is
set improperly for the water temperature desired.
SOLUTION: Rotate mixing valve handle clockwise to decrease water
temperature or counterclockwise to increase water temperature.
TROUBLESHOOTING GUIDE
Prepare for operation
(A) When activating a new faucet
(or new sensor replacement)
for the first time, after removing
protective label from sensor window,
press sensor button one (1) time,
then place hand or installation
instructions within 1 to 2 inches
in front of sensor until faucet
activates water flow, remove hand
or instructions,
water flow stops, red LED flashing
ends followed with one (1) Green
LED flash (approximately 12
seconds) Test faucet.
If waterflow DOES NOT start
after removing the sticker and
the RED LED within the sensor
flashes continue with the
following procedure!!
place installation instructions within
1 to 2 inches in front of sensor
until faucet activates water flow,
then remove instructions, water
flow stops, red LED flashing ends
followed with one (1) Green LED
flash (approximately 12 seconds).
Test faucet.
SERVICE OPERATION
1x
1x
4 Sec.
4 Sec.
10 Sec.
10 Sec.
1x
1x
4 Sec.
4 Sec.
10 Sec.
10 Sec.
1x
1x
4 Sec.
4 Sec.
10 Sec.
10 Sec.
1x
1x
4 Sec.
4 Sec.
10 Sec.
10 Sec.
1x
1x
4 Sec.
4 Sec.
10 Sec.
10 Sec.
1x
1x
4 Sec.
4 Sec.
10 Sec.
10 Sec.
A
B
C
A
B
C
Optima®EAF-150 Faucet

Other manuals for OPTIMA I.Q. EAF-150 Series

2

This manual suits for next models

2

Other Sloan Plumbing Product manuals

Sloan EAF-3X0 Series User manual

Sloan

Sloan EAF-3X0 Series User manual

Sloan BASYS EFX-300 Use and care manual

Sloan

Sloan BASYS EFX-300 Use and care manual

Sloan SF-2100 Operating manual

Sloan

Sloan SF-2100 Operating manual

Sloan Waterfree WES-150 Guide

Sloan

Sloan Waterfree WES-150 Guide

Sloan SMOOTH EL-600-A Assembly instructions

Sloan

Sloan SMOOTH EL-600-A Assembly instructions

Sloan OPTIMA I.Q. EAF-150 Series User manual

Sloan

Sloan OPTIMA I.Q. EAF-150 Series User manual

Sloan ELGR-81000 Use and care manual

Sloan

Sloan ELGR-81000 Use and care manual

Sloan Wes-115 User manual

Sloan

Sloan Wes-115 User manual

Sloan TruFlush TRF1036-N Use and care manual

Sloan

Sloan TruFlush TRF1036-N Use and care manual

Sloan Optima EBF-650 User manual

Sloan

Sloan Optima EBF-650 User manual

Sloan BASYS EFX-3 Series Use and care manual

Sloan

Sloan BASYS EFX-3 Series Use and care manual

Sloan REGAL XL series User manual

Sloan

Sloan REGAL XL series User manual

Sloan OPTIMA plus ERF-885 User manual

Sloan

Sloan OPTIMA plus ERF-885 User manual

Sloan 601 User manual

Sloan

Sloan 601 User manual

Sloan ECOS HET 8100 Series User manual

Sloan

Sloan ECOS HET 8100 Series User manual

Sloan TRF 8036-N User manual

Sloan

Sloan TRF 8036-N User manual

Sloan ESD-400 User manual

Sloan

Sloan ESD-400 User manual

Sloan TruFlush TRF 8936-CP User manual

Sloan

Sloan TruFlush TRF 8936-CP User manual

Sloan ESD Series User manual

Sloan

Sloan ESD Series User manual

Sloan EAF-700 Manual

Sloan

Sloan EAF-700 Manual

Sloan Optima EAF-275 Series Use and care manual

Sloan

Sloan Optima EAF-275 Series Use and care manual

Sloan TRUFLUSH TRF1000 User manual

Sloan

Sloan TRUFLUSH TRF1000 User manual

Sloan EFP-39-A User manual

Sloan

Sloan EFP-39-A User manual

Sloan Regal 110 User manual

Sloan

Sloan Regal 110 User manual

Popular Plumbing Product manuals by other brands

Moen SANI-STREAM 8797 manual

Moen

Moen SANI-STREAM 8797 manual

Grohe Allure Brilliant 19 784 manual

Grohe

Grohe Allure Brilliant 19 784 manual

Cistermiser Easyflush EVO 1.5 manual

Cistermiser

Cistermiser Easyflush EVO 1.5 manual

Kohler Triton Rite-Temp K-T6910-2A installation guide

Kohler

Kohler Triton Rite-Temp K-T6910-2A installation guide

BEMIS FNOTAB100 Installation instruction

BEMIS

BEMIS FNOTAB100 Installation instruction

Hans Grohe ShowerTablet Select 700 13184000 Instructions for use/assembly instructions

Hans Grohe

Hans Grohe ShowerTablet Select 700 13184000 Instructions for use/assembly instructions

Akw Stone Wash Basin Installation instructions manual

Akw

Akw Stone Wash Basin Installation instructions manual

Enlighten Sauna Rustic-4 user manual

Enlighten Sauna

Enlighten Sauna Rustic-4 user manual

Moen ShowHouse S244 Series quick start guide

Moen

Moen ShowHouse S244 Series quick start guide

Sanela SLWN 08 Mounting instructions

Sanela

Sanela SLWN 08 Mounting instructions

Franke 7612982239618 operating instructions

Franke

Franke 7612982239618 operating instructions

Heritage Bathrooms Granley Deco PGDW02 Fitting Instructions & Contents List

Heritage Bathrooms

Heritage Bathrooms Granley Deco PGDW02 Fitting Instructions & Contents List

Tres TOUCH-TRES 1.61.445 instructions

Tres

Tres TOUCH-TRES 1.61.445 instructions

STIEBEL ELTRON WS-1 Operation and installation

STIEBEL ELTRON

STIEBEL ELTRON WS-1 Operation and installation

Miomare HG00383A manual

Miomare

Miomare HG00383A manual

BELLOSTA revivre 6521/CR1 quick start guide

BELLOSTA

BELLOSTA revivre 6521/CR1 quick start guide

American Standard Heritage Amarilis 7298.229 parts list

American Standard

American Standard Heritage Amarilis 7298.229 parts list

BorMann Elite BTW5024 quick start guide

BorMann

BorMann Elite BTW5024 quick start guide

manuals.online logo
manuals.online logoBrands
  • About & Mission
  • Contact us
  • Privacy Policy
  • Terms and Conditions

Copyright 2025 Manuals.Online. All Rights Reserved.