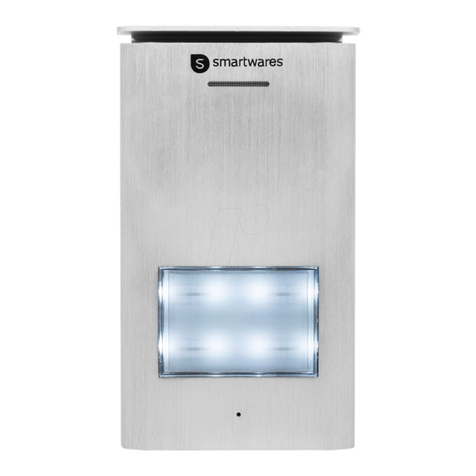
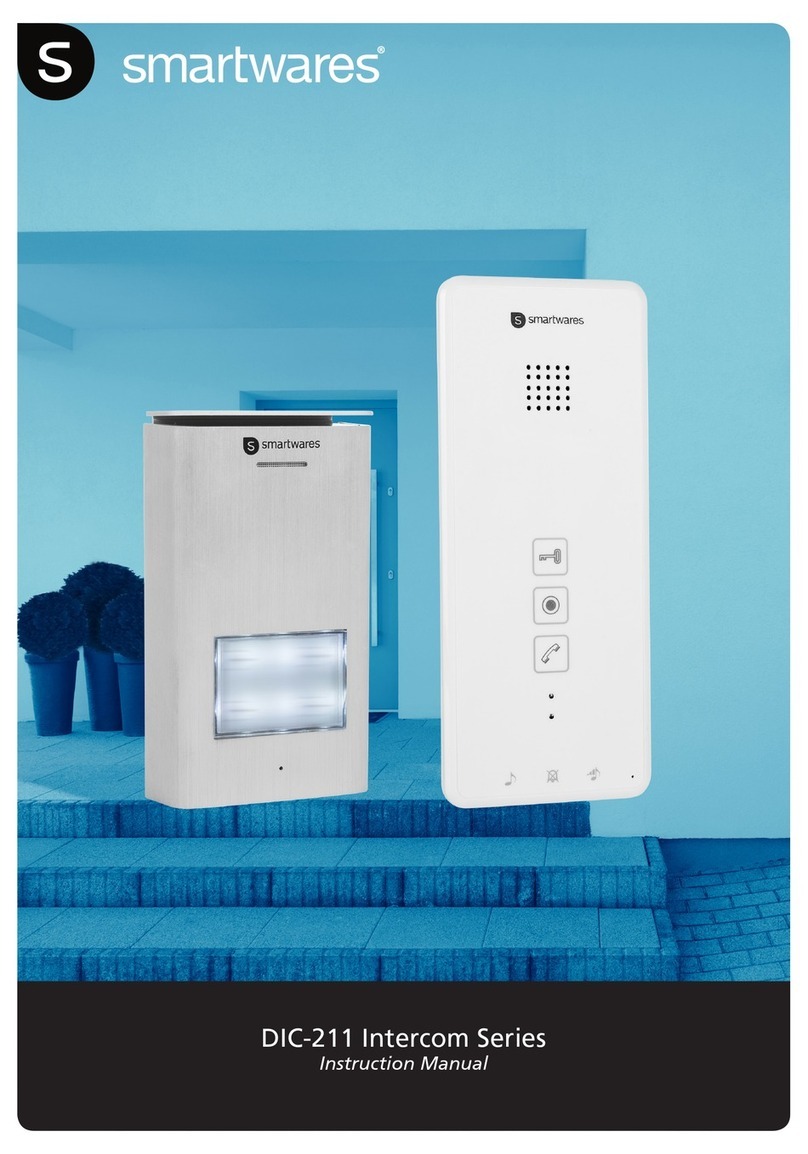
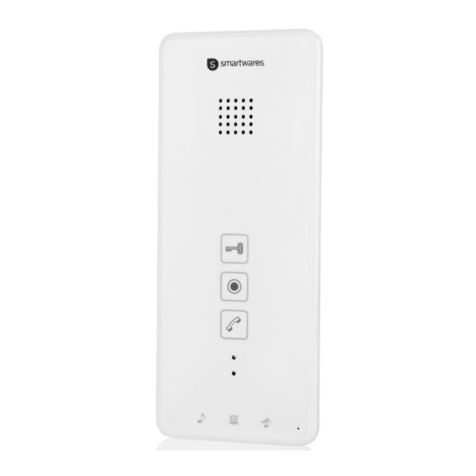
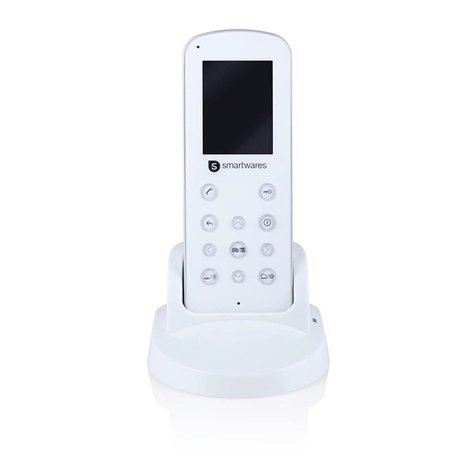
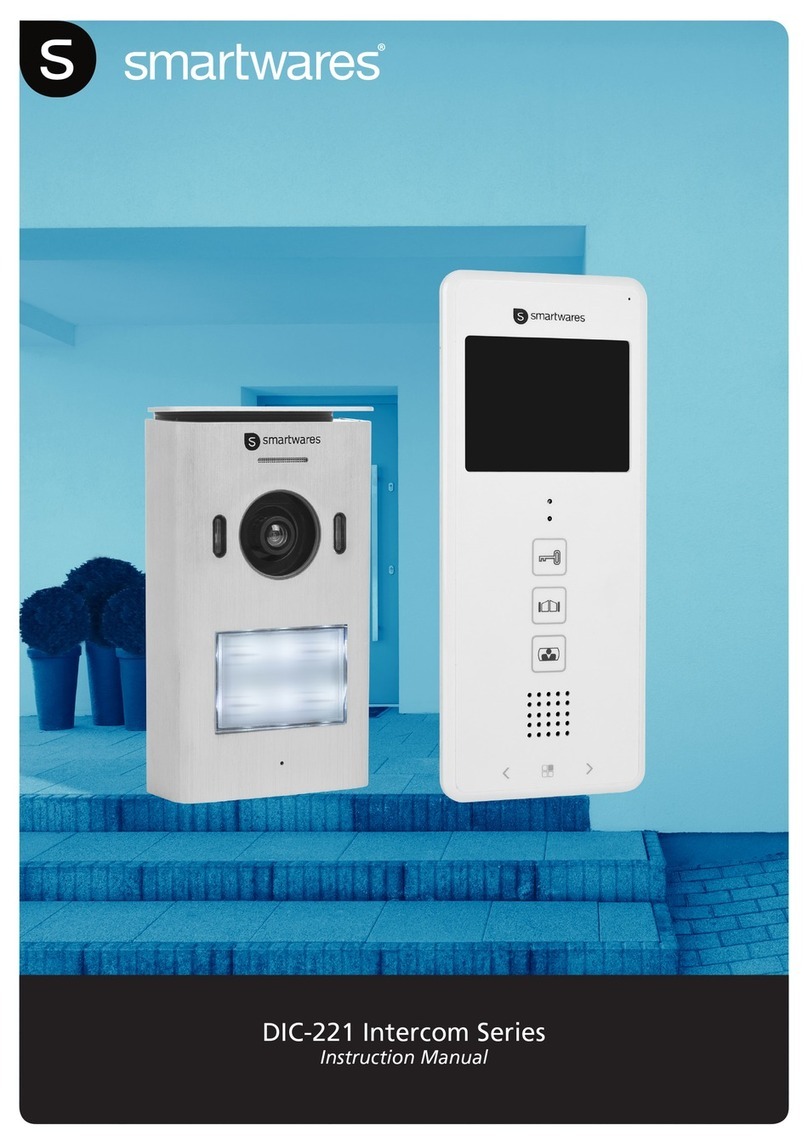
Smartwares DIC-221 series User manual

1
Door entry
3.5”
12
DIC-221 intercom series
Instruction manual
Monitor
size
Melody
options
Intercom
function
Easy to
install

DIC-221 Series
2
EN Instruction manual..........................................................................................................4
DE Bedienungsanleitung ....................................................................................................12
FR Mode d’emploi.............................................................................................................20
NL Gebruiksaanwijzing ......................................................................................................28
ES Manual de usuario........................................................................................................36
IT Manuele utente............................................................................................................44

3

4
Name
1 2 34
5 6 7 8
1
12
8
2
11
5
6
7
9
10
3
4
14
13
WARNING
1. Please read these instructions carefully before installing and using the product.
2. Do not cut the power supply cable to extend it; the device (transformer) will not work with a longer
cable. Do not plug in the device until all the wiring has been finished.
INSTALLATION SAFETY
1. Keep children and bystanders away while installing the products. Distractions can cause you to lose
control.
2. Do not overreach when installing this product. Keep proper footing and balance at all times. This
enables better control in unexpected situations.
3. This product is not a toy. Mount it out of reach of children.
OPERATION SAFETY
1. Do not operate electrically powered products in explosive atmospheres, such as in the presence of
flammable liquids, gases, or dust. Electrically powered products create sparks which may ignite the dust
or fumes.
2. The warnings, precautions, and instructions discussed in this instruction manual cannot cover all
possible conditions and situations that may occur. It must be understood by the operator that common
sense and caution are factors which cannot be built into this product, but must be supplied by the
operator.
3. Do not expose the Power Adapter of this product to rain or wet conditions. Water entering the Power
Adapter will increase the risk of electric shock.
4. Do not abuse the Power Cord. Never use the cord for unplugging the plug from the outlet. Keep cord
away from heat, oil, sharp edges or moving parts. Damaged or entangled cords increase the risk of
electric shock.
5. The adapter must match the outlet. Never modify the plug in any way. Unmodified plugs and matching
outlets will reduce risk of electric shock.
WHAT’S IN THE BOX?
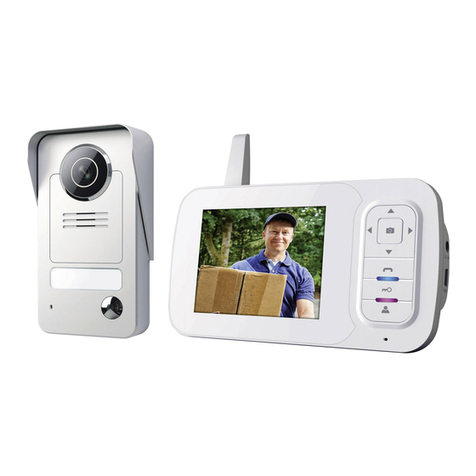
1. Indoor monitor
2. Outdoor unit
3. Wiring
4. Adapter
5. Nameplate
6. Mounting plate
7. Screws and plugs
8. Quickstart guide
EN
5
1
12
8
2
11
5
6
7
9
10
3
4
14
13
3
4
5
1
2
ON
1
ON
6
PRODUCT OVERVIEW
INDOOR MONITOR
1. Microphone
2. 3.5 inch screen
3. Mute indicator
4. Power Indicator
5. Door Unlock button
6. Gate unlock button
7. Intercom/Monitor button
8. Speaker
9. + button
10. Menu button
11. – button
12. Select ringtone button
13. Adjust ring volume button
14. Mute button
WHAT’S IN THE BOX?
OUTDOOR UNIT
1. Infrared LED
2. Call button/ Name card
3. Speaker
4. Camera Lens
5. Microphone
6. Unlock time
EN

6
INSTALLATION - OUTDOOR UNIT
When installing the outdoor unit, make sure that the location you wish to install it is dry. It is important
that the camera or the electronics do not get wet.
1. Drill holes in the wall, insert the wall plugs in the holes. Place
the bracket and tighten the screws.
2. Connect the wires (see WIRING).
3. Mount the outdoor unit on the bracket. Make sure it is
properly secured.
4. Use the special security screw on the bottom of the unit, to
prevent theft.
Changing the nameplate
To change the nameplate on the outdoor unit, please push on the
call button on one side, then use a flat screwdriver on the other
side to gently pull out the button. Now place the nameplate, and
replace the call button by pushing it back in.
EN

7
INSTALLATION - INDOOR MONITOR
1.Select a suitable location for installation.
2.Drill holes in the wall, insert the wall plugs in the
holes. Place the bracket and tighten the screws.
3. Connect the wires (see WIRING). Please pay
attention to the color markings
4. Mount the indoor-monitor unit on the bracket.
Make sure it is properly secured.
5. Plug in the AC adapter after making sure all the
wires are properly connected.
EN

8
ON
11
2
2
1
2
1
2
1
2
1
2
Power
Indoor Monitor
B
Indoor Monitor
C
Indoor Monitor
D
Indoor Monitor
Extension
Power
1 - 50m
1 - 100m
Distance between units Wiring
When running the wires, please make sure that they are not placed directly next to electrical wiring, This
could cause interference in your connection.
Testing the unit
When testing the unit, please make sure that the indoor unit and the outdoor unit are at least 10 meters
apart. If the units are to close together, you could experience a high-pitched sound and echoes.
WIRING
Indoor-monitor B, Cand Dare optional, depending on how many indoor monitors you intend to use.
EN

9
USE
Intercom function: When in standby, when a visitor presses the call button on the outdoor
unit, the indoor-monitor will chime and you will see a live view of the visitor on the screen.
Press the intercom button to speak to the visitor.
Monitor function: Press this button on the indoor-monitor unit to see a live view of the
outdoor unit camera.
Internal Intercom: When in standby, press and hold the intercom button to activate
the internal intercom function. Use this to communicate between your different indoor
monitors.
Unlocking the door: After identifying your visitor, you can press this button to unlock the
door.
Unlocking the gate: After identifying your visitor, you can press this button to unlock the
gate.
Setting your ringtone: Press this button multiple times to set the melody of your choice.
Adjusting the ringtone volume: Press this button to turn up the volume.
Muting the ringtone: Press this button to mute the ringtone, for when you don’t want to
be disturbed.
Adjusting the video settings: Press the menu button to enter the video settings menu.
Use the arrow buttons to adjust the brightness, contrast and colour of the display. Press the
menu button to switch between these settings.
EN

10
INSTALLATION
Extra indoor-monitors are optional, depending on how many indoor units you intend to use.
ON
11
2
2
1
2
1
2
1
2
1
2
Power
EN
Indoor Monitor
B
Indoor Monitor
C
Indoor Monitor
D
Indoor Monitor
Extension
Power

11
TECHNICAL SPECIFICATION
INDOOR MONITOR
Supply Voltage 15V 1A
Screen size 3.5” inch
Color configuration R.G.B.delta
Video System PAL/NTSC
Effective Pixels 320x240
Consumption current 300mA±10mA
Operation temperature -10˚C - +50˚C
Operation Humidity 85%(Max)
OUTDOOR UNIT
Imaging sensor type 1/4” CMOS
View angle 70˚
Minimum illumination 0Lux
Night vision distance 0.5 - 1m
Operating temperature -10˚C - +50˚C
Operating humidity ≤85%RH
SAFETY INFORMATION
Precaution
Do not cover the ventilation openings with objects such as newspaper, table cloths, curtains etc.
Do not allow this product to get directly into contact with heat sources or naked flames.
The normal operation of the product may be disturbed by strong electro-magnetic interference.
This equipment is built exclusively for domestic use.
The device must not be exposed to splashes and it must not be submerged.
No object containing liquids, such as a vase, may be placed on the device.
Maintain a minimum safety distance of 10cm all around the product in order to insure proper ventilation.
Insure the outdoor unit is not installed where it may be covered by water or rain.
Do not allow children to play with the device
Conforms to all relevant European Directives.
This symbol is known as the ‘Crossed-out Wheelie Bin Symbol’. When this symbol is
marked on a product or battery, it means that it should not be disposed of with your
general household waste. Some chemicals contained within electrical/electronic products
products or batteries can be harmful to health and the environment. Only dispose of
electrical/electronic/battery items in separate collection schemes, which cater for the
recovery and recycling of materials contained within. Your co-operation is vital to ensure
the success of these schemes and for the protection of the environment.

12 DE
Name
1 2 34
5 6 7 8
1
12
8
2
11
5
6
7
9
10
3
4
14
13
! WARNUNG
1. Bitte lesen Sie vor der Montage und Inbetriebnahme des Produkts die Bedienungsanweisungen aufmerksam
durch.
2. Zerschneiden Sie nicht das Stromversorgungskabel, um es zu verlängern. Das Gerät (Trafo) funktioniert nicht
mit einem längeren Kabel. Schließen Sie das Gerät erst dann an, wenn die Verkabelung abgeschlossen ist.
INSTALLATIONSSICHERHEIT
1. Halten Sie, während der Montage des Geräts, Kinder und Unbeteiligte fern. Ablenkungen können zum
Kontrollverlust führen.
2. Vermeiden Sie Überanstrengungen, während der Montage des Produkts. Sorgen Sie jederzeit für einen
angemessenen Halt und Gleichgewicht. In unerwarteten Lagen ermöglicht dies eine bessere Kontrolle.
3. Dieses Produkt ist kein Spielzeug. Bringen Sie es außerhalb der Reichweite von Kindern an.
BETRIEBSSICHERHEIT
1. Nehmen Sie keine elektronischen Geräte in explosiver Umgebung, wie zum Beispiel in Anwesenheit von
entzündlichen Flüssigkeiten, Gasen oder Staub in Betrieb. Elektronische Geräte erzeugen Funken, die Staub
oder Dämpfe entzünden können.
2. Nicht alle denkbaren Bedingungen und Situationen, die auftreten könnten, werden von den in dieser
Bedienungsanleitung erläuterten Warnhinweisen, Vorsichtsmaßnahmen und Vorschriften abgedeckt.
Grundsätzlich gilt, dass Faktoren, wie der gesunde Menschenverstand und Vorsicht nicht im Produkt integriert
sind, sondern vom Anwender mitgebracht werden müssen.
3. Setzen Sie den Netzstecker keinem Regen oder Nässe aus. In den Netzstecker eindringendes Wasser erhöht die
Gefahr eines elektrischen Schlags.
4. Überlasten Sie das Netzkabel nicht. Ziehen Sie niemals am Kabel, um den Netzstecker aus der Steckdose
herauszuziehen. Halten Sie das Kabel von Hitze, Öl, scharfen Kanten oder beweglichen Teilen fern. Beschädigte
oder verwickelte Kabel erhöhen das Risiko eines elektrischen Schlags.
5. Der Adapter muss zur Steckdose passen. Modizieren Sie niemals den Netzstecker. Unveränderte Netzstecker
und passende Steckdosen verringer das Risiko eines elektrischen Schlags.
LIEFERUMFANG
1. Inneneinheit mit Bildschirm
2. Außeneinheit
3. Verkabelung
4. Netzstecker
5. Namensschild
6. Montageplatte
7. Schrauben und Dübel
8. Schnellstartanleitung

13
DE
1
12
8
2
11
5
6
7
9
10
3
4
14
13
3
4
5
1
2
ON
1
ON
6
PRODUKTÜBERBLICK
INNENEINHEIT MIT BILDSCHIRM
1. Mikrofon
2. 3,5-Zoll-Bildschirm
3. Anzeige für Stummschaltung
4. Betriebsanzeige
5. Türentriegelungstaste
6. Torentriegelungstaste
7. Sprechtaste/Bildschirmtaste
8. Lautsprecher
9. „+“-Taste
10. Menü-Taste
11. „-“-Taste
12. Auswahltaste für Klingelton
13. Taste für Lautstärkeregulierung
14. Stummschalttaste
WHAT’S IN THE BOX?
AUßENEINHEIT
1. Infrarot-LED
2. Ruftaste / Visitenkarte
3. Lautsprecher
4. Kameralinse
5. Mikrofon
6. Zeitschaltuhr aktivieren

14 DE
MONTAGE
Sorgen Sie während der Montage der Außeneinheit dafür, dass der gewünschte Installationsort trocken ist. Es ist
wichtig, dass die Kamera oder die Elektronik nicht nass werden.
1. Bohren Sie Löcher in die Wand und setzen Sie die Dübel ein.
Bringen Sie die Halterung an und ziehen Sie die Schrauben fest.
2. Verbinden Sie die Kabel.
3. Befestigen Sie die Außeneinheit an der Halterung. Vergewissern Sie
sich, dass sie ordentlich befestigt ist.
4. Um Diebstahl vorzubeugen, verwenden Sie die
Sicherheitsschraube an der Unterseite der Einheit.
Das Namensschild ändern
Um das Namensschild am Außengerät zu ändern, bitte die Ruftaste auf
der einen Seite drücken und dann einen achen Schraubenzieher auf
der anderen Seite einsetzen, um die Taste vorsichtig herauszuziehen.
Legen Sie nun das Namensschild eine und setzen Sie die Ruftaste
durch erneutes Drücken wieder ein.

15
DE
MONTAGE
1. Wählen Sie einen geeigneten Montageort.
2. Bohren Sie Löcher in die Wand und setzen Sie die
Dübel ein. Bringen Sie die Halterung an und ziehen
Sie die Schrauben fest.
3. Verbinden Sie die Kabel. Bitte achten Sie auf die
farbigen Markierungen.
4. Befestigen Sie die Inneneinheit mit Bildschirm an der
Halterung. Vergewissern Sie sich, dass sie ordentlich
befestigt ist.
5. Nachdem Sie sichergestellt haben, dass alle Kabel
ordnungsgemäß verbunden wurden, schließen Sie
den Wechselstromadapter an.

16 DE
ON
11
2
2
1
2
1
2
1
2
1
2
Power
Indoor Monitor
B
Indoor Monitor
C
Indoor Monitor
D
Indoor Monitor
Extension
Power
1 - 50m
1 - 100m
Distance between units Wiring
Inneneinheit B, Cund Dmit Bildschirm sind optional, je nach dem wie viele Inneneinheiten Sie beabsichtigen zu
verwenden.
Achten Sie beim Verlegen der Kabel darauf, dass diese nicht direkt neben der elektrischen Verkabelung liegen. Dies
könnte zu Störungen in Ihrer Verbindung führen.
Testen des Geräts
Achten Sie beim Testen des Geräts darauf, dass das Innen- und das Außengerät mindestens 10
Meter voneinander entfernt sind. Wenn die Geräte einander zu nahe kommen, könnte es zu
einem schrillen Störgeräusch und Echos kommen.
VERKABELUNG

17
DE
VERWENDUNG
Sprechfunktion: Wenn ein Besucher die Ruftaste auf der Außeneinheit drückt, während sie sich
in Standby bendet, klingelt die Inneneinheit und Sie sehen ein Live-Bild des Besuchers auf dem
Bildschirm. Drücken Sie die Sprechtaste, um mit dem Besucher zu kommunizieren.
Bildschirmfunktion: Drücken Sie diese Taste auf der Inneneinheit, um ein Live-Bild der
Außenkamera zu sehen.
Interne Gegensprechanlage: Halten Sie in Standby die Sprechtaste gedrückt, um die
interne Gegensprechanlage zu aktivieren. Damit können Sie zwischen Ihren verschiedenen
Innenbildschirmen kommunizieren.
Entriegeln der Tür: Drücken Sie diese Taste zur Türentriegelung, nachdem Sie Ihren Besucher
erkannt haben.
Entriegeln des Tors: Drücken Sie diese Taste zur Torentriegelung, nachdem Sie Ihren Besucher
erkannt haben.
Einstellung Ihres Klingeltons: Drücken Sie mehrmals diese Taste, um Ihre gewünschte Melodie
einzustellen.
Anpassen der Klingeltonlautstärke: Drücken Sie diese Taste zur Erhöhung der Lautstärke.
Klingelton stummschalten: Wenn Sie nicht gestört werden wollen, drücken Sie diese Taste zur
Stummschaltung des Klingeltons.
Anpassen der Videoeinstellungen: Drücken Sie die Menütaste, um in das Menü der
Videoeinstellungen zu gelangen. Mit den Pfeiltasten können Sie die Helligkeit, Kontrast und
Farben des Bildschirms anpassen. Drücken Sie die Menütaste, um zwischen diesen Einstellungen
zu wechseln.

18
ON
11
2
2
1
2
1
2
1
2
1
2
Power
DE
MONTAGE
Zusätzliche Innnenraum-Monitore sind optional erhältlich, je nachdem wie viele Innengeräte Sie verwenden
möchten.
Indoor Monitor
B
Indoor Monitor
C
Indoor Monitor
D
Indoor Monitor
Extension
Power

19
TECHNISCHE DATEN
INNENEINHEIT MIT BILDSCHIRM
Versorgungsspannung 15V 1A
Bildschirmgröße 3.5” inch
Farbkonfiguration R.G.B.delta
Videosystem PAL/NTSC
Effektive Auflösung 320x240
Verbrauchsstrom 300mA±10mA
Betriebstemperatur -10˚C - +50˚C
Betriebsfeuchtigkeit 85%(Max)
AUSSENEINHEIT
Bildsensor-Typ 1/4” CMOS
Betrachtungswinkel 70˚
Minimale Beleuchtung 0Lux
Nachtsichtabstand 0.5 - 1m
Betriebstemperatur -10˚C - +50˚C
Betriebsfeuchtigkeit ≤85%RH
SICHERHEITSHINWEISE
Vorsichtsmaßnahmen
Bedecken Sie die Lüftungsönungen nicht mit Objekten wie Zeitungen, Tischdecken, Vorhängen usw.
Lassen Sie dieses Produkt nicht in direkten Kontakt mit Wärmequellen oder oenen Flammen kommen.
Durch starke elektromagnetische Interferenzen kann der Normalbetrieb des Produkts gestört werden.
Dieses Gerät ist ausschließlich für den Heimgebrauch bestimmt.
Dieses Gerät darf keinen Wasserspritzern ausgesetzt sein oder in Wasser getaucht werden.
Es dürfen keine mit Flüssigkeit gefüllten Gefäße wie Vasen auf das Gerät gestellt werden.
Halten Sie einen Sicherheitsabstand von mindestens 10 cm um das Produkt ein, damit für eine ausreichende Belüftung gesorgt
ist.
Vergewissern Sie sich, dass die Außeneinheit nicht dort installiert ist, wo sie Wasser oder Regen ausgesetzt sein könnte.
Lassen Sie Kinder mit diesem Gerät nicht spielen.
Entspricht allen relevanten Europäischen Richtlinien.
Dieses Symbol ist bekannt als ‘Symbol der durchgestrichenen Mülltonne’. Wenn dieses Symbol
auf einem Produkt oder einer Batterie markiert ist, bedeutet das, dass es nicht mit Ihrem
allgemeinen Haushaltsmüll entsorgt werden sollte. Einige Chemikalien, die in elektrischen/
elektronischen Produkten oder Batterien enthalten sind können der Gesundheit und der Umwelt
schaden. Entsorgen Sie elektrische/elektronische/Batterie-Geräte in separaten Sammelmodellen,
die für die Rückgewinnung und das Recycling von darin enthaltenen Materialien sorgen. Ihre
Zusammenarbeit ist wichtig, um den Erfolg dieser Sammelmodelle zu sichern und für den
Schutz der Umwelt.

20 FR
Name
1 2 34
5 6 7 8
1
12
8
2
11
5
6
7
9
10
3
4
14
13
! AVERTISSEMENT
1. Veuillez lire ces instructions attentivement avant d’installer et d’utiliser le produit.
2. Ne coupez pas le câble d’alimentation pour le rallonger ; l’appareil (transformateur) ne fonctionne pas avec un
câble plus long. Ne branchez pas l’appareil tant que le câblage n’est pas terminé.
SECURITE D’INSTALLATION
1. Eloignez les enfants et les personnes autour pendant l’installation des produits. Les distractions peuvent vous
faire perdre le contrôle.
2. Ne pas vous étirez pendant l’installation de ce produit. Maintenez votre assise au sol et gardez l’équilibre à tout
moment. Cela permet un meilleur contrôle dans des situations inattendues.
3. Ce produit n’est pas un jouet. Montez-le hors de portée des enfants.
SECURITE DES OPERATIONS
1. N’utilisez pas de produits électriques en atmosphères explosives, comme en présence de liquides inammables,
de gaz ou de poussières. Les produits électriques produisent des étincelles qui peuvent enammer les
poussières ou les vapeurs.
2. Les avertissements, précautions et instructions présentés dans ce manuel ne peuvent pas couvrir toutes les
conditions et situations possibles qui peuvent se présenter. Il doit être entendu par l’opérateur que le bon
sens et la prudence sont des facteurs qui ne peuvent pas être intégrés dans ce produit, mais devront être de la
responsabilité de l’opérateur.
3. N’exposez pas l’adaptateur d’alimentation de ce produit à des conditions de pluie ou d’humidité. L’eau qui
pénètre dans l’adaptateur augmente le risque d’électrocution.
4. Ne maltraitez pas le cordon d’alimentation. Ne jamais utiliser le cordon pour débrancher la prise de
courant. Éloignez le cordon de la chaleur, de l’huile, de bords tranchants ou de pièces mobiles. Les cordons
endommagés ou enchevêtrés augmentent les risques d’électrocution.
5. L’adaptateur doit correspondre à la prise. Ne jamais modier la prise d’aucune façon. Les prises non modiées et
les prises correspondantes réduiront le risque d’électrocution.
LE CONTENUR DE LA BOITE
1. Moniteur d’intérieur
2. Unité extérieure
3. Câblage
4. Adaptateur
5. Plaque signalétique
6. Plaque de montage
7. Vis et chevilles
8. Guide de démarrage rapide
Other manuals for DIC-221 series
1
Table of contents
Languages:
Other Smartwares Intercom System manuals

Smartwares
Smartwares DIC-211 Series User manual

Smartwares
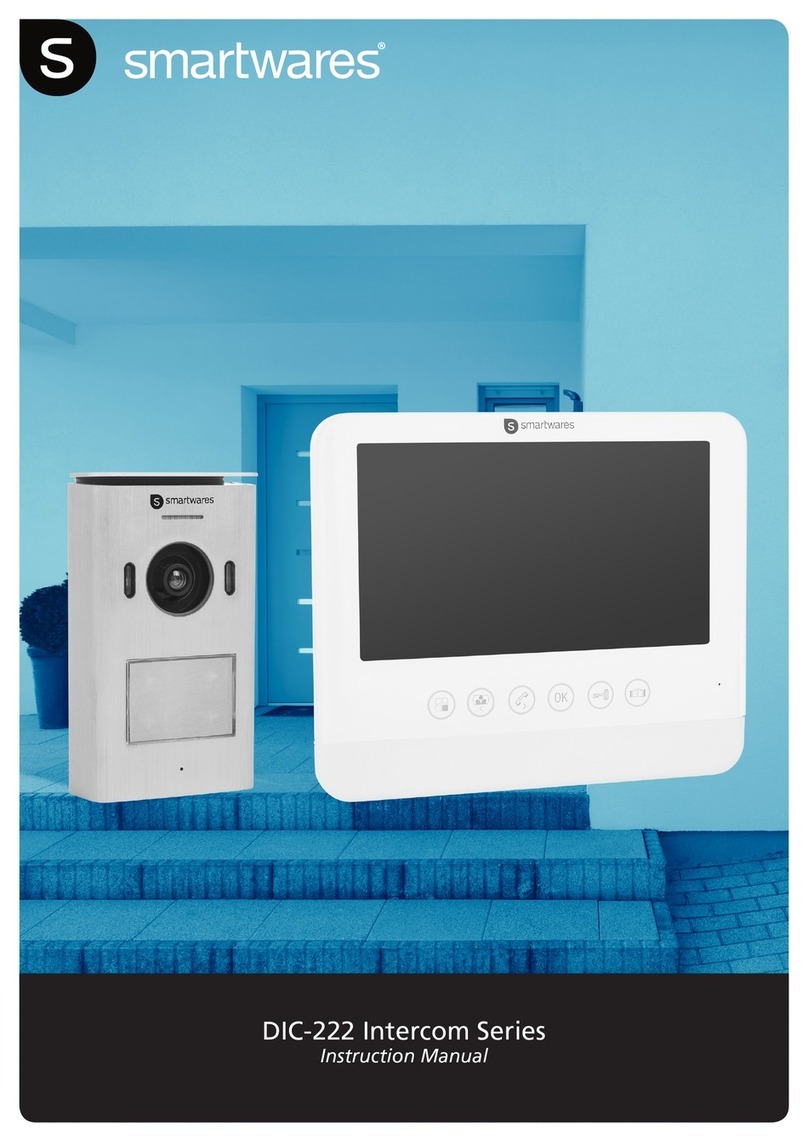
Smartwares DIC-222 Series User manual

Smartwares
Smartwares DIC-22815 User manual

Smartwares
Smartwares VD36W User manual

Smartwares
Smartwares VD38W User manual

Smartwares
Smartwares DIC-224 Series User manual

Smartwares
Smartwares DIC-222 Series User manual

Smartwares
Smartwares VD38W User manual

Smartwares
Smartwares DIC-221 series User manual

Smartwares
Smartwares DIC-22815 User manual