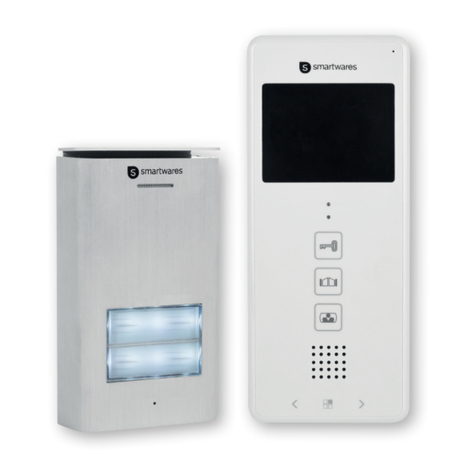
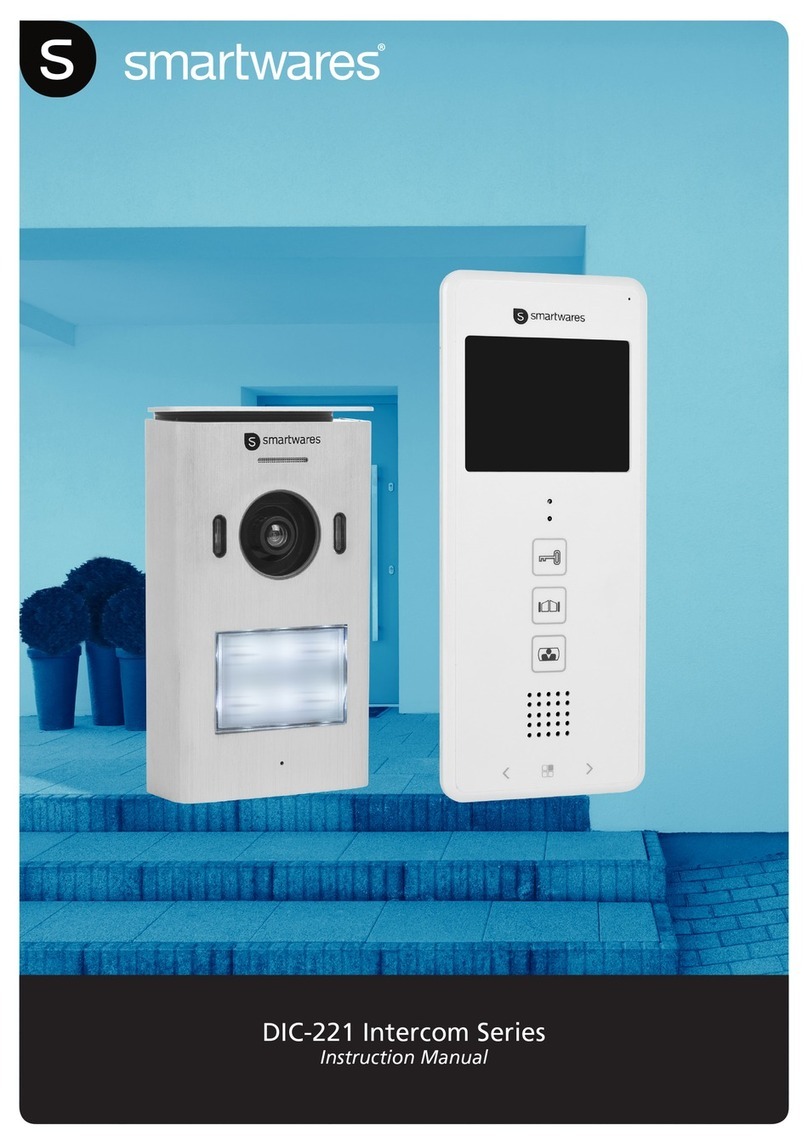
Smartwares DIC-22815 User manual

DIC-22815 / DIC-22805

Table of Contents
English ..................................................................................................................... 3

Smartwares Safety | 1
DIC-22815 _ DIC-22805 3
1 Safety
1. Please read these instructions carefully before installing and using the product.
2. Do not cut the power supply cable to extend it; the device (transformer) will not
work with a longer cable. Do not plug in the device until all the wiring has been fin-
ished.
1.1 Installation Safety
1. Keep children and bystanders away while installing the products. Distractions can
cause you to lose control.
2. Do not overreach when installing this product. Keep proper footing and balance at
all times. This enables better control in unexpected situations.
3. This product is not a toy. Mount it out of reach of children.
1.2 Operation Safety
1. Do not operate electrically powered products in explosive atmospheres, such as in
the presence of flammable liquids , gases, or dust. Electrically powered products
create sparks which may ignite the dust or fumes.
2. The warnings, precautions, and instructions discussed in this instruction manual
cannot cover all possible conditions and situations that may occur. It must be un-
derstood by the operator that common sense and caution are factors which can-
not be built into this product, but must be supplied by the operator.
3. Do not expose the Power Adapter of this product to rain or wet conditions. Water
entering the Power Adapter will increase the risk of electric shock.
4. Do not abuse the Power Cord. Never use the cord for unplugging the plug from the
outlet. Keep cord away from heat, oil, sharp edges or moving parts. Damaged or
entangled cords increase the risk of electric shock.
5. The adapter must match the outlet. Never modify the plug in any way. Unmodified
plugs and matching outlets will reduce risk of electric shock.
2 | Parts description Smartwares
4 DIC-22815 _ DIC-22805
2 Parts description
2.1 What's in the box
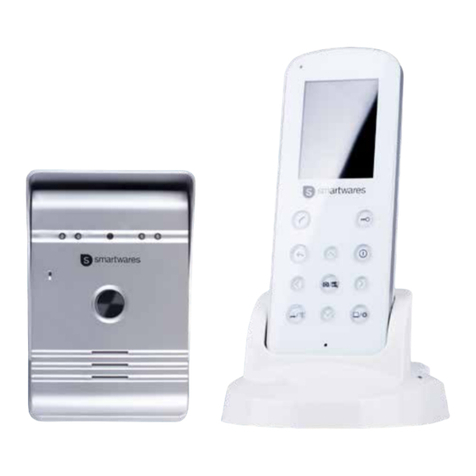
1. Monitor
2. Doorbell
3. Mount
4. Battery
5. Monitor adapter
6. Doorbell adapter
7. External antenna
8. Manual
9. Screws and plugs
2.2 Product overview
2.2.1 Indoor monitor
1. Indoor monitor unit
2. Power on/off
3. Power indicator
4. Charging indicator
5. Control panel
6. Microphone
11. Adapter
2.2.2 Doorbell
7. Microphone
8. Night sensor
9. Outdoor camera
10. Call button

Smartwares Installation | 3
DIC-22815 _ DIC-22805 5
3 Installation
3.1 Doorbell installation
When installing the outdoor unit, make sure that the location of installation is dry. It is
important that the electronics do not get wet.

3 | Installation Smartwares
6 DIC-22815 _ DIC-22805
– Mounting the outdoor unit on a thicker wall can affect the signal, if this happens,
the build-in antenna can be extended with the supplied external antenna. (Picture
6)
– Make sure the switch is in the correct position when using the external antenna.
(Picture 7)
– If the outdoor unit does not have an external power supply the battery can be re-
moved to charge it manually. (Picture 8)
1. Charging LED
2. Charging interface
– The battery box can be opened to replace damaged or non-working batteries. (Pic-
ture 8)

Smartwares Installation | 3
DIC-22815 _ DIC-22805 7
3.2 Monitor installation

4 | Use Smartwares
8 DIC-22815 _ DIC-22805
4 Use
4.1 Control buttons
1. Intercom / monitor button
2. Unlock buttons
3. Ok button / menu button
4. Up button / photo or recorder button
5. Direction buttons (down, left and right)
6. Call button / pair button
4.1.1 Use of the control buttons
– Button to communicate:
– Button to monitor:
Note: The monitor function is not available when the doorbell is operated by battery, it
is only available when the power adapter is connected.

Smartwares Use | 4
DIC-22815 _ DIC-22805 9
– Opening the door (with electric door opener):
Note: An electric door opener (12V, 500mA) is not included, our items DB5005 or
DB5005L can be used, they are separately available.
– Opening the gate:

4 | Use Smartwares
10 DIC-22815 _ DIC-22805
4.2 Screen icons
1. Wi-Fi signal strength
2. SD card inserted
3. Outdoor unit powered by battery / outdoor unit powered by power adapter
4. Video recording / picture captured
5. Indoor unit powered by battery / indoor unit powered by power adapter
6. Time and date
– Charge the battery immediately when the icon indicates a low battery level.
4.3 Settings menu
In the standby mode, first press the intercom/monitor button and then the ok/menu
button to open the main menu. Use the directional keys to navigate through the differ-
ent settings. Press the ok/menu button to select the highlighted submenu.
1
2
5
6
3
4
7
8
9
1. Camera pairing
2. Image setting
3. Volume control
4. Music setting
5. Play back
6. Rec/snap
7. Time setting
8. Unlock time setting
9. Exit

Smartwares Use | 4
DIC-22815 _ DIC-22805 11
4.3.1 Pairing
4.3.1.1 Monitor/doorbell
– Press the power button until the led turns on.
– Press the intercom / monitor button.
– Then press the menu button.
– Press the direction buttons to select the pairing icon in the menu.
– Press the menu / ok button to confirm.
– Press left/right button to select the doorbell/monitor icon.
– Press the menu / ok button to confirm.
– Press the pair button on the doorbell for some seconds.
– The image of the camera will be shown on the display if pairing is successful.
4.3.1.2 Additional monitor (DIC-22805)
There can be an extra monitor (DIC-22805, separately available) connected to the sys-
tem. To link this to the system, follow the steps below:

4 | Use Smartwares
12 DIC-22815 _ DIC-22805
– Power on the monitor unit that already has been successfully paired with the
doorbell and enter the pairing interface.
– Use the left or right button to select the 1 icon.
– Press the menu / ok button to confirm.
– Power on the extra monitor and enter the pairing interface.
– Use the left or right button to select the 2 icon.
– Press the menu / ok button to confirm.
– If pairing is successful the display will show “succeed”.
4.3.2 Image setting
Press the direction buttons to select image setting icon ,press ok button to confirm.
1. Brightness setting
2. Contrast setting
3. Color setting
4. Exit
Brightness setting
– Press left or right to select the brightness setting.
– Press ok button to confirm.
– Then press left and right to adjust the brightness level.
– Press ok button to confirm and exit.
Contrast setting
– Press left or right to select the contrast setting.
– Press ok button to confirm.
– Then press left or right to adjust the contrast level.
– Press ok button to confirm and exit.
Color setting
– Press left or right to select the color setting.
– Press ok button to confirm.
– Then press left or right to adjust the color level.
– Press ok button to confirm and exit.

Smartwares Use | 4
DIC-22815 _ DIC-22805 13
4.3.3 Volume control
Press direction buttons to select volume control icon, press ok button to confirm.
1. Adjust speaker audio volume
2. Adjust mic volume
3. Exit
Adjust speaker audio volume
– Press left or right to select the speaker audio volume icon.
– Press ok button to confirm.
– Then press left and right to adjust the volume level.
– Press ok button to confirm and exit.
Adjust mic volume
– Press left or right to select the mic volume icon.
– Press ok button to confirm.
– Then press left and right to adjust the volume level.
– Press ok button to confirm and exit.
4.3.4 Music setting
– Press direction buttons to select the music icon ,press ok button to go into the mu-
sic submenu.
– Move up and down to select one of the 52 different music tunes and press ok but-
ton to confirm.
4.3.5 Play back
– Press the direction buttons to select the play back icon, press ok button to confirm
and go into the submenu.
1. Play back AVI file
2. Show photo file
3. Exit
– Use left of right buttons to select movie or photo icon.
– Press the ok button.
– Press the up and down button to select folder.
– Press right button to access the marked folder.
– Use up and down buttons to select file.
– Show the marked file with the right button.
– Press the up and down buttons to show next or previous files on screen.
– To go back one step in the menu each time, the left button can be used.
Delete folder or file
– When pressing the ok button on a selected folder or file a submenu of the delete
option will pop-up.
– Select yes or no with the left or right button.
– When yes is selected and after confirmation with the ok button, the file or folder
will be deleted.

4 | Use Smartwares
14 DIC-22815 _ DIC-22805
4.3.6 Rec/snap
Recording a video or taking a photo settings
An SD card (not included) is required for storing video and photo files.
– Press the direction buttons to select the rec/snap icon and press the ok button to
confirm.
– In the submenu there are 3 options:
1. Taking a photo
2. Recording a video
3. Exit
– Use the left and right button to select the desired function and press the ok button
to confirm.
– The system automatically records a video or takes a photo when the call button is
pressed.
Manual recording a video or take a photo.
– In the talk state, press the up button to start recording a video or take a photo.
– Press up button again to stop recording.
– When power is supplied to the outdoor unit, first press the monitor button and
then press the up button to take a picture or start recording.
– Press the up button again to stop.
4.3.7 Time setting
– Press direction buttons to select the time setting icon ,press ok button to confirm.
– Press left and right buttons to select the setting you want to change.
– Press up and down buttons to adjust this setting and use the ok button to confirm.
4.3.8 Unlock time setting
– Press direction buttons to select the unlock time icon ,press ok button to get into
the submenu.
– Use the left and right button to select between 100mS, 1S, 5S or 10S.
– Confirm and exit by pressing the ok button.

Smartwares Use | 4
DIC-22815 _ DIC-22805 15
4.3.9 Exit
– Use the exit icon to go back one step in the menu or leave the menu completely to
the monitor mode.

5 | Cleaning and maintenance Smartwares
16 DIC-22815 _ DIC-22805
5 Cleaning and maintenance
– Clean the outside of the appliance with a soft and slightly moistened cloth.
– Do not use any carboxylic cleaning agents or petrol, alcohol or similar. These at-
tack the surfaces of the devices. Besides, the vapors are hazardous to your health
and explosive. Do not use any sharp edged tools, screw drivers, metal brushes or
similar for cleaning.

Smartwares Technical Data | 6
DIC-22815 _ DIC-22805 17
6 Technical Data
– The appliance is suitable for domestic use only.
General Operating Frequency 2400-2483.5MHz
Transmission rate 15~25fps(only effective distance)
Unobstructed effective
range
200m
TX power 14~18dBm
RX sensitivity -85dBm
Operating temperature Max 50°C
Storage temperature -20°C ~ +60°C
Operating humidity <85%RH
Sensor type CMOS
Outdoor camera View angle About 85°
Supply voltage DC/AC 8~24V (battery:
3.7V/2000mAH 18650)
Consumption current 300±50mA
Screen size 4,3 inch (diagonal)
Resolution 480x272(RGB)
Supply voltage DC 5V/1A (battery:
3.7V/1500mAH)
Indoor monitor Consumption current 350±50mA
Charging time <2 hours
Image format JPEG
Video format AVI
SD card SDHC 2GB-32GB

7 | Environment Smartwares
18 DIC-22815 _ DIC-22805
7 Environment
This appliance should not be put into the domestic garbage at the end of its dur-
ability, but must be offered at a central point for the recycling of electric and electronic
domestic appliances. This symbol on the appliance, instruction manual and packaging
puts your attention to this important issue. The materials used in this appliance can be
recycled. By recycling of used domestic appliances you contribute an important push
to the protection of our environment. Ask your local authorities for information re-
garding the point of recollection.
Support
You can find all available information and spare parts at www.smartwares.eu
Please read manual before use, and store it carefully for future use and maintenance.

Smartwares Declaration of Conformity | 8
DIC-22815 _ DIC-22805 19
8 Declaration of Conformity
Hereby, Smartwares Europe declares that the radio equipment type DIC-22815 is in
compliance with Directive 2014/53/EU
The full text of the EU declaration of conformity is available at the following internet
address: www.smartwares.eu/doc

Other manuals for DIC-22815
1
This manual suits for next models
1
Table of contents
Other Smartwares Intercom System manuals

Smartwares
Smartwares DIC-21102 User manual

Smartwares
Smartwares VD36W User manual

Smartwares
Smartwares DIC-222 Series User manual

Smartwares
Smartwares DIC-222 Series User manual

Smartwares
Smartwares DIC-22815 User manual

Smartwares
Smartwares VD38W User manual

Smartwares
Smartwares VD36W User manual

Smartwares
Smartwares VD38W User manual

Smartwares
Smartwares DIC-211 Series User manual

Smartwares
Smartwares DIC-222 Series User manual