manuals.online logo
Brands
  1. Home
  2. •
  3. Brands
  4. •
  5. Smith & Nephew
  6. •
  7. Medical Equipment
  8. •
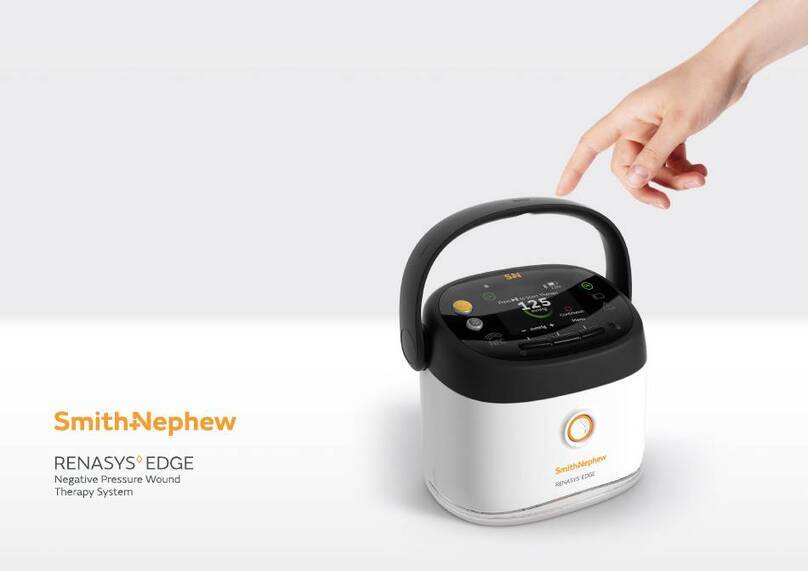
  9. Smith & Nephew RENASYS EDGE User manual

Smith & Nephew RENASYS EDGE User manual

The RENASYS◊EDGE System
Quick reference guide
smith-nephew.com/renasysedge
The RENASYS◊ EDGE System
Battery
warning light
OK light
Carry handle
Recessed lock /
unlock button
Canister release
button
Disposable canister
NFC sensor linked
toonline resources
Mute button
Play/pause
button
Therapy screen
Power button
Multifunctional
buttons
Power on the device and start therapy
Slower
Cancel Faster
Progressing to target pressure.
Cancel
Progressing to target pressure.
Faster
Target pressure achieved.
Press the button to start / pause the therapy
3
Select the prescribed negative pressure level using
the +or –buttons
MenummHg
Set target pressure
80
60 100
22hr
MenummHg
Set target pressure
100
80 125
22hr
MenummHg
Set target pressure
125
100 150
22hr
2
4
When the pump is
working correctly the
OK light will illuminate
Switch On
the pump 1
Alerts
Therapy paused too long Low battery Moderate air leak Pump too hot for charging
Alarms
Icons and symbol glossary
Blockage Critical low battery
Canister missing Battery failure
Canister full Pump too hot
Critical air leak High vacuum/System failure
Pump buttons Battery icons Status bar icons
Play/Pause 24hr Full Charge (White) Paused (Green)
Mute 1hr Low (Yellow) System OK (Green)
Canister Release 30m Critical Low (Red) Alarm/Alert (Yellow)
Recessed Lock/Unlock 10% Charging (Green) Critical Air Leak (Orange)
Three Multifunction 100% Full Charged (Green) Moderate Air Leak (Blue)
Pump lights Battery Failure Blockage
System OK (Green) Therapy screen icons Canister Missing
Battery Warning (Yellow) Y-Connector Mode System Failure/High Vacuum
Alarm/Alert (Yellow) Intermittent Mode (Pink) Pump Too Hot Alert (Orange & Red)
External Power Indicator Continuous Mode (Pink) Pump Too Hot Alarm (Red only)
Paused Too Long (Yellow)
Canister Full
Locked
Bluetooth On
Muted
Looking for more information?
Scan the QR code for:
• Customer Care contacts
• Troubleshooting videos
• Basic Operation videos
Installing a new canister
Ensure therapy is paused
orthe pump is O.
300
200
100
click
300
200
100
click
300
200
100
click
300
200
100
click
1
Push down on the pump until
you hear a click from the
release button.
4
Remove the paper tape around
thecanister tubing and release
tubing to full length.
2
Remove the caps from both quick
click connectors and push them
together until they click.
If removing a used canister, push the
canister release button and dispose of it
properly. Position the canister so thatthe
tubing is facing tothe rear of the pump
thenalign the pump over thecanister.
3
Start therapy by
pressing button.
6
300
200
100
click
300
200
100
click
5
RENASYS◊-F Foam and -G Gauze
Dressing Kit with So Port application
Clean and debride
If dressing wound with foam
Debride any devitalized ornecrotic eschar tissue.
Cleanse the wound and pat dry.
Cut foam dressing to t the size and shape of the wound
and place cut foam intothe wound. Avoid over packing.
Foam should completely ll the wound cavity. It may be
necessary to stack pieces of foam in deep wounds.
Precaution: If multiple pieces of wound filler are needed to fill the wound profile, count
and record how many pieces are present to ensure all pieces are removed atadressing
change to minimize the risk of retention and possible infection.
Foam should be cut to fit loosely into wound bed. Do not force or tightly packfoam into
any areas ofthe wound to avoid damaging underlying tissue.
Do not place foam into blind or unexplored tunnels.
If a tunnel of known depth presents, cut foam longer than the tunnel, to ensure direct
contact is made with the foam in the primary wound cavity.
Do not cut foam directly over the wound cavity toavoid foam fragments from falling
into thewound. Rub edges of the foam away from the open wound to remove loose
fragments aer cutting.
1
If desired, protect theperiwound skin fromexposure to
moisture and adhesive through theuse ofskin sealant.
Allow the skin sealant to dry fully prior to placement of
the transparent lm.
2
If desired, a non-adherent woundcontact layer may
beapplied. Trim a single layer ofnon-adherent gauze
andlay across thewound bed.
3
4a
If dressing wound with gauze
Apply RENASYS So Port
Apply a layer of saline moistened gauze to wound bed.
Unfold remaining saline-moistened gauze and loosely ll
the entire wound cavity. Avoid over packing the wound.
Precaution: If multiple pieces ofwound filler are needed tofill
the wound profile, count andrecord how many pieces are
present to ensure all pieces are removed at a dressing change
to minimize the risk of retention andpossible infection.
Use of gauze as a filler in wounds that are in a weight bearing
location or have moderate toheavy drainage may challenge
the transfer of fluid andvacuum. Foam is recommended
inthese wounds.
While holding the transparent lm, expose one side
ofthe adhesive backing byremoving a single panel,
andapply over the wound.
Cover wound ller with transparent lm, removing
remaining adhesive panels toseal, then the top stabilization
panel. Film should securely anchor 5cm/1.97in beyond
wound margin to facilitate adequate seal.
Note: Avoid stretching or pulling the transparent film tominimize
tension ortrauma to the periwound skin. Overlap the edges
ofthe transparent film byaminimum of7.5cm/2.95in whenusing
multiple pieces of transparent film.
Remove the adhesive backing panel from the RENASYS
So Port dressing, and align the port opening directly
over the hole in the transparent lm.
Use gentle pressure to anchor the So Port tothe
transparent lm.
Cut a circular opening (no less than 2cm/0.75in in
diameter) in the center ofthelm, over thewound ller.
Remove any loose transparent lm anddispose of away
from the wound.
4b
6
5
7
Smooth the dressing down while removing the RENASYS
So Port stabilization frame.
Secure the RENASYS So Port to the patient according
toyour institutional protocol.
Ensure the aeration disc, located near the orange quick
click connector, is not covered or otherwise occluded
bythemethod used to secure the So Port.
Connect the RENASYS So Port to the canister tubing
bypushing the orange quick click connectors together.
An audible click indicates connection is secure.
Activate the RENASYS pump ensuring that it is
operating at the prescribed therapy level. Please refer
to your RENASYS pump manual for full operating
instructions. Thenished dressing should be fully
compressed, rmtothetouch and leak-free.
9
8
10
For detailed product information, including indications for use,
contraindications, eects, precautions, warnings, and important safety
information, please consult product’s Instructions for Use (IFU) prior
to use.
Advanced Wound Management
Smith & Nephew, Inc.
Fort Worth, TX 76109 USA
Customer Care Center
1-800-876-1261
F 727-392-6914
www.smith-nephew.com
Shaping what’s possible
inwound care
◊Trademark of Smith & Nephew
All Trademarks acknowledged
© September 2023 Smith & Nephew
AWM-AWD-39651 _US |GMC1717

Other Smith & Nephew Medical Equipment manuals

Smith & Nephew renasys go User manual

Smith & Nephew

Smith & Nephew renasys go User manual

Smith & Nephew REDAPT User manual

Smith & Nephew

Smith & Nephew REDAPT User manual

Smith & Nephew RENASYS GO Series User manual

Smith & Nephew

Smith & Nephew RENASYS GO Series User manual

Smith & Nephew ZUK User manual

Smith & Nephew

Smith & Nephew ZUK User manual

Smith & Nephew RENASYS EDGE Instruction Manual

Smith & Nephew

Smith & Nephew RENASYS EDGE Instruction Manual

Smith & Nephew PICO 7 User manual

Smith & Nephew

Smith & Nephew PICO 7 User manual

Smith & Nephew LEGION Cones User manual
Smith & Nephew

Smith & Nephew LEGION Cones User manual

Smith & Nephew RENASYS GO User manual

Smith & Nephew

Smith & Nephew RENASYS GO User manual

Smith & Nephew RENASYS GO Series User manual

Smith & Nephew

Smith & Nephew RENASYS GO Series User manual

Smith & Nephew RENASYS TOUCH User manual

Smith & Nephew

Smith & Nephew RENASYS TOUCH User manual

Smith & Nephew RENASYS TOUCH User manual

Smith & Nephew

Smith & Nephew RENASYS TOUCH User manual

Smith & Nephew RENASYS GO User manual

Smith & Nephew

Smith & Nephew RENASYS GO User manual

Smith & Nephew TC-PLUS Revision User manual

Smith & Nephew

Smith & Nephew TC-PLUS Revision User manual

Smith & Nephew JOURNEY II BCS User manual

Smith & Nephew

Smith & Nephew JOURNEY II BCS User manual

Smith & Nephew Dyonics 300XL Installation and operating instructions
Smith & Nephew

Smith & Nephew Dyonics 300XL Installation and operating instructions

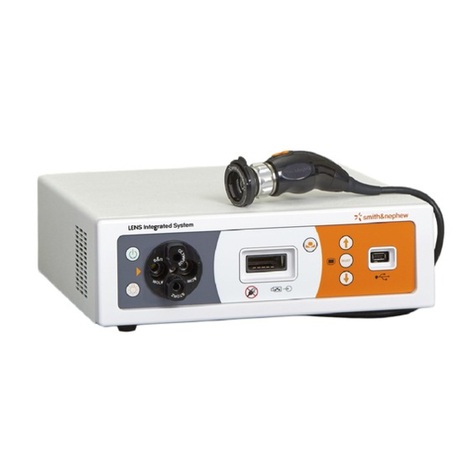
Smith & Nephew LENS Integrated System Installation and operating instructions

Smith & Nephew

Smith & Nephew LENS Integrated System Installation and operating instructions

Smith & Nephew PICO User manual

Smith & Nephew

Smith & Nephew PICO User manual

Smith & Nephew BIRMINGHAM HIP User manual

Smith & Nephew

Smith & Nephew BIRMINGHAM HIP User manual

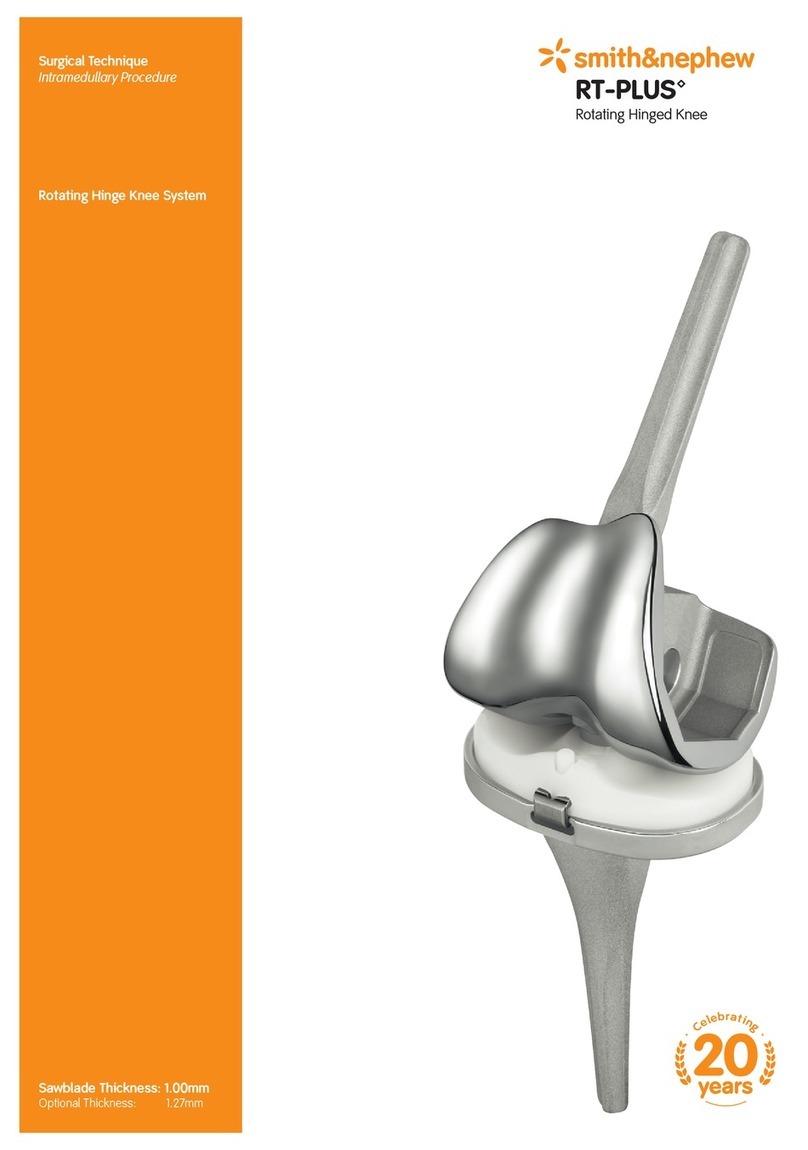
Smith & Nephew RT-PLUS User manual

Smith & Nephew

Smith & Nephew RT-PLUS User manual

Smith & Nephew DYONICS Handpiece User manual

Smith & Nephew

Smith & Nephew DYONICS Handpiece User manual

Smith & Nephew Syncera Anthem User manual

Smith & Nephew

Smith & Nephew Syncera Anthem User manual

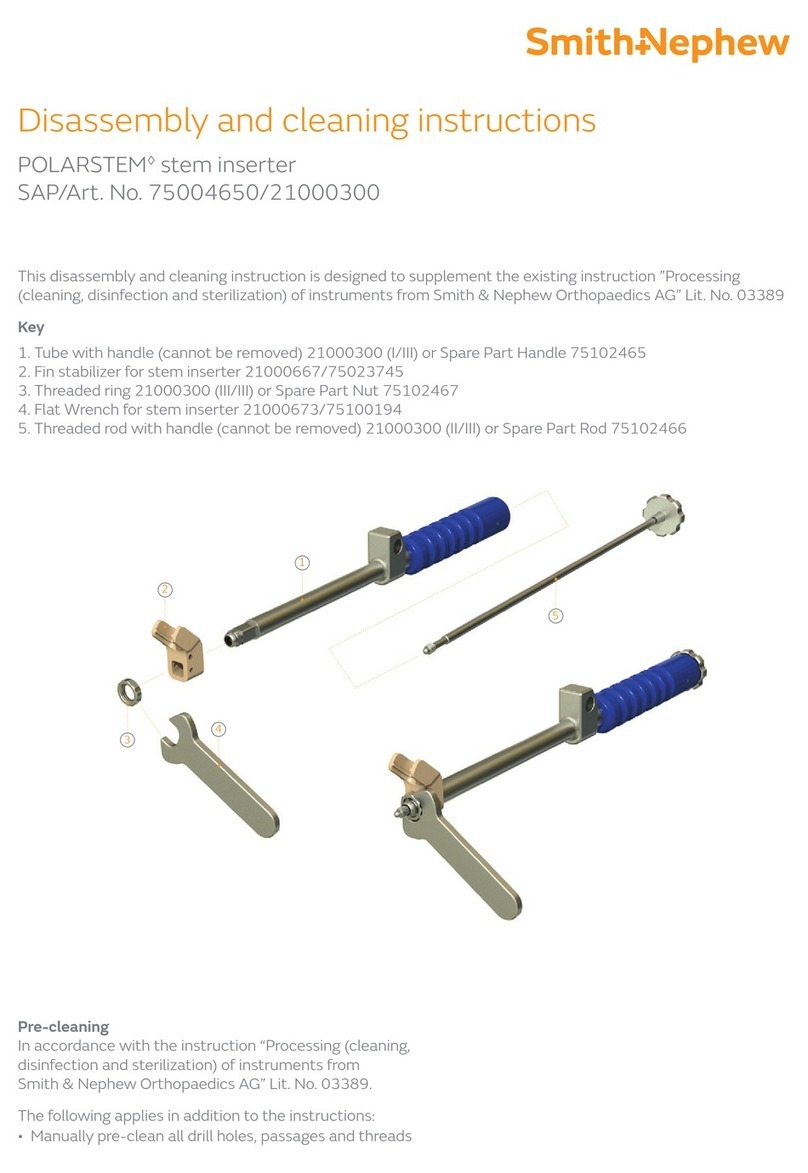
Smith & Nephew POLARSTEM 75004650 Configuration guide

Smith & Nephew

Smith & Nephew POLARSTEM 75004650 Configuration guide

Smith & Nephew EXOGEN 4000+ User manual

Smith & Nephew

Smith & Nephew EXOGEN 4000+ User manual

Smith & Nephew RENASYS GO Series User manual
Smith & Nephew

Smith & Nephew RENASYS GO Series User manual

Popular Medical Equipment manuals by other brands
Winco 8570 CUSTOMER INSTRUCTIONS

Winco

Winco 8570 CUSTOMER INSTRUCTIONS

inhealth Blom-Singer Instructions for use

inhealth

inhealth Blom-Singer Instructions for use

Kinetec Spectra user manual

Kinetec

Kinetec Spectra user manual

Bio 200D instructions

Bio

Bio 200D instructions

dynarex DB200 user manual

dynarex

dynarex DB200 user manual

Daavlin UV Series Operation manual

Daavlin

Daavlin UV Series Operation manual

Care of Sweden CuroCell S.A.M. PRO user manual

Care of Sweden

Care of Sweden CuroCell S.A.M. PRO user manual

HEINE FlexTip + Laryngoscope manual

HEINE

HEINE FlexTip + Laryngoscope manual

Dräger Narkomed 2B Service manual

Dräger

Dräger Narkomed 2B Service manual

PHILIPS Respironics BiPAP S/T C Series Provider Manual

PHILIPS Respironics

PHILIPS Respironics BiPAP S/T C Series Provider Manual

AmpliVox 240 Operation manual

AmpliVox

AmpliVox 240 Operation manual

Planmeca Planmeca ProMax 3D s user manual

Planmeca

Planmeca Planmeca ProMax 3D s user manual

Smiths Medical PORTEX acapella choice reference guide

Smiths Medical

Smiths Medical PORTEX acapella choice reference guide

FujiFilm SonoSite Edge II user guide

FujiFilm

FujiFilm SonoSite Edge II user guide

HEINE iC 2 Quick start guides

HEINE

HEINE iC 2 Quick start guides

Jenx SUP-01-0 Series Instructions for use

Jenx

Jenx SUP-01-0 Series Instructions for use

provita 1 Series operating instructions

provita

provita 1 Series operating instructions

Gaumard CODE BLUE S303 user guide

Gaumard

Gaumard CODE BLUE S303 user guide

manuals.online logo
manuals.online logoBrands
  • About & Mission
  • Contact us
  • Privacy Policy
  • Terms and Conditions

Copyright 2025 Manuals.Online. All Rights Reserved.