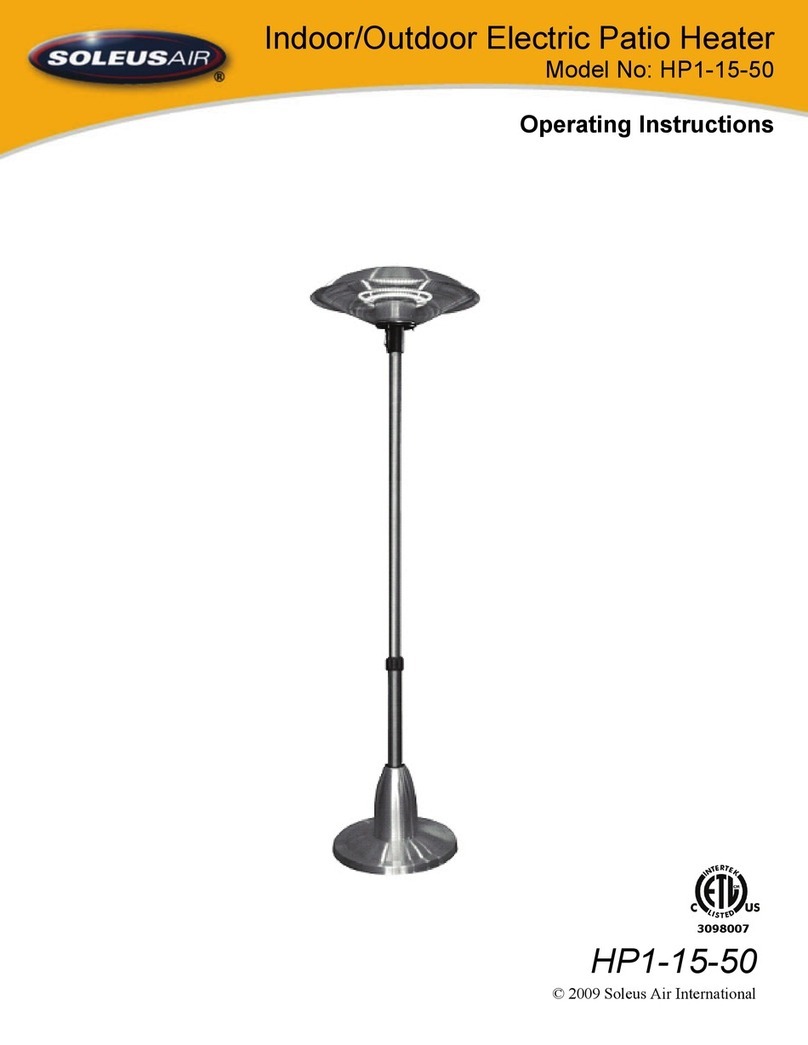
Soleus Air HP2-15-50 User manual

Indoor/Outdoor Electric Patio Heater
Model No: HP2-15-50
Operating Instructions
3098007
HP2-15-50
© 2007 Soleus Air International

2
Thank you for choosing a Soleus Air Indoor/Outdoor Patio Heater. This o ner’s manual ill
provide you ith valuable information necessary for the proper care and maintenance of your
ne product. Please take a fe moments to thoroughly read the instructions and familiarize
yourself ith all the operational aspects of your ne heater.
For your o n records, please attach a copy of your sales receipt to this manual. Also, rite the
store name/location, date purchased, and serial number belo :
Store Name: ____________________________________________________
Location: ______________________________________________________
Date Purchased: _________________________________________________
Serial Number (located on back of unit): ______________________________
IMPORTANT INSTRUCTIONS
When using this electric unit, basic safety precautions should al ays be follo ed to reduce the risk of fire, electric shock, and injury
to persons, including the follo ing:
1. Read ALL instructions before using this unit.
2. CAUTION: Risk of Electric Shock. DO NOT open or try to repair the heater yourself.
3. This heater may get hot hen in use. To avoid burns, DO NOT let bare skin touch hot surfaces. If provided, use han-
dles hen moving this heater.
4. Keep combustible materials, such as furniture, pillo s, bedding, paper, clothes, and curtains at least 3 ft from the front
of the heater and keep them a ay from the sides, top, and rear. DO NOT place to els or other objects on the heater.
5. Extreme caution is necessary hen any heater is used by or near children or the disabled, or hen the heater is left
operating and unattended.
6. DO NOT operate any heater ith a damaged cord or after the heater malfunctions, has been dropped or damaged in
any manner. Return heater to authorized service facility for examination, electrical or mechanical adjustment, or re-
pair.
7. This heater is not intended for use in bathrooms, laundry areas and similar indoor locations. NEVER locate heater
here it may fall into a bathtub or other ater container. To protect against electrical hazards, DO NOT immerse in
ater or other liquids.
8. DO NOT touch the control panel or plug ith a et hand.
9. DO NOT run cord under carpeting. DO NOT cover cord ith thro rugs, runners, or similar coverings. Arrange cord
a ay from traffic area and here it ill not be tripped over.
10. DO NOT insert or allo foreign objects to enter any ventilation or exhaust opening as this may cause an electric shock
or fire, or damage the heater.
11. To prevent a possible fire, DO NOT block the air intakes or exhaust in any manner. DO NOT use on soft surfaces, like
a bed, here openings may become blocked.
12. A heater has hot and arcing or sparking parts inside. DO NOT use in areas here gasoline, paint, explosive and/or
flammable liquids are used or stored. Keep unit a ay from heated surfaces and open flames.
13. Avoid the use of an extension cord because the extension cord may overheat and cause a risk of fire. Ho ever, if you
have to use an extension cord, the cord shall be No. 14 AWG minimum size and rated not less than 1875W.

3
14. To avoid fire or shock hazard, plug the unit directly into a 120 V AC electrical outlet.
15. To disconnect heater, turn controls to OFF, then remove plug from outlet. Pull firmly on the plug, DO NOT unplug by
pulling on the cord.
16. Al ays unplug the unit before moving or cleaning, or henever the heater is not in use.
17. Use only for intended household use as described in this manual. Any other use not recommended by the manufacturer
may cause fire, electric shock, or injury to persons. The use of attachments not recommended or sold by unauthorized
dealers may cause hazards.
18. Al ays use on a dry, level surface. Use on floor only.
19. WARNING: To reduce the risk of fire or electric shock, DO NOT use this unit ith any solid-state speed control de-
vice.
20. DO NOT attempt to repair or adjust any electrical or mechanical functions on this unit. Doing so ill void your ar-
ranty. The inside of the unit contains no user serviceable parts. Qualified personnel should perform all servicing only.
21. Connect to properly grounded outlets only.
22. SAVE THESE INSTRUCTIONS.
WARNING: This heater has a voltage rating of 120
volts. The cord has a plug as sho n in A. An adapter as
sho n in C is available for connecting three-blade
grounding-type plugs to t o-slot receptacles. The
grounding lug extending from the adapter must be con-
nected to a permanent ground such as a properly
grounded outlet box. The adapter should not be used if
a three-slot grounded receptacle is available.
DO NOT DEFEAT THE SAFETY PURPOSE OF
THE GROUNDED PLUG.
SPECIFICATIONS
Voltage Rating 120 V (60Hz)
Po er Consumption 700/800/1500W
Unit Size 24 in. (W) x 24 in. (D) x 36 in. (H)
Unit Weight 25.5 lbs

4
PRODUCT DIAGRAM
Heater Head
Control S itches
Decorative Cone
Weighted Base
Base Pole

5
ASSEMBLY
PARTS
Remove all contents from the packaging.
The packaging includes the follo ing items:
A) 1 Heater head
B) 1 Weighted Base
C) 1 Dec rative C ne
D) 1 P le C nnect rs
E) 1 T p P le
F) 1 Base P le
G) 6 P le C nnect r Screws
H) 2 Heater Head C nnect r Screws
I) 3 Base B lts
J) 3 Nuts f r the base b lts
K) 1 Assembly Wrench (N t Pictured)
L) 1 Allen Wrench (N t Pictured)
NOTE: The scre s, bolts, assembly rench,
and Allen rench are rapped in a plastic bag
and placed on the underside of the Styrofoam
next to the eighted base.
A
E
D
C
B
H
F
G
I
J

6
BASIC ASSEMBLY
To properly assemble this heater you need the supplied assembly rench and Allen rench (or one of your
o n). Refer to the parts diagram on page 5 hile assembling the heater.
1) First, attach the base pole (F) to the eighted base (B) using the 3 base bolts (I) and 3 nuts (J). Once you
secure the base pole to the eighted base (B), place the decorative cone (C) over the base pole (F) to
cover the bolts on the base.
2) Next, place the po er cord attached to the heater head (A) through the middle of the top pole (E). The top
pole (E) ill have t o smaller scre holes located at the top and larger scre holes at the bottom. Align
the small scre holes ith the holes on the bottom of the heater head. Use the small heater head connector
scre s (H) to secure the heater head (A) to the top pole (E).
3) After securing the heater head and top pole, place the cord through the pole connector (D) and connect it
to the bottom of the top pole (E). Align the scre holes on the pole connector (D) ith the scre holes on
the bottom of the top pole (E) and secure using 3 of the supplied pole connector scre s (G).

7
4) No , place the po er cord through the base pole (F) and base (B) you assembled earlier. Make sure the
cord is pulled all the ay through the base to provide optimal length. Once the cord is placed through the
base, connect the base pole (F) to the pole connector (D) on the bottom of the top pole (E). Align the
scre holes on the pole connector ith the scre holes on the top of the base pole and secure using 3 of
the supplied pole connector scre s (G).
5) Before using the heater, align the po er cord ith the cutout on the eighted base and secure using the
attached fasteners on the bottom of the eighted base. There is one fastener located near the middle of the
eighted base, and another fastener located near the cutout at the end of the base. Place the cord through
each fastener and tighten to secure the cord to the base. After securing the po er cord to the fasteners,
place the rubber ring located around the po er cord in the cutout on the eighted base. Properly attaching
the po er cord to the eighted bases ill allo the heater to be moved easily and prevent damage to the
po er cord.

8
OPERATING INSTRUCTIONS
Place the heater on a firm, level surface and plug into a grounded 120V 60Hz po er outlet. Only operate the
heater hen it is in the upright position and the base is attached. Refer to the diagram belo .
The HP2-15-50 Electric Patio Heater is equipped ith three heat settings; Lo , Medium, and High.
• To operate the heater on lo , press the red s itch on the right. This s itch ill have a single hite dot
near the top. Once the lo s itch is pressed, the smaller bottom heating element ill glo and radiate
heat.
• To operate the heater on medium, press the red s itch on the left. This s itch ill have t o hite dots
near the top. Once the medium s itch is pressed, the larger top heating element ill glo and radiate heat.
• To operate the heater on high, press both the lo and medium red s itches. This ill cause both the
bottom and top heating elements to glo and radiate heat.
HEATER CONTROLS

9
MAINTENANCE
Unplug the unit and let it cool completely.
• To keep the heater clean, the outer shell may be cleaned ith a soft, damp cloth. You may use a
mild detergent if necessary. After cleaning, dry the unit ith a soft cloth.
• DO NOT use alcohol, gasoline, abrasive po ders, furniture polish, or rough brushes to clean the
heater. This may cause damage or deterioration to the surface of the heater.
• Although this heater is outdoor approved, DO NOT immerse the heater in ater for your safety.
Wait until the unit is completely dry before use.
WHEN THE HEATER IS NOT IN USE
When not using the heater for an extended period of time, place the electrical cord inside the decorative cone
that covers the bottom part of the pole. To do so, simply lift the cone and rap the electrical cord around the
bottom pole. When the cord is completely rapped around the pole, slide the cone back do n covering the
cord and bottom of the pole.
STORAGE
If the heater ill not be used for a long period of time, store it in a cool, dry location hen not in use. To
prevent dust and dirt build-up, use the original packaging to repack the unit.
TROUBLESHOOTING
If the heater ill not operate, please check the follo ing before seeking repair of service:
• Check if the po er cord is plugged into an electrical outlet, if not, plug in.
• Check if electricity to the main fuse is orking.
• Make certain the po er s itches are turned on. If not, choose a setting.

10
WARRANTY
One Year Limited Warranty
Soleus International Inc. arrants the accompanying Soleus Air HP1-15-50 Electric Patio Heater to be free of defects
in material and orkmanship for the applications specified in its operation instruction for a period of ONE (1) year
from the date of original retail purchase in the United States.
If the unit exhibits a defect in normal use, Soleus International Inc. ill, at its option, either repair or replace it, free of
charge ithin a reasonable time after the unit is returned during the arranty period.
As a condition to any arranty service obligation, the consumer must present this Warranty Certificate along ith a
copy of the original purchase invoice.
THIS WARRANTY DOES NOT COVER:
• Damage, accidental or other ise, to the unit hile in the possession of a consumer not caused by a defect in
material or orkmanship.
• Damage caused by consumer misuse, tampering, or failure to follo the care and special handling provisions
in the instructions. This includes dents, accidental or other ise, to the base and head of the unit.
• Damage to the finish of the case, or other appearance parts caused by ear.
• Damage caused by repairs or alterations of the unit by anyone other than those authorized by Soleus Interna-
tional Inc.
• Freight and Insurance cost for the arranty service.
ALL WARRANTIES, INCLUDING ANY IMPLIED WARRANTY OF MERCHANT ABILITY ARE LIMITED TO
ONE-YEAR DURATION OF THIS EXPRESS LIMITED WARRANTY. SOLEUS INTERNATIONAL INC.
DISCLAIMS ANY LIABILITY FOR CONSEQUENTIAL OR INCIDENTAL DAMAGES AND IN NO EVENT
SHALL SOLEUS INTERNATIONAL INC’S LIABILITY EXCEED THE RETAIL VALUE OF THE UNIT FOR
BREACH OF ANY WRITTEN OR IMPLIED WARRANTY WITH RESPECT TO THIS UNIT.
This arranty covers only ne products purchased from our authorized dealers or retailers. It does not cover used, sal-
vaged, or refurbished products.
As some states do not allo the limitation or exclusion of incidental or consequential damages, or do not allo
limitation on implied arranties, the above limitations and exclusions may not apply to you. This arranty gives you
specific legal rights, and you may also have other rights that vary from state to state.
F r Technical Supp rt r Warranty Service
Please Call (888) 876-5387
Or Write To:
Soleus International Inc.
9451 Telstar Ave.
El Monte, CA 91731 USA
.soleusair.com
Other manuals for HP2-15-50
1
Table of contents
Other Soleus Air Patio Heater manuals