CAN
4. Installation4. Installation
4.7 Communication C able Assembly
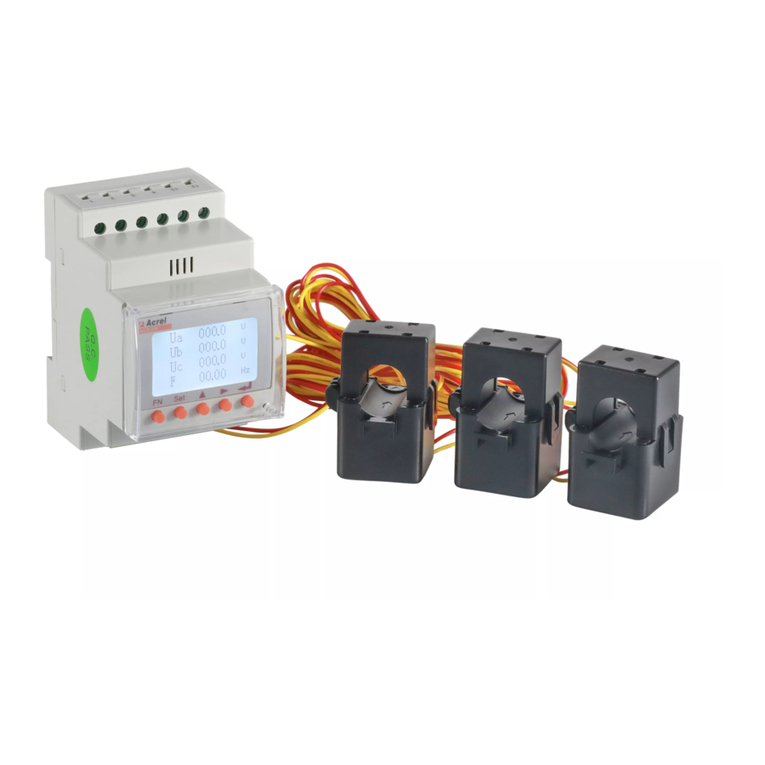
The RHI series inverter uses RS485 cable to communicate with the Meter and CAN to
communicate with the battery's BMS. The image below shows the assembly of the RS485/CAN
communication cables.
Procedure for connecting the CAN cable:
1. Take out the CAN cable (terminal marks ‘CAN' on one end and 'to Meter' on the other end).
2. Unscrew the swivel nut from CAN port.
3.Insert the RJ45 terminal with CAN label into the CAN port, then fasten the swivel nut.
4.Connect the other end to the battery.
NOTE:
The CAN cable enables the communication between the inverter and the Li-ion
battery from BYD, .Pylontech
Please check for latest model before installation.compatibility
NOTE:
For CAN cable pin 4 (blue) and pin 5 (white-blue) are used for the
communication.
Procedure for connecting the RS485 cable:
1. Take out the RS485 cable (terminal marks ‘RS485' on one end and 'to Battery' on the
other end).
2. Unscrew the swivel nut from RS485 port.
3. Insert the Two-pin terminal with RS485 label into the RS485 port, then fasten the swivel nut.
4. Connect the other end to the Meter.
4.8 Logic interface connection (Only for UK)
Logic interface is required by G98 and G99 standard that can be operated by a simple
switch or contactor. When the switch is closed the inverter can operated normally.
When the switch is opened, the inverter will reduce it’s output power to zero within 5s.
Pin5 and Pin6 of RJ45 terminal is used for the logic interface connection.
Please follow steps below to assemble DRM RJ45 connector.
1. Insert the network cable into the communication connection terminal of RJ45.
Figure 4.19 RJ45 communication connection terminals
2. Use the network wire stripper to strip the insulation layer of the communication cable.
According to the standard line sequence of figure 4.20 connect the wire to the plug of
RJ45, and then use a network cable crimping tool to make it tight.
.17..16.
Figure 4.18
Meter
12345678
91011121314151617181920
3. Connect RJ45 to DRM (l ) . ogic interface
NOTE:
To use this function, please contact the manufacturer.
Correspondence between the cables
and the stitches of plug, Pin5 and Pin6
of RJ45 terminal is used for the logic
interface, other Pins are reserved.
Pin 1: Reserved; Pin 2: Reserved
Pin 3: Reserved; Pin 4: Reserved
Pin 5: Switch_input1; Pin 6: Switch_input2
Pin 7: Reserved; Pin 8: Reserved
1--8
RJ45 plug Rj45terminal
1 2 3 4 5 6 7 8
1 2 3 4 5 6 7 8
DRM(logic interface)
Switch_input1 Switch_input2
Figure 4.20 Strip the insulation layer and connect to RJ45 plug
