Solo Port 423 User manual

70290 01/2022
en
fr
es
Port 423 Evolution / MAX
Original instructions
Instruction manual
Notice originale
Instructions d'emploi
Manual original
Manual del usario
Important!
Read this instruction manual carefully before
first operation and strictly observe the safety
regulations!
Attention!
Lire attentivement ce manuel avant la première
mise en service et observer absolument les
prescriptions de sécurité!
¡Atención!
Es indispensable leer con mucha atención las
instrucciones de manejo antes de utilizarla por
primera vez. ¡Preste especial atención a las
recomendaciones de seguridad!
Mistblower
Atomiseur
Pulverizador


- ENGLISH - Motorized mistblower Port 423 Evolution / MAX
ENGLISH 1
Instruction manual
Original instructions
Caution! Prior to operating the unit, please
read the owner’s manual carefully, and most
importantly, observe all safety rules.
Observe the maintenance guidelines closely to
ensure the long service life of your equipment.
Your dealer will be glad to assist you with any
questions.
Packaging and disposal
Please keep the original packaging in order to
protect the equipment against transport damage in
case you ever need to ship it or transport it.
The original packaging and the device (at the end of
its service life) must be properly disposed of
according to the local environmental regulations.
1. Symbols
The following symbols are used in this manual and
on the product:
Thoroughly read these operating
instructions before undertaking any
maintenance, installation and cleaning
steps
Always handle this power tool with
particular care
Wear the prescribed protective clothing.
Wear ear defenders before starting the
engine
Wear face protection
(e.g., safety goggles).
Wear protective gloves when handling and
working with the equipment
A breathing mask should be worn when
using poisonous chemicals
Petrol is highly flammable
Keep open flames away from the power
tool and the fuel can.
Never smoke near the power tool or where
the equipment is refuelled!
No-one else may remain in the vicinity of
the motor appliance whilst it is operating.
Switch off engine
Choke open
Operation and warm start
Choke closed,
Cold start position
Type plate:
a: Type designation
b: Serial number
c: Build year
In the best interest of continued technological
progress we reserve the right to change the design
and configuration of any product without prior
notice.
For that reason, no claims can be accepted with
reference to text and illustrations in this manual.

ENGLISH 2
2. Guarantee
SOLO guarantees problem-free quality and will assume the costs for defect remediation by replacing the
defective parts in the case of material or manufacturing defects that occur within the guarantee period after
the date of purchase. Please note that specific guarantee conditions apply in some countries. Ask your
sales person if you have any questions. As vendor of the products he is responsible for the guarantee. We
request your understanding that no guarantee can be assumed for damages due to the following:
• Non-compliance with the operating instructions.
• Neglecting required maintenance and repair work.
• Damages due to improper carburetor adjustment.
• Normal wear and tear.
• Obvious overload through persistently exceeding the upper performance limits.
• Using non-approved tools.
• The use of force, improper handling, misuse, or accident.
• Damages caused by overheating due to dirt build up on the ventilator casing.
• Unauthorized modification or changes made to the device.
• Intervention by non-specialized persons, or improper repair attempts.
• The use of unsuitable replacement parts or parts other than SOLO original parts to the extent that they
cause damage.
• Using unsuitable fuel or fuel that has been stored too long.
• Damages that can be traced to implementation conditions from the rental business.
Cleaning, care, and adjustment work are not recognized as guarantee performances. All guarantee work
must be carried out by a SOLO dealer.
3. Parts subject to tear and wear
Various parts are subject to application- specific or normal wear and must be replaced in good time, when
required. The following parts are subject to normal wear and are not covered by the manufacturer‘s
guarantee:
* Air filter, * Fuel filter, * All rubber parts which come into contact with fuel, * Spark plug, * Starter
4. Safety regulations
This machine produces an electromagnetic field during operation. This field may under some
circumstances interfere with active or passive medical implants. Persons with medical implants
have to consult their physician and the medical implant manufacturer before operating this machine. You
should request and receive instructions from the vendor on the safe operation if you are using this type of
product for the first time.
4.1 Correct use / Application
Use the device only for application of liquid herbicides, pesticides and weed killers as well as liquid
fertilisers, non-flammable disinfectants that are available in authorised specialist trade and approved by
local/national authorities for use with portable mistblowers and for application of clean water.
Observe all instructions provided by the spraying agent manufacturer.
We recommend using only spraying agents that have been approved for use as spraying agent for the
above mentioned areas of application by the relevant authorities in your country.
The pressure sprayer must not be used for any other purposes, e.g., for the spraying of liquid paint or
applying any other media than the above mentioned liquids!
Particularly, aggressive, acid- or solvent-containing liquids or impregnating agents and flammable
products must not be sprayed with this device!
Within certain limits, the amount to be applied is subject to the position of the spray tube. During
operation, if the spray tube is directed upwards at an angle of more than 30° to the horizontal, use the
liquid pump that is available as a special accessory.
The mistblower may only be used for the jobs it has been designed for – and no other!
Always observe all safety hints while using the machine.

ENGLISH 3
4.2 General safety instructions
Some parts on the machine have been removed for transport purposes. Prior to first use, the
mistblower has to be completely assembled. This mistblower may only be started and used when
completely assembled.
Read the operating instructions carefully before placing in service and keep them in a safe place.
The operating instructions must be kept available at all times wherever the device is used or stored.
First time users should be instructed by the seller or an expert.
You can put your life at risk by failing to follow the safety instructions. It is also important to follow any
relevant health and safety regulations that apply to your place of work. Anyone who fails to follow the
safety instructions, operating instructions or maintenance instructions will make themselves liable for any
damage and consequential damage caused as a result.
Never use the device if any part of it is unsafe or if it is not in an overall condition that makes it safe to use.
Before using the device always check whether it is safe to use.
The operator is liable towards others within the operating area of the mistblower.
Only operate the mistblower when in good physical condition, well rested and healthy. Fatigue and
illness lead to carelessness and accidents. Proceed in a careful and alert manner.
Never use a machine while under the influence of alcohol, drugs or medication that could impair your
reaction speed.
Persons under the age of 18 are only permitted to use this plant protection device under supervision.
The air exit speed from the nozzle is very high. Never point the nozzle towards persons or animals.
This equipment must only be hired out, lent or passed on to persons who are familiar with this type of
equipment and its operation and who have read the operating instructions. Always ensure that you
hand over the operating instructions together with the device.
The device must not be altered in any way, as this could adversely affect the safety of the device and
potentially cause an accident or injury.
For transport in a vehicle, ensure the mistblower is well secured to avoid fuel spillage.
Completely empty the fuel tank before extended storage or shipment.
4.3 Personal protective equipment for your safety
Always wear appropriate clothing and protective equipment whenever this power tool is used.
Wear appropriate protective clothing which covers all body parts. This includes gloves, head
protection, foot protection, body protection and possibly an apron or breathing mask. Clothing should
suitable, i.e. tight without being obstructive.
Do not wear a scarf, necktie, jewellery or any clothing which can get caught on shrubs or branches.
Wear firm shoes with good traction, preferably safety shoes.
Wear protective gloves with non-slip grip.
Use personal ear protection (such as ear muffs, ear plugs or similar) and a face mask or safety
goggles to protect against spray drift or airborne debris.
Always wear a breathing mask when working in dense and tall plants, in greenhouses, in dips in the
ground or in trenches and when using dangerous spraying agents.
Any clothing soaked with spraying agents or petrol should be changed immediately.
Wash the work clothing regularly.

ENGLISH 4
4.4 Operating Hints
While running, the engine produces toxic exhaust gas which is odourless and invisible. Never start or
operate the machine in closed rooms. Ensure for adequate ventilation in confined areas such as
ditches or dips.
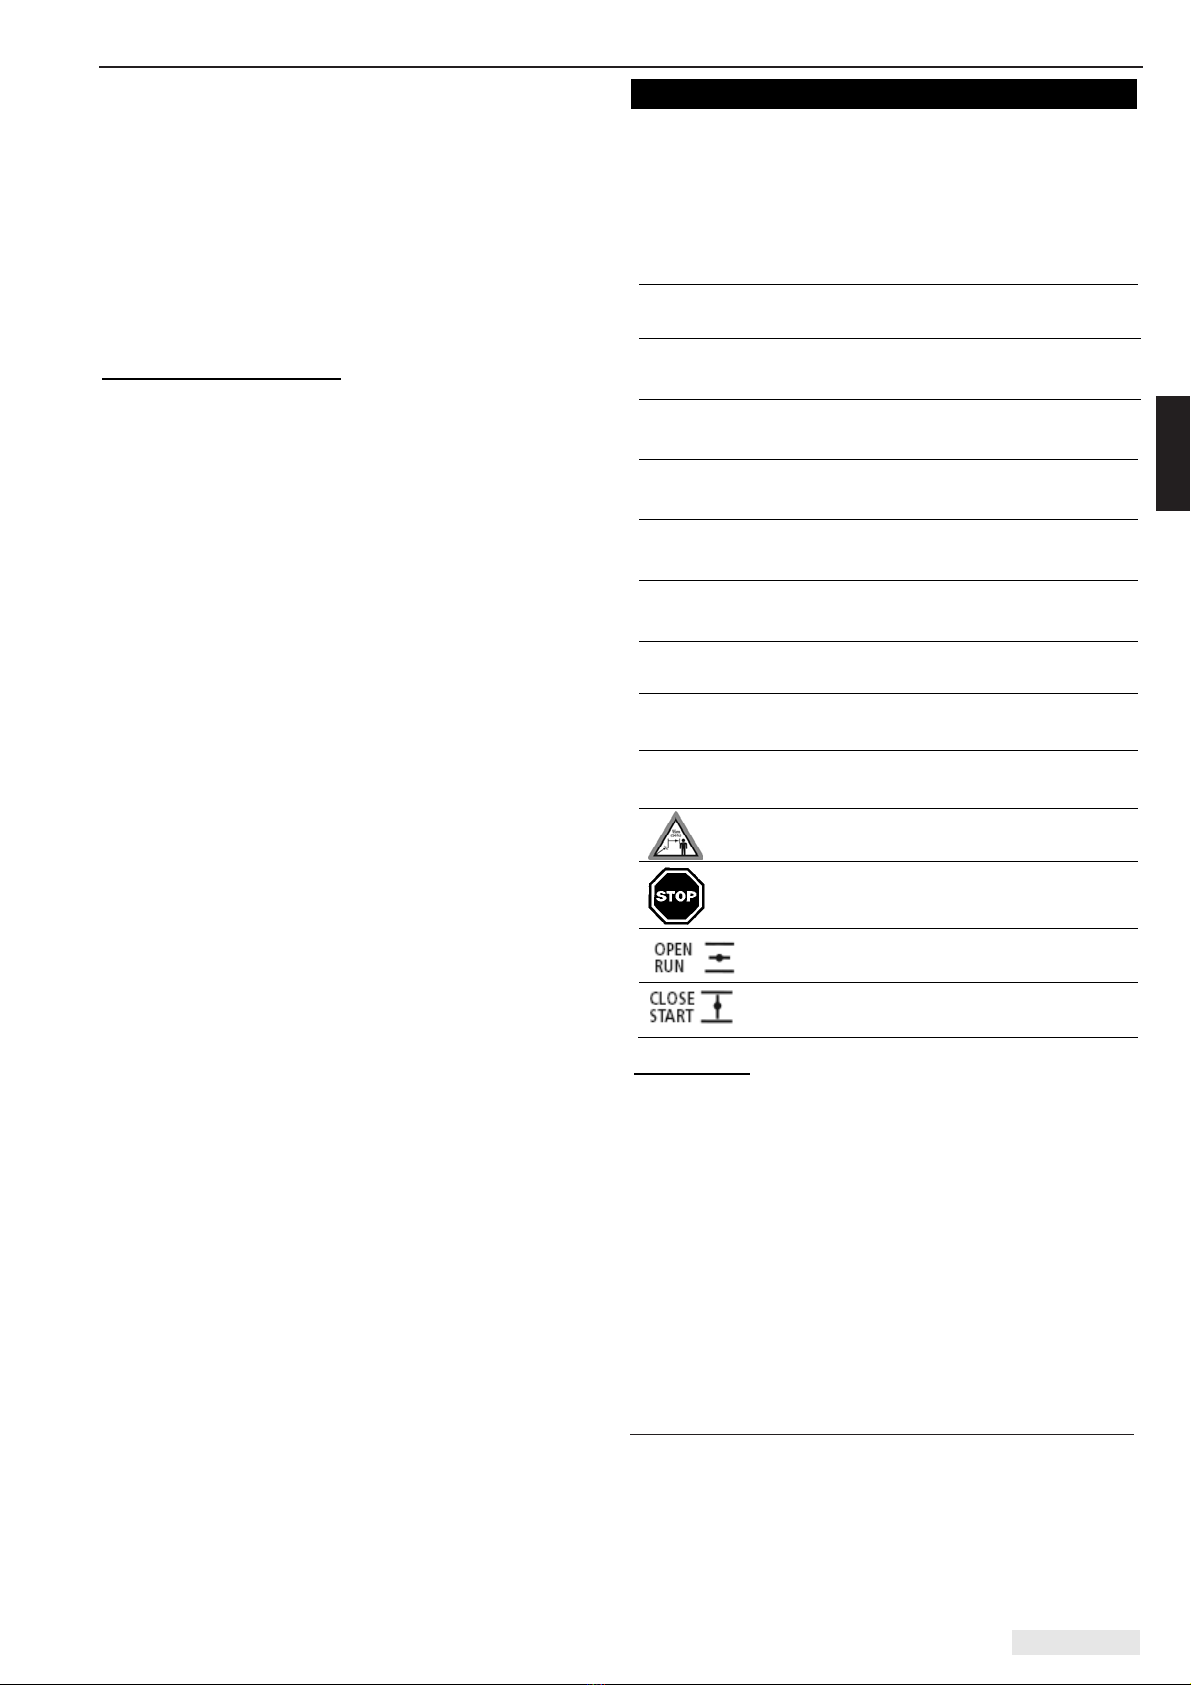
No other persons should be present within a circle of 15 meters from the operator.
Keep persons and animals away from areas in which you are working. Never spray in the direction of
other persons, animals or objects that could be damaged as a result. Bear in mind that the liquid
emerges at high speed from the spray tube. Objects could be kicked up as a result, and this could in
some cases represent a risk. The user is responsible for any hazards or accidents involving other
persons and/or their property.
Never operate on unstable ground. Watch out for any obstacles such as tree stumps, tree roots,
ditches, etc.
Take special care while working along slopes.
Never touch a hot exhaust.
4.5 Irregularities, incidents, accidents
In case of irregularities, leaks, visible damage or reduced efficiency, do not commence work, but leave
the unit from a dealer check.
When irregularity, leaks or malfunctions occur during operation, turn off the stop switch immediately
and put the machine on the ground immediately. The device may only be used again if it is checked by
a specialist workshop and the cause of the fault has been eradicated.
In case of serious disturbances or accidents during operation of the unit as smoke, strong odors from
the device or the device is in flames instantly remove the unit from your body and take a safe distance.
In case of fire, you have to call the fire department immediately.
4.6 Safe handling of spraying agents
Avoid contaminating the environment, the mains water supply and/or public sewer systems with
spraying agent or cleaner!
Ensure to avoid contamination when mixing, filling, using, draining, cleaning, servicing and transporting
by using adequate procedures and suitable containers.
Spraying agents and cleaners must never be allowed to enter the mains water supply – not even by
back-suction when filling, public sewer systems, sprayed onto wastelands, allowed to drain into natural
bodies of water or disposed of together with normal domestic waste. This also means that appropriate
care must be taken during filling to ensure that none of the spraying agent is drawn back into water
pipes. Spraying agents and cleaners and any unused leftovers of spraying agents and cleaners must
always be collected in a suitable container and disposed of via approved facilities for household
chemical waste. Please contact your local authorities for information about your nearest disposal
facilities.
Avoid any direct contact with spraying agents. In case of contact with harmful pesticides rinse the
affected body parts immediately with plenty of water, any clothing soaked with spraying agents should
be changed immediately, seek medical advice if needed.
Stop working immediately if you start to feel unwell while working, or if you become unusually tired.
Seek medical advice if the condition persists.
Never allow children or anybody who is not familiar with handling this type of spraying agent to handle
the spraying agent.
Clean the spraying agent tank and all other spraying agent carrying parts whenever the spraying agent
is changed. To flush out any residue from the agent tank and the hose, run the device with clean water
after cleaning the spraying agent tank and before the next spraying agent is filled in. This will prevent
the risk of any chemical reactions taking place between the different substances.
Never use the device in narrow or enclosed spaces – spraying agents are toxic and there is a risk of
poisoning. Spraying equipment must for example only be used in greenhouses if adequate ventilation
is provided. Signs must be put up in greenhouses that have been treated. Nobody should enter the
greenhouse again until it has been thoroughly ventilated.
When you have finished working, prepare the device for storage according to section 13.6 / section 14,
thoroughly wash your face and hands with soap, take off your work clothing and ensure that it is
washed regularly. Any unused spraying agent that is left over in the device could cause corrosion and
hence damage the device. Special attention must be paid to wearing parts like hoses, filters and seals.

ENGLISH 5
5. Important Components
Please obtain the following practical accessories from your SOLO Dealer:
6. Accessories Part No.
Dusting Attachment
A
llows conversion to dusting unit.. 49233
ULV-nozzle ULV-Nozzle with ULV dosage selector for application of minute
amounts of high concentrated substances (ultra-low volume
application technique), with dosage accuracy.
49480
Double Nozzle To broaden spray stream or to treat two rows simultaneously. 49137
Liquid Booster Pump Increases formula output and application range. 49117
Extension Tube 60 cm Multiple Combinations possible with use of Liquid Booster Pump 49333
Fig. 1 1. Tank lid / Filler
basket with filter
2. Formula tank
3. Formula outlet
4. Spark plug
5. Carburetor
6. Muffler
7. Starter handle
8. Air filter
9. Fuel tank cap
10. Choke
13. Liquid tap
14. Spray tube
15. Spray nozzle
16. Dosage sleeve
17. Throttle lever
18. Wide range
nozzle
20. Tank ventilation
21. Fuel tap

ENGLISH 6
7. Assembly of misting equipment
Completely assemble the mistblower before its
first use.
Affix spraying-attachments to unit as shown in Fig.
2 and 3. (Installation sequence from 1 to 6)
Make sure the elbow of the pleated hose is
pushed all the way over the welt on the blower
outlet. Then tighten the clamp securely
(Fig. 3, Pos. A).
Secure pleated hose to elbow with clamp
(Fig. 3, Pos. B).
Check hose connection to on/off tap and retighten
cap nut if required.
Shut on/off tap, fill some plain water in formula tank
and check for any leakage.
Note: The spray tube can be twisted and turned in
the pleated hose with the handle. Ensure that all
hose and cable connections are safe and without
sharp bends.
8. Carry straps
Thread the Velcro-strap through the provided slots
of the device backplate as illustrated to attach the
carry strap system.
Fig. 2
Fig. 4
Fig. 3
Fig. 5

ENGLISH 7
Fold the carrying system up and close the Velcro.
Latch the attachment rings to the provided tabs on
the side of the device housing at the two carry
strap ends each.
Screw the hip belt to the device backplate with two
screws and washers.
Take the device on your back for work and close
the chest strap and hip belt.
All belts are can be adjusted to the required length
with clamp sliders. Pulling the belt ends tensions
the straps.
Fig. 6
Fig. 7
Fig. 8
Fig. 9
Fig. 8b

ENGLISH 8
Lifting the clamp sliders loosens the straps again
Notice: Set the straps so that the backplate is
firmly and securely applied to the operator's back.
9. Fuel information
A high performance two-stroke engine operated
with a petrol:oil mixture (petrol + oil = fuel mixture)
or with a special fuel mixture for two-stroke
engines available from specialists powers this
machine.
We recommend the proprietary “Aspen 2-takt”
special fuel mixture. Please observe the special
fuel manufacturer’s instructions.
Information on individual mixing of the fuel mixture
The fuel mix must be formed from the following
components:
Lead-free regular petrol or lead-free super petrol
with a minimum octane number of 92 RON.
Branded 2-stroke engine oil corresponding to
the standard ISO-L-EGD or JASO FD
Recommendation:
Use the "SOLO Profi 2-stroke engine oil" at a
mixing ratio of oil:petrol of 1:50 (2 %).
Store the fuel mix no longer than 3 weeks.
Mix table for fuel mix:
Unsuitable petrol or deviations in the mixing ratio
may lead to serious engine damage!
Smoking or open flame is prohibited
Allow engine to cool before re-fuelling
Fuel may contain solvent-like substances.
Avoid skin and eye contact with mineral
products. Wear gloves while refueling.
Frequently change and clean protective
clothing. Do not inhale fuel vapors.
Do not spill fuel or oil. In case of spillage,
immediately wipe off mistblower. Do not allow
fuel mix to contact clothing. If fuel mix is spilled
on clothing, change clothing immediately.
Ensure fuel or oil do not contaminate soil
(environmental protection). Always use a
suitable protective soil cover.
Do not re-fuel in unventilated rooms. Fuel
vapors collect at ground level (danger of
explosion).
Transport and store fuel and oil only in
approved and clearly marked containers.
Children should have no access to fuel or oil.
Ensure you do not inhale exhaust fumes while
using the machine. The use of the motorized
mistblower is prohibited in closed rooms.
The handling of fuel requires caution and
consideration. It is imperative that all safety
instructions are observed! Only refuel when the
engine has been stopped!
Clean the area around filler inlet before
refueling.
Remove tank lid and fill fuel mix up to the lower
edge of the filler neck. Do not overfill. If
possible, always use a fuel funnel with filter.
Fill in card fully to avoid spilling of fuel or oil.
Replace and secure fuel tank lid.
10. Filling
When handling the spraying agents, always follow
the safety instructions of these operating
instructions (pay special attention to section 4.6)
and the information provided by the manufacturer
of the particular spraying agent.
Spraying agent volume:
Mix the spraying agents according to the
instructions provided by the manufacturer of the
spraying agent. Choose the appropriate volume
according to requirements.
Mixing spraying agents:
Only mix spraying agents out in the open. Never do
this inside living spaces, stables or in storage
spaces that are used for food or animal feed.
Never mix the spraying agent directly in the
spraying agent tank.
When using spraying agents that have been mixed
from herbal preparations, the liquid needs to be
pre-filtered.
Oil:petrol ratio = 1:50 (2 %)
Branded 2-stroke engine oil Petrol
20 ml 1 l
40 ml 2 l
100 ml 5 l
200 ml 10 l
Fig. 10

ENGLISH 9
For filling the equipment, always use the strainer
inside the filler neck and observe the filler area
through the filling process.
The strainer has a mesh size of 0.5 mm. Only use
original SOLO strainers, part no.: 15137 with
standard mesh size.
Avoid any direct contact of the filling hose and the
contents of the spraying agent tank.
Fill level markings are applied to the backside of
the spraying agent tank .
When filling up the tank, ensure that you do not fill
above the top marking (maximum fill volume).
Never allow the spraying agent tank to overflow or
public bodies of water, rainwater drains or sewage
drains to become contaminated.
Immediately wipe up any spilled spraying agent.
Identification of the tank
contents:
Attach the relevant
sticker to the spraying
agent tank to indicate the
contents of the tank (i.e.,
herbicide, fungicide or
insecticide).
The designation of the
spraying agent used has
to be attached to the
device and has to be
updated every time when
the spraying agent is
changed.
CAUTION:
Never fill different spraying agents into the
spraying agent tank without first thoroughly
cleaning the tank and all parts that come into
contact with the spraying agent and flushing the
system with plenty of clean water.
Never use aggressive, acid- or solvent-containing
cleaning agents (gasoline for example).
11. Starting / Stopping the engine
1. Open fuel valve (ON).
2. Push primer (Fig A) until float-chamber is filled
with fuel (only when engine is cold).
3. Open throttle lever to half position (Pos.
START).
4. Close choke (Fig. 7 - B)
only when engine is cold.
5. Hold the device down with your left hand. Place
a foot on the base additionally if necessary.
Start engine with recoil starter. DO NOT yank
starter suddenly; first pull starter rope until
pawls engage (resistance of recoil spring is
felt). Lead starter grip slowly back to starter
housing.
6. Open choke as soon as the engine fires
and "tries" to start. Repeat the starting
procedure if required.
Stopping the engine:
Push throttle lever past minimum (idling) position to
STOP position. Close fuel tap (OFF).
Fig. 11
Fig. 13
Fig. 12

ENGLISH 10
12. Operation hints
Before every use and before every start of the
mistblower check and ensure the machine is in
good and safe condition. (throttle operation,
ignition switch, safety devices, shoulder strap
and check for fuel leaks)
During the starting procedure and while
operating the mistblower, the operator must
have secure footing and have a safe body
position.
The engine starting site should be at least 3
meters away from the refueling site.
12.1 Spraying
To open on tap:
Move lever upwards into position "I".
To shut off tap:
Move lever into horizontal position "O". When
shutting tap, move lever slowly against spring
tension to position "0". Do not let the lever flick
back.
Note:
For spot spraying (treatment of single plants or
smaller area), push the lever momentarily into
position "2" (spot spraying).
The correct output is obtained according to
dosage-sleeve setting
When spraying predominantly upwards (tall trees)
we recommend using the liquid pump offered as
an accessory (part no.: 49117)
Misting Output Guide
Dosage
sleeve
A
*)
B C
Position 1 0.32 L/min 0.17 L/min 0.33 L/min
Position 2 0.63 L/min 0.31 L/min 0.54 L/min
Position 3 1.03 L/min 0.54 L/min 1.04 L/min
Position 4 1.46 L/min 0.65 L/min 1.42 L/min
*) The delivery values when using a liquid pump
(accessories) apply to every position of the spray
wand.
Note: The liquid pump attachment comprises a
special metering body, which should be installed
when using a liquid pump.
Please note: When using a liquid pump, ensure
that the tank contains sufficient liquid. The
liquid pump can sustain severe damage, if it is
permitted to run dry. When using the
equipment as a mister and as blower, remove
the pump for that reason.
When applying spraying agent, ensure by using
appropriate measures and procedures that the
unintended release of agent to other areas is
minimized and the drift to the surrounding areas
is prevented.
Always proceed with the greatest care when
spraying.
Never use the device under windy conditions or
if it is raining, as this would risk widespread
drifting of the spraying agent.
Check the wind direction before starting work
and select the spraying direction downwind of
the user.
It is best to perform spraying work in the morning
or evening, as it tends to be less windy then.
Ensure that you only wet what is in fact intended
to be covered with spraying agents.
Never spray the agent towards persons,
animals, open windows or doors, cars or
anything else that could be damaged by the
spraying agent.
Fig. 15
Fig. 14

ENGLISH 11
Spraying:
Approach the target object with the engine at
idling speed. Accelerate to full engine speed, then
open formula on-off tap.
Wide-range nozzle (18):
When spraying plants and trees we recommend
fixing the wide-range nozzle (18) onto the red
standard nozzle (15). This ensures that a large
area can be sprayed at one time. Push the wide-
range nozzle onto the standard nozzle, until the
bead engages.
In narrow spaces and for aftercare, we
recommend placing the wide-angle grille (18a)
onto the wide-range nozzle. This ensures that the
spray velocity is reduced and the spray is applied
more widespread, to prevent damage to leaves.
Nozzle attachment (19):
The nozzle attachment (19) is positioned onto the
standard nozzle (15) with the selected grille.
Use the dual grille (19a) when spraying cultures in
rows (e.g. vines, tomatoes, nurseries), to achieve
a good covering on the underside of the leaves.
The deflector grille can be replaced with a dual
grille (19b). The dual grille provides a 90° - 110°
spray pattern. The dual grille is usually used for
spraying two rows at a time. The deflector grille
and the dual grille can be placed onto the external
diameter of the nozzle, until the bead engages.
Dual nozzle (accessories, part no.: 49137):
Remove standard nozzle (15) from the spray wand
and push the dual nozzle onto the spray wand.
12.2 Residual spray medium
Switch off the appliance as soon as no further
liquid is expelled, when the metering body is
correctly positioned for spraying, or air bubbles are
visible inside the lance supply hose.
The tank will then contain less than 100 ml residual
medium.
If you don’t want to refill the tank with spray
medium and you want to terminate spraying, dilute
the residual medium with 2 l of water. Dispose of
this solution on the treated area.
12.3 Strainer for accessory sets
When using the liquid pump (accessory part no.:
49117) or the ULV accessory (part no.: 49480), a
strainer is integrated into the tank connector.
The strainer has a mesh size of 0.32 mm. Only use
original strainer part no.: 12289 with standard
mesh size when replacing the strainer.
12.4 Checking the spray medium flow rate
At the beginning of the spraying season, check
whether the equipment flow rate (l/min) still
corresponds to the „Guide values“ table.
For this, fill the equipment up to the maximum
marker with water, start using the equipment and
spray for one minute exactly at maximum operating
pressure. Then measure the water volume required
to bring the water level back up to the maximum
marker.
The actual volume measured represents the flow
rate of the equipment in l/min at maximum
operating pressure.
It should not deviate by more than 10 % from those
listed in the “Guide values” table. Should the actual
value be too low, sediments inside the metering
body may be the cause. Clean the corresponding
parts and repeat the checking procedure.
Fig. 18
Fig. 16
Fig. 17

ENGLISH 12
Should the actual value be too high, the metering
body may be worn or damaged. In that case,
replace the metering body with a new one (part
no.: 13008).
When using accessory sets (liquid pump part no.:
49117 or ULV accessory, part no.: 49480) a
strainer will be integrated into the tank connector.
In that case, an incorrect flow rate can also be due
to a contaminated or worn strainer.
Clean or replace the contaminated/worn strainer
(part no.: 12289).
13. Maintenance and care
Any cleaning, maintenance or repair jobs should
only be performed when the engine is stopped and
with removed spark plug cap.
The exception, of course, is carburetor tuning.
Any service jobs, other than those described in
this manual, should only be carried out by an
authorized service center. Only original parts may
be used for any maintenance and service work.
Never modify your motorized mistblower – your
personal safety is at risk.
Never service or store the machine near an open
flame.
Regularly check the fuel tank lid for sealing and
tank ventilation. Only use recommended spark
plugs. Check ignition cable for any damage.
After a running in period of approx. 5 hours, all
accessible screws and nuts (except for carburetor
mixture adjustment needles) have to be checked
and re-tightened if required.
Never operate a motorized mistblower with a
damaged muffler or without muffler (fire risk and
risk of damage to hearing). Do not touch hot
muffler.
13.1 Fuel tap
Remove the fuel cock at regular intervals to clean
the fuel strainer. - Make sure to keep the vent hole
of the fuel tank cap open at all times.
13.2 Formula Tank Lid
Watch seal of the spray tank lid and service by
lubricating the rubber gasket inside the lid. Failing
this, pressure built-up in the container is impaired
and dosage of emission becomes irregular.
13.3 Liquid Tap
Maintain the tap on a regular basis and apply oil or
grease. To disassemble the tap, twist the upper
part 1/4 turn to the left (anti-clockwise). Apply oil or
grease to the valve stem and o-ring, than re-
assemble. Replace o-ring if required.
13.4 Air Filter
The air filter separates and retains dirt before
the air reaches the combustion chamber. This
reduces engine wear.
Regular maintenance increases engine life.
Clogged air filters cause performance loss and
increased fuel consumption. This leads to a higher
toxin level in the exhaust gas and also makes
starting more difficult.
For daily cleaning:
Tap the air filter against an object or use an air
gun.
With heavy dust conditions and for normal weekly
check:
thoroughly clean the filter and replace filter if
damaged.
Cleaning of air filter
Before opening the air filter, close the choke to
prevent dirt entering the carburettor.
For removal of the air filter, remove filter cover
screw and filter cover.
When re-fitting, ensure the filter is positioned and
seated properly.
When the machine is used all day, the air filter
should be cleaned daily. In severe dust conditions
clean more often.
Simply tapping the filter against an object is the
best method of cleaning.
Wash a heavily soiled filter in non-flammable
cleaning solvents (warm soapy water).
Never insert moist or wet foam filters!
Immediately replace damaged filter parts.
Warranty claims cannot be accepted for damaged
engine parts caused by improper care and
maintenance.
Fig. 19

ENGLISH 13
13.5 Spark Plug
The correct spark plug with thermal range 145 is
available under the following brands:
BOSCH W8AC
Champion RL86C
The correct electrode gap is 0.5mm.
Caution: Check the plug after every 50
operating hours and replace if electrodes
are worn.
13.6 Storage Hints
If the unit is to be laid up or kept idle for any length
of time, proceed as follows:
a) Rinse and clean thoroughly. Never use formula
container of your mist blower for storing
chemicals.
b) Shut off fuel cock and keep engine running
until lines and carburetor are empty. Otherwise
gasoline evaporates, and the remaining
lubricant would clog the carburetor ducts.
c) Remove spark plug and squirt an ounce or two
of corrosion inhibitor (LPS, WD-40 etc.) or
plain engine oil into the cylinder. Crank engine
several times to spread the agent, and then
reinsert spark plug.
d) Please store your machine away from sunlight,
order to protect of the materials against
influence of ultraviolet radiations.
e) Before putting the unit back into service,
remove and clean spark plug; crank engine a
few times with plug removed.
For transport in a vehicle, ensure the
mistblower is well secured to avoid fuel
spillage.
Completely empty the fuel tank before extended
storage or shipment.
14. Draining and cleaning the tank
For cleaning purposes, the tank can be fully
drained into a suitable container via the supply
hose.
For this, the engine must be cooled down.
Position the equipment onto a stable higher
support, so that the spray medium can drain into a
suitable container below.
Above the container, pull the supply hose from the
shut-off valve.
If required, tip the equipment slightly to drain the
tank completely.
Ensure that the spray medium does not run over
the equipment (especially the engine), but drains
directly into the suitable container.
Dispose of residual spray medium correctly at
disposal sites licensed for specialised waste.
Empty the spray medium tank daily after work and
flush thoroughly with water.
Observe cleaning instructions supplied with the
herbicide/fungicide.
Occasionally clean the strainer inside the filler
neck, the strainer in the accessory set and all parts
in contact with the medium, with water and a soft
brush.
After cleaning, let the spray medium container dry
in an open state.
Fig. 20
Fig. 21

ENGLISH 14
15. Technical Specifications
Mistblower Port 423
Evolution
Port 423
Evolution MAX
Engine type SOLO single cylinder, two-cycle
Displacement cm372.3
Bore/Stroke mm 48/40
Powe
r
3.0 kW (4,1 HP / 5700 1/min
Carbureto
r
Float Type
Ignition electronically controlled magneto
ignition, maintenance-free
Fuel Tank Capacity l 1,4
Total Formula Tank Capacity l approx. 16 approx. 20
Nominal Formula Tank Capacity l 14 18
Max. Blower Air Volume. m3
/
h1400
Dimensions (without Spray Tube) height / width / depth cm 73
/
51
/
34 78 / 51 / 34
Weight - net mnet kg
-max. with full tank mtot kg
11.9
26.9
12.0
31.0
16. Maintenance Chart
Before any use
Daily
Weekly
After 5 hours
After 50 hours
As required
Carburetor check idling X
Air Filter clean
X
replace
X
Spark Plug adjust electrode gap
X
replace
X
Cooling air inlet clean
X
Cylinder Fins clean
X
Fuel Tank clean
X
All accessible screws
except for carburetor adj. screws)
retighten X
1)
X
Operating handle functional check
X
Overall Unit visual check
X
clean
X
(1) = one time

Made in Germany
SOLO Kleinmotoren GmbH
Industriestraße 9 D-71069 Sindelfingen
Postfach / PO Box 60 01 52 D-71050 Sindelfingen
DEUTSCHLAND / GERMANY
Tel.: +49 (0)7031 301-0 Fax: +49 (0)7031 301-202
Other manuals for Port 423
6
This manual suits for next models
1
Table of contents
Other Solo Blower manuals