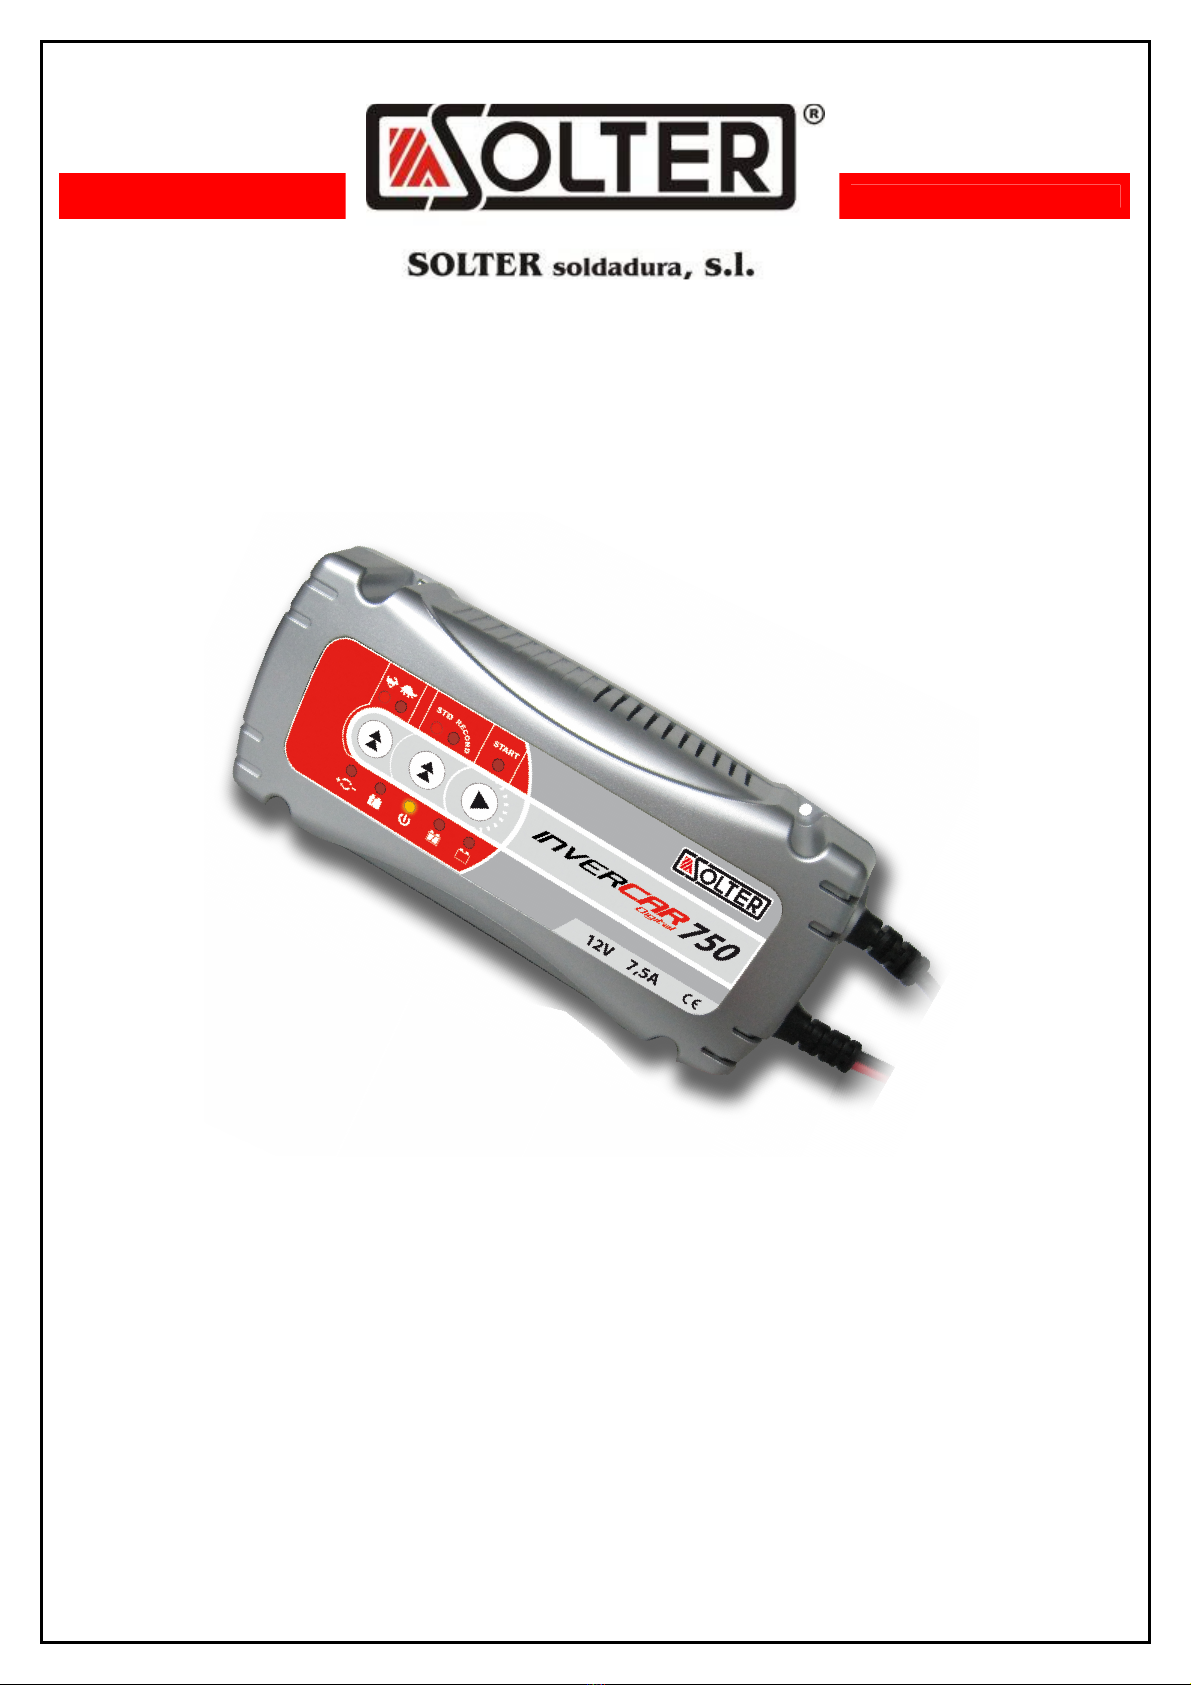
Solter INVERCAR 750 User manual
MI03065-02
CARGADOR DE BATERÍAS
BATTERY CHARGER
INVERCAR 750
LEA CUIDADOSAMENTE TODO EL MANUAL ANTES DE PONER EL PRODUCTO EN FUNCIONAMIENTO
READ ENTIRE MANUAL CAREFFULLY BEFORE OPERATING THE PRODUCT

MI03065-02
1- INSTRUCTIONS
Gases
When the battery is being charged you may notice bubbling in the fluid caused by the release of gas. As the gas
is flammable, make sure there isn't any type of flame or spark around the battery and the area should be kept
well ventilated. Because of this risk of explosive gas only connect and disconnect the battery leads when the
mains supply is disconnected.
Type of batteries
This charger is only suitable for normal lead acid, sealed, leisure, gel or deep cycle batteries and should not be
used to recharge NICAD or any other type of battery.
Points of note
•When not in use, store the charger in a dry area to avoid moisture damaging the transformer.
•Your Battery Charger is suitable for INDOOR USE ONLY. Keep away from liquids, rain and snow at
all times.
•This battery charger is not designed to be used as power supply.
Repair
•
The Battery Charger should not be opened. Any attempt at modification or repair by the user will entail the
loss of your guarantee.
•
The mains supply cord of this appliance cannot be replaced; if the cord is damaged, the
appliance should be discarded.
Danger
•
Avoid getting electrolyte on your skin or clothes. It is acidic and can cause burns. If this occurs you should rinse
the affected area with water immediately.
•
If it gets into your eyes, wash thoroughly and seek medical attention immediately.
•
Never charge a frozen battery. If battery fluid (electrolyte) becomes frozen, bring battery into
a warm area to allow battery to thaw before you begin charging. Never place a battery on top
of charger or vice versa.
•
Do not touch the battery clamps together when the charger is on.
•
Never operate charger if it has received a hard blow, been dropped, or otherwise damaged. Take it to a
qualified professional for inspection and repair.
•
Be sure to position the charger power cord to prevent it from being stepped on, tripped over,
or damaged.
•
Never pull out the plug by the cord when unplugging the charger. Pulling on the cord may cause damage
to the cord or the plug.
Precautions When Working with Batteries
•
If battery acid contacts skin or clothing, wash immediately with soap and water. If acid enters eye,
immediately flood eye with running cold water for at least 20 minutes and get medical attention
immediately.
•
Never smoke or allow a spark or flame in vicinity of battery or Engine.
•
Do not drop a metal tool on the battery. The resulting spark or short-circuit on the battery of other electrical
part may cause an explosion.
•
Remove personal metal items such as rings, bracelets, necklaces, and watches when working with a lead-
acid battery.
•
A lead-acid battery can produce a short-circuit current high enough to weld a ring or the like
to metal, causing severe burns.

MI03065-02
2- FEATURES
Automatic and Intelligent 5-Stage Charging Curve
The INVERCAR 750 is controlled by a 12-bit chargeSENSE microprocessor with 5-stage charging
characteristic for charging batteries automobiles, motorcycles, snow mobiles, tractors, personal watercraft,
boats etc. A microprocessor senses the condition of the battery and controls the regulator to provide the right
current and voltage to the battery (charging characteristic). This will give the best effect on charging and give
the longest life to battery.
Charging Characteristic:
1. Recond cycle battery mode
1. Soft Start: Initial battery test to determine battery condition. If the battery is severely discharged charger
will begin the Soft Start stage. Charging starts with reduced current until battery voltage reaches a
normal condition for charge.
2. Bulk: Major charging stage where the battery receives the majority of its charge. During this stage the
battery is brought to 75 - 80% of its charger. DFC1100 charger delivers maximum current until the
terminal voltage has risen to the full charge level for a normal battery.
3. Absorption: Completes the charge up to virtually 100% at a constant voltage. The current tapers off
until the current reached the minimum level.
4. Recond: Only with RECOND selected se añade el ciclo RECOND adds the RECOND cycle to the
charging cycle for deeply discharged battery.
5. Float (Maintenance):
1. For “STD” selection: The maintenance mode is charging at constant voltage, keeping the batteries at
100% charge. Normal charging mode is time-limited (max 10 days) while Float mode charges
indefinitely without damaging the battery.
2. For “DEEP” selection: The maintenance mode is using pulse charge. When the battery voltage
reaches upper limit(varied according to temperature), the charger will stop supplying power and until
the battery drops to 13,0V, it will supply constant current again until the battery reaches upper limit.
This will go in cycle until the charging process has been stopped manually. This keeps the battery in
perfect condition when it is not in use. The charger can be connected for months keeping the
batteries fresh.

MI03065-02
LED display
The unit is built-in with LED display for showing charger status:
1. REVERSE – RED LED – DC clamps are connected in reverse polarity.
2. FAULT - RED LED – Battery Fault.
3. POWER - YELLOW LED – The charger is connected to mains power.
4. CHARGING – AMBER LED – The charger is charging the battery.
5. FULL - GREEN LED – The battery is fully charged and the charger is in maintenance mode.
Temperature Compensation
A temperature sensor built in the housing of the unit will automatically adjust the charging voltage. A high
temperature environment will lower the voltage, and freezing condition is handled by higher voltage. A low
temperature heightens the output voltage, and hot condition is handled by lower voltage.
Voltage compensation
Because of some voltage drop in the cables, the actual voltage at the clamps of the battery can
be lower than the charger output voltage. A special circuitry inside the unit will monitor the true input voltage to
the battery and adjust the output voltage of the unit accordingly. This will maximize the charging efficiency.
Reverse-polarity protection
This unit offers reverse-polarity protection, the RED “REVERSE” LED will illuminate and the charging process
will not start. If this happens, unplug immediately from mains, connect the red HD75A clip to positive (+) battery
post, and black HD75A clip to negative (-) post, then plug into the mains power and the charging process will
start.
Short-circuit protection
Should you accidentally touch the HD75A clips together whilst the mains power is on, the unit will not perform
charging. Unplug from mains, disconnect and start the process again being careful not to touch the clips
together.
Hanging clip
The INVERCAR 750 is supplied with a (removable) steel hanging clip. With this clip it is easy to hang the
charger somewhere in your car or garage during charging or for storage.
Charger memory
In the event of a black-out or loss of AC power, the charger will automatically memorize the selected charging
mode. When AC power is restored, the charging will continue in the selected mode.
ATTENTION: Once the clamp of charger is disconnected from the battery, this memory is erased and the
charging mode will need to be reselected.
Other features
•Anti Spark Protection
•Battery and Charger Overheating Protection
•ABS Housing.
•Degree of Protection IP65
4
3
2
1
5

MI03065-02
3. OPERATION
PLEASE READ CAREFULLY BEFORE USIG
Suitable for 12V Normal Lead Acid, Sealed, Leisure or Gel Batteries between 14-160Ah.
1. Charging your battery
It is essential to disconnect the battery from the car. This will avoid possible damage to the alternator. To
avoid damage to the bodywork from possible spillage, remove the battery completely from the vehicle. It is
advisable to use gloves when handling the battery, as there is a high possibility of corrosive acid being on
the outside of the battery.
2. Preparing the battery
Firstly remove the caps from each cell and check that the level of the liquid is sufficient in each cell.
If it is below the recommended level, top up with de-ionized or distilled water.
Note: Under no circumstances should tap water be used.
The cell caps should not be replaced until charging is complete. This allows any gases formed during
charging to escape. It is inevitable that some minor escape of acid will occur during charging.
For permanently sealed battery, it is not necessary to carry out the above checks.
3. Reverse Polarity
If the DC battery clamps are connected improperly to the battery terminals, the reverse polarity LED will
indicate the reversed polarity. The battery charger’s warning buzzer will also sound. If this occurs simply
disconnect the battery charger from the AC power. Connect the DC clamps correctly to the battery
terminals. Reconnect the charger to the AC power.
4. Charging
The battery charger is now in the standby operating mode and the “SLOW”, “STD” and “POWER” LEDs are
illuminated. This is the standard charging mode and as soon as the START button is pressed, the charger
switches immediately into the 12V, 3A RMS, STANDARD battery charging mode.
If you require an alternative selection, proceed as follows:
Step 1
Select the desired charge current: “SLOW” (2 A DC) or “FAST” (7.5A DC).
Step 2
Select the battery type: “STD” or “RECOND”. STD indicates a common lead acid battery, calcium battery,
Maintenance Free battery, e.g. Gel Cell, VRLA, AGM & etc. RECOND stands for Deep Cycle batteries.
Step 3
Press the “START” button to begin charging the battery.
Battery Fault a few seconds after switching on to the operating mode, the LED indicator “FAULT” will illuminate
if the following occurs:
A- Low battery voltage - < 3 V
B- High battery voltage - > 15 V (12 V battery)
C- Battery short circuit or battery cell short circuit
Under these conditions, the battery charger will stop charging. In the event of A, B or C, the battery may be
defective and we advise you to consult your nearest battery service centre.
When the LED “FULL” illuminates, the battery is completely charged. The battery charger now switches to the
Float mode and doesn’t require your attention until the next time it is used. The INVERCAR 750 battery charger
will automatically maintain your battery.
Table of contents
Other Solter Batteries Charger manuals


