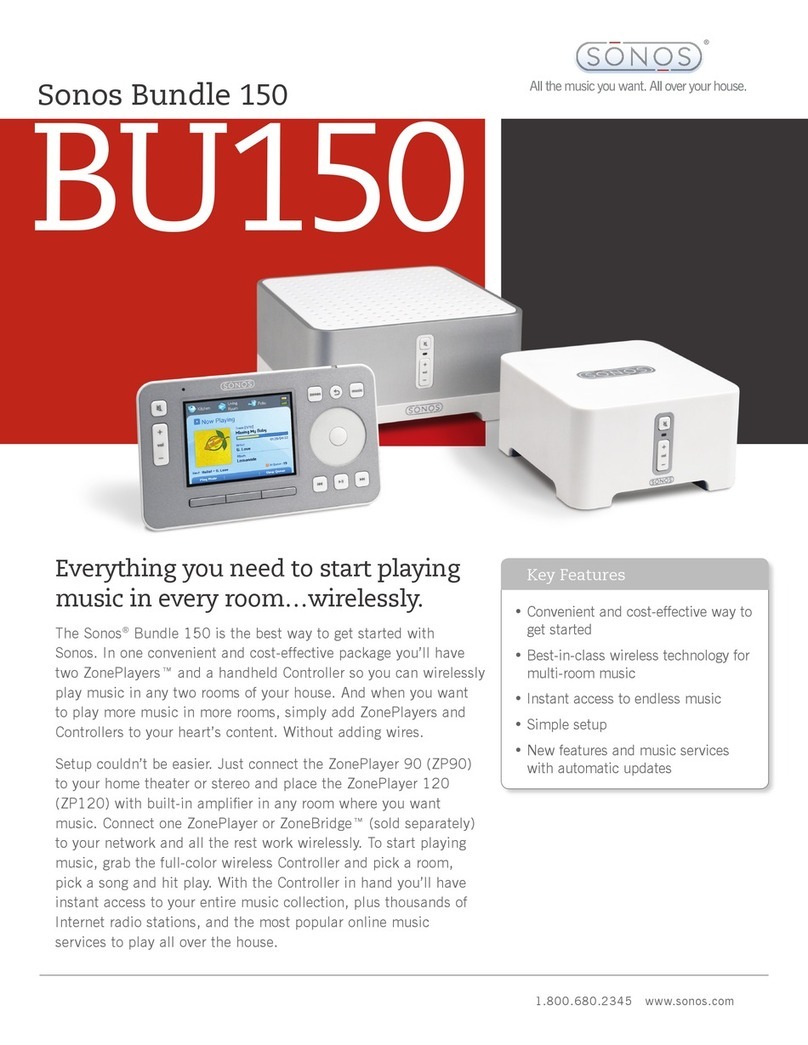
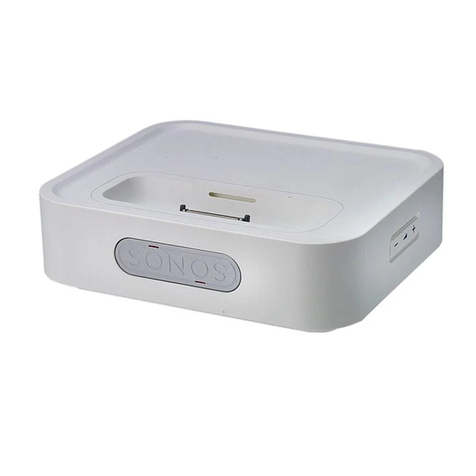
Sonos ZONEPLAYER 100 User manual

Sonos Digital Music System
Cradle
Setup Guide Guía de configuración Installatiehandleiding
Installationshandbuch Guide d'Installation Installationshandbok
TM

Sonos Charging Cradle Setup Guide 1
Sonos Charging Cradle (CC100) Setup Guide.
For use with the Sonos Digital Music System.
THIS DOCUMENT CONTAINS INFORMATION THAT IS SUBJECT TO CHANGE WITHOUT NOTICE. No part of this publication
may be reproduced or transmitted in any form or by any means, electronic or mechanical, including but notlimited to
photocopying, recording, information retrieval systems, or computer network without the written permission of Sonos, Inc.
Sonos, Sonosnet, and all Sonos logos are trademarks of Sonos, Inc.
All other products and services mentioned may be trademarks or service marks of their respective owners.
© 2004-2005 by Sonos, Inc. All rights reserved.
Version: 050801
August, 2005
Recycling Information
This symbol on the product or on its packaging indicates that this product shall not be treated as household
waste. Instead please deliver it to the applicable collection point for the recycling of electrical and electronic
equipment. By recycling this product correctly, you will help conserve natural resources and prevent
potential negative environmental consequences. For more detailed information about recycling of this
product, please contact your local city office, your household waste disposal service or the shop where you
purchased the product.
TM

Sonos Charging Cradle Setup Guide2
The Sonos Charging Cradle
• Conveniently designed for use with your Controller’s existing AC adapter.
• Can be wall-mounted or placed on a desktop; Controller is fully functional while in the cradle.
• Store Controller in the cradle when not in use for continual charging, or place into the cradle
when the Battery Charge Indicator on the Controller indicates it is time for recharging.
Die Sonos-Ladestation
• Praktisches Design für das zum Controller gehörige Wechselstromnetzteil.
• Mit Wandaufhängung oder für den Schreibtisch; der Controller ist auch in der Ladestation
voll betriebsfähig.
• Bewahren Sie den Controller in der Station auf, solange er nicht verwendet wird, um ihn fort-
laufend zu laden, oder setzen Sie ihn in die Ladestation, wenn die Anzeige zum Akkulade-
status am Controller darauf hinweist, dass er geladen werden muss.
Het Sonos oplaadstation
• Speciaal ontworpen voor gebruik met de lichtnetadapter van uw Controller.
• Kan aan de muur of op het bureaublad. Alle Controller-functies zijn beschikbaar in het
oplaadstation.
• Berg de Controller op in het oplaadstation wanneer deze niet in gebruik is voor continu opla-
den of zet de Controller in het station wanneer de indicator voor de batterijlading aan-
geeft dat het tijd is om opnieuw op te laden.
Sonos laddare
• Konstruerad för att smidigt kunna användas med din Controllers nätadapter.
• Kan väggmonteras eller ställas på bordet, Controllern fungerar som vanligt i laddaren.
• Sätt Controllern i laddaren när den inte används, eller sätt den i laddaren när batteriets
laddningsindikator på Controllern visar att det är dags för laddning.
Le socle de charge Sonos
• Ingénieusement conçu pour être utilisé avec l'adaptateur CA existant de votre contrôleur.
• Peut être monté au mur ou placé sur un bureau ; même dans son socle, le contrôleur reste en-
tièrement opérationnel.
• Rangez le contrôleur hors utilisation dans le socle pour le charger en continu ou mettez-le
dans le socle quand l'indicateur de charge de la batterie situé sur le contrôleur indique
qu'il est temps de procéder à une recharge.
Receptáculo de carga Sonos
• Diseñado para el cómodo uso con el adaptador de CA proporcionado con el Controller.
• Colóquelo en la pared o en un escritorio, el Controller funciona normalmente cuando está en
el receptáculo.
• Guarde el Controller en el receptáculo si no lo está utilizando para que se cargue de forma
continua o colóquelo en el receptáculo si el indicador de carga de la batería del
Controller señala que debe volver a cargar la misma.

Sonos Charging Cradle Setup Guide 3
For Additional Information
•For the latest Sonos Digital Music System product information, go to http://www.sonos.com.
•For product service and support, go to http://support.sonos.com.
• For additional user documentation, see Sonos System Help, the online help system packaged
with your Desktop Controller software.
Weitere Informationen
•Die neuesten Produktinformationen zum Sonos Digital Music System finden Sie unter
http://www.sonos.com.
•Informationen zu Service und Support finden Sie unter http://support.sonos.com.
• Weitere Benutzerdokumente finden Sie in der Sonos-Systemhilfe, dem in der Desktop-
Controller-Software enthaltenen Onlinehilfesystem.
Voor meer informatie
•Voor het laatste productnieuws voor Sonos Digital Music System gaat u naar
http://www.sonos.com.
•Voor service en ondersteuning gaat u naar http://support.sonos.com.
• Voor aanvullende gebruikersdocumentatie raadpleegt u de Sonos-systeemhelp, het on line
Help-systeem dat wordt geleverd bij de software voor uw Desktop Controller.
För ytterligare information
• För den senaste informationen om produkterna från Sonos Digital Music System, gå till
http://www.sonos.com.
•För produktservice och support, gå till http://support.sonos.com.
• För ytterligare dokumentation, se SonosSystemHelp hjälpsystemet online som medföljer pro-
grammet Desktop Controller.
Informations supplémentaires
• Pour obtenir les dernières informations produit concernant le lecteur de musique
numérique Sonos, visitez le site http://www.sonos.com.
•Pour obtenir tout service et support technique concernant le produit, visitez le site
http://support.sonos.com.
• Pour obtenir de la documentation utilisateur supplémentaire, consultez Sonos System Help, le
système d’aide en ligne fourni avec votre logiciel Desktop Controller.
Información adicional
• Para obtener la información más reciente sobre el producto Sonos Digital Music System,
visite http://www.sonos.com.
•Para recibir servicio y asistencia, visite http://support.sonos.com.
• Para obtener documentación de usuario adicional, consulte Sonos System Help, el cual es el
sistema de ayuda en línea incluido con el software Desktop Controller.
Sonos Charging Cradle Setup Guide4
Connecting the Cradle
1
2
3

Sonos Charging Cradle Setup Guide 5
Connecting the Cradle
1. Plug the power cable from your Controller’s AC adapter into the cradle as shown.
2. Thread the cable through the slot at the bottom of the cradle, and then plug into an
electrical outlet.
3. Place the Controller firmly into the cradle.
Anschließen der Ladestation
1. Stecken Sie das Netzkabel des Wechselstromnetzteils Ihres Controllers wie in der Abbildung
gezeigt in die Ladestation ein.
2. Führen Sie das Kabel durch die Auslassung auf der Unterseite der Ladestation, und schließen
Sie es an eine Steckdose an.
3. Setzen Sie den Controller fest in die Ladestation ein.
Het oplaadstation aansluiten
1. Sluit de stroomkabel van de lichtnetadapter van de controller aan op het oplaadstation (zie
afbeelding).
2. Leid de kabel door de sleuf aan de onderkant van het station en steek de stekker in een
stopcontact.
3. Steek de Controller stevig in het oplaadstation.
Ansluta laddaren
1. Plugga in nätkabeln från Controllerns nätadapter i laddaren som visas.
2. Trä kabeln igenom spåret i laddaren botten och anslut sedan till nätet.
3. Placera Controllern stadigt i laddaren.
Branchement du socle
1. Branchez le câble d'alimentation de l'adaptateur CA de votre contrôleur au socle comme
illustré.
2. Enfilez le câble dans la fente située au bas du socle, puis branchez à une prise de courant
électrique.
3. Fixez le contrôleur dans le socle.
Conexión del receptáculo
1. Enchufe el cable de alimentación del adaptador de CA del Controller al receptáculo, tal como
se ilustra.
2. Coloque el cable a través de la ranura de la parte inferior del receptáculo y enchúfelo al
tomacorriente eléctrico.
3. Coloque el Controller firmemente en el receptáculo.

Sonos Charging Cradle Setup Guide6
Wall Mounting
1
2
4
3

Sonos Charging Cradle Setup Guide 7
Wall Mounting Instructions
1. Position and level the cradle bracket on the wall, and mark the mounting hole locations.
2. If drilling into drywall, use a drill size 7/32 inch or 5 mm to drill holes for the drywall anchors,
and then insert the anchors so they are flush with the wall surface.
3. Fasten the cradle bracket to the wall using M3.5 x 25mm anchor screws (supplied).
4. Run power to the cradle (see "Connecting the Cradle" on page 5) and then snap the cradle
onto the wall bracket.
Anleitungen zur Wandaufhängung
1. Positionieren Sie die Halterung der Ladestation auf der Wand, und markieren Sie die
Bohrlöcher für die Schrauben.
2. Wenn Sie in eine Wandverkleidung bohren, verwenden Sie einen Bohrer der Größe 5 mm,
um Löcher für die Dübel zu bohren, und setzen Sie die Dübel so weit ein, dass sie mit der
Wandoberfläche abschließen.
3. Befestigen Sie die Halterung der Ladestation mithilfe der mitgelieferten M3,5 x 25 mm
Dübelschrauben an der Wand.
4. Führen Sie das Stromkabel durch die Ladestation (siehe "Anschließen der Ladestation" auf
Seite 5), und setzen Sie sie in die Wandhalterung ein.
Aan de muur hangen – Instructies
1. Houd de beugel voor het station waterpas tegen de muur en markeer de plaats van de
gaten.
2. Als u boort in drywall (zoals gebruikelijk in de VS), gebruikt u een boor van 5 mm om gaten
voor de pluggen te boren en steekt u de pluggen helemaal in de gaten.
3. Bevestig de beugel aan de muur met de meegeleverde 3,5 x 25 mm schroeven.
4. Sluit het oplaadstation aan op het lichtnet (zie "Het oplaadstation aansluiten" op pagina 5)
en klem het station vast aan de beugel.
Instruktioner för väggmontering
1. Placera väggfästet vågrätt på önskad plats på väggen, markera hålen placering.
2. Om du borrar i en gipsvägg, använd ett borr storlek 5mm för att borra hålen till pluggarna,
sätt sedan in pluggarna så att de är jämna med väggytan.
3. Använd M3,5 x 25mm skruvar för att montera fästet på väggen (medföljer).
4. Dra fram strömmen till laddaren (se "Ansluta laddaren" på sida 5) och sätt sedan fast
laddaren på väggfästet.

Sonos Charging Cradle Setup Guide8
Instructions de montage au mur
1. Positionnez et mettez à niveau le support du socle de charge, puis repérez les
emplacements des trous de montage.
2. Si vous percez dans une cloison sèche, utilisez un foret de taille 5mm pour percer les trous
destinés aux chevilles pour cloison sèche, puis insérez les chevilles de manière à ce qu'elles
soient en affleurement avec la surface du mur.
3. Fixez le support du socle de charge au mur à l'aide de vis de cheville M3.5 x 25mm (fournies).
4. Mettez le socle de charge sous tension (voir "Branchement du socle" à la page 5), puis clipsez
le socle sur le support mural.
Instrucciones para el montaje en pared
1. Coloque y nivele el soporte del receptáculo en la pared, y marque la ubicación de los
agujeros de montaje.
2. Si va a taladrar en una pared de mampostería sin mortero, utilice un taladro de tamaño 5mm
al taladrar los agujeros para las zapatas de los tornillos y luego inserte las zapatas
completamente en la pared.
3. Ajuste el soporte del receptáculo en la pared con los tornillos de zapata de M3,5 x 25mm
(incluidos).
4. Aplique la alimentación al receptáculo (véase "Conexión del receptáculo" en la página 5) y
coloque el receptáculo en el soporte de pared.

Sonos, Inc.
www.sonos.com
1.800.680.2345
Other manuals for ZONEPLAYER 100
8
Table of contents
Other Sonos Docking Station manuals

Sonos
Sonos PLAY:3 User manual

Sonos
Sonos WIRELESS DOCK User manual

Sonos
Sonos WIRELESS DOCK User manual

Sonos
Sonos WD100 User manual

Sonos
Sonos WIRELESS DOCK User manual

Sonos
Sonos Multi-Room Music System User manual

Sonos
Sonos WIRELESS DOCK User manual

Sonos
Sonos WIRELESS DOCK User manual

Sonos
Sonos Multi-Room Music System Manual
Popular Docking Station manuals by other brands

StarTech.com
StarTech.com 8STSATDOCK5U3ER quick start guide

Onkyo
Onkyo ND-S1 instruction manual

BASETech
BASETech BT-Docking-02 operating instructions

i Display
i Display Six Cell Docking Station user manual

Panasonic
Panasonic FZ-VEBQ11U operating instructions

Acoustic Research
Acoustic Research ARS20i user manual