manuals.online logo
Brands
  1. Home
  2. •
  3. Brands
  4. •
  5. Sony
  6. •
  7. 3D Glasses
  8. •
  9. Sony HMZ-T1 User guide

Sony HMZ-T1 User guide

HMZ-T1 4-297-825-61(1)
1
Connect a playback equipment and a TV.
3
Connect the mains lead and plug it in.
2
Connect the head mounted unit.
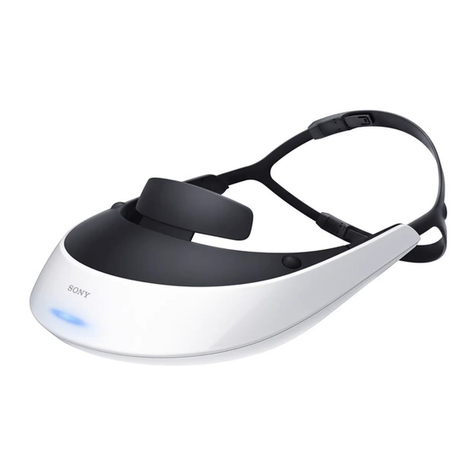
Head mounted unit
Processor unit (Front)
Enjoy Video in Four Steps
By design, the system will oer an impressive experience only after you take
a moment to adjust it to t you well. Conrm the following steps and prepare
for use before enjoying content with this system.
1Connect
2Wear Adjust the head mounted unit correctly.
Adjust the head mounted unit securely to your head, so that the
display stays directly in front of your eyes.
3Set Up Adjust the lens span correctly.
The distance between
the centres of the pupils
Wide Narrow
The distance between pupils varies from person to person. Wear the
head mounted unit correctly and adjust the lens span to the correct
width to align images on the left and right lenses and form images.
4Enjoy
What’s in the box
Head mounted unit Processor unit HDMI cable (1) Accessories Mains lead (1)
Head Mounted Display
Startup Guide
HMZ-T1
Before use, also refer to “Health Precautions” and
“Precautions” in the “Reference Guide.”
4-297-825-61(1)
1Connect
HDMI
IN
TV
HDMI
OUT
Blu-ray DiscTM player
Game console
Playback Equipment
Processor unit (Back)
4
Turn the playback equipment on.
© 2011 Sony Corporation Printed in Japan
If your playback equipment has only one
HDMI OUT jack and you also want to
watch content from it on a TV, connect it
to the processor unit with the supplied
High-Speed HDMI cable, and connect
the processor unit to the TV with another
High-Speed HDMI cable (recommended
cable length: up to 5 m).
Notes
Make sure to set “HDMI pass-through” to
“On” in the “General Setup” menu when
connecting a TV or other display device.
Make sure that the system is in standby
mode when watching content on a
connected TV or other display device.
HDMI cable (supplied)
To mains
Adjustable Parts
Top headband strap
Bottom headband strap
Headband, release button
If you normally wear glasses or contact lenses, wear them as usual during use (with the exception of reading
glasses). Note that watching with bifocals may be less than optimal.
1
Pull out the headband.
On one side after another, hold the band release button
down and loosen the headband.
2
Turn the system on ().
The power indicator on the processor unit is now
lit in green.
3
Bring the headband strap down around
the back of your head.
Lower the bottom headband strap to the base of your head.
4
Straighten the unit
on your head.
Straighten the front of the unit, so
that it is not tilted downward.
5
Tighten the headband gently.
Gently tighten the headband, evenly on both sides. If the top
or bottom headband strap is too loose, adjust the length.
6
Adjust the position on your head.
Carefully adjust the unit left and right (and up and down, as
needed) to nd the best position for viewing the centre of
the screens.
7
Tighten the headband securely.
Support the unit with both the forehead supporter and
the bottom headband strap. Do not support the unit
with the bridge of your nose.
Fasten it to keep it level on your head.
Note
If the unit tips forward, lower the bottom headband strap to
balance the unit on your head.
8
Adjust the headphones.
Move the headphones forward, back, up, or down to position
them over your ears.
1
Select a display language (rst time
only).
Press the /button to select a
language, and then press the MENU or
button.
2
Adjust the lens span.
Hold the lens span adjusters on both sides and slide
them together until you can see the screen clearly. After
adjustment, press the MENU button or button.
Note
If you cannot see the screen clearly after lens span
adjustment, start over from “2 Wear.”
3
Check display alignment.
Conrm that all three“”marks and the horizontal line
intersect, and then press the MENU or button.
It is acceptable if the “” marks and the horizontal line
intersect in a position other than the centre of the screen.
Note
If even one of the “”marks and the horizontal line do
not intersect, stop using the system. For details, see the
“Reference Guide.”
4
Follow the instructions displayed.
After reading the information, press the MENU or 
button.
All three “” marks and the horizontal
line intersect.
More than one of the “”marks and the
horizontal line do not intersect.
Control playback from compatible playback sources.
Controlling Playback from the Unit
For details on conguring menu settings and attaching accessories, see the
“Reference Guide.”
2Wear Wearing the unit will prevent you from seeing outside the display. Before you put it on, take a moment to review steps 2 – 4
(Wear, Set up, and Enjoy), so that you know the sequence of operations.
3Set Up Follow the instructions displayed on the
screen for operations. 4Enjoy
To remove the head mounted unit
Hold the band release buttons on both sides and pull the unit
forward as you lift it o.
Notes
The system cannot be used for advanced
playback equipment control, such as menu
operations.
Control using these buttons is only possible
when the “Control for HDMI” in“General Setup”
is set to “On” (default setting).
Some playback equipment cannot be
controlled using the head mounted unit
buttons.
Play
Fast-forward
Hold the button down to jump
to the next chapter.
Pause
Power on/standby
Hold the button down to
enter standby mode.
Fast-rewind
Hold the button down
to jump to the previous
chapter.
Volume
GB
CT
HMZ-T1 4-297-825-61(1)
3
連接交流電源線並將其插入電源插座。
2
連接頭戴式顯示器螢幕。
頭戴式顯示器螢幕
訊號處理器(正面)
四個步驟享受視頻
根據設計,只有在花一點時間按自己的需要調整系統之後,系統才能提供
令人印象深刻的觀賞經驗。以本系統享受影像內容之前,請確認下列步驟
並進行使用前的準備工作。
1連接
2配戴 正確的調整頭戴式顯示器螢幕。
調整頭戴式顯示器螢幕令其牢靠地戴在頭上,使得顯示位於眼睛的
正前方。
3設定 正確的調整鏡片間距。
瞳孔中心之間
的距離
 寬 窄
瞳孔之間的距離因人而異。正確的配戴頭戴式顯示器螢幕,並將
鏡頭間距調整至正確的寬度,以便對齊左右鏡片上的影像並形成
影像。
4享受
盒子裡有哪些東西
頭戴式顯示器螢幕 訊號處理器 HDMI纜線(1) 配件 交流電源線(1)
Head Mounted Display
入門指南
HMZ-T1
使用之前,另請參考“參考指南”中的“健康注意事項”與“注意事項”。
1連接
1
連接播放設備與電視機。
HDMI
IN
電視機
HDMI
OUT

Blu-rayDiscTM播放機
遊戲控制台
播放設備
訊號處理器(背面)
4
開啟播放設備。
如果您的播放設備只有一個HDMIOUT插
孔,而且您也想要在電視機上觀賞其
內容,請用隨附的高速HDMI纜線將其連
接到訊號處理器,然後用另一條高速
HDMI纜線(建議的纜線長度:最長5公
尺)將訊號處理器連接到電視機。
附註
連接電視機或其他顯示裝置時,務必要
將“GeneralSetup”選單中的“HDMI
pass-through”設定為“On”。
在外接電視或其他顯示裝置上觀賞內容
時,請確認系統是處於待機模式中。
可以調整的部分
上頭帶
下頭帶
頭帶,釋放按鈕
如果您平常有戴眼鏡或隱形眼鏡,使用時請像平常一樣戴著(老花眼鏡除外)。請注意,用雙焦點眼鏡觀賞的
效果可能不是非常好。
1
將頭帶拉出來。
逐一按住頭帶釋放按鈕,將頭帶放鬆。
2
開啟系統()。
現在訊號處理器上的電源指示燈會點亮綠燈。
3
將頭帶往下推到頭的後面。
將下頭帶往下推到後腦杓底下。
4
將頭上的顯示器螢
幕扶正。
將顯示器螢幕的正面扶正,
令其不會向下傾斜。
5
柔和地束緊頭帶。
緩和地束緊頭帶,兩邊要平均。如果上頭帶或下頭帶太
鬆,調整其長度。
6
調整顯示器螢幕在頭上的位置。
將顯示器螢幕向左右(以及視需要向上下)調整,以找出
觀賞畫面中央的最佳位置。
7
牢靠地束緊頭帶。
請用額頭支撐器和下頭帶支撐顯示器螢幕。而不要用
您的鼻梁支撐顯示器螢幕。
束緊時要令其在您的頭上保持水平狀態。
附註
如果顯示器螢幕向前傾斜,請降低下頭帶,好讓顯示器螢幕
在您的頭上保持平衡。
8
調整耳機。
將耳機往前、後、上或下移動,以便將其安置於耳朵上
面。
1
選擇顯示語言(只有在首次使用
時)。
按/按鈕以選擇一種語言,然後按
MENU或按鈕。
2
調整鏡片間距。
按住兩邊的鏡片間距調整器將其推在一起,直到您可以
看清楚畫面為止。調整之後,請按MENU按鈕或按鈕。
附註
調整鏡片間距之後,如果無法看清楚畫面,請從“2配
戴”重新開始。
3
檢查顯示的對齊情形。
確認三個“”符號全都與水平線相交,然後按MENU或
按鈕。
“”符號不是在畫面中央的位置與水平線相交也可
以。
附註
如果有一個“”符號沒有與水平線相交,請停止使用系
統。詳情請參閱“參考指南”。
4
請按照顯示出來的指示進行。
閱讀資訊之後,按MENU或按鈕。
三個“”符號全都與水平線相交。
有一個以上的“”符號沒有與水平
線相交。
從相容的播放來源控制播放。
從本機控制播放設備
關於配置選單設定與安裝配件的詳細資訊,請參閱“參考指南”。
2配戴 配戴顯示器螢幕會讓您看不到顯示器以外的世界。配戴之前,請花一點時間複習步驟2–4(配戴、設定與享受),以便熟知
操作順序。
3設定 按照螢幕上的指示進行操作。 4享受
若要取下頭戴式顯示器螢幕
按住兩邊的釋放按鈕,將顯示器螢幕往前方拉脫下來。
附註
系統不能用於進階的播放設備控制,例如選
單的操作。
只有在“GeneralSetup”中將“Control
forHDMI”設定為“On”(預設的設定)
時,才可以使用這些按鈕控制。
有些播放設備不能用頭戴式顯示器螢幕的按
鈕控制。
HDMI纜線(附件)
通往牆上的電源插座
播放
快速前進
按住按鈕跳至下一章。
暫停
開機/待機
按住按鈕以進入待機模式。
快速倒轉
按住按鈕以跳至上一章。
音量

Other manuals for HMZ-T1

5

Other Sony 3D Glasses manuals

Sony HMZ-T2 User manual

Sony

Sony HMZ-T2 User manual

Sony TDG-BR250 User manual

Sony

Sony TDG-BR250 User manual

Sony STW-C140GI User manual

Sony

Sony STW-C140GI User manual

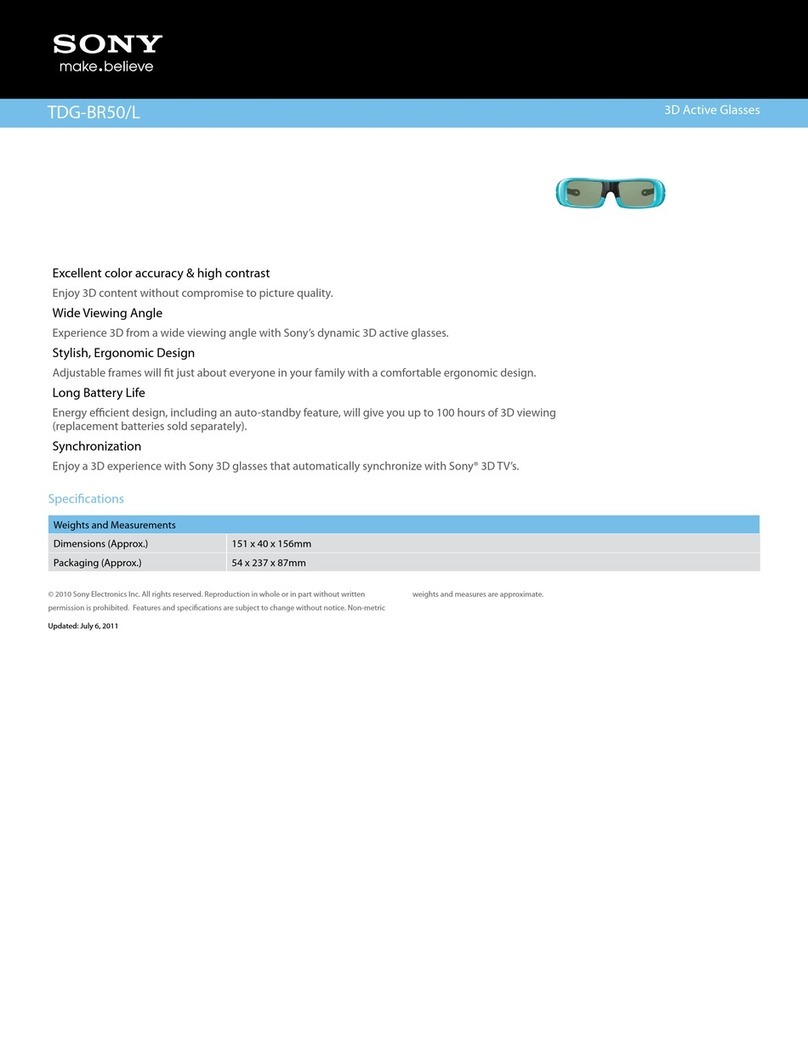
Sony TDG-BR50/L User manual

Sony

Sony TDG-BR50/L User manual

Sony TDGBT500A User manual

Sony

Sony TDGBT500A User manual

Sony SimulView TDG-SV5P User manual

Sony

Sony SimulView TDG-SV5P User manual

Sony TDG-BR100 User manual

Sony

Sony TDG-BR100 User manual

Sony TDG-BR50/B User manual

Sony

Sony TDG-BR50/B User manual

Sony TDG-PJ1 User manual

Sony

Sony TDG-PJ1 User manual

Sony PLM-A55E User manual

Sony

Sony PLM-A55E User manual

Sony SmartEyeglass SED-E1 Service manual

Sony

Sony SmartEyeglass SED-E1 Service manual

Sony BKM-30GM User manual

Sony

Sony BKM-30GM User manual

Sony HMZ-T2 User guide

Sony

Sony HMZ-T2 User guide

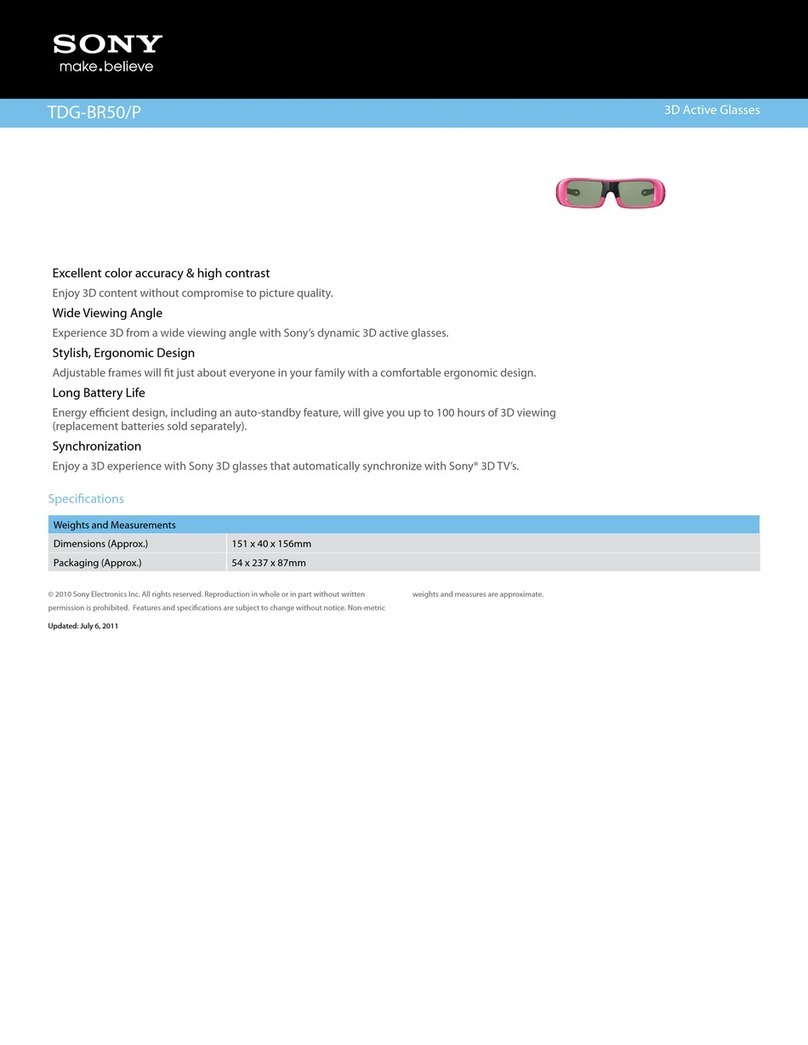
Sony TDG-BR50/P User manual

Sony

Sony TDG-BR50/P User manual

Sony BKM-30G User manual

Sony

Sony BKM-30G User manual

Sony HMZ-T1 Quick start guide

Sony

Sony HMZ-T1 Quick start guide

Sony TDG-BR100/B User manual

Sony

Sony TDG-BR100/B User manual

Sony TDG-BR100 User manual

Sony

Sony TDG-BR100 User manual

Sony HMZ-T1 Use and maintenance manual

Sony

Sony HMZ-T1 Use and maintenance manual

Sony TDG-BR250 User manual

Sony

Sony TDG-BR250 User manual

Sony HMZ-T1 User manual

Sony

Sony HMZ-T1 User manual

Sony TDG-BR100 User manual

Sony

Sony TDG-BR100 User manual

Sony TDGBT500A User manual

Sony

Sony TDGBT500A User manual

Sony BKM-31GM User manual

Sony

Sony BKM-31GM User manual

Popular 3D Glasses manuals by other brands

Panasonic TY-ER3D4ME operating instructions

Panasonic

Panasonic TY-ER3D4ME operating instructions

Toshiba FPT-AG01 owner's manual

Toshiba

Toshiba FPT-AG01 owner's manual

Wiseup GL1800 user guide

Wiseup

Wiseup GL1800 user guide

Chainavasion MAGIC CVACD-E318 user manual

Chainavasion

Chainavasion MAGIC CVACD-E318 user manual

Chinavision CVFR-G273-N1 user manual

Chinavision

Chinavision CVFR-G273-N1 user manual

Xpand DLP LINK X102 user guide

Xpand

Xpand DLP LINK X102 user guide

Rollei Sunglasses Cam 100 instruction manual

Rollei

Rollei Sunglasses Cam 100 instruction manual

Silhouette Infinity View Technical instructions

Silhouette

Silhouette Infinity View Technical instructions

Eschenbach miniframe2 SUN user manual

Eschenbach

Eschenbach miniframe2 SUN user manual

Vuzix iWear AV310 Widescreen user guide

Vuzix

Vuzix iWear AV310 Widescreen user guide

SunnyCam SunnyCam manual

SunnyCam

SunnyCam SunnyCam manual

Silhouette Urban Fusion Technical instructions

Silhouette

Silhouette Urban Fusion Technical instructions

Laser BLU-3DGLSBT quick start guide

Laser

Laser BLU-3DGLSBT quick start guide

Technaxx TX-25 user manual

Technaxx

Technaxx TX-25 user manual

Optoma ZD101 user guide

Optoma

Optoma ZD101 user guide

chinavasion CVAGK-E516 user manual

chinavasion

chinavasion CVAGK-E516 user manual

Speeka Google Glass quick start guide

Speeka

Speeka Google Glass quick start guide

manuals.online logo
manuals.online logoBrands
  • About & Mission
  • Contact us
  • Privacy Policy
  • Terms and Conditions

Copyright 2025 Manuals.Online. All Rights Reserved.