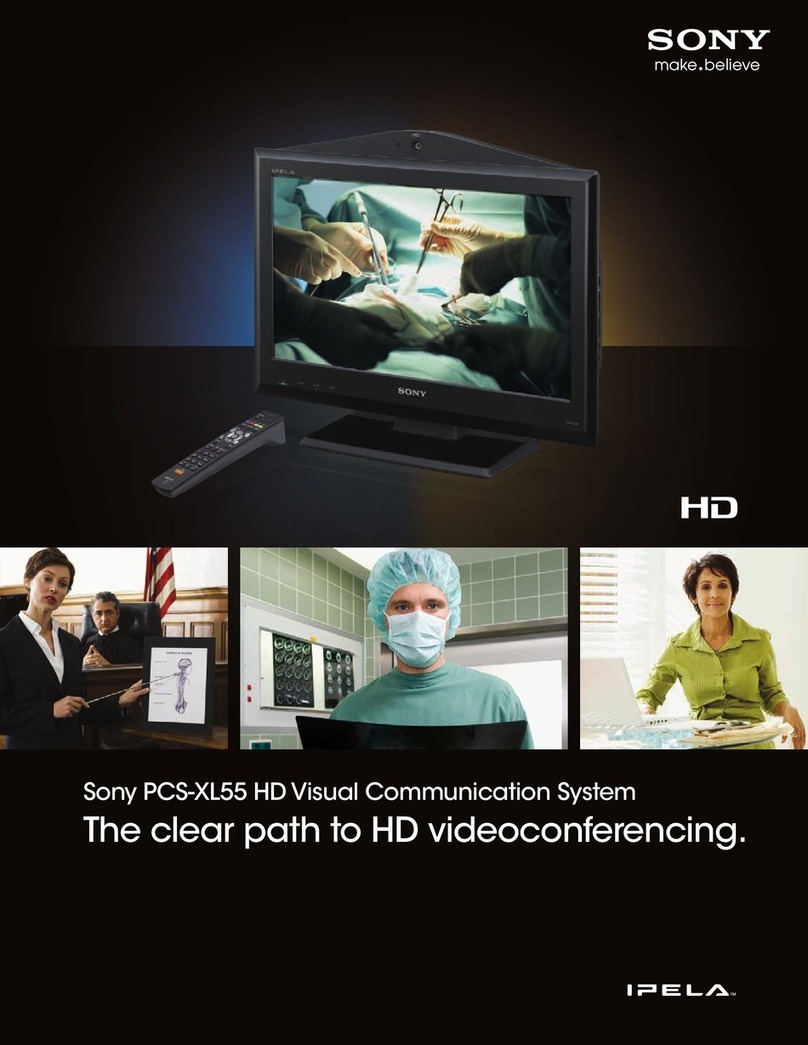
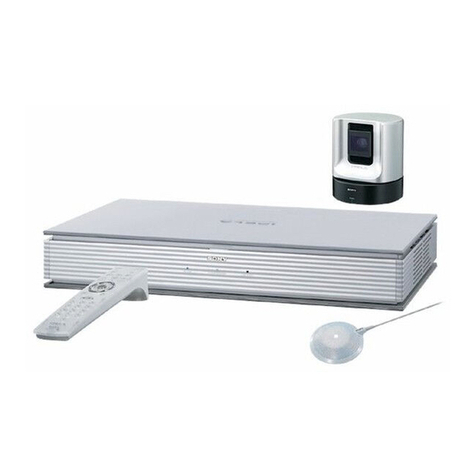
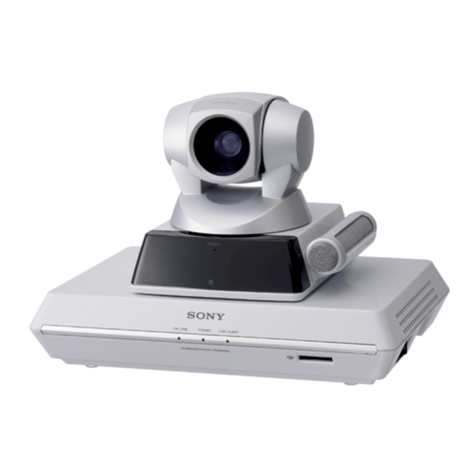
Sony Ipels PCS-G50 Instruction Manual
Other Sony Conference System manuals
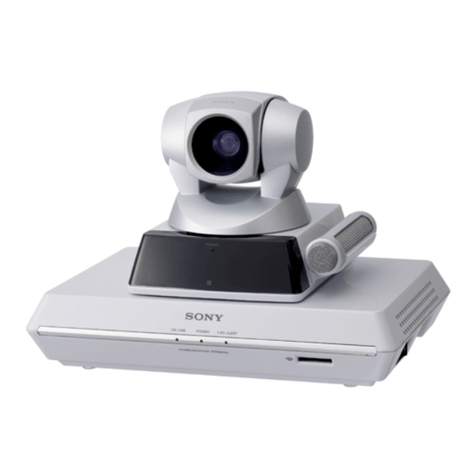
Sony
Sony PCS-1 - Video Conferencing Kit User manual

Sony
Sony PCS-TL50 User manual
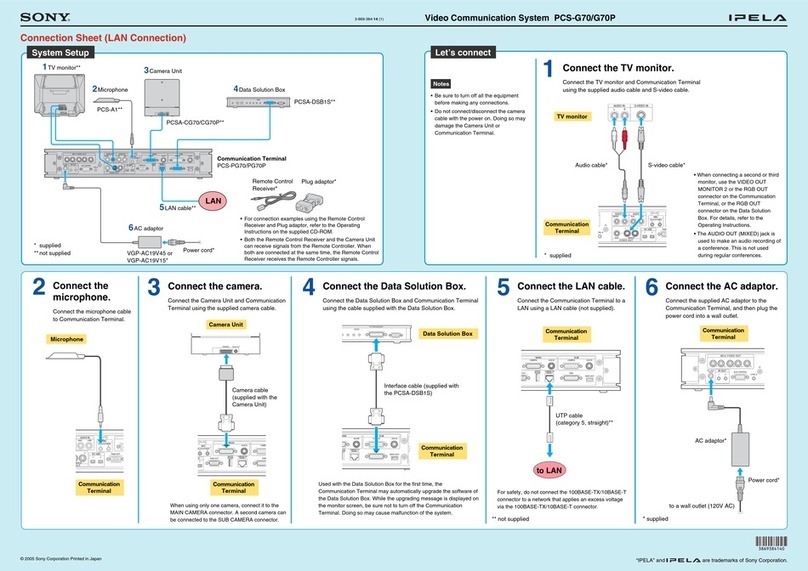
Sony
Sony IPELA PCS-G70 User manual
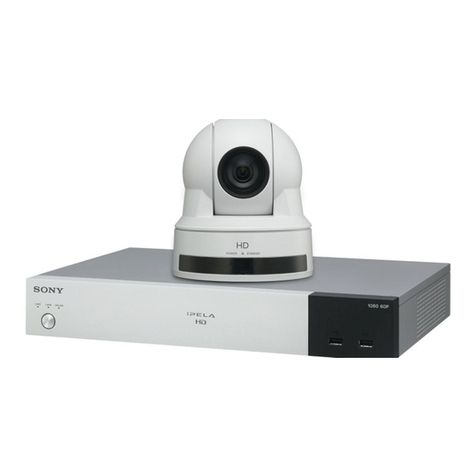
Sony
Sony PCS-XG100 Instruction Manual

Sony
Sony IPELA PCS-TL33 User manual

Sony
Sony SXA-120 User manual

Sony
Sony IPELA PCS-G70 User manual
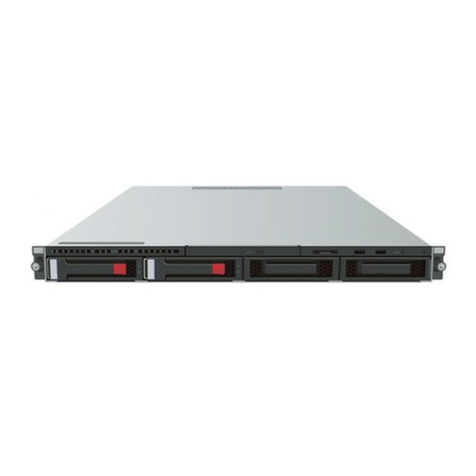
Sony
Sony PCS-VCS User manual
Sony
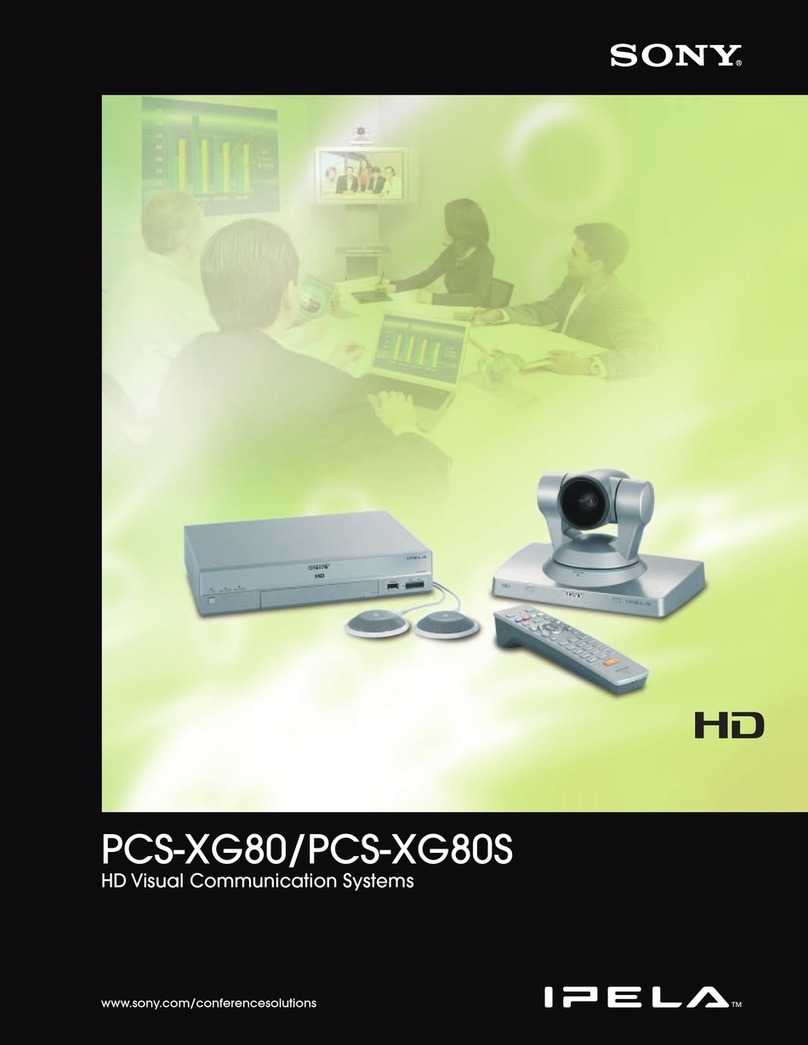
Sony Ipela PCS-XG80S User manual

Sony
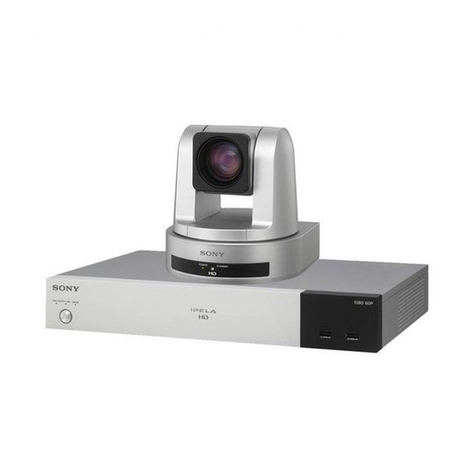
Sony IPELA PCSA-CXG80 User manual
Sony
Sony PCS-XG100 Quick setup guide

Sony
Sony Ipela PCS-G50 Guide

Sony
Sony Ipels PCS-G50 User manual

Sony
Sony BRU-300 User manual
Sony
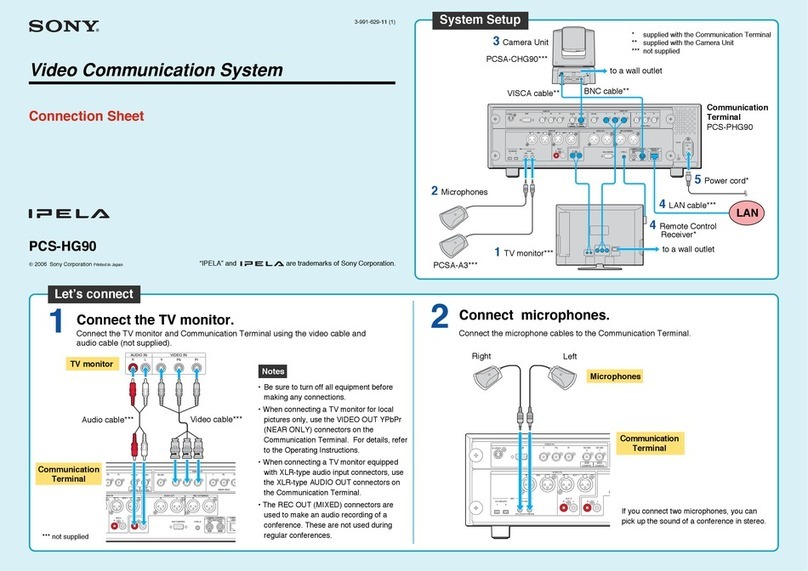
Sony IPELA PCS-HG90 User manual
Sony
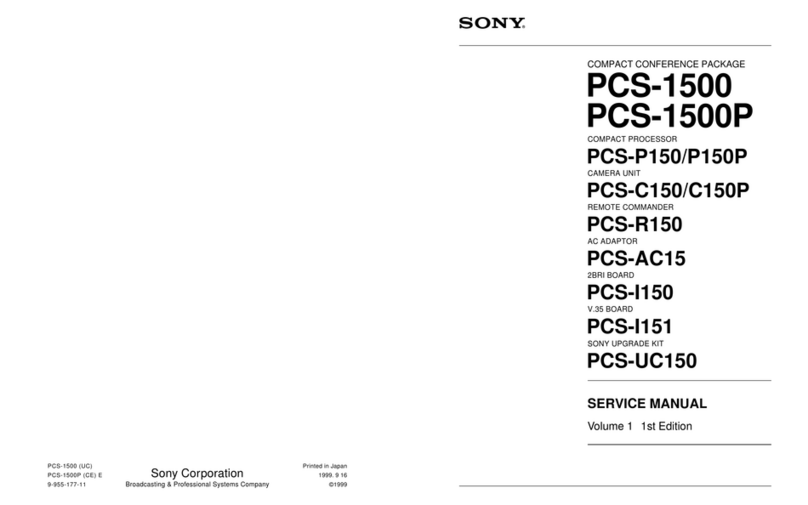
Sony PCS-1500 User manual

Sony
Sony PCS-TL50 User manual

Sony
Sony Ipela PCS-G70S User manual

Sony
Sony IPELA PCS-XG55 Quick setup guide

Sony
Sony PCS-TL50 Instruction Manual
Popular Conference System manuals by other brands

Kramer
Kramer VIA GO quick start guide

ProSoft Technology
ProSoft Technology AN-X4-AB-DHRIO user manual

Middle Atlantic Products
Middle Atlantic Products VTC Series instruction sheet

AVT
AVT MAGIC AC1 Go Configuration guide

Prentke Romich Company
Prentke Romich Company Vanguard Plus Setting up and using

Speakerbus
Speakerbus iD 712 user guide

