4
BIntroduction
Package Contents
Please verify that the package includes the
following accessories with the drive when
unpacking. If any of these items appears to
be missing or damaged, please contact your
supplier.
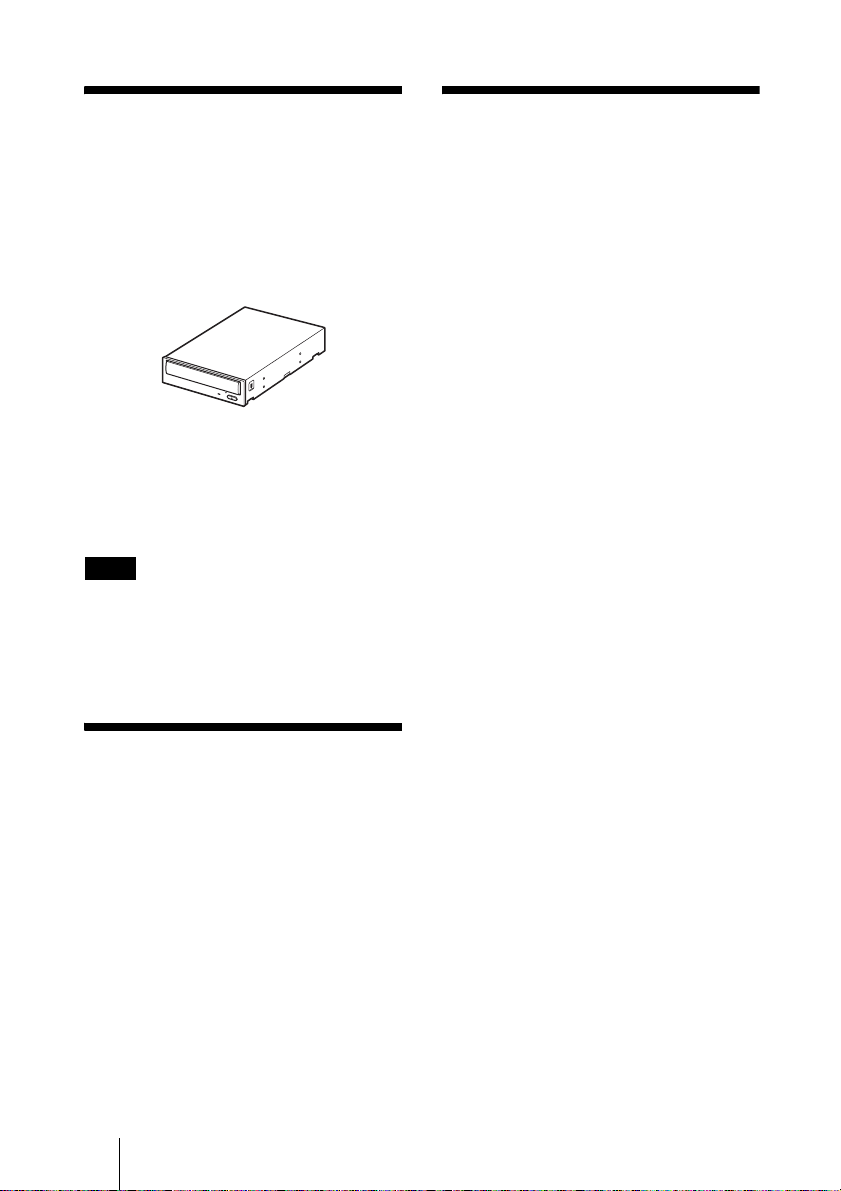
•Drive
• Screws (×4)
• Product Information
• Quick Start Guide
•Softwaredisc
• Warranty card
Note
Make sure that you back up the supplied software
disc on another disc because the software disc is
not distributed independently.
Features
This product offers the following features.
❑An internal DVD/CD rewritable drive
with Serial ATA interface for
computers.
❑Can be used horizontally or vertically.
❑The drive can write to DVD+R Double
Layer and DVD-R Dual Layer discs.
❑The drive has a maximum 24× writing
capability for high speed DVD+R and
DVD-R discs.
❑The drive can write to DVD-RAM discs.
System
Requirements
The drive should be used with a system that
meets the following requirements1).
❑CPU: Pentium III, 1.0 GHz or higher
(Pentium 4, 2.0 GHz or higher
recommended)
❑256 MB RAM or more (512 MB RAM
for Windows Vista)
❑1.5 GB free HDD space (10 GB for
DVD creation)
❑One available Serial ATA interface
connection2)
❑One empty 5-inch half-height drive bay
❑One available internal Serial ATA
power connector3)
❑Operating system:
Windows XP Home Edition SP3/
Windows XP Professional SP3
(referred to as Windows XP SP3), or
Windows Vista Home Basic SP1/
Windows Vista Home Premium SP1/
Windows Vista Business SP1/Windows
Vista Ultimate SP1, or Windows 7
Home Premium/Windows 7
Professional/Windows 7 Ultimate
1) The above requirements are the minimum
requirements for normal writing and playback
of discs. Under actual operating conditions, the
requirements imposed by your software must
also be met. For details, refer to your software
documentation.
2) The drive does not support connection to a
Serial ATA interface card. Connect the drive to
the Serial ATA interface connector of your
computer’s motherboard.
3) The drive consumes a lot of power when
operating at high speeds. You should therefore
make sure that the rated power output of the
power outlet where you connect all your drives
is sufficient to power all the drives, including
this one. For details about each drive’s power
consumption rating, refer to their
documentation.