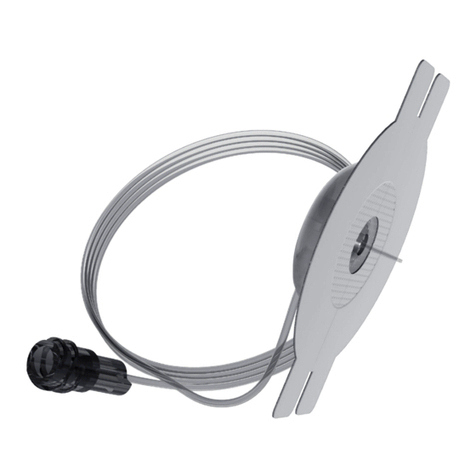
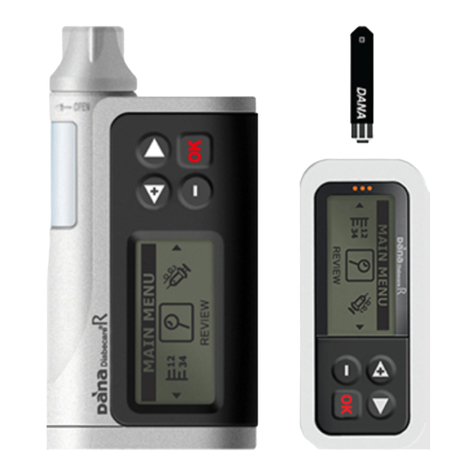
Sooil Dana Diabecare RS User manual


This page left blank intentionally

1
Table of Contents
1. Introduction...........................................................................5
1.1 DANA Diabecare RS Insulin Pump Introduction ........................................................................ 5
1.2 Explanation of Warning Symbols...................................................................................................... 6
1.3 Indications for Use..................................................................................................................................6
1.4 Precautions.................................................................................................................................................7
2. Getting Started.......................................................................9
➢Components of DANA Diabecare RS System.........................................................................9
2.1 Getting to know the DANA Insulin Pump ..................................................................................10
➢DANA Diabecare RS Insulin Pump............................................................................................10
➢Control Panel......................................................................................................................................10
2.2 Installing a battery................................................................................................................................11
➢Check the DANA Battery:..............................................................................................................12
2.3 Display Screen ........................................................................................................................................13
➢Initial Screen.......................................................................................................................................13
➢Remote control mode ....................................................................................................................15
➢Additional Options...........................................................................................................................15
2.4 Patient Education ..................................................................................................................................16
➢About Doctor Mode........................................................................................................................16
3. Programming the Insulin Pump ...........................................17
➢Structure of DANA DIABECARE RS Menu: .............................................................................17
3.1 Setting the time and date .................................................................................................................18
3.2 Setting the Basal Rate.........................................................................................................................19
➢Description of Basal Graph:..........................................................................................................20
➢How to edit the Basal Rate:.........................................................................................................21
3.3 View Basal Rate......................................................................................................................................23
3.4 Setting User Options ...........................................................................................................................24
➢User Options ......................................................................................................................................25
3.5 More Information Screen...................................................................................................................28

2
4. Loading Insulin into the Pump .............................................30
4.1 Preparation...............................................................................................................................................30
4.2 Filling the Reservoir with Insulin.....................................................................................................31
4.3 Adjust the length of link-screw with Easy Setter .....................................................................33
➢Using DANA Easy Setter................................................................................................................34
4.4 Inserting the Reservoir into the Insulin Pump..........................................................................35
4.5 Connecting the Infusion Set to the Insulin Pump...................................................................36
4.6 Refill ............................................................................................................................................................37
4.7 Prime the Infusion Set Tubing .........................................................................................................38
➢PRIME procedure:.............................................................................................................................39
4.8 Prime the Cannula ................................................................................................................................41
➢Connection of Pump & Reservoir .............................................................................................43
4.9 Inserting Infusion Set ..........................................................................................................................44
➢Recommending insertion site location....................................................................................45
5. Delivering a Bolus ................................................................47
➢Bolus calculation parameter.........................................................................................................47
➢Three type of Bolus Delivery .......................................................................................................48
5.1 Bolus (Quick Bolus)...............................................................................................................................49
➢How to start the (Quick) bolus delivery: ................................................................................49
➢Stop delivery during bolus:..........................................................................................................50
5.2 BG Bolus Calculator (Smart Bolus).................................................................................................51
5.3 Bolus Setting ...........................................................................................................................................53
➢Bolus Setting ......................................................................................................................................54
➢Pre-set Bolus ......................................................................................................................................56
6. Advanced features within Pump...........................................58
6.1 Temporary Basal Rates........................................................................................................................58
➢Starting a Temporary Basal Rate................................................................................................58
➢Review Temporary Basal Rate Whilst in Operation............................................................59
➢Stopping a Temporary Basal Rate .............................................................................................60
6.2 Suspend.....................................................................................................................................................61

3
6.3 Button Lock..............................................................................................................................................62
6.4 Basal Profile .............................................................................................................................................63
6.5 HISTORY : Displays all the Pump History....................................................................................64
➢Review Menu......................................................................................................................................64
6.6 SHIPPING INFORMATION ..................................................................................................................67
6.7 Airplane mode........................................................................................................................................68
6.8 Extended Bolus.......................................................................................................................................69
➢Start Extended Bolus (Quick Bolus) ..........................................................................................69
➢Review Extended Bolus ..................................................................................................................70
➢Stop an Extended Bolus.................................................................................................................70
6.9 Dual Pattern Bolus ................................................................................................................................71
➢Starting a Dual Pattern Bolus......................................................................................................71
➢Stopping a Dual Pattern Bolus....................................................................................................72
7. Alarms and Error Messages ..................................................73
➢WARNING Message.........................................................................................................................74
➢ERROR Message................................................................................................................................77
➢ALARM Message...............................................................................................................................77
8. Troubleshooting ...................................................................81
8.1 Hypoglycemia (low blood sugar)....................................................................................................81
➢What is hypoglycemia (low blood sugar)? ............................................................................81
➢Reasons for Hypoglycemia...........................................................................................................81
➢What to do in case of hypoglycemia.......................................................................................81
➢Hypoglycemia Troubleshooting..................................................................................................82
8.2 Hyperglycemia (high blood sugar) ................................................................................................83
➢What is hyperglycemia (high blood sugar)?.........................................................................83
➢Reasons for Hyperglycemia..........................................................................................................83
➢What to do in case of High Blood Sugar ..............................................................................83
➢Troubleshooting for Hyperglycemia .........................................................................................84
8.3 Occlusion Alarm.....................................................................................................................................85
➢Real Occlusion (Usually within the Cannula or tube)........................................................85
Table of contents
Other Sooil Medical Equipment manuals
Popular Medical Equipment manuals by other brands

Getinge
Getinge Arjohuntleigh Nimbus 3 Professional Instructions for use

Mettler Electronics
Mettler Electronics Sonicator 730 Maintenance manual

Pressalit Care
Pressalit Care R1100 Mounting instruction

Denas MS
Denas MS DENAS-T operating manual

bort medical
bort medical ActiveColor quick guide

AccuVein
AccuVein AV400 user manual


