© 2003-2018 SOTA Instruments Inc. Page 7 of 14|www.sota.com
The Silver Pulser Model SP5 Manual
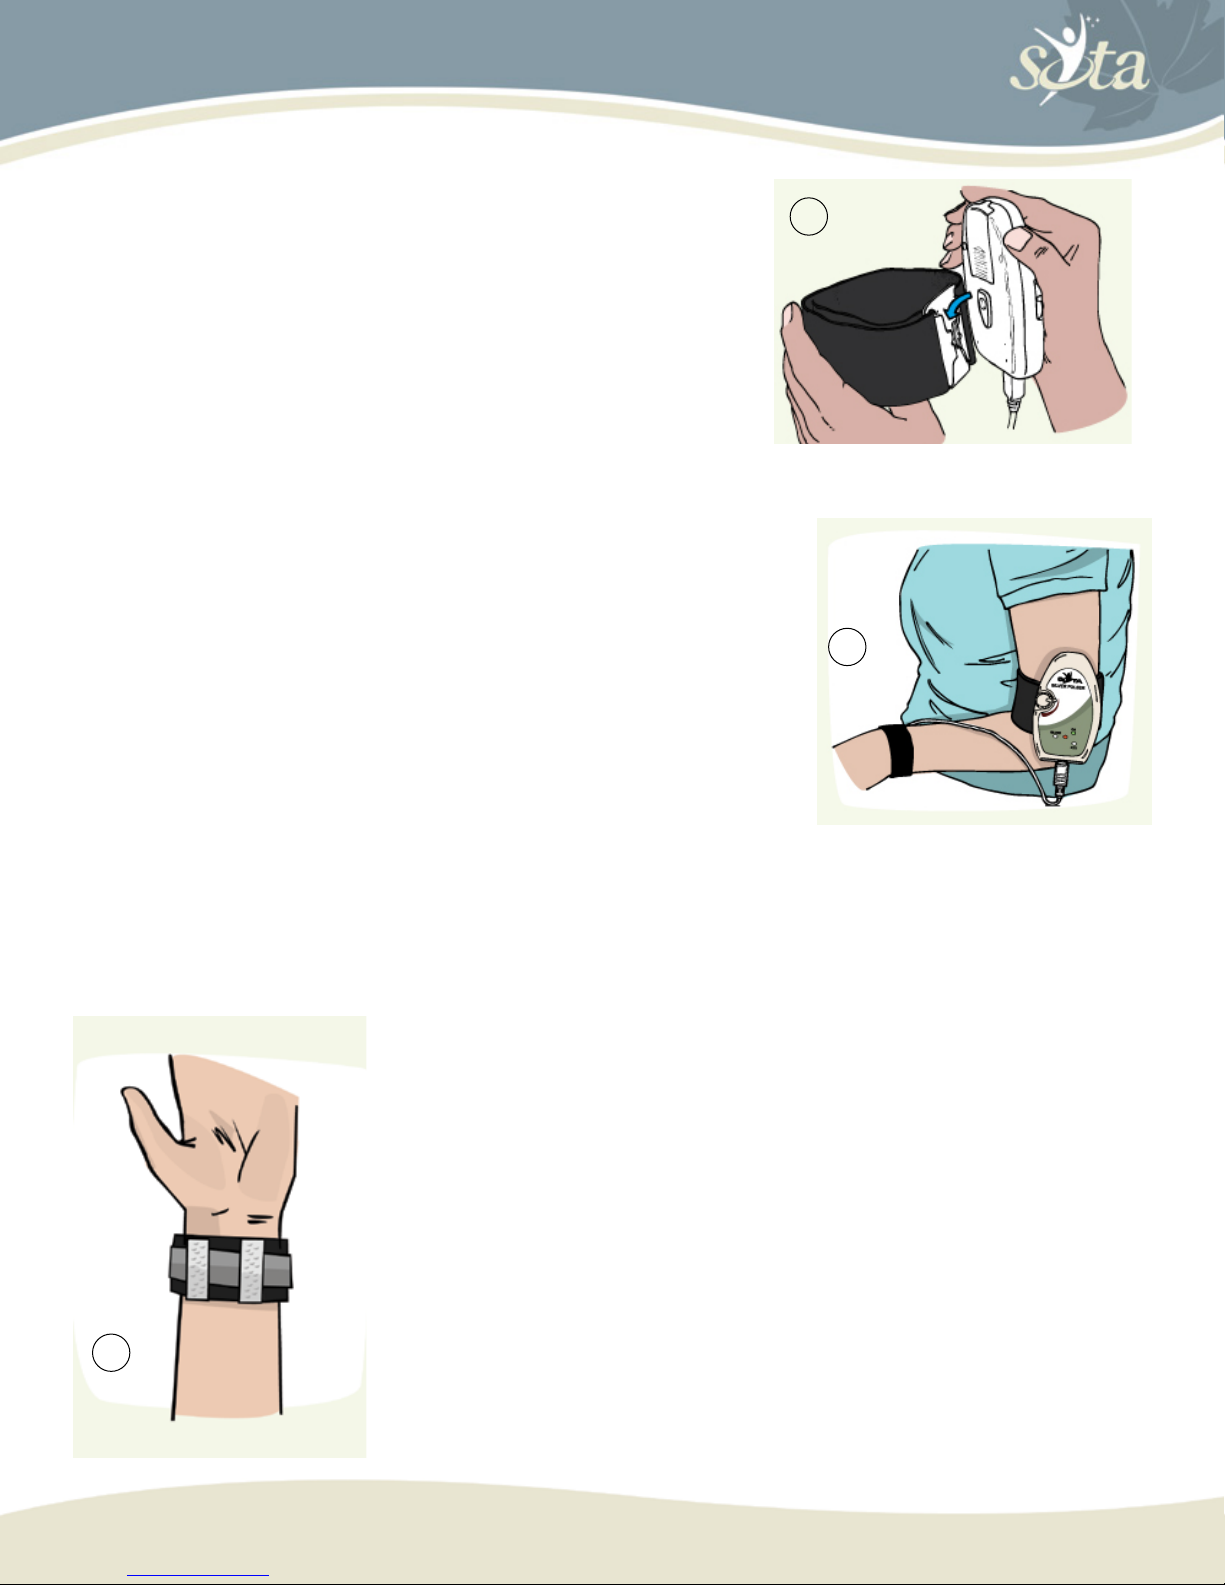
5.Slide the Arm Band, with the unit and cord, up the
arm to a comfortable position. Tighten the band to
secure it in place as in image 5.
Option: If preferred the unit can be placed in a
pocket. A longer Micropulsing Cord is needed for
this option.
6.Put the Wrist Strap on with the Velcro®side of the
Wrist Strap face-out rather than towards the skin.
7.Prepare one pair of Cotton Sleeves. Each Cotton Sleeve is
sewn on three sides; to nd the open end of the Cotton
Sleeve, squeeze the long sides of the sleeve and the
unsewn end will pop open.
8.Attach one Cotton Sleeve to the Wrist Strap in line with
the pulse point on the thumb side of the wrist. The
open end of the Cotton Sleeve will point down toward
the elbow. Press the sleeve to the Wrist Strap to rmly
adhere the sleeve in place.
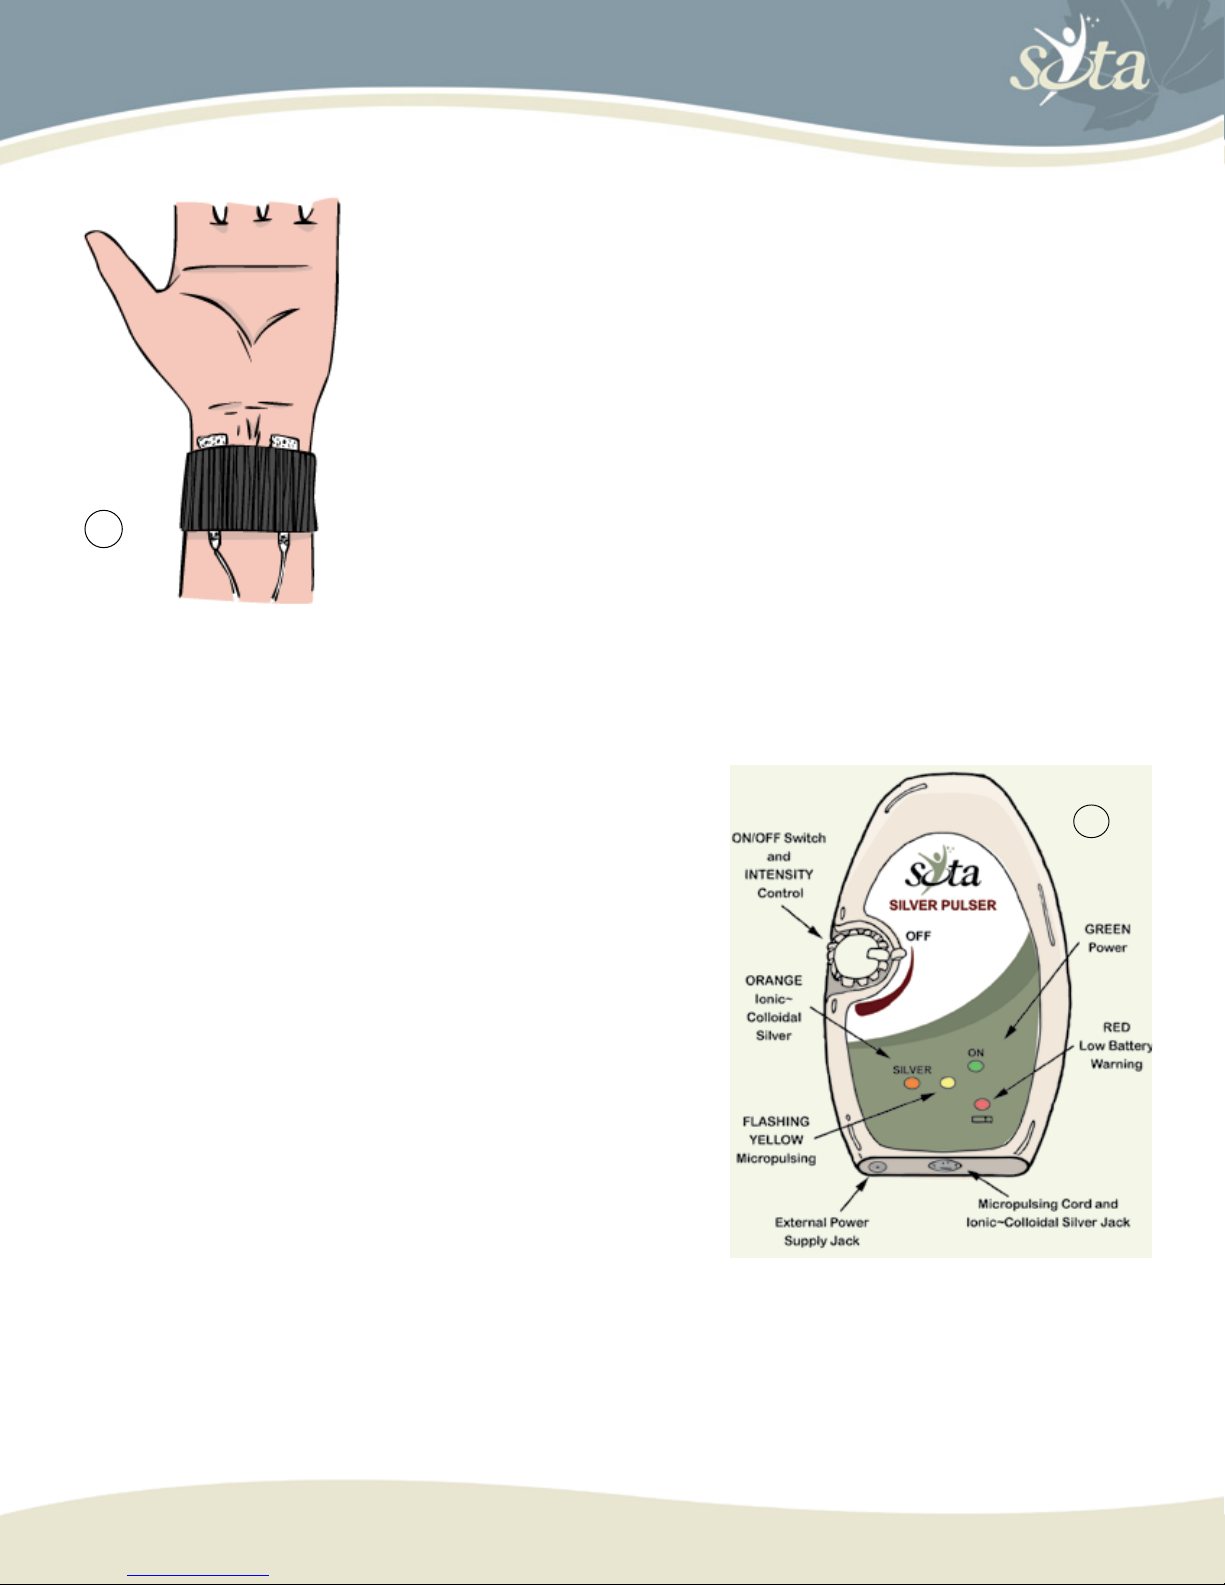
9.Place the other Cotton Sleeve, again with the open side
towards the elbow, in line with the pulse point on the little nger side of the wrist.
This pulse point is usually harder to feel. It is located in the soft hollow on the wrist,
in line with the little nger. Press the sleeve to the Wrist Strap to rmly adhere the
sleeve in place. See image 6.
Once in place, the Velcro®will hold the Cotton Sleeves in the
right position for repeated use.
10. Take the Wrist Strap off.
11. Insert one probe from the Micropulsing Cord into each of
the Cotton Sleeves. Use a gentle twisting motion to work the
robes into the Cotton Sleeves.
12. Wet the Cotton Sleeves with water.
13. Put the Wrist Strap on so the damp Cotton Sleeves are
against the skin over the pulse points. See image 7 on page 8.
14. Turn the unit ON by rotating the ON/OFF switch
6
5
4