manuals.online logo
Brands
  1. Home
  2. •
  3. Brands
  4. •
  5. SPACEMAKER
  6. •
  7. Outdoor Storage
  8. •
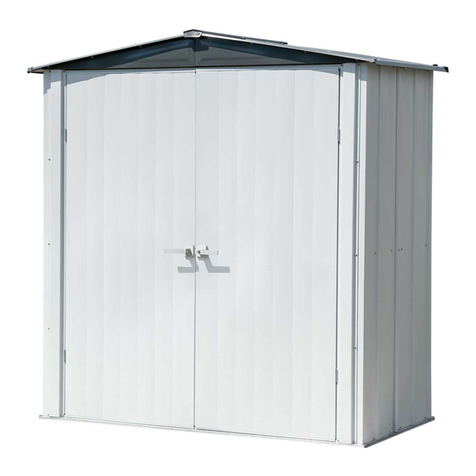
  9. SPACEMAKER PS63 Instructions for use

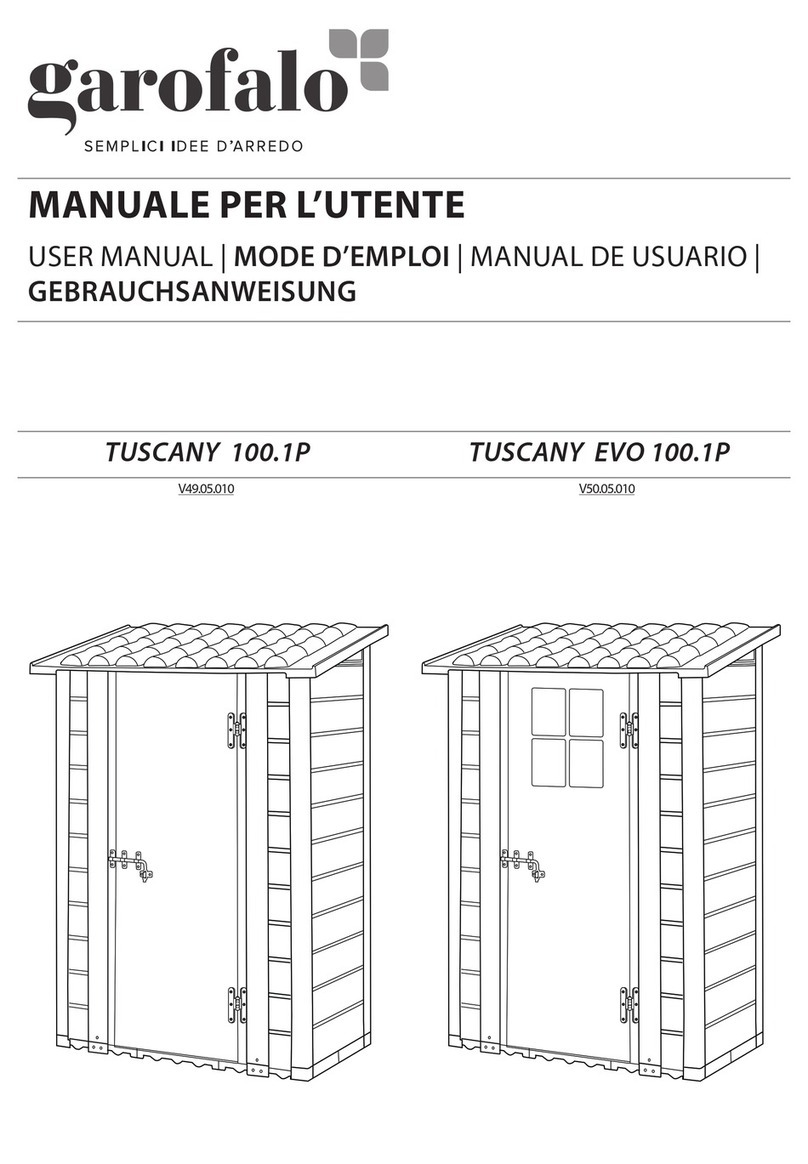
SPACEMAKER PS63 Instructions for use

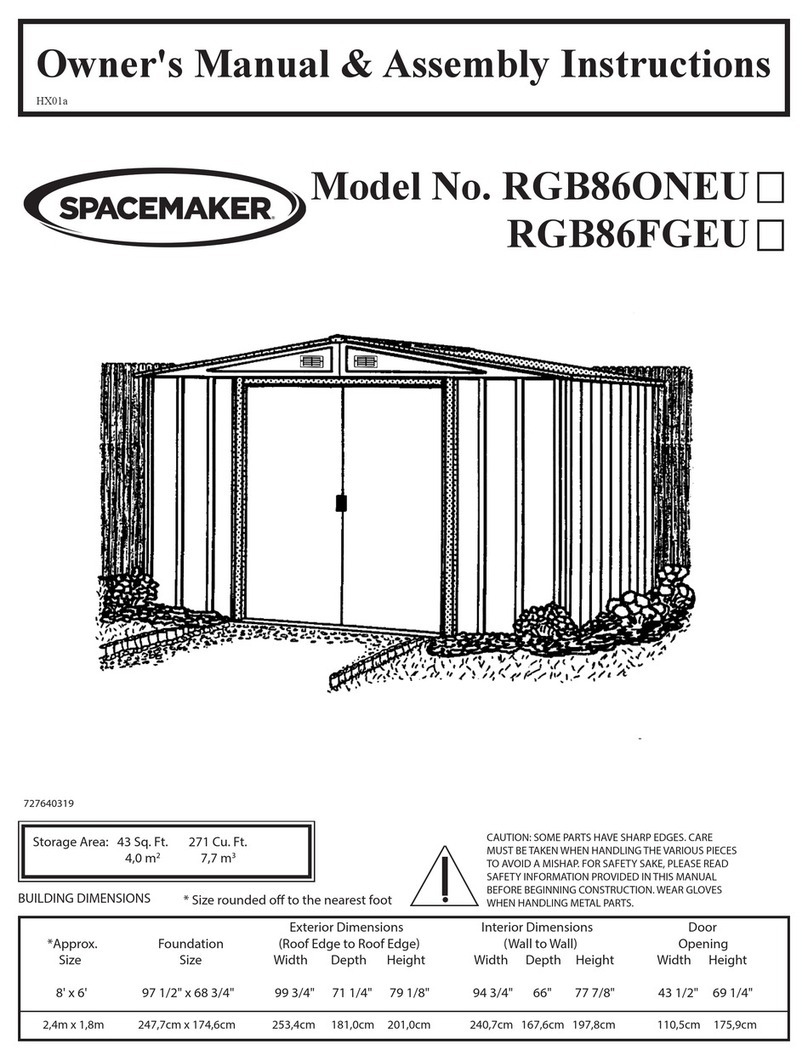
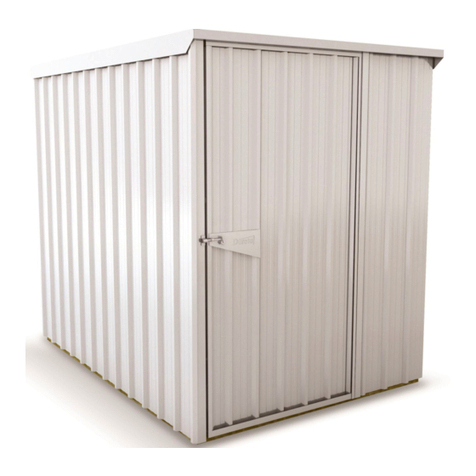
BUILDING DIMENSIONS
6’ x 3’
Nominal Size
Gloves must be worn
at all times to reduce
risk of injury!
Size rounded off to the nearest foot
* See Inside for Detailed Safety Information.
Owner’s Manual
& Assembly Guide
01GZ
729030319
†
Base
Size
74 1/16” x 38 3/8”
188,1 cm x 97,4 cm
For proper base construction see page 13
Exterior Dimensions
(Roof Edge to Roof Edge)
Width Depth Height
Interior Dimensions
(Wall to Wall)
Width Depth Height
Door
Opening
Width Height
Approx.
Size
Storage
Area
6’ x 3’ 18 Sq. Ft. 107 Cu. Ft. 75 3/16” 39 1/4” 78 7/8” 71 1/4” 35 9/16” 75 7/8” 54 1/2” 69 11/16”
1,8 m x ,9 m 1.6 m23,0 m3190,9 cm 99,7 cm 200,3 cm 181,0 cm 90,3 cm 192,7 cm 138,5 cm 177,0 cm
†
Model No. PS63
04GC
CAUTION
• Care must be taken when handling various pieces of your building since many contain sharp edges.
• Do NOT attempt to assemble your building before double checking that you have all the parts indicated in the parts lists.
Any building left partially assembled may be seriously damaged by even light winds.
• Do NOT attempt to assemble your building on a windy day. The large panels can catch the wind like a “sail”, making
FRQVWUXFWLRQGLI¿FXOWDQGXQVDIH Watch the Weather Closely
• Keep children and pets away from the worksite during construction and until the building is completely assembled. This will
help avoid distractions and any accidents which may occur.
• NEVER concentrate your weight on the roof of the building.
• Before assembling any parts, your base should be constructed and an anchoring system should be ready to use.
Your building MUST be anchored to prevent wind damage.
05GX
ASSEMBLY
• The best location is a level area with good drainage.
•Allow enough space outside the building to be able to access the roof with a ladder.
•Use Teamwork: Two or more people are required to assemble your building.
CARE & MAINTENANCE
• DO NOT use power washing to clean your shed.
• Combustibles and corrosives must be stored in air tight containers designed for chemical and/or combustible storage.
Corrosive chemicals such as fertilizers, pesticides and herbicides should be cleaned off the interior and exterior surfaces
immediately. Rust caused by chemical damage is not covered by the warranty.
Rust protection precautions
• Avoid nicking or scraping the coating surface, inside and out.
• Keep roof, base perimeter and door free of debris.
• Touch up scrapes or nicks and any area of visible rust as soon as possible.
HARDWARE LIST 06GZ
7 8
1
11/32 Hex.
Hardware Views by Key No.
6
9
2
#2 Phillips
3
#2 Phillips
5
#2 Phillips
4
#2 Phillips
12
1 65103 Hex Nut (#8-32) 71
2 65923 Small Bolt (#8-32 x 3/8) (10 mm) 47
3 65004 Small Screw (#8AB x 5/16) (8 mm) 172
4 66783 Flat Head Bolt (#8-32 X 1/2) (13 mm) 24
5 66692 Tapping Screw (#10ABx1) (25 mm) 2
6 66609 Hinge 4
7 66183L Left Roof Trim Cap 2
8 66183R Right Roof Trim Cap 2
9 67236 Adhesive Pads (2 per sheet) 1
10 66684 Top Latch Spring 1
11 66808 Bottom Latch Spring 1
12 66646 Washer Sheet 4
13 67468SPM Peak Cap 2
14 30000 Locking Handle Right 1
15 30001 Left Handle 1
16 67293B Weather Stripping 1
Key
No.
Part
No.
Part
Description Qty. List
10 11
13
The fasteners used in each step are shown actual size at the top
of each page. If you are unsure which fastener to use, hold it up
to the picture and use the one that matches.
14
15 16
Key
No. Part No.
Part
Description
Qty.
PARTS LIST 09GZ
211243 Side Floor Frame 2
311288 Ramp 1
411147 Rear Corner Panel 2
511278
Front Corner Panel 2
611280 2
11 11262 Side Wall Channel 2
12 9397 Rear Wall Angle 1
13 11279 Lintel 1
811246 Door Jamb Right 1
Part Views
19399
Front/Rear Floor Frame 2
10 11281 Rear Wall Channel 1
14 6658 2
76521 Wall Panel 2
980179 Door Jamb Left 1
15 5996 Right Gable 2
Side Wall Angle
Gable Brace
PARTS LIST 10GZ
17 11282 Roof Beam 1
18 11284 Right Roof Panel 2
20 80189 Left Roof Panel 2
19 11283 Roof Beam Angle 1
21 11286 Roof Trim 2
23 10718 Horizontal Door Brace 4
24 10719 Door Handle Brace 2
22 11274 Door Panel 2
26 10721 Door Stop 1
Key
No. Part No.
Part
Description
Qty. Part Views
16 5997 Left Gable 2
25 10720 Diagonal Door Brace 8
27 11287 Ridge Cap 1
28 69836 (GJH7ULP3XUSOH 4
11GZ
5
8
5
6
11
2
3
1
9
1
7
2
4
4
7
12
10
11
ASSEMBLY BY KEY NO.
6
12GZ
21
15
25
22
16 19
17
20
26
13
23
24
18
ASSEMBLY BY KEY NO.
14
22
23
23
23
24
25 25
25
25 25
25 25
14
15
16
18
20
21
27
28
28
28
28
12
OPTION 1: Directly on ground (earth)
Assemble your building directly on level ground (grass, dirt, rock, sand, etc.).
OPTION 2: Wood Platform
If you decide to build your own base, be sure to select the appropriate materials.
These are the recommended materials for your base:
• 2 x 4's (38 mm x 89 mm) Pressure Treated Lumber • 5/8" (15,5 mm) 4 x 8 (1220 mm x 2440 mm) Plywood-exterior grade
• 10 & 4 penny Galvanized Nails • Concrete Blocks (optional)
NOTE: Pressure Treated Lumber must not be used where it will make contact with your storage building. The properties of
Pressure Treated Lumber will cause accelerated corrosion.
7KHSODWIRUPVKRXOGEHOHYHODQGÀDWIUHHRIEXPSVULGJHVHWF
to provide good support for the building. The necessary materials
may be obtained from your local lumber yard.
To construct the base follow instructions and diagram.
Construct frame (using 10 penny galvanized nails)
Measure 16"/24" (40,6 cm/61,0 cm) sections to construct
inside frame (see diagram)
Secure plywood to frame (using 4 penny galvanized nails)
OPTION 3: Concrete Slab
The slab should be at least 4" (10,2 cm) thick. It must be level
DQGÀDWWRSURYLGHJRRGVXSSRUWIRUWKHIUDPH
The following are the recommended materials for your base.
• 1 x 4's (19 mm x 89 mm) (will be removed once the concrete cures)
• Concrete • Sheet of 6 mil plastic
• We recommend for a proper strength concrete to use a mix of:
1 part cement • 3 parts pea sized gravel • 2 1/2 parts clean sand
Prepare the Site/Construct a Base
1. Dig a square, 6" (15,2 cm) deep into the ground (remove grass).
 )LOOXSWRFPLQWKHVTXDUHZLWKJUDYHODQGWDPS¿UP
3. Cover gravel with a sheet of 6 mil plastic.
4. Construct a wood frame using four planks of 1x4 (19 mm x 89 mm)
lumber.
3RXULQFRQFUHWHWR¿OOLQWKHKROHDQGWKHIUDPHJLYLQJD
total of 4" (10,2 cm) thick concrete. Be sure surface is level.
CONSTRUCTING A BASE...
Note: Finished Slab dimensions, with lumber removed.
Note: Platform/Slab will extend 9/16" (1,4 cm) beyond
ÀRRU IUDPH RQ DOO IRXU VLGHV 6HDO WKLV   FP
RIZRRGZLWKDURR¿QJFHPHQWQRWLQFOXGHGRUEHYHO
this 9/16" (1,4 cm) of concrete when pouring, for good
water drainage.
13GZ
13
FRONT
(DOOR)
FRONT
(DOOR)
74 1/16"
188,1 cm
16"/24"
40,6 cm/61,0 cm
38 3/8”
97,4 cm
74 1/16"
188,1 cm
38 3/8”
97,4 cm
Do NOT fasten your Floor
Frames to your Base at this
time. You will anchor your
building after it is erected.
16GZ
9399 211243 2
9399
11243
9399
11243
9399
9399 11243
11243
11288
Ramp
1
9399
11288
Step 1
Frame Floor Front-RearFrame Floor Side
You will need for this page:
FRONT
FRONT
(QTY/QTÉ/CANT: 13)
Side View
The Floor Frame must be BOTH square AND
level or the holes will not line up properly.
When diagonal measurements
are equal, the Frame is square.
17GZ
FRONT
Step 2
Floor Frame Assembly
11278
6521
11147
TOP VIEW
Panel Layout
6521
11147
11278
18GZ
11147 1
Step 2
You will need for this page:
Rear Corner Panel
Floor Frame Assembly
11278
(QTY: 8) (QTY: 1)
11278 1
Front Corner Panel
11147
Rear
Whenever a crimped rib and an uncrimped
rib meet, the crimped rib should be placed
UNDER the uncrimped rib if possible.
Crimped Rib
Uncrimped Rib
19GZ
Step 2
Rear
11147 1
You will need for this page:
Rear Corner Panel
(QTY: 8) (QTY: 1)
11278 1
Front Corner Panel
11278
11147
20GZ
6521 2
Step 2
You will need for this page:
Wall Panel
6521
Rear
(QTY: 14) (QTY: 3)
6521
21GZ
Step 2
You will need for this page:
(QTY: 8)
(QTY: 6)
80179
11246
FRONT
11246 1
80179 1
Right Door Jamb
Left Door Jamb
11279 1
Lintel
11279 FRONT
SIDE VIEW
11279
22GZ
Step 2
You will need for this page:
(QTY: 10)
9397
9397 1
Rear Wall Angle
Rear
SIDE VIEW
9397
Rear
23GZ
Step 2
You will need for this page:
(QTY: 10)
11280
11280 2
Side Wall Angle
11280
11280
9397
FRONT
11280
11279
24GZ
Step 2
You will need for this page:
(QTY: 10)
11281
11281 1
Rear Wall Channel
Rear
Rear
11281
SIDE VIEW
25GZ
Step 2
You will need for this page:
(QTY: 10)
11262
11262 2
Side Wall Channel
FRONT
11262
(QTY: 2)
11262
11281
12
26GZ
26
You will need for this page: 5996 2
Right Gable
6658
Step 3
5997 2
Left Gable
6658 2
Gable Brace
5996
5997
11282
Roof Beam
1
11283 1
11283
X2
QTY: 4 QTY: 5
SIDE VIEW
11282
11283
69836 4
Edge Trim (Purple)Roof Beam Angle
69836
69836
To avoid mishap on the sharp edge the
edge trim must remain in place on the
top edge of the gable until right and left
roof panels are in place.
CAUTION:
11282

Other manuals for PS63

1

Other SPACEMAKER Outdoor Storage manuals
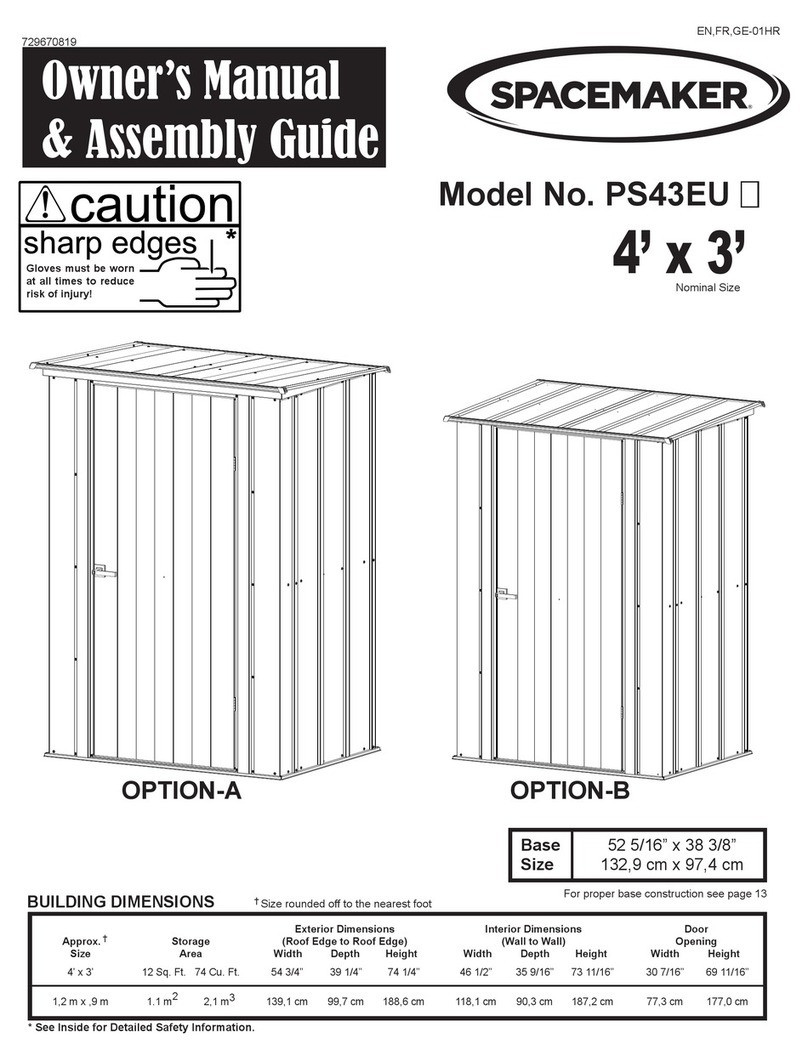
SPACEMAKER RGB1010ONEU Use and care manual

SPACEMAKER

SPACEMAKER RGB1010ONEU Use and care manual

SPACEMAKER 90174CL Series Instructions for use

SPACEMAKER

SPACEMAKER 90174CL Series Instructions for use

SPACEMAKER VERSA-SHED EVRS53 Series Instructions for use

SPACEMAKER

SPACEMAKER VERSA-SHED EVRS53 Series Instructions for use

SPACEMAKER RGB108ONEU Use and care manual

SPACEMAKER

SPACEMAKER RGB108ONEU Use and care manual

SPACEMAKER VERSA-SHED EVRS63 Instructions for use

SPACEMAKER

SPACEMAKER VERSA-SHED EVRS63 Instructions for use

SPACEMAKER RPT84ONEU Use and care manual

SPACEMAKER

SPACEMAKER RPT84ONEU Use and care manual

SPACEMAKER Versa-shed VRS53AN01 User manual

SPACEMAKER

SPACEMAKER Versa-shed VRS53AN01 User manual

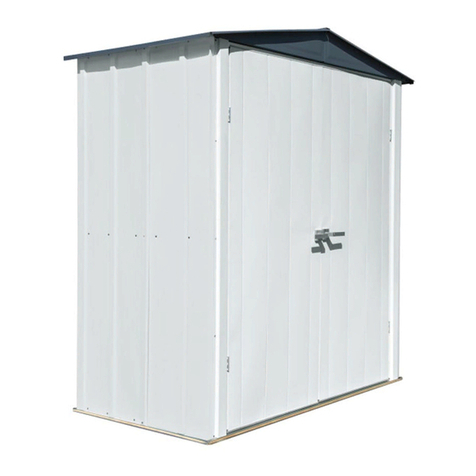
SPACEMAKER PS43EU Series Instructions for use
SPACEMAKER

SPACEMAKER PS43EU Series Instructions for use

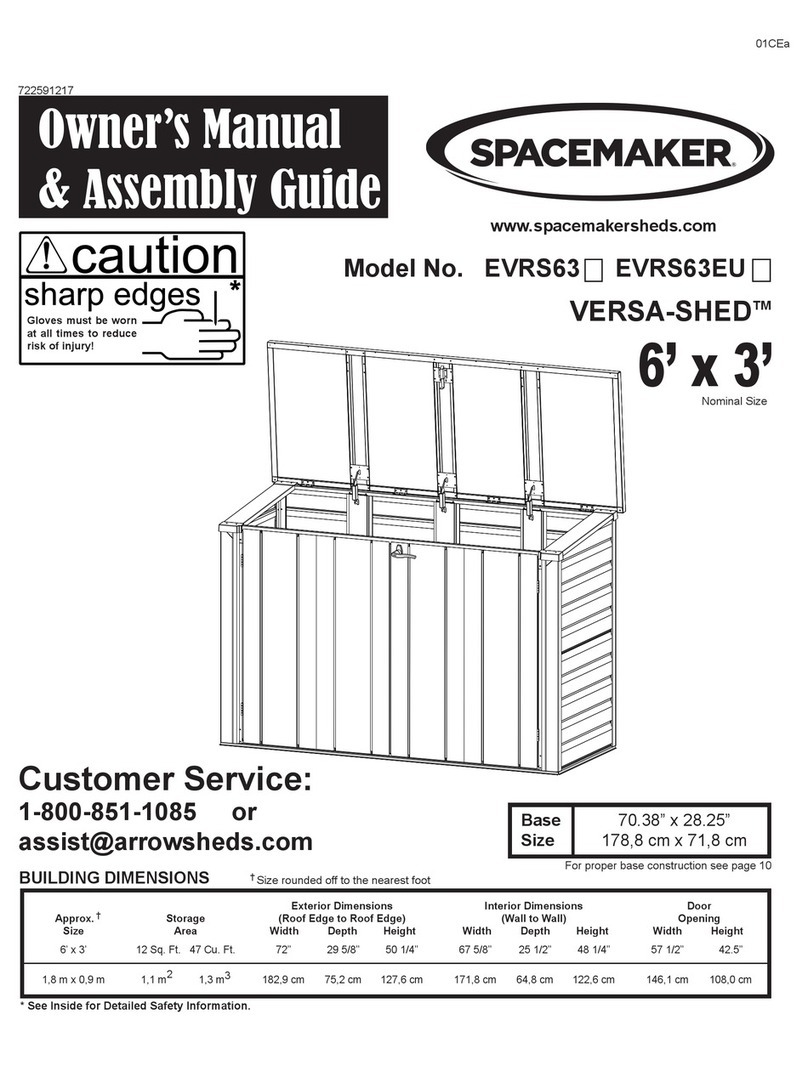
SPACEMAKER PS63EU Instructions for use
SPACEMAKER

SPACEMAKER PS63EU Instructions for use

SPACEMAKER PS53 Instructions for use

SPACEMAKER

SPACEMAKER PS53 Instructions for use

SPACEMAKER PS63 Instructions for use

SPACEMAKER

SPACEMAKER PS63 Instructions for use

SPACEMAKER EL64 User manual

SPACEMAKER

SPACEMAKER EL64 User manual
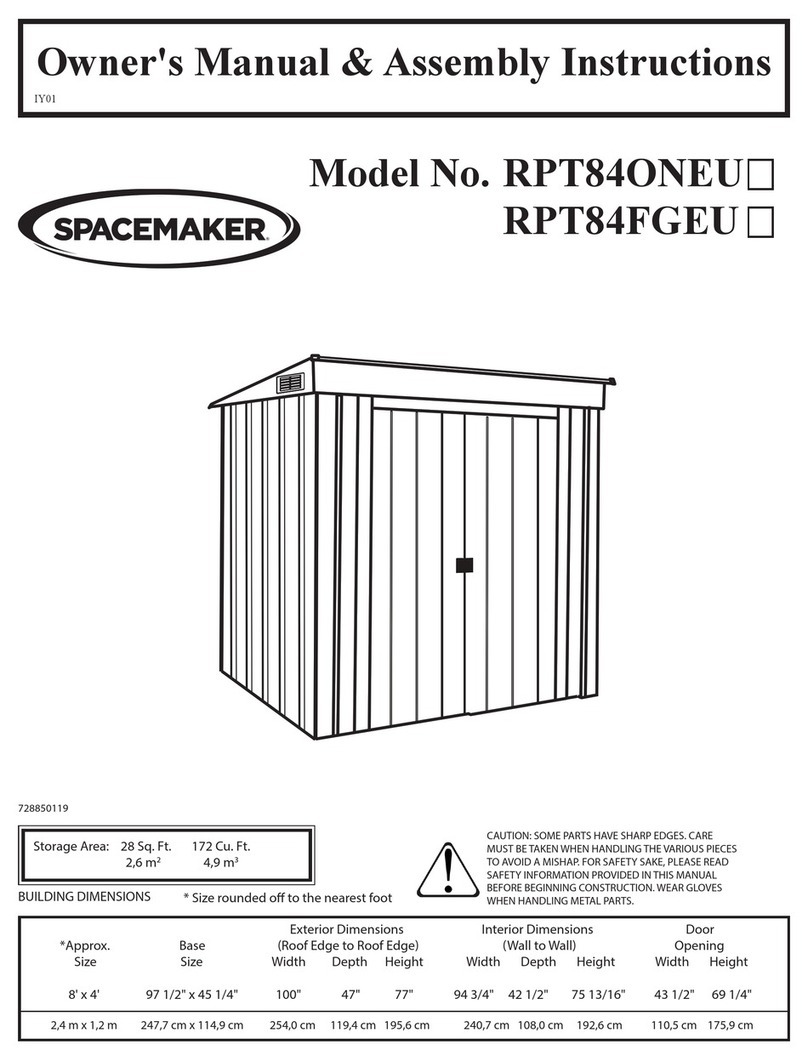
SPACEMAKER RGB88ONEU Use and care manual

SPACEMAKER

SPACEMAKER RGB88ONEU Use and care manual

SPACEMAKER SBS64EU User manual

SPACEMAKER

SPACEMAKER SBS64EU User manual

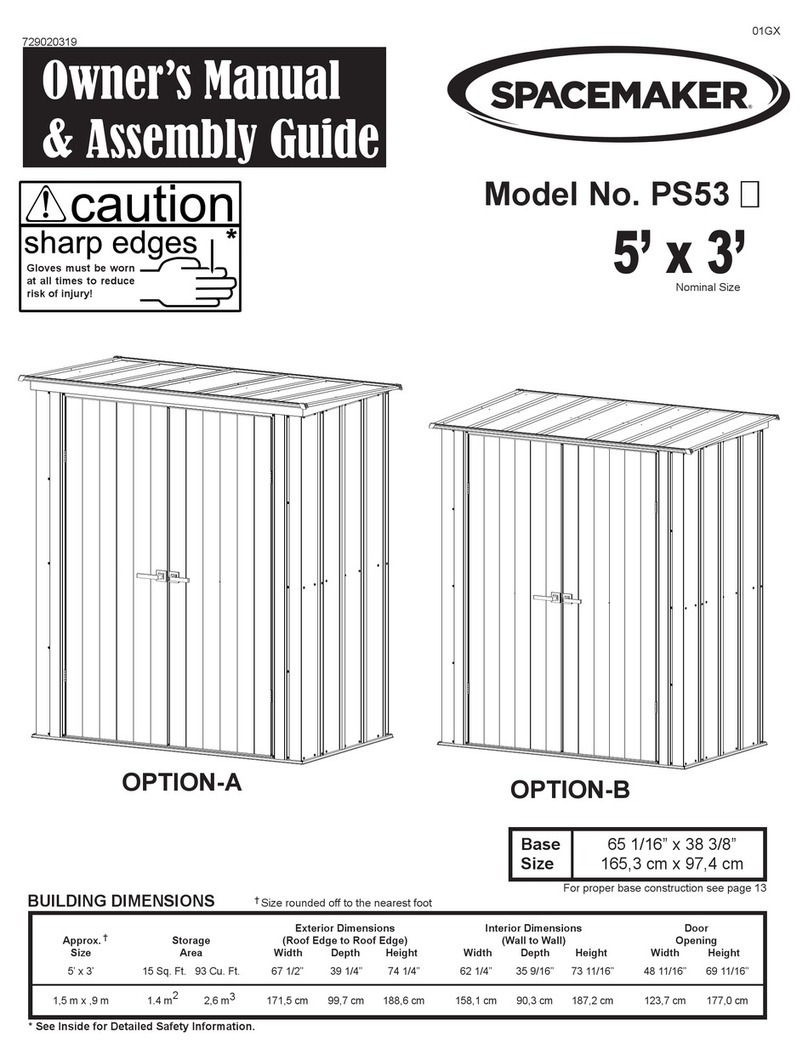
SPACEMAKER RGB86ONEU Use and care manual
SPACEMAKER

SPACEMAKER RGB86ONEU Use and care manual

SPACEMAKER RGB1012ONEU Use and care manual
SPACEMAKER

SPACEMAKER RGB1012ONEU Use and care manual

Popular Outdoor Storage manuals by other brands
Keter OAKLAND 7511 user manual

Keter

Keter OAKLAND 7511 user manual

Keter FUSION 757 user manual

Keter

Keter FUSION 757 user manual

ABSCO SHEDS 15081SK manual

ABSCO SHEDS

ABSCO SHEDS 15081SK manual

Karibu 75407 Building instructions

Karibu

Karibu 75407 Building instructions

HolzLand 87040 Building instructions

HolzLand

HolzLand 87040 Building instructions

ABSCO SHEDS J30082SECO Assembly instructions

ABSCO SHEDS

ABSCO SHEDS J30082SECO Assembly instructions

Arrow Storage Products SpaceMaker RMA108CL owner's manual

Arrow Storage Products

Arrow Storage Products SpaceMaker RMA108CL owner's manual

Karibu 67417 Building instructions

Karibu

Karibu 67417 Building instructions

Duratuf SENTRY SS2007 Assembly instructions

Duratuf

Duratuf SENTRY SS2007 Assembly instructions

Vente Unique MANSO YA0406 Instructions for assembly

Vente Unique

Vente Unique MANSO YA0406 Instructions for assembly

Outdoor living today Santa rosa Assembly manual

Outdoor living today

Outdoor living today Santa rosa Assembly manual

Sealey GSS150819SDG instructions

Sealey

Sealey GSS150819SDG instructions

Lifetime 60005 Assembly instructions

Lifetime

Lifetime 60005 Assembly instructions

Keter ARTISAN 97 user manual

Keter

Keter ARTISAN 97 user manual

Gardiun Surrey instruction manual

Gardiun

Gardiun Surrey instruction manual

Hoggar SLEVIK II user manual

Hoggar

Hoggar SLEVIK II user manual

Arrow Storage Products ED65SB Owner's manual & assembly instructions
Arrow Storage Products

Arrow Storage Products ED65SB Owner's manual & assembly instructions
EmaHome DD-3A Owner's instructions

EmaHome

EmaHome DD-3A Owner's instructions

manuals.online logo
manuals.online logoBrands
  • About & Mission
  • Contact us
  • Privacy Policy
  • Terms and Conditions

Copyright 2025 Manuals.Online. All Rights Reserved.