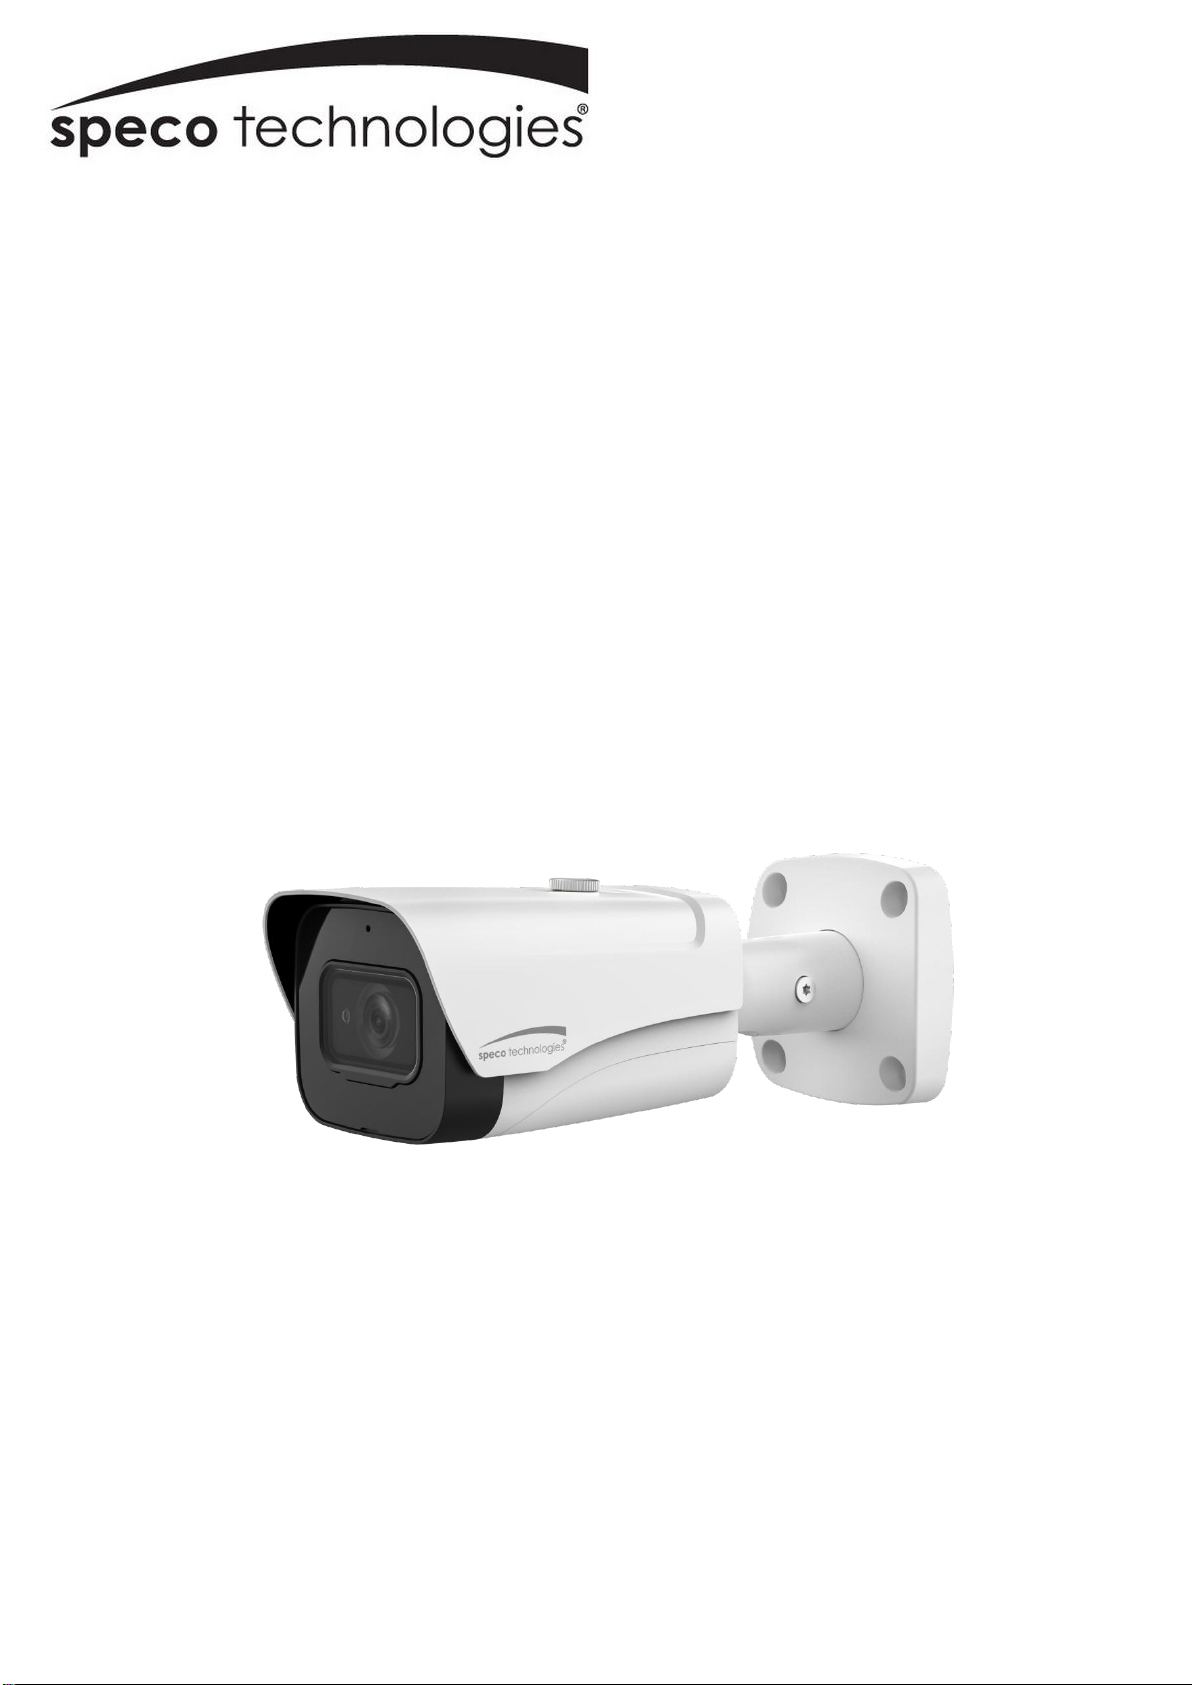
Speco O8VLB3 User manual

Quick Start Guide
8 MP Bullet IP Camera
O8VLB3
V 1.0

i
Welcome
Thank you for purchasing this network camera!
Please read this manual carefully before operating the unit and retain it for future reference.
Should you require any technical assistance, please contact Speco Technologies Technical Support.
Important Safeguards and Warnings
1.Electrical safety
All installation and operation here should conform to local electrical safety codes.
Use a certified/listed 12VDC Class 2 power supply only.
Please note: Do not connect two power supplying sources to the device at the same time; it may result in device
damage! The product must be grounded to reduce the risk of electric shock.
Improper handling and/or installation could run the risk of fire or electrical shock.
2.Environment
Heavy stress, violent vibration or exposure to water is not allowed during transportation, storage and installation.
This product should be installed in a cool, dry place away from direct sunlight and heat sources.
Do not install the product in extreme temperature conditions.
Do not expose the camera to electromagnetic radiation. Otherwise it may result in CMOS sensor failure.
Do not block any ventilation openings.
Do not allow water and liquid intrusion into the camera.
3. Operation and Daily Maintenance
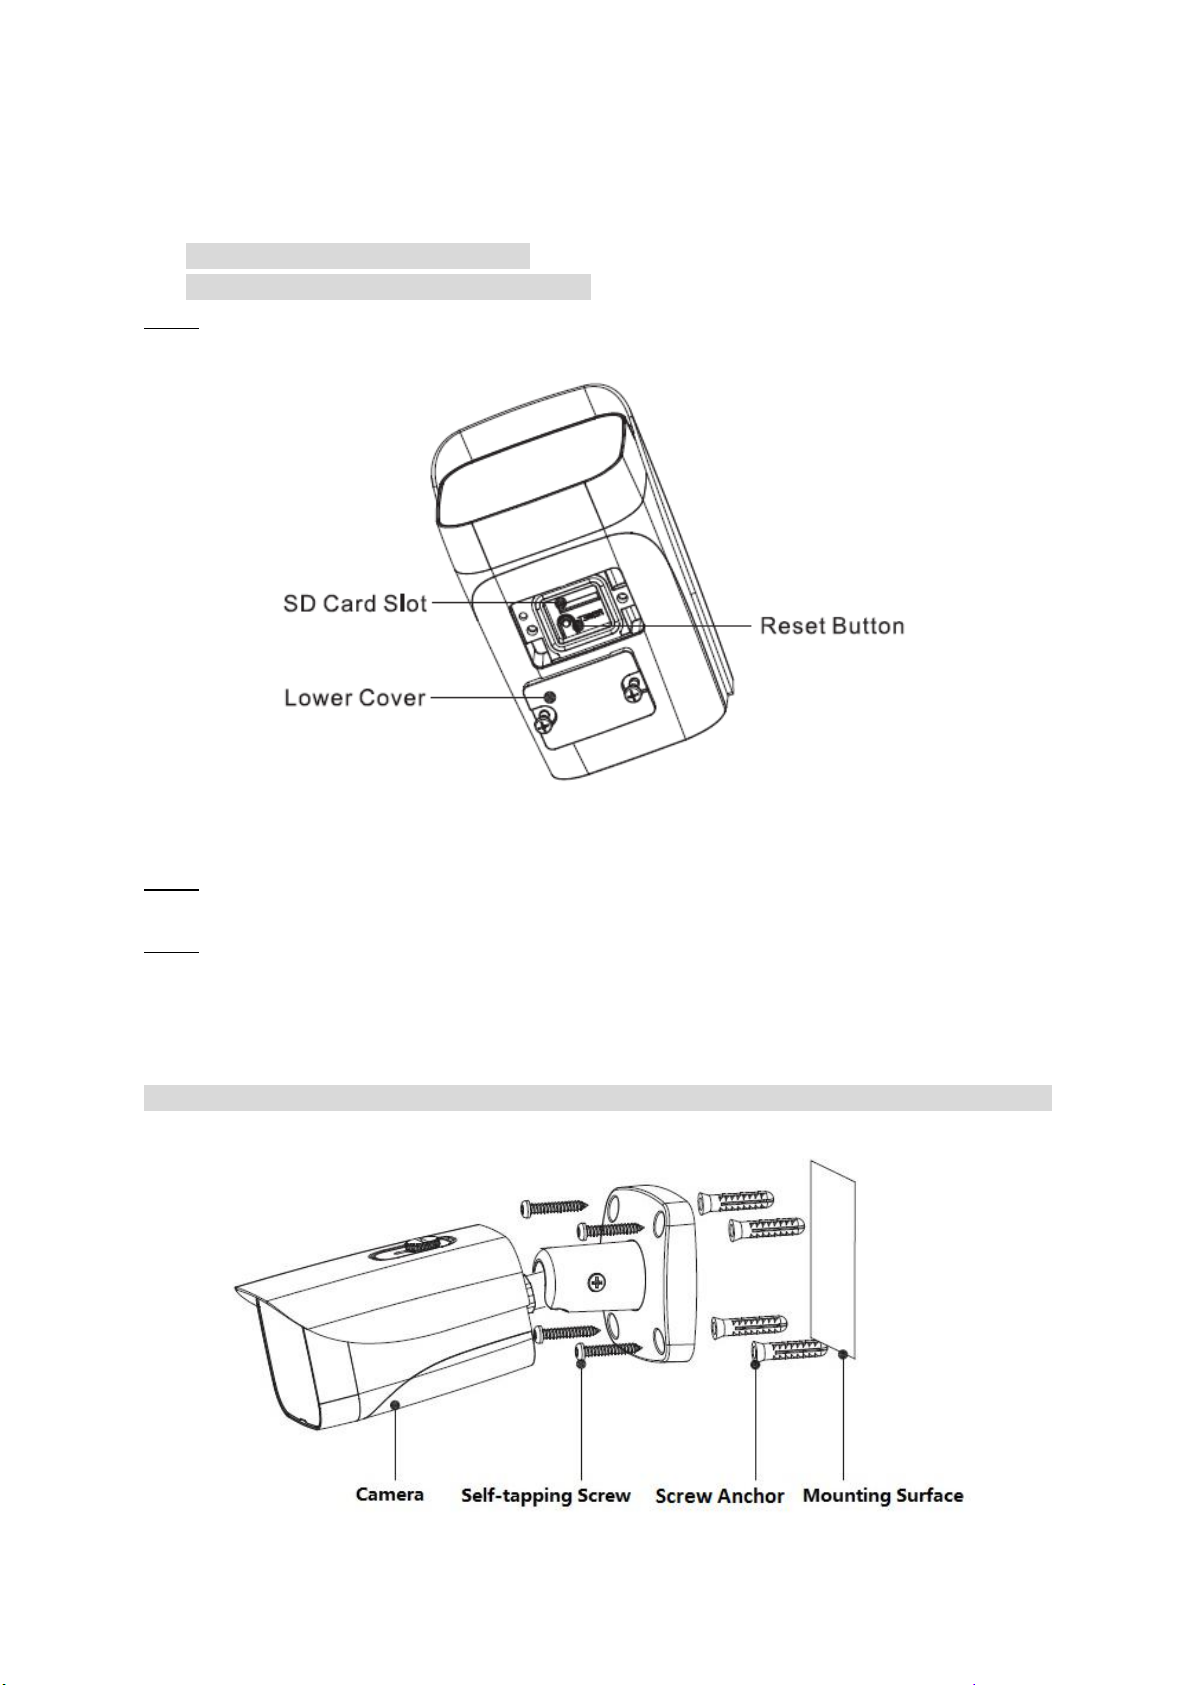
Please shut down the device and then unplug the power cable before you begin any maintenance work.
Do not touch the CMOS sensor optic component. You can use a blower to clean the dust on the lens surface.
Always use the dry soft cloth to clean the device. If there is too much dust, use a cloth dampened with a small
quantity of neutral detergent. Finally use the dry cloth to clean the device.
Please use a professional optical cleaning method to clean the enclosure. Improper enclosure cleaning (such as using
cloth) may result in a poor image.
The grounding holes of the product are recommended to be grounded to further enhance the reliability of the camera.
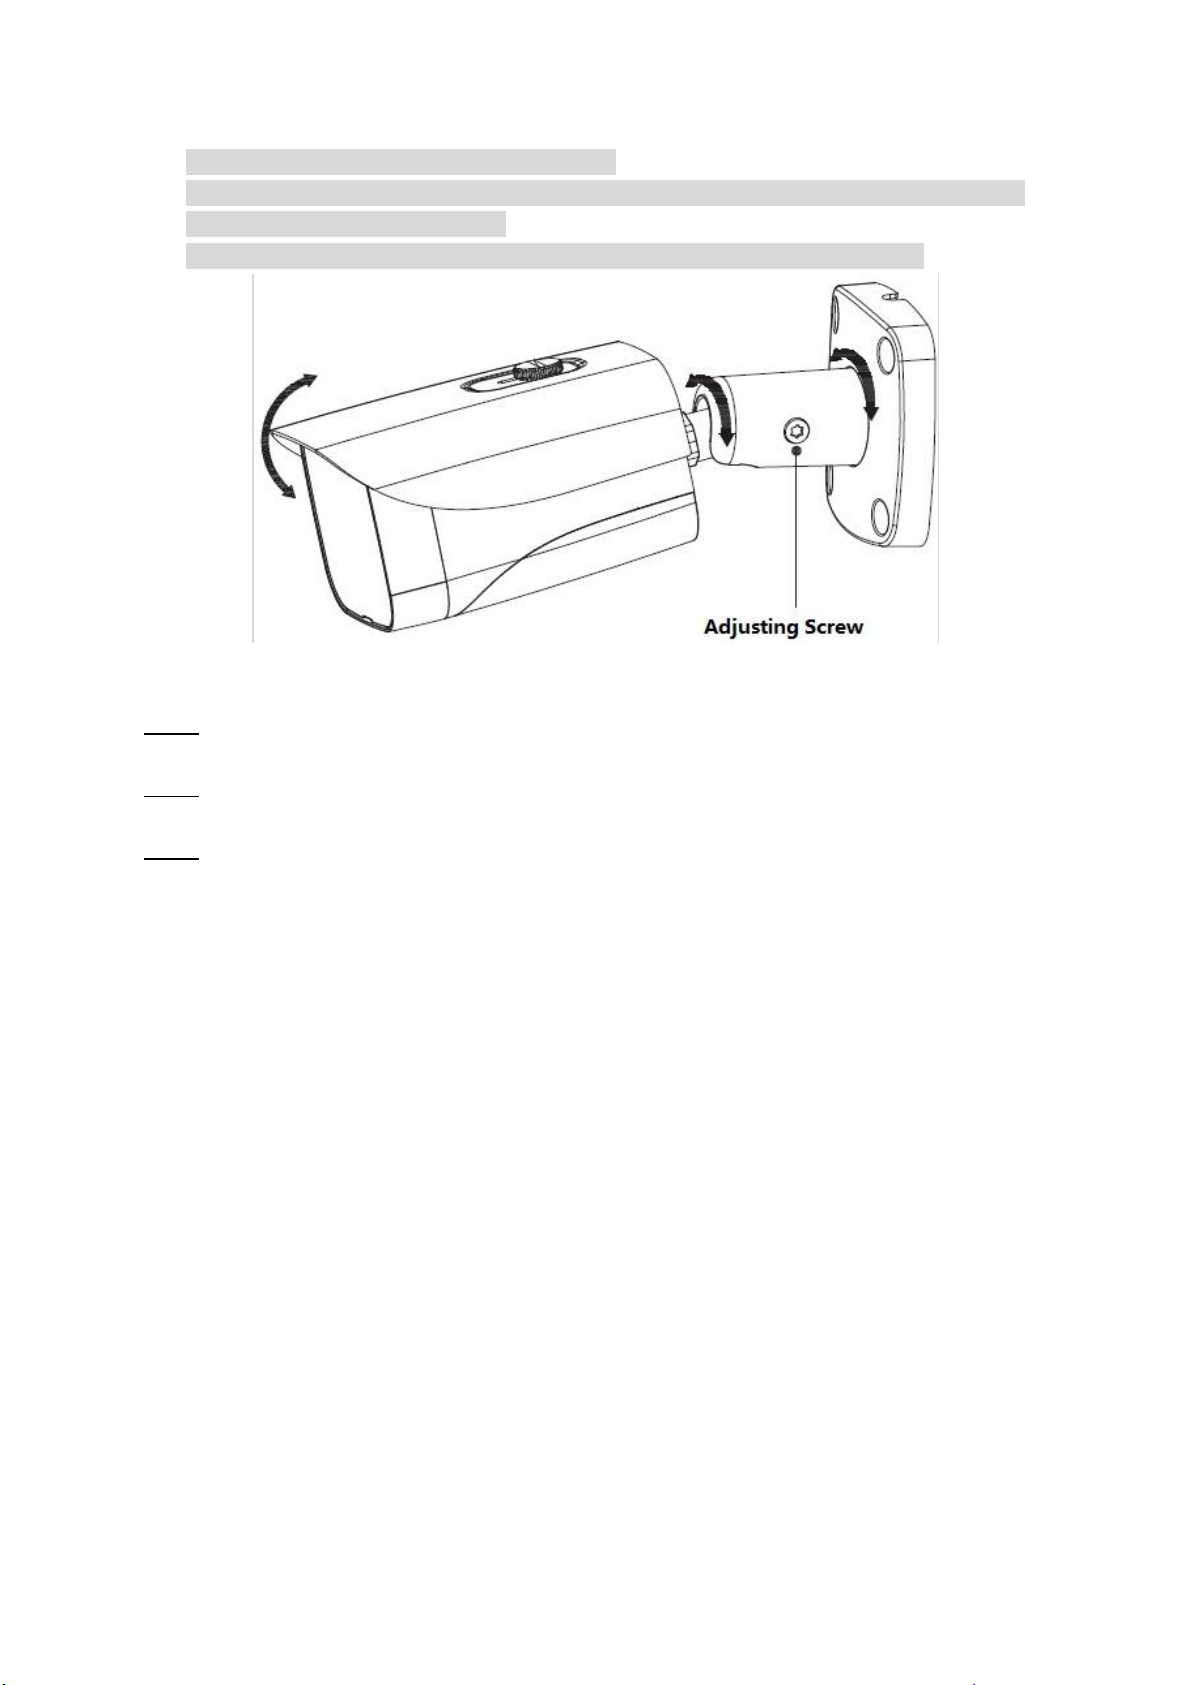
Dome cover is an optical device, please don’t touch or wipe cover surface directly during installation and use, please
refer to the following methods if dirt is found:
Stained with dirt
Use oil-free soft brush or hair dryer to remove it gently.
Stained with grease or fingerprint
Use oil-free cotton cloth or paper soaked with alcohol or detergent to wipe from the lens center outward. Change the
cloth and wipe several times if it is not clean enough.

ii
Warning
This camera should be installed by qualified personnel only.
All the examination and repair work should be done by qualified personnel.
Any unauthorized changes or modifications could void the warranty.
Statement
This guide is for reference only.
Product, manuals and specifications may be modified without prior notice. Speco Technologies reserves the right to
modify these without notice and without incurring any obligation.
Speco Technologies is not liable for any loss caused by improper operation.
Regulatory Information
1.1 FCC conditions:
This device complies with part 15 of the FCC Rules. Operation is subject to the following two conditions:
This device may not cause harmful interference
This device must accept any interference received, including interference that may cause undesired operation.
1.2 FCC compliance:
This equipment has been tested and found to comply with the limits for a digital device, pursuant to part 15 of the FCC
Rules. These limits are designed to provide reasonable protection against harmful interference. This equipment
generate, uses and can radiate radio frequency energy and, if not installed and used in accordance with the instruction
manual, may cause harmful interference to radio communication. However, there is no guarantee that interference
will not occur in a particular installation. If this equipment does cause harmful interference to radio or television
reception, which can be determined by turning the equipment off and on, the user is encouraged to try to correct the
interference by one or more of the following measures:
Reorient or relocate the receiving antenna.
Increase the separation between the equipment and receiver.
Connect the equipment into an outlet on a circuit different from that to which the receiver is connected.
Consult the dealer or an experienced radio/TV technician for help.
Note
Please refer to the disk for more details, check and download the corresponding user’s manual and tool.
Before installation, please open the package and check all the components are included.
Contact your local retailer as soon as possible if something is broken in your package.
Accessory Name
Amount
Accessory Name
Amount
Network Camera
1
Installation Position
Map
1
Quick Start Guide
1
Waterproof
Connector
1
Screw Package
1
CD
1
Wrench
1
-
-

iii
Table of Contents
1Physical Specifications ..........................................................................................................................1
1.1 Components............................................................................................................................1
1.2 Dimensions..............................................................................................................................1
2Installation ............................................................................................................................................2
2.1 Install SD Card (Optional)........................................................................................................2
2.2 Affix Device .............................................................................................................................2
2.3 Adjust Device Angle ................................................................................................................3
3IP Scanner..............................................................................................................................................5
3.1 Operation ................................................................................................................................5
4Remote Viewing ....................................................................................................................................6
4.1 Operation ................................................................................................................................6

1
1Physical Specifications
1.1 Components
Note
The following figure is for reference only, which is used to know the function of cable port.
You can refer to the following figure for cable information. See Figure 1-1.
Figure 1-1
Please refer to Table 1-1 for more detailed information.
SN
Port name
Connector
Note
1
Power input port
/
Connect to standard Ethernet cable.
2
Network port
Ethernet port
Power port. Input DC 12V power.
Table 1-1
1.2 Dimensions
Note
The following figure is for reference only, See Figure 1-2.
Figure 1-2

2
2Installation
2.1 Install SD Card (Optional)
Use these steps if using the SD card slot.
Disconnect the power before installing SD card.
Step 1
Open the SD card cover and find the SD card slot in the location shown in Figure 2-1.
Figure 2-1
Step 2
Take note the direction of SD card and insert it into the card slot.
Step 3
Install the SD card cover and complete installation. This cover must be on securely to maintain weather
resistance.
2.2 Install Device
Mounting surface should be strong enough to support the camera’s weight and heavy weather conditions.
Figure 2-2

3
Step 1
Stick installation position map to designated surface where you will install the device (wall or ceiling).
Step 2
Drill out holes according to position marked on installation map.
Step 3
Open accessories bag, take out screw anchors and insert them into the holes you just drilled.
Step 4
Open accessories bag, and take out the screws. Tighten the 4 screws to fix the device on the installation
surface (wall or ceiling). You can move device sunshade back and forth. When you have fixed the device,
you must tighten screws on sunshade.
Step 5
Plug external wiring of the device properly.
Install Waterproof Connector (Optional)
The installation process of waterproof connector for network port is shown in Figure 2-3.
Note
For use when operating outdoors or conditions which require a sealed connection.
Figure 2-3
Step 1
Keep the convex groove outward and install the rubber ring into the network port, keep the smaller hole
of the rubber ring outward and install the fixing rubber ring into the main body of the waterproof
connector.
Step 2
Pull the network cable without termination through main body of waterproof connector, fixing rubber
ring and waterproof locking cover, terminate the network cable with a male RJ45 connector, and then
insert it into the female RJ45 jack.
Step 3
Put the main body of waterproof connector on the network port and rotate it clockwise to lock the
network port and waterproof connector firmly.
Step 4
Put the waterproof locking cover on the main body of waterproof connector and rotate it clockwise to
lock the waterproof connector and waterproof locking cover firmly.
2.3 Adjust Device Angle

4
Note
Refer to figure 2-4 for positioning and adjustment.
Please be sure to loosen the adjusting screw when adjusting the device position and angle, tighten
the adjusting screw after adjustment.
Do not rotate the camera more than 3 rotations to avoid twisting of the internal cable.
Figure 2-4
Step 1
Use screwdriver (in accessories bag) to loosen adjusting screw.
Step 2
Adjust the device in all possible directions, and set its monitoring direction.
Step 3
Use screwdriver to tighten the screws.

5
3IP Scanner
IP Scanner can search for the device on the local network.
Please note that only devices that are on the same subnet can be discovered.
The device is set to DHCP mode by default.
3.1 Operation
Open up IP Scanner.
See Figure 3-1
In the device list, you can view the IP address, model number, and MAC address of each device. Select
the applicable device and double click to open up the web viewer.
Figure 3-1

6
4Remote Viewing
This device supports viewing and management via a web browser on a PC.
4.1 Operation
Open the browser and input network camera address in the address bar or double click the device in IP
Scanner. See Figure 4- 1
Figure 4-1
The login interface is shown as below. See Figure 4-2.
Please input your user name and password.
Default user name is admin and password is 1234.
Note: For security purposes, please change the password after initial login.
Figure 4- 2 Web login
Input your IP
address here
Table of contents
Other Speco Security Camera manuals

Speco
Speco HT5100BPVFG User manual

Speco
Speco CVC-212PC User manual

Speco
Speco VLEDT2HG User manual

Speco
Speco O8D6M User manual

Speco
Speco VL-10 User manual

Speco
Speco O4DT7M User manual

Speco
Speco PROVIDEO CVC-627 User manual

Speco
Speco VLD8SCSFF User manual

Speco
Speco O5T2 User manual

Speco
Speco HTINT701T User manual

Speco
Speco ProVideo CVC-6800EX User manual

Speco
Speco O4VT1 User manual

Speco
Speco CVC627MT User manual

Speco
Speco LPRB922 User manual

Speco
Speco CVC-614C User manual

Speco
Speco RC-650 Owner's manual

Speco
Speco O4VD1 User manual

Speco
Speco CVC-5815DNV User manual

Speco
Speco ONSIP O2D3 User manual

Speco
Speco HINT13D7G User manual