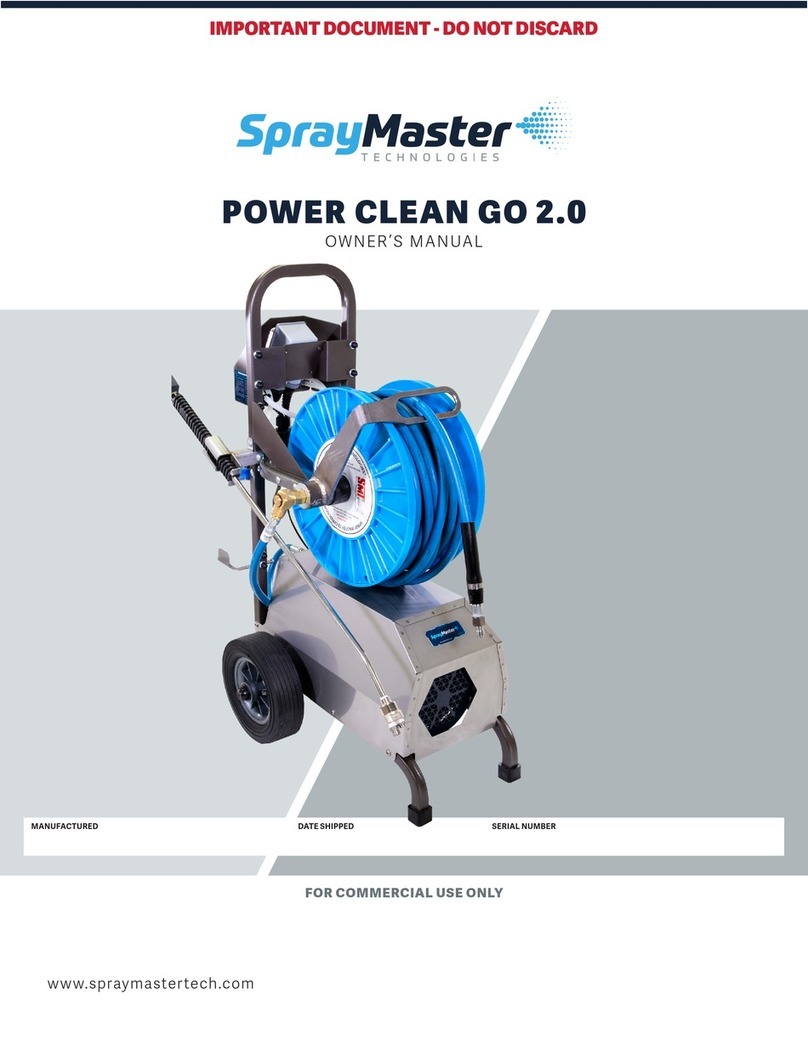
Spray Master Technologies POWER CLEAN C Series User manual

FOR COMMERCIAL USE ONLY
www.spraymastertech.com
MANUFACTURED DATE SHIPPED SERIAL NUMBER
POWER CLEAN CENTRAL SYSTEMS
2.0 C / 5.0 C / INTERNATIONAL C SERIES
OWNER’S MANUAL
IMPORTANT DOCUMENT - DO NOT DISCARD

2
Congratulations!
You have just purchased the best
spray washer on the market today.
It incorporates the very latest
in technological advances. To
assure you the best and safest
performance as well as longest
equipment life, please read the
enclosed information.
After reading the material in
this manual, should you need
assistance, please call customer
service at our toll free number
(800) 548-3373 or (479) 636-5776.
SPRAY MASTER SERVICE
Mon-Fri, 8:00 am - 5:00 am CST
(800) 548-3373
techservice@assembledproducts.com
Spray Master Technologies will repair or replace any originally
installed parts on the Power Clean series which are found
to be defective in material or workmanship for a period of
two (2) years and on the Power Clean Go series for a period
of one (1) year from the date of shipment to the original
purchaser, excluding items listed below. The defect must
occur during normal use of the product and within the length
of warranty coverage. The repair or replacement of that part
will be provided according to the time limits of the warranty
policy. Repairs must be completed using only Spray Master
Technologies approved parts.
EXCLUDED ITEMS
The following items are covered by the above warranty for
ninety (90) days from date of shipment:
Wear Items* - Spray guns, wands, hoses, nozzles, quick
couplers, Hummer Jet Sr. and Hummer Jet Jr. casters and
handles, check valves and chemical injectors.
The following items are covered by the above warranty for
1 year from the date of shipment:
Unloaders, Chemical Valves†
Electrical Components - float switch, temperature
switch, Solid-State Relay, Master Control Panel,
electronic injectors, wiring harnesses and flow
switch.
LABOR AND TRAVEL
Labor and travel to repair or replace defective parts shall be
covered for a period of 1 year from date of shipment. Labor and
travel for warranty wear items shall be covered for a period of
90 days.
ITEMS VOIDING WARRANTY
The following voids all warranty claims: Accidental breakage;
abuse; misuse; failures caused by incorrect installation if
not installed by authorized factory representative; failure
to correctly wire the system at the electrical source;
foreign items, chemical or mineral buildup in the pumps
and water lines caused by untreated or unfiltered tap, hard
or recaptured water; excessive hot water temperatures
exceeding 160˚ Fahrenheit; failures due to injecting bleach or
harsh or corrosive chemicals; not following Owners Operation
instructions; damage due to freezing temperatures; natural
disasters, electrical surges; and, tampering, aempted
repair by unauthorized service personnel, and not following
prescribed Preventive Maintenance Program.
*Wear Items Not Covered – O-rings, gaskets, filters. †O-rings,
gaskets, pulse pump diaphragm, check valves or failures due to
chemical damage are not covered by this Limited Warranty.
LIMITED WARRANTY
Spray Master Technologies®
Effective May 20, 2020

3
LIMITED WARRANTY >>>>>>>>>>>>>>>>>>>>>>>>>>>>>>>>>>>>>>>>>>>>>>>>>>>>>>>>>>>>>>>>>>>>>
OWNER / USER RESPONSIBILITY >>>>>>>>>>>>>>>>>>>>>>>>>>>>>>>>>>>>>>>>>>>>>>>>>>>>>>>>>>>
FIRST STEPS
Receiving Your Pressure Washer >>>>>>>>>>>>>>>>>>>>>>>>>>>>>>>>>>>>>>>>>>>>>>>>>>>>>>>>>>
Returning Your Pressure Washer >>>>>>>>>>>>>>>>>>>>>>>>>>>>>>>>>>>>>>>>>>>>>>>>>>>>>>>>>>
Pressure Washer Utility Requirements >>>>>>>>>>>>>>>>>>>>>>>>>>>>>>>>>>>>>>>>>>>>>>>>>>>>>
What To Do For Service >>>>>>>>>>>>>>>>>>>>>>>>>>>>>>>>>>>>>>>>>>>>>>>>>>>>>>>>>>>>>>>>>>
Model Identification >>>>>>>>>>>>>>>>>>>>>>>>>>>>>>>>>>>>>>>>>>>>>>>>>>>>>>>>>>>>>>>>>>>>
IMPORTANT SAFETY WARNING INSTRUCTIONS
Safety Warnings >>>>>>>>>>>>>>>>>>>>>>>>>>>>>>>>>>>>>>>>>>>>>>>>>>>>>>>>>>>>>>>>>>>>>>>>
Ground Fault Circuit Interrupter (GFCI) Protection >>>>>>>>>>>>>>>>>>>>>>>>>>>>>>>>>>>>>>>>>>
Grounding >>>>>>>>>>>>>>>>>>>>>>>>>>>>>>>>>>>>>>>>>>>>>>>>>>>>>>>>>>>>>>>>>>>>>>>>>>>>
Extension Cords >>>>>>>>>>>>>>>>>>>>>>>>>>>>>>>>>>>>>>>>>>>>>>>>>>>>>>>>>>>>>>>>>>>>>>>>
OPERATING THE PRESSURE WASHER
User Operated Controls >>>>>>>>>>>>>>>>>>>>>>>>>>>>>>>>>>>>>>>>>>>>>>>>>>>>>>>>>>>>>>>>>
Pre-Operation Check >>>>>>>>>>>>>>>>>>>>>>>>>>>>>>>>>>>>>>>>>>>>>>>>>>>>>>>>>>>>>>>>>>>
Daily Maintenance >>>>>>>>>>>>>>>>>>>>>>>>>>>>>>>>>>>>>>>>>>>>>>>>>>>>>>>>>>>>>>>>>>>>>
Preparation for Use >>>>>>>>>>>>>>>>>>>>>>>>>>>>>>>>>>>>>>>>>>>>>>>>>>>>>>>>>>>>>>>>>>>>>
Operation >>>>>>>>>>>>>>>>>>>>>>>>>>>>>>>>>>>>>>>>>>>>>>>>>>>>>>>>>>>>>>>>>>>>>>>>>>>>>
Accessories >>>>>>>>>>>>>>>>>>>>>>>>>>>>>>>>>>>>>>>>>>>>>>>>>>>>>>>>>>>>>>>>>>>>>>>>>>>
MAINTENANCE
General Maintenance >>>>>>>>>>>>>>>>>>>>>>>>>>>>>>>>>>>>>>>>>>>>>>>>>>>>>>>>>>>>>>>>>>
Moving & Storage >>>>>>>>>>>>>>>>>>>>>>>>>>>>>>>>>>>>>>>>>>>>>>>>>>>>>>>>>>>>>>>>>>>>>
CHEMICAL METERING
Chemical Metering Instructions >>>>>>>>>>>>>>>>>>>>>>>>>>>>>>>>>>>>>>>>>>>>>>>>>>>>>>>>>>
Manufacturer’s Recommended Dilution Chart >>>>>>>>>>>>>>>>>>>>>>>>>>>>>>>>>>>>>>>>>>>>>>
MASTER CONTROL PANEL CODES >>>>>>>>>>>>>>>>>>>>>>>>>>>>>>>>>>>>>>>>>>>>>>>>>>>>>>>>>>
OWNER / USER RESPONSIBILITY
The owner and/or user must understand the operating instructions and warnings before using this pressure
washer. Warning information should be emphasized and understood. Owner and operator must study this manual
and keep handy for future reference. The operator must know how to stop the machine quickly and understand
the operation of all controls. Never allow anyone to operate the machine without proper instructions.
TABLE OF CONTENTS
POWER CLEAN CENTRAL SYSTEM SERIES OWNER’S MANUAL
2
3
4
4
4
4
4
5
7
7
7
8
9
9
9
10
10
11
11
12
12
13

FIRST STEPS
POWER CLEAN CENTRAL SYSTEM SERIES OWNER’S MANUAL
4
RECEIVING YOUR PRESSURE
WASHER
Damage: Check for damage in shipping. Report any
damage to the shipping carton or contents to the
freight carrier. File a claim with the carrier within ten
(10) days. Spray Master Technologies is not responsible
for damage to the equipment caused by the freight
carrier.
Package Contents: Carefully check the contents of
the shipping cartons to ensure the contents match
with the packing list. Please call our Customer Service
Department if items are missing at 1-800-548-3373 or
1-479-636-5776.
SAVE THESE INSTRUCTIONS!
This manual should be considered a permanent part of the machine and should remain with it. When
ordering parts, please specify model and serial number. Use only identical replacement parts. This
machine is to be used only by trained operators.
PRESSURE WASHER
UTILITY REQUIREMENTS
WATER
Flow Rate:
Minimum 5 GPM
Pressure:
30 PSI min. to 80 PSI max.
Temperature:
160° F max, 70.1° C
ELECTRICAL
Power Clean 2.0 C:
120V, 60Hz, 20 AMP
Power Clean 5.0 C:
240V, 60Hz, 30 AMP
Power Clean International C:
230V, 50Hz, 20 AMP
RETURNING YOUR PRESSURE
WASHER
Any item returned for warranty or for credit must have
a Returned Authorization Number. Call our Customer
Service Department to discuss your return request.
Please note that all items returned must be F.O.B.
Rogers, Arkansas. No collect or C.O.D. shipments will
be accepted unless prior arrangements have been made
with Customer Service. A restocking fee may be applied
to the items returned for credit that are not under
warranty.
WHAT TO DO FOR SERVICE
If a problem occurs, first refer to the Power Clean
Central System Series Service Manual in the “Trouble
Shooting and Diagnostics” section starting on page 38.
MODEL IDENTIFICATION
The model and serial numbers will be found on a decal on
the pressure washer. Please record these along with date
of purchase for future reference.
MODEL NUMBER
SERIAL NUMBER
PURCHASE DATE
SERVICE PHONE 1-800-548-3373

IMPORTANT SAFETY
WARNING INSTRUCTIONS
POWER CLEAN CENTRAL SYSTEM SERIES OWNER’S MANUAL
5
Indicates a hazardous
situation which, if not
avoided, could result in
death or serious injury.
Indicates a hazardous
situation which, if not
avoided, could result in
minor or moderate injury.
THIS IS THE SAFETY ALERT SYMBOL.
THIS SYMBOL ALERTS YOU TO
POTENTIAL HAZARDS THAT CAN
KILL YOU OR HURT YOU AND
OTHERS. ALL SAFETY MESSAGES
WILL FOLLOW THE SAFETY ALERT
SYMBOL AND THE WORD “DANGER”,
“WARNING”, OR “CAUTION”.
THESE WORDS ARE DEFINED AS:
Indicates a hazardous
situation which, if not
avoided, will result in death
or serious injury.
READ OPERATOR’S MANUAL
THOROUGHLY PRIOR TO USE.
Read the owner’s manual thoroughly. Failure to
follow instructions could cause malfunction of the
machine and result in death, serious bodily injury
and/or property damage.
1. Read these instructions before using the product.
2. To reduce the risk of injury, close supervision is
necessary when a product is used near children.
3. Know how to stop the machine and bleed pressure
quickly. Be thoroughly familiar with the controls.
4. Stay alert – Watch what you are doing.
5. Do not operate the product when fatigued or under
the influence of alcohol or drugs.
6. Keep operating area clear of all persons.
7. Do not overreach or stand on unstable support.
Keep good footing and balance at all times.
8. Follow the maintenance instructions specified in
the manual.
9. All installations must comply with local codes.
Contact your electrician, plumber, utility company
for specific details.
SAVE THESE INSTRUCTIONS!

6
IMPORTANT SAFETY
WARNING INSTRUCTIONS
(Continued...)
POWER CLEAN CENTRAL SYSTEM SERIES OWNER’S MANUAL
KEEP WATER SPRAY AWAY FROM
ELECTICAL WIRING.
Keep wand, hose, and water spray away from
electric wiring or fatal electric shock may result.
To protect the operator from electrical shock, the
machine must be electrically grounded. It is the
responsibility of the owner to connect this machine to a
UL grounded receptable of proper voltage and amperage
ratings. Do not spray water on or near electrical
components. Do not touch machine with wet hands
or while standing in water. Always disconnect power
before servicing.
TRIGGER GUN KICKS BACK – HOLD WITH
BOTH HANDS.
Grip cleaning wand securely with both hands before
starting. Failure to do this could result in injury from a
whipping wand.
DO NOT SPRAY MACHINE, PEOPLE, ANIMALS
OR ELECTRICAL PARTS.
RISK OF EXPLOSION. DO NOT SPRAY
FLAMMABLE LIQUIDS.
»Do not allow acids, caustic or abrasive fluids to pass
through the pump.
»Never run pump dry or leave spray gun closed longer
than 1-2 minutes.
»Keep operating area clear of all persons.
RISK OF INJECTION OR SEVERE INJURY TO
PERSONS. KEEP CLEAR OF NOZZLE.
»To reduce the risk of injury, close supervision is
necessary when a machine is used near children. Do
not allow children to operate the pressure washer.
This machine must be attended during operation.
»Never make adjustments on machine while in
operation.
»Be certain all quick coupler fittings are secured
before using pressure washer.
PROTECTIVE EYE WEAR AND CLOTHING
MUST BE WORN.
High pressure spray can cause paint chips or other
particles to become airborne and fly at high speeds. To
avoid personal injury, eye, hand, and foot protection
must be worn when using this equipment.
Always wear properly-rated eye protection, such as
safety goggles or face shield, while spraying. (Safety
glasses do not provide full protections.)
RISK OF EXPLOSION – OPERATE ONLY
WHERE OPEN FLAME OR TORCH IS
PERMITTED.
Flammable liquids can create fumes which can ignite,
causing property damage or severe injury.

7
IF CONNECTED TO A POTABLE WATER
SUPPLY, PROTECT AGAINST BACKFLOW.
PROTECT FROM FREEZING.
»To keep machine in best operating conditions, it
is important you protect machine from freezing.
Failure to protect machine from freezing could cause
malfunction of the machine and result in death,
serious bodily injury, and/or property damage. Follow
storage instructions specified in this manual.
»Inlet water must be clean fresh water and no hotter
than 160˚F.
»Manufacturer will not be liable for any changes made
to our machines or any components not purchased
from us.
»The best insurance against an accident is precaution
and knowledge of the machine.
RISK OF INJURY FROM FALLS WHEN USING
LADDER.
Be extremely careful when using a ladder, scaffolding
or any other relatively unstable location. The cleaning
area should have adequate slopes and drainage to
reduce the possibility of a fall due to slippery surfaces.
»Do not overreach or stand on unstable support. Keep
good footing and balance at all times.
»Do not operate this machine when fatigued or under
the influence of alcohol, prescription medications, or
drugs.
SOME DETERGENTS MAY BE HARMFUL IF
INHALED OR INGESTED.
Some detergents may be harmful if inhaled or ingested,
causing servere nausea, fainting or poisoning. The
harmful elements may cause property damage or
severe injury.
GROUNDING
This product must be grounded. If it should
malfunction or breakdown, grounding provides a path
of least resistance for electric current to reduce the
risk of electric shock. This product must be attached
to an electrical supply of appropriate voltage and
sufficient amperage that is properly installed and
grounded in accordance with all local codes and
ordinances.
EXTENSION CORDS
Use only 3-wire extension cords that have 3-prong
grounding type plugs and 3-pole cord connectors that
accept the plug from the products. Use only extension
cords that are intended for outdoor use. These
extension cords are identified by a marking “Acceptable
for use with outdoor appliances, store indoors while
not in use.” Use only extension cords having an
electrical rating not less than the rating of the product.
Do not use damaged extension cords. Examine
extension cord before using and replace if damaged.
Do not abuse extension cords and do not yank on any
cord to disconnect. Keep cord away from heat and
sharp edges. Always disconnect the extension cord
from the receptacle before disconnecting the product
from the extension cord.
Improper connection of the equipment grounding
conductor can result in a risk of electrocution.
Check with qualified electrician or service
personnel if you are in doubt as to whether the
power supply is properly grounded. Have a
proper outlet, and appropriate cord set, installed
by a qualified electrician. Do not use any type of
adapter with this product.
TO REDUCE THE RISK OF ELECTROCUTION,
KEEP ALL CONNECTIONS DRY AND OFF THE
GROUND. DO NOT TOUCH THE PLUG WITH
WET HANDS.

8
OPERATING THE
PRESSURE WASHER
POWER CLEAN CENTRAL SYSTEM SERIES OWNER’S MANUAL
USER OPERATED CONTROLS
Master OFF/ON Switch:The power switch for Spray
Master Central Systems should remain in the “ON” position
at all times, unless being serviced.
»This unit comes with a lockout tag that will be placed
on the unit after its first start up. The lockout tag will
prevent the unit from accidentally being turned off.
Lockout tag must be replaced on unit when system is
powered back up after service.
Spray Gun: The spray gun assembly provides the
operator control of the flow, pressure, and pattern of the
high-pressure spray. Squeezing the gun trigger while
directing the spray nozzle toward the surface to be
cleaned operates the spray gun. Your spray gun may be
equipped with a dual nozzle or vari-nozzle.
»Dual Nozzle: The dual nozzle selector is used to select
either the low-pressure “soap” nozzle or the high
pressure “rinse” nozzle. Selection of the desired nozzle
must be made while the spray gun trigger is released.
To select the low-pressure nozzle, rotate the spray gun
90˚ counterclockwise so that the spray gun handle
is parallel to the ground with the hose connection
extending to the operators right, then squeeze the
trigger. To select the high-pressure nozzle, rotate the
spray gun 90˚ clockwise so that the spray gun handle
is parallel to the ground with the hose extending to
the operator’s left, then squeeze the spray gun trigger.
Once the nozzle has been selected and the spray gun
trigger held open, the spray gun may be rotated and
aimed at the surface.
»Vari-Nozzle: The vari-nozzle is used to select either
low-pressure “soap” or high-pressure “rinse”, and to
adjust the spray-pattern from a wide-angle spray to
a zero-degree stream. For high-pressure, pull the
nozzle-body firmly toward the spray-gun handle. To
select low-pressure, push the black nozzle body firmly
away from the spray gun handle. To vary the spray
pattern of the nozzle, twist the black nozzle body
clock ways to narrow pattern and counter clock ways
to widen the spray pattern.
Electronic Chemical Metering:This unit comes with
two electronic chemical injectors. These are located to
the left of the pump and motor assembly on the main
frame. Chemical pickup lines feed Chem 1 and Chem
2 feed into the system. A 1/16” size Allen Key is used
to adjust chemical dilution. Part number 300-0405.
Please refer to the Chemical Dilution Chart at back of
this Owner’s Manual to set desired rate of chemical
delivery.
Master Control Panel:The Master Control Panel
(MCP) will provide you with information on hours of
operation, error codes and LED lighting that provide
quick visual status checks of the system. Please refer
to Technical Manual for specific information on error
codes and LED lighting signals.
When the system power is on a green LED light located
in the center of the MCP will indicate that the system is
receiving power. If the green LED light is off, check to
see that power to the unit is present. Check to ensure
that power supply is on, properly connected and that
GFCI plug (if equipped) and/or GFCI circuit breaker are
not tripped. If all of these are confirmed and the green
light is still off, call Spray Master service for assistance.
If the green light is off and you see a red light glowing
in the lower portion of the MCP then the system fuse is
blown. There is a spare specialized fuse provided with
your system. It is taped to the inside of the MCP clear
lid behind the front label. Contact your maintenance
department or Spray Master service to have replaced.
Remote Control Panel(s):To use the system the
activation of Rinse, Chem 1, and Chem 2 are turned
on at each Remote Control Panel at the desired wash
down area. Users will roll out the pressure washer
hose, connect to the discharge nipple at remote panel
and select desired rinse or chemical. Activation of
trigger on spray wand will begin the pressure wash.

9
PRE-OPERATION CHECK
»Perform the pre-operation daily maintenance check
prior to operating the unit to ensure safe operation
and prolonged equipment life.
»Read safety, operation, and maintenance instructions
before starting machine.
DAILY MAINTENANCE
»Check oil level. Fill to center of sight glass. See “Oil” in
General Maintenance Section.
»If equipped, check to see that the GFCI power cord,
or GFCI Outlet, is in good condition. Have a qualified
electrician replace any damaged power cord, plug, or
faulty outlet. Test the GFCI circuit weekly by pressing
the TEST button on the GFCI. Reset the GFCI after
test by pressing the RESET button on the GFCI.
»Hoses – Check hoses for breaks and damaged fittings.
Replace as needed.
»Spray Gun – Check spray gun for damaged fittings,
nozzle, and trigger. Replace as needed.
PREPARATION FOR USE
»Verify that the surface or equipment to be cleaned can
withstand the high-pressure spray.
»Confirm that power switch is lockout in the ON
position.
»Wear safety googles or other approved eye protection
when cleaning with high-pressure spray washers.
»Check with your Safety Representative for other
Personnel Protective Equipment (PPE) that may be
required for the job being performed.
»Clear area of slip or trip hazards. Keep area clear while
cleaning.
»Attach high-pressure hose to discharge nipple
with quick coupler. Lock quick coupler in place
by pulling back coupler collar and inserting it
into the discharge nipple then pulling back on
coupler collar to lock into place.
»Attach spray gun to hose.
»Check that unit is plugged in, and confirm water
supply.
»This machine will siphon chemical and mix with
water at the chemical injector. Check the main
unit to confirm there is enough chemical for
cleaning operation.
RUNNING PUMP ON CHEM 1 OR CHEM 2
WITHOUT CHEMICAL CAN INTRODUCE AIR
INTO SYSTEM AND CAN DAMAGE PUMP AND
RESULT IN PRESSURE LOSS.

10
OPERATING THE
PRESSURE WASHER
(Continued...)
POWER CLEAN CENTRAL SYSTEM SERIES OWNER’S MANUAL
OPERATION
»Firmly grasp spray gun.
»Point the spray gun in safe direction.
»Direct the spray gun nozzle toward the surface or
equipment to be cleaned and squeeze the spray gun
trigger. (Note: Use low-pressure for SOAP application
and high-pressure for RINSE.)
»Apply chemical solution on low-pressure to the
surface or equipment to be cleaned and let soak
according to the instructions for the chemical you are
using.
»Use high-pressure spray to rinse the surface or
equipment being cleaned. Rinse thoroughly.
»Turn remote panel to “OFF” position.
»Squeeze the spray gun trigger to release system
pressure. Hose and spray guns cannot be
disconnected while the system is pressurized.
»Disconnect and store all equipment.
ACCESSORIES
The accessories listed below are available for use with your
Spray Master Technologies high-pressure cleaning system.
»Hummer Jet™ Jr. – Indoor floor surface cleaner.
Focuses high-pressure spray in centralized area for
thorough cleaning. Reduces misting and overspray.
»Dual-Nozzle Spray Gun – Single spray gun unit
designed to quickly change from low pressure soap to
high pressure rinse with the flip of a wrist.
»Vari-Nozzle Spray Gun – Single spray gun unit
designed to quickly change from low pressure soap to
high pressure rinse by a simple push/pull on the nozzle
head.
»Tornado Spray Gun – High impact spray gun used to
focus on small trouble areas.
»Foamer Gun – Specialized low-pressure spray gun that
foams cleaning chemicals. Ideal for soak operations.
»6” Shorty Spray Gun – Specialized spray gun for tight
spots.
»Wall and Tile Brush – 10” scrub brush hooks up to
pressure hose and enables soap and rinse features.
»Trap Shooter – Specialized spray gun for cleaning
drains and interior of containers.

11
MAINTENANCE
POWER CLEAN CENTRAL SYSTEM SERIES OWNER’S MANUAL
MOVING & STORAGE
Moving:Spray Master Central System series units are
stationary units that are installed to walls or racks. Once
installed, it is impractical to move the pump for use in
various locations.
Storage:Store Spray Master equipment and accessories
indoors and so that they do not present a trip or fall hazard.
When storing Spray Master units for extended periods or in
freezing conditions, drain all water and winterize the system
with potable water antifreeze.
WINTERIZE YOUR SPRAY MASTER
SYSTEM AS FOLLOWS:
»Turn off the water supply and disconnect the water
supply hose from the unit.
»Run the unit with the spray gun open at each remote
location until antifreeze is detected. Continue at each
station until the tank is empty.
»Fill the tank with a suitable potable anti-freeze
solution.
»Run the unit with the spray gun open until the tank
is empty. Refill tank with additional antifreeze until
all remote locations have been winterized. A small
amount of liquid will remain in the bottom of the tank.
»Disconnect unit from power.
GENERAL MAINTENANCE
Oil: Add oil to the pump reservoir as needed to keep the oil
level at the center of the oil-level sight glass between the
arrows. Check oil level with the machine “OFF”.
»First oil change must be done at 50 hours of operation.
»Follow-on oil changes must be done every 3 months or
after 50 hours of operation.
»Use ISO-68 non-detergent hydraulic oil only.
Use of any other type of oil will VOID warranty and may
damage the pump. Oil may be purchased from Spray Master
by calling 800-548-3373 or 479-636-5776.
Water Supply Filter:A quality water supply filter is
essential to pump life longevity. Do not operate your pump
without a water supply filter.
»Replace with 5-micron water supply filter every 3
months or as needed to ensure an adequate supply of
clean water to the pump.
»A dirty water filter can restrict water flow and cause
intermittent shutdown of the pump.
Chemical Foot Screen: Flush the chemical foot screens
and injector with warm water to remove chemical buildup
that can restrict water flow. Perform flush every 90 days or
sooner depending upon strength and thicker viscosity of
strong cleaning agents.
»Remove the chemical pickup tube with foot screen
from the chemical supply and submerse in warm
water.
»Operate the system on low-pressure for 2 minutes
with the chemical control set to maximum.
Hard Water Deposit: Flush the pump with a de-liming
agent such as Lime-A-Way as often as necessary to keep
the system free of mineral buildup that can adversely affect
operation.
»Pour 8 ounces of de-liming agent into a full float tank.
»Turn pump “ON” and allow recirculation for 5 minutes.
»Direct the spray gun to a drain and run spray gun for
several minutes to purge the de-liming agent from the
system
TO PREVENT DAMAGE TO THE PUMP, DO
NOT RUN THE PUMP AFTER THE UNIT HAS
BEEN EMPTIED.
IF YOUR SYSTEM IS USED TO CLEAN FOOD-
PROCESSING EQUIPMENT, CONSULT YOUR
CHEMICAL SUPPLIER FOR ANTI-FREEZE
THAT IS SUITABLE FOR THAT APPLICATION.

CHEMICAL METERING
POWER CLEAN CENTRAL SYSTEM SERIES OWNER’S MANUAL
CHEMICAL METERING
INSTRUCTIONS
The chemical dilution chart below display’s ounces of
chemical per gallon of water.
Follow the steps below to calculate and adjust the chemical
dilution for a Spray Master cleaning system.
»Find your pump GPM rating on the left side of the chart.
»Follow the row identified in Step 1 to the right until
you find the column heading with the chemical
manufactures ounces per gallon to be injected into the
water.
»The value at the point where the row, Step 1, and the
column, Step 2, intersect is the duration of time, in
seconds, it should take for the Spray Master system to
draw 5 ounces of chemical.
»Example: The 2.1 gallon per minute (GPM) pump used to
apply a chemical requiring a mix ration of 4 ounces per
gallon will need to inject 5 ounces of chemical over a 36
second period.
Failures due to bleach or injecting harsh or
corrosive chemicals in non-compatible equipment
will void the warranty.
CHEMICAL MANUFACTURERS RECOMMENDED OUNCES PER GALLON (OZ/GAL.)
1/4 1/2 1 2 3 4 5 6 7 8 OTHER DILUTIONS USE
PUMP
FLOW
(GPM)
2.1 571 286 143 71 48 36 29 24 20 18 143 / (Oz per Gal.)
2.6 462 231 115 58 38 29 23 19 16 14 115 / (Oz per Gal.)
3.0 400 200 100 50 33 25 20 17 14 13 100 / (Oz per Gal.)
3.6 333 167 83 42 28 21 17 14 12 10 83 / (Oz per Gal.)
Time in Seconds to Draw Five (5) Ounces of Chemical
»Fill a measuring cup, graduated in ounces, with the
chemical to be injected and submerge the chemical pick-
up tube with the foot screen into the chemical.
»Turn the pump ON and set it to inject chemical.
»Adjust the chemical metering device so that 5 ounces of
chemical is injected in the duration of time identified in
Step 3.
NOTE: Check the chemical metering regularly to ensure
accurate chemical dispensing.
© 2020 Assembled Products Corp, Inc. | 200723_SMT_Momentum2.0c_5.0c_IntC-OM_EN Rev 00 | AXXXXXX-XX
115 Linden St. • Rogers, AR 72756 USA • (800) 548-3373
This manual suits for next models
6
Table of contents
Other Spray Master Technologies Cleaning Equipment manuals
Popular Cleaning Equipment manuals by other brands

COMAC
COMAC INNOVA 60 B 2013 Use and maintenance manual
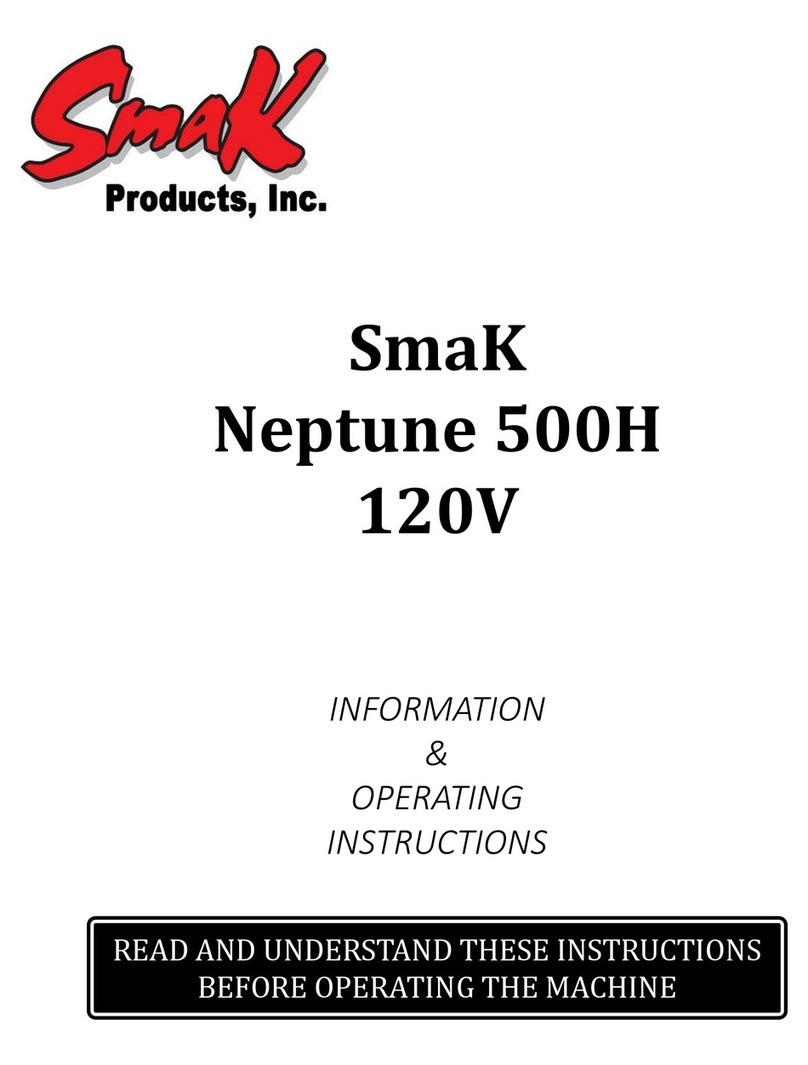
SmaK
SmaK Neptune 500H Information & operating instructions
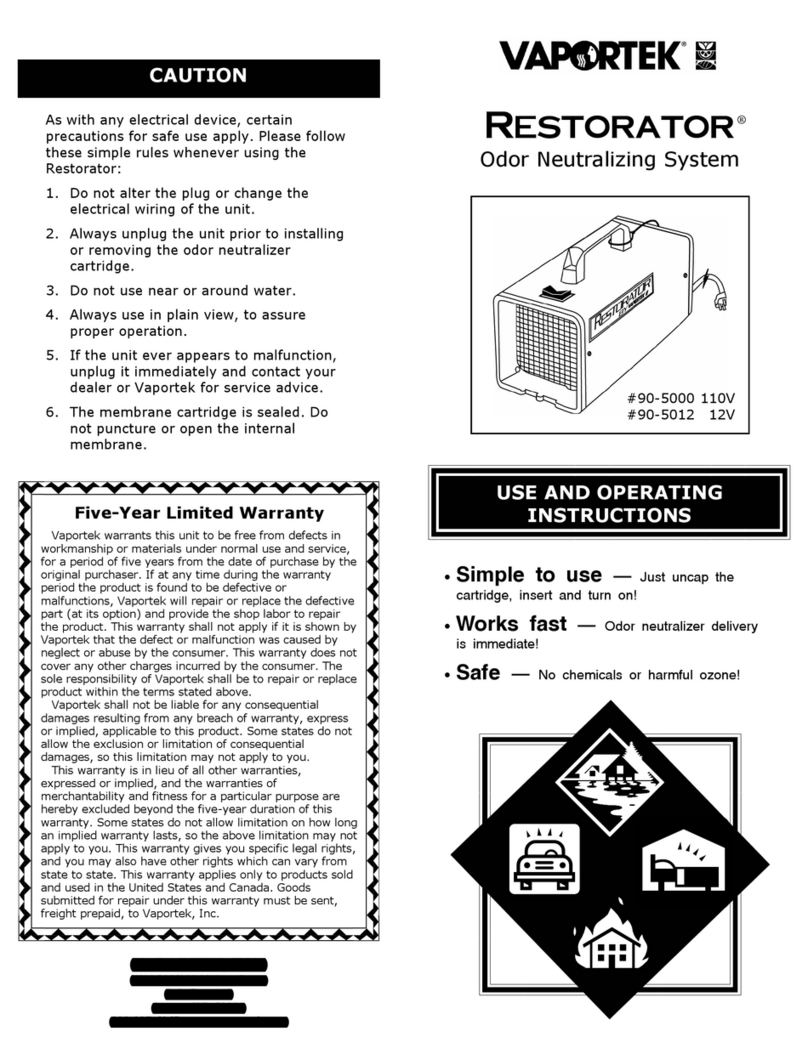
Vaportek
Vaportek Restorator 90-5000 Use and Operating Instructions
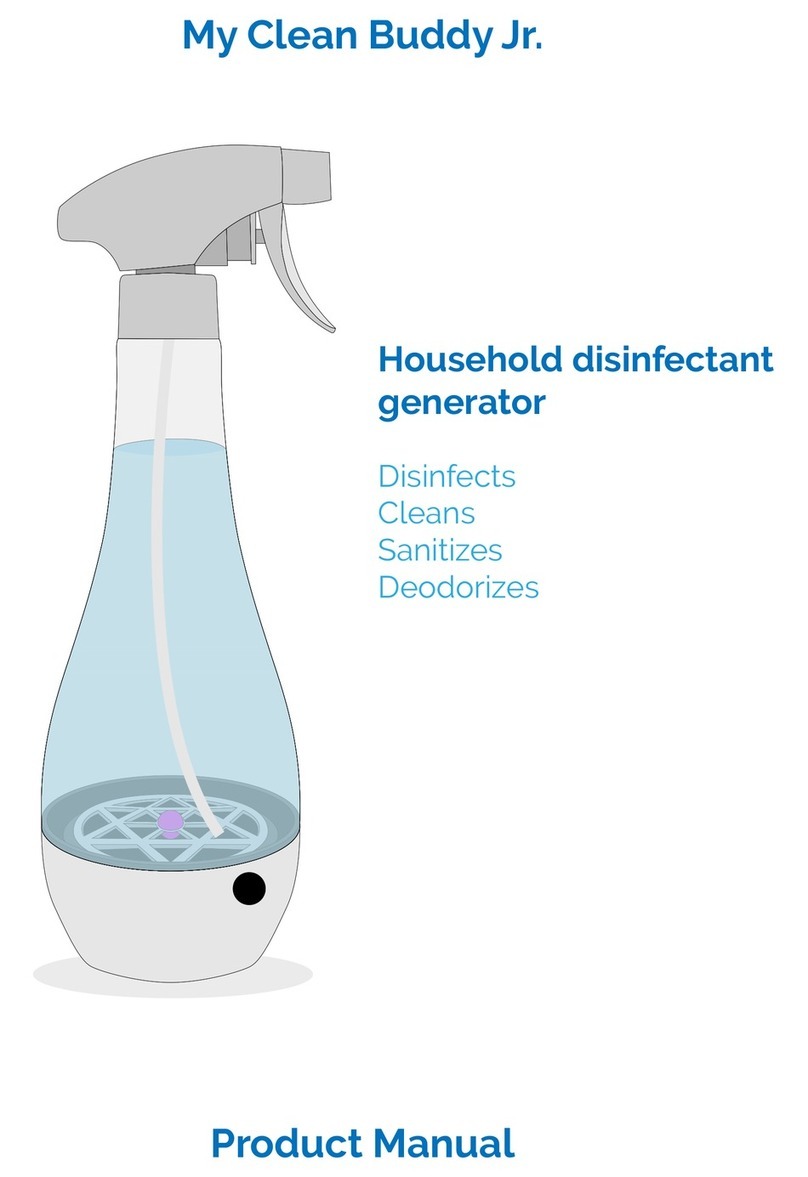
My Clean Buddy
My Clean Buddy Jr. product manual
Nilfisk-Advance
Nilfisk-Advance Griff user guide
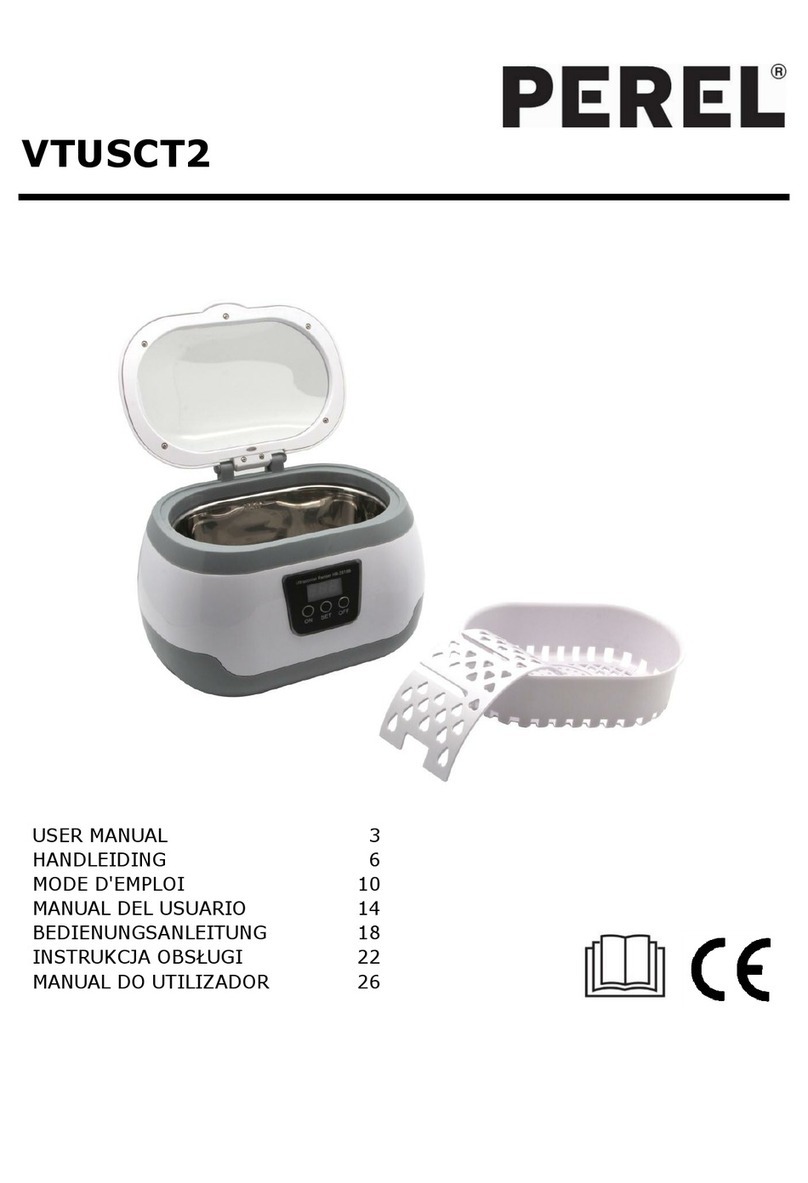
Perel
Perel VTUSCT2 user manual
