manuals.online logo
Brands
  1. Home
  2. •
  3. Brands
  4. •
  5. SPX
  6. •
  7. Industrial Equipment
  8. •
  9. SPX OTC 1875 User manual

SPX OTC 1875 User manual

© SPX Corporation
Sheet No.
Issue Date: Rev. 12-22-97
Form No. 102610
Automatic Air / Hydraulic
Oil Filter Crusher
Max. Capacity: 25 Tons
1 of 2
Parts List &
Operating Instructions
for: 1875
1306519 1 Hydraulic Hose
248513-BL2 1 Upper Mounting Bracket
3217800 8 Locknut
(3/4-16; torque to
300/320 ft. lbs.)
410085 2 Cap Screw
(1/2-13 x 1-3/4")
510249 2 Lockwasher
(for 1/2" bolt)
616342 2 Flat Hd. Tapping Screw
748668-BL2 1 Shield
848512-BL2 1 Lower Mounting Bracket
9310761-BL2 1 Bottom Plate
10 310759 4 Rod
11 311106 1 Plastic Shield
12 310760-BL2 1 Top Plate
13 15467 2 Rd. Hd. Phillips Screw
(10-24)
14 217732 1 Mounting Bracket
15 311026 1 Control Valve
16 15045 190°Elbow Fitting
17 15042 1 Straight Fitting
Parts Included but Not Shown
216703 1 Made in USA Decal
311050 1 Caution Decal
218390 1 Thread Adapter
210195 1 Barbed Hose Fitting
219001 1 Retaining Compound
Item Part No.
No. No. Req'd Description
Item Part No.
No. No. Req'd Description
1
3
4, 5
6
7
10
3
98
2
11
12
16
15
13
17
14
For pump assembly information, refer
to the parts list for pump No. 58139.
For cylinder assembly information,
•If the cylinder has external "collar"
threads, refer to repair kit
No. 300147 and the parts list for
cylinder No. 58149.
•If the cylinder does not have
external "collar" threads, refer to
repair kit No. 300618 and the parts
list for cylinder No. 218772-BL2.
SPX Corporation
655 Eisenhower Drive
Owatonna, MN 55060-0995 USA
Phone: (507) 455-7000
Tech. Serv.: (800) 533-6127
Fax: (800) 955-8329
Order Entry: (800) 533-6127
Fax: (800) 283-8665
International Sales: (507) 455-7223
Fax: (507) 455-7063
Safety Precautions
CAUTION: To prevent personal injury,
•Read and follow the operating instructions supplied with the pump and frame.
•Wear protective eyewear that meets ANSI Z87.1 and OSHA standards.
•Center the oil filter over the drain hole in the counterbore. The filter’s open end (sealing side)
must be facing down toward the drain hole.
•Do not open the shield until the cycle is complete and the pump shuts off. Do not remove or
modify the shield.
•Regularly inspect hoses for signs of wear or stress. If a hydraulic hose ruptures, immediately
shut OFF the pump.
•Keep tie rod nuts torqued at 300-320 ft. lbs.
•Keep override switch in working order.
•Remove crushed filter carefully. Sharp edges can scratch, cut, or puncture skin.
Assembly
1. Slidetheplasticshieldoverthethreadsontheramasshown
in Figure 1.
2. Insert the ram through the rods, and thread two 1/2" cap
screws and lockwashers through the top plate into the ram.
3. Align the two small holes in the plastic shield with the two
holes in the ram shield. Thread two self-tapping screws
through the ram shield into the plastic shield.
4. Cleanthethreads ontheadapterandonthe cylinder. Apply
retainingcompoundNo.219001(Loctite277,Loctite680,or
HernonAdhesive846)totheadapterthreads.Assemblethe
thread adapter into the ram until the adapter’s shoulder
bottoms out against the ram.
5. Placethepumpontheuppermountingbracket.Threadfour
self-tapping screws through the platform into the pump.
6. Apply pipe sealant or one layer of teflon tape to the threads
on each end of the hydraulic hose. Note: Carefully apply
only one layer of teflon tape, leaving the first thread
exposed. Any loose pieces of tape could be pinched and
broken off inside the pipe end, causing the tape to travel
through the system and possibly obstruct the flow of oil.
7. Remove the plastic plugs from the ram and pump. Attach the hose to the ram and then to the pump.
8.
Insert the marked air hose (inlet) into the 90°fitting on the bottom of the control valve as shown in Figure 2. Tighten the
nut to crimp the hose to the fitting. Insert the other air hose into the straight fitting on the side of the control valve, and
tighten the nut. Attach tie straps to air hoses as shown in Figure 3.
9. Thread the 3/4" barbed pipe fitting into the bottom plate.
Parts List & Operating Instructions Form No. 102610, Sheet 1 of 2, Back
hose
upper
mounting
bracket
self-tapping
screws
ram shield
pump
ram
plastic
shield
Figure 1
Figure 2 Figure 3
tie straps
inlet
outlet
start
button
1/2" cap screws
and washers
top plate
© SPX Corporation
Sheet No.
Issue Date: Rev. 12-22-97
Parts List & Operating Instructions Form No. 102610
2 of 2
Operating Instructions
1. Place an approved waste oil container under the oil filter crusher's drain hole.
2. Connect the pump to shop air regulated at 100 PSI maximum.
3. Lifttheramshield, andcentertheoilfilteroverthe drainholeinthe counterbore.Thefilter’s openend(thesealingarea
containing the o-ring) must be facing down toward the drain hole as shown in Figure 4. When the oil filter is crushed,
the oil will be forced into the hole.
4. Close the ram shield, and press the START button on the pump. The pump will build pressure and then automatically
shutoffandreleasepressure.Donotopentheshielduntilthecycleiscompleteandthepumpshutsoff.Ifitisnecessary
to interrupt the cycle, pull the START button out. The pump will stop and the ram will retract.
5. Opentheramshieldandremovethecrushedfilter,beingcarefulnottoscratch,cut,orpuncture your skin on the filter’s
sharp edges. See Figure 5.
6. Recycle or dispose of waste oil and oil filters according to local, state, and federal regulations.
Figure 4 Figure 5
Maintenance
1. Maintain the oil level in the pump reservoir according to operating instructions included with the pump.
2.
Regularly inspect hoses for signs of wear or stress, and replace as needed.
3. Keep the eight tie rod nuts torqued at 300-320 ft. lbs.
4. Keep the override switch in working order.
ram shield
Refer to any operating instructions included with the product for detailed information
about operation, testing, disassembly, reassembly, and preventive maintenance.
Items found in this parts list have been carefully tested and selected by OTC.
Therefore: Use only OTC replacement parts!
Additional questions can be directed to our Tech. Services Dept. at 1-800-533-6127.
oil filter

Other SPX Industrial Equipment manuals
SPX Marley Geareducer 34.4 Series User manual
SPX

SPX Marley Geareducer 34.4 Series User manual

SPX Power Team HNS150A User manual

SPX

SPX Power Team HNS150A User manual

SPX Waukesha Cherry-Burrell Votator II User manual
SPX

SPX Waukesha Cherry-Burrell Votator II User manual

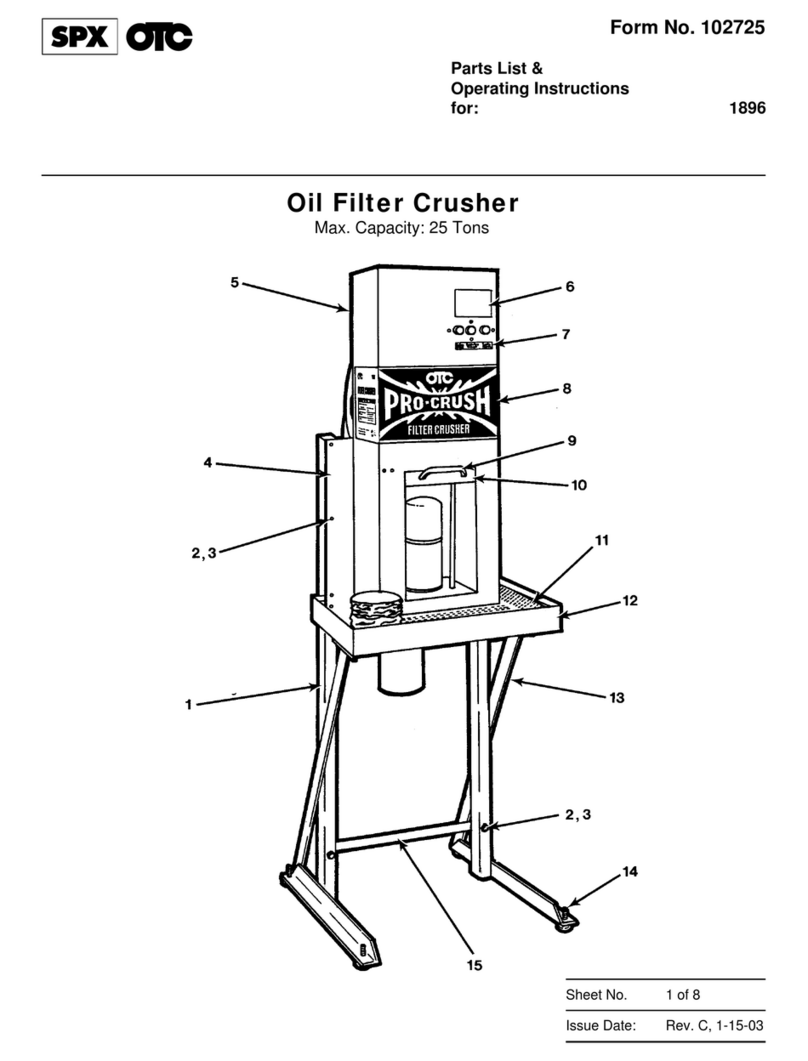
SPX OTC PRO-CRUSH 1896 User manual

SPX

SPX OTC PRO-CRUSH 1896 User manual

SPX APV DELTA SDMU4 User manual

SPX

SPX APV DELTA SDMU4 User manual
SPX Hankison Trip-L-Trap 505 User manual
SPX

SPX Hankison Trip-L-Trap 505 User manual

SPX APV Cavitator User manual

SPX

SPX APV Cavitator User manual

SPX CUES ACCUPOINT MS611 User manual

SPX

SPX CUES ACCUPOINT MS611 User manual
SPX RD1000 User manual

SPX

SPX RD1000 User manual
SPX MARLEY Geareducer 2700 Series User manual

SPX

SPX MARLEY Geareducer 2700 Series User manual

SPX Marley Geareducer 32.2 Series User manual

SPX

SPX Marley Geareducer 32.2 Series User manual

SPX Waukesha Cherry-Burrell User manual

SPX

SPX Waukesha Cherry-Burrell User manual

SPX Marley Geareducer 2800 Series User manual

SPX

SPX Marley Geareducer 2800 Series User manual

SPX APV ParaFlow User manual

SPX

SPX APV ParaFlow User manual

Popular Industrial Equipment manuals by other brands
Armfield FT74P instruction manual

Armfield

Armfield FT74P instruction manual

Chicago Dryer King Edge VAc instruction manual
Chicago Dryer

Chicago Dryer King Edge VAc instruction manual

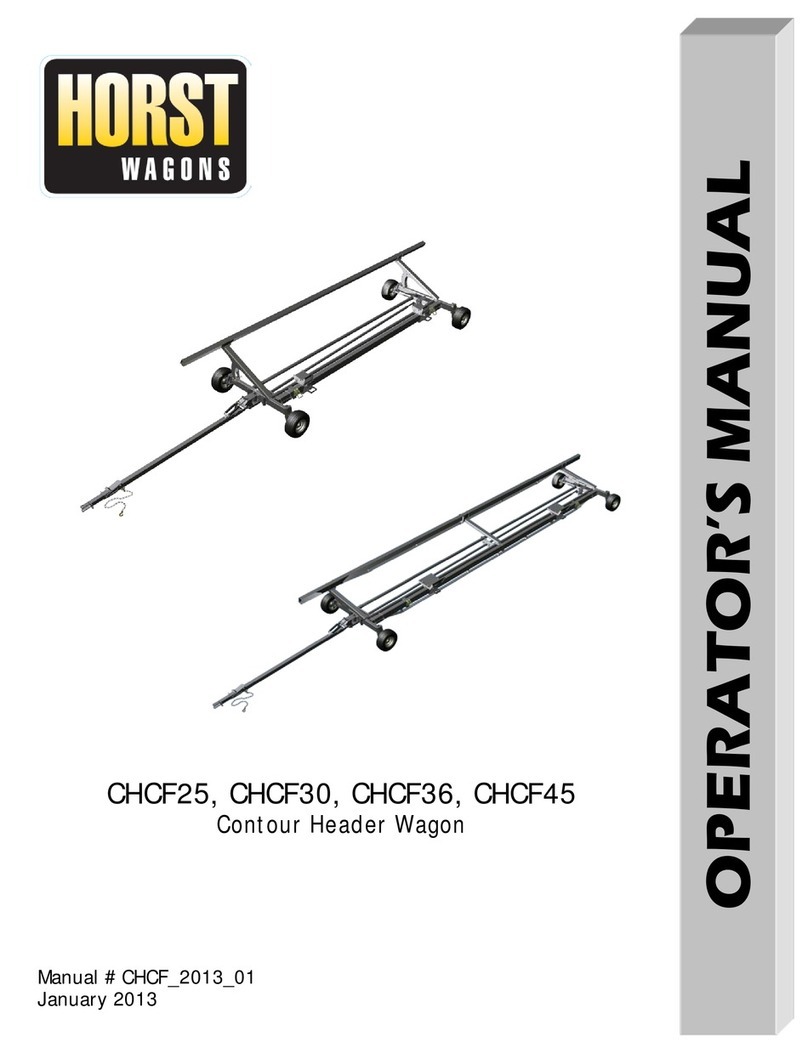
HORST WAGONS CHCF25 Operator's manual

HORST WAGONS

HORST WAGONS CHCF25 Operator's manual
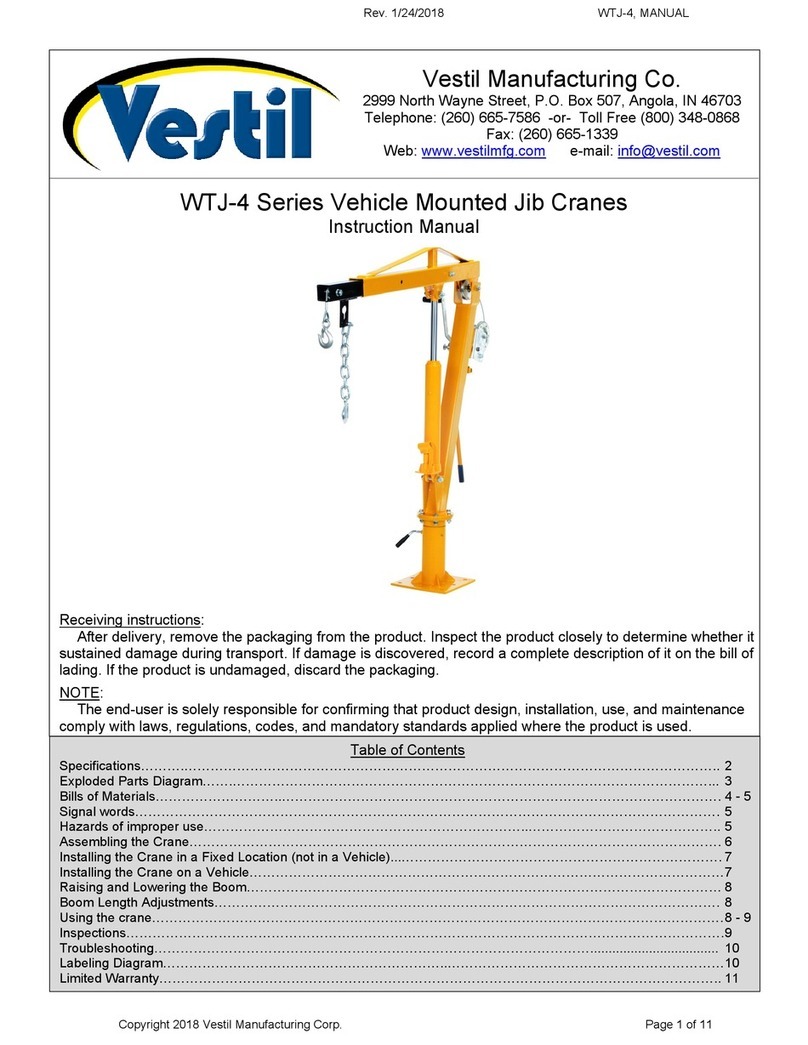
Vestil WTJ-4 Series instruction manual

Vestil

Vestil WTJ-4 Series instruction manual

CIPRIANI S020+ User and maintenance manual

CIPRIANI

CIPRIANI S020+ User and maintenance manual

Belden PPC CABLEREADY SR050 Installation instruction guide

Belden

Belden PPC CABLEREADY SR050 Installation instruction guide

Keysight Technologies 11867A Operating and service guide
Keysight Technologies

Keysight Technologies 11867A Operating and service guide

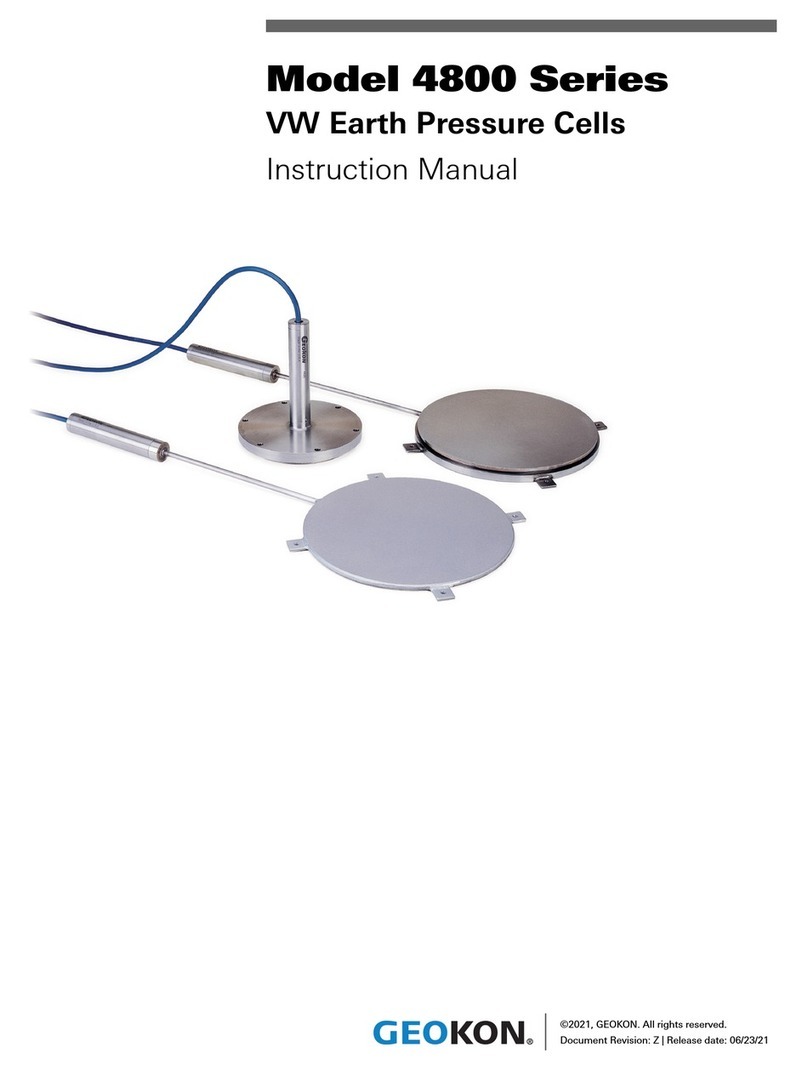
Geokon 4800 Series instruction manual

Geokon

Geokon 4800 Series instruction manual
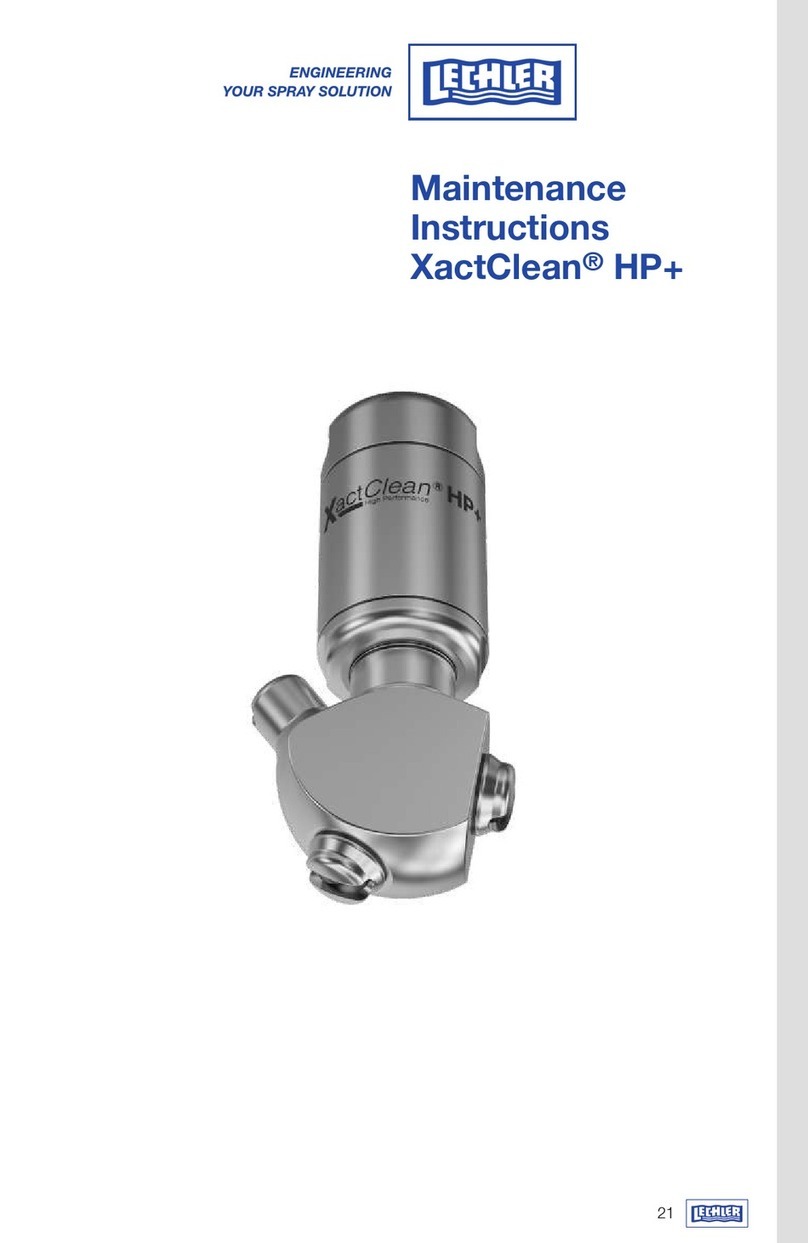
Lechler XactClean HP+ MAINTENANCE INSTRUCTIONS MANUAL

Lechler

Lechler XactClean HP+ MAINTENANCE INSTRUCTIONS MANUAL

Fayat Dynapac F1800W operation & maintenance
Fayat

Fayat Dynapac F1800W operation & maintenance

Parker Helac PowerTilt Series Service and repair manual

Parker

Parker Helac PowerTilt Series Service and repair manual

Schuck Group SHD Installation & operation manual
Schuck Group

Schuck Group SHD Installation & operation manual

D+H CDC-TW-0502-1-ACB Original instructions, Connection, Dimensions
D+H

D+H CDC-TW-0502-1-ACB Original instructions, Connection, Dimensions

ABB HT570286 Operation manual

ABB

ABB HT570286 Operation manual

Hettich AvanFit YOU 300 Operating and assembly instructions

Hettich

Hettich AvanFit YOU 300 Operating and assembly instructions

Condux Fiber Optic Cable Puller Trailer User's guide & safety manual
Condux

Condux Fiber Optic Cable Puller Trailer User's guide & safety manual

JUKI KE-2070 manual

JUKI

JUKI KE-2070 manual

Mayr EAS-NC Installation and operational instructions

Mayr

Mayr EAS-NC Installation and operational instructions

manuals.online logo
manuals.online logoBrands
  • About & Mission
  • Contact us
  • Privacy Policy
  • Terms and Conditions

Copyright 2025 Manuals.Online. All Rights Reserved.