manuals.online logo
Brands
  1. Home
  2. •
  3. Brands
  4. •
  5. Spypoint
  6. •
  7. Scouting Camera
  8. •
  9. Spypoint LINK-3G User manual

Spypoint LINK-3G User manual

Quick start guide
Cellular trail
camera
Models:
LINK-3G
LINK-4G
LINK-4GV (US only)
& comparable
User manual, latest rmware & FAQ
available at: support.spypoint.com



[email protected]
LINK
FREE APP
v1.6
Camera & photo management system

Take advantage of the automa-
tic organization of photos and
apply tags on photos to easily
nd them.
Access your photos from
anywhere in the world. With the
cloud system, don’t worry about
losing your data.
See your hunting partners’ pho-
tos by sharing your account with
your group.
Geotag capabilities
Track back your cameras, com-
pile location information and
weather data over the years and
plan your next hunting season
eectively.
Cloud system
Automatic photo
sorting
Account sharing

Allows to easily manage your photos and trail cameras online. A must
for enjoying your SPYPOINT trail camera to its fullest!
1-888-779-7646
In the box
Components
Note: Memory card and batteries are sold separately.
* Except LINK-4GV & other Verizon enabled cameras.
Navigation buttons
Viewing screen
Busy LED
12V/Solar panel jack
USB port
Micro SIM card slot
(excluding LINK-4GV)
SD card slot
Photo lens
Invisible LEDs
Test light
Battery case
Detection lens
Mounting bracket
Slot for installation strap
Tripod mount
Cable lock hole
Power button
Microphone
(excluding LINK-3G)
1
2
3
4
5
6
7
8
9
10
11
12
9
14
13
12
11
10
13
14
15 1716
18
15
16
17
18
INSERT THE MEMORY CARD
Before inserting or removing a memory card, always turn o the camera
to prevent loss or damage of the photos already recorded. Insert an SD/
SDHC memory card (up to 32 GB capacity) in the card slot, gold con-
tacts facing up. The card is inserted correctly when a click is heard.
We suggest to format your SD card if it's been in another electronic
device to make sure you will have the maximum capacity of your
memory card.
REMOVE CAMERA FROM THE MOUNTING BRACKET
A. Push the tab to release the camera from
the mounting bracket.
B. Remove the camera.
CHOOSE A POWER SOURCE
In order to get best results and longer battery life, we recommend
the use of an external 12V source. For easier access to the 12V jack,
remove the camera from the mounting bracket before plugging a 12V
cable. Then, the camera can be reinstalled in the mounting bracket.
Getting started
6
8
7
A.
B.
Lithium battery pack
LIT-09/LIT-C-8
6 alkaline
or lithium AA
batteries
12V power source
Installation
strap
USB
cable
Camera Quick start
guide
SIM card*



Mounting
bracket
Using your ngers, push down on each side of the
battery compartment's tab to open it.
To ensure maximum performance of the came-
ra and prevent battery leak, we recommend
the use of new batteries. Make sure to insert
each battery with the correct polarity. Do not
mix battery type - use ALL alkaline or ALL
lithium. Rechargeable AA batteries are not
recommended as the lower voltage they
produce can cause operational issues.
2
1
1
2
3
5
4
Specs and features may dier across comparable models. Refer to website or
packaging for full details.
FACEBOOK.COM/SPYPOINT
TWITTER.COM/SPYPOINTCAMERA
YOUTUBE.COM/SPYPOINTTRAILCAM
Join the SPYPOINT community
Photo rst : When this option is enabled, a photo is taken immediately
before each video.
Video lenght: Allows the user to select the duration of the recording.
SYNCHRONISATION SETTINGS
Cellular: Turn ON or OFF the transmission of pictures
First sync time: Allows the user to choose at what time of the day the
camera communicates for the rst time
Sync frequency: Allows the user to choose the number of synchronizations
that the camera performs in a day.
ADVANCED OPTIONS
Date format: Allows the user to set the date format as
Month/Day/Year or as Day/Month/Year
Temp. unit: Allows the user to select the temperature display.
Settings
Modify the mode of the picture settings, the synchronisation
frequency & all others
Photos
Let you see your pictures by date, month and years. Also let
you share or download the photo.
2. SETTING THE APP
The SPYPOINT App lets you congure all your settings of the camera.
Theses new settings will take eect the next time the camera connect
to update his status.
BASIC SETTINGS
Mode - PHOTO
Delay: Sets the time interval to wait between each detection
before the camera records the next photo
Multi-shot: Takes up to 6 consecutive shots at each detection, with
a 5 second delay between each photo.
Sensitivity: Sets the detection sensitivity of the camera.
Mode - TIME LAPSE
Interval: This option allows the camera to take photos at regular
preset intervals without detection.
Mode - VIDEO
Delay: Allows the user to choose the time interval between each
detection before the camera can record the next video.
Sensitivity: Sets the detection sensitivity of the camera.
1. INSTALL THE SPYPOINT
LINK APP
The SPYPOINT LINK App lets you connect and control your camera
remotly using a smartphone or tablet. Features include viewing your
camera status, pictures, full camera control and more.
Install the free App
1. Make sure you have a data package with either your smartphone
or tablet or a Wi connection.
2. To install the App, you can either:
● Get it on Google PlayTM (Google Play is a trademark of Google Inc)
● Download on the App StoreTM (App Store is a trademarks of Apple Inc.)
3. Search for the SPYPOINT LINK App from SPYPOINT.
4. Install the App on you smartphone or tablet.
Run the SPYPOINT LINK APP
Start the app and it will walk you through a few questions. Press the
button at the buttom of the screen once you have nished. After, you
will receive an email conrming the activation.
Once in the app, you will have the following 4 options at the bottom:
Account
Select the data plan and modify your prole informations.
Status
See general informations like the cellular signal strengh, battery
level or percentage of space used on your SD card.
Settings
Before the end of your 30 days free trial, don’t forget to activate a
plan. For more details, go to the Account tab in the LINK app or
at the link below.
WWW.SPYPOINT.COM/PLANS
Note: If you don’t have a smartphone or a tablet, please contact
our customer service to activate your camera.
Call us at our toll free number: 1-888-779-7646
Note: If you have more than one camera, it will let you select the
camera name with the white bar with a scrolling menu at the top
of the screen
1.Insérez l’extrémité de la courroie dans la fente
qui se trouve au dos du mécanisme.
2.Insérez la courroie dans la fente sous le levier
et faites-la ressortir en arrière.
3.Créer une tension sur la courroie en la tirant vers
la droite, puis rabattez vers la gauche le levier pour
maintenir la position.
3.INSTALLATION OF THE CAMERA
INSTALL THE CAMERA WITH THE SUPPLIED STRAP
Recommended installation height:
The camera should be installed at the same height as the animal’s
mid-body.
Ideal installation for quality pictures & videos:
The targeted animal should be 25 feet / 7.5m away from the camera for
a better eld of view.
To get brighter pictures at night , you should have elements in the
background to reect back the IR ash to the camera.
Note that the camera should not directly be facing the sun to avoid
back lighting and false detection.
TEST THE DETECTION OF THE CAMERA
When the DETECTION TEST mode is se-
lected, no photo or video is recorded.
Pass in front of the camera from left to
right. When the camera detects motion,
the test light blinks to indicate that the
camera would normally have saved a
photo or video. If the system does not
detect the movement, increase the
detection sensitivity using the
SENSITIVITY option in the GENERAL
SETTINGS menu or realign the system
dierently.
VERIFY THE CELLULAR SIGNAL
To test the cellular signal, go to the
NETWORK TEST in the home menu.
Run the test and note it can take a few
minutes.
Once the test will be completed, it will display
that the test was performed with success.
You will then see the signal strengh being
displayed on the top right corner with signal
bars and in “dBm”.
High <-75 / Normal -75 to -95 / Low >-95
If the Network Test was unsuccessful, move outside or get near a window
and re-run it a few times if need be to get all the information from the cell
network.
START THE CAMERA
Select the desired operating mode(photo, time lapse or video) on the
main mode by pressing OK.
When the mode is selected, the test light in front of the camera will
ash for 60 seconds to allow the user to leave the area without being
photographed or recorded.
(Conguration)
Photo
(Conguration)
Timelapse
(Conguration)
Vidéo
HOME
MODES
Start Camera
Network Test
Detection Test
View
Settings
Photo
Time Laspe
Video
HOME
Start Camera
Network Test
Detection Test
View
Settings
HOME
Start Camera
Network Test
Detection Test
View
Settings
Note: The signal bars on a LINK might not be equal to your other
cellular devices. There’s no industry standard and practice to label
dBm values to a specic number of bars. dBm is more accurate
than a number of bars. In the end, -50 is a great signal while -120
is a very poor signal.
Note: If you start the camera in Video mode, make sure that you
have enabled the Photo First setting.

This manual suits for next models

2

Other Spypoint Scouting Camera manuals

Spypoint FORCE-PRO User manual

Spypoint

Spypoint FORCE-PRO User manual

Spypoint LINK-MICRO 680097 Guide

Spypoint

Spypoint LINK-MICRO 680097 Guide

Spypoint LINK-MICRO-LTE User manual

Spypoint

Spypoint LINK-MICRO-LTE User manual

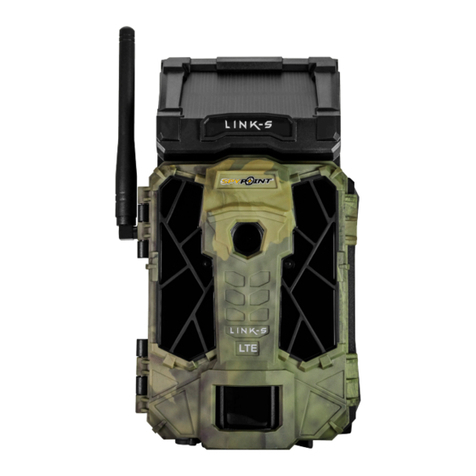
Spypoint LINK-S User manual

Spypoint

Spypoint LINK-S User manual

Spypoint LIVE-3G User manual

Spypoint

Spypoint LIVE-3G User manual

Spypoint BF-6 User manual

Spypoint

Spypoint BF-6 User manual

Spypoint SMART User manual

Spypoint

Spypoint SMART User manual

Spypoint FLEX User manual

Spypoint

Spypoint FLEX User manual

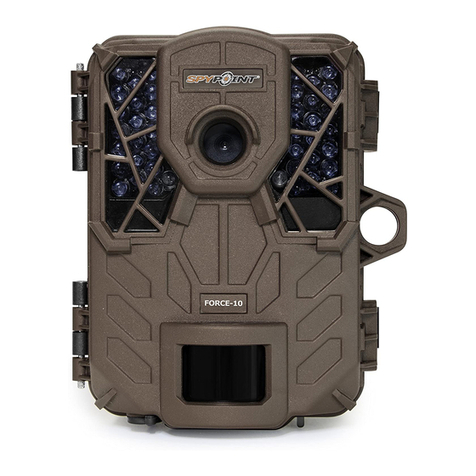
Spypoint FORCE-10 Troubleshooting guide

Spypoint

Spypoint FORCE-10 Troubleshooting guide

Spypoint LINK-S-DARK User manual

Spypoint

Spypoint LINK-S-DARK User manual

Spypoint Force-Dark User manual

Spypoint

Spypoint Force-Dark User manual

Spypoint LM2 User manual

Spypoint

Spypoint LM2 User manual

Spypoint IRON-9 User manual

Spypoint

Spypoint IRON-9 User manual

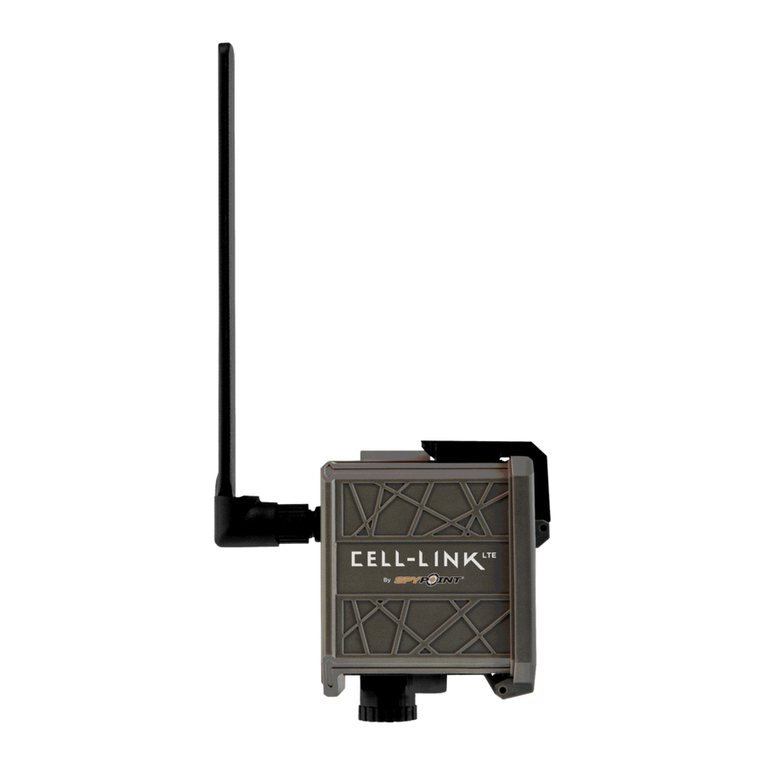
Spypoint CELL-LINK User manual

Spypoint

Spypoint CELL-LINK User manual

Spypoint MMS User manual

Spypoint

Spypoint MMS User manual

Spypoint SOLAR-W User manual

Spypoint

Spypoint SOLAR-W User manual

Spypoint SOLAR User manual

Spypoint

Spypoint SOLAR User manual

Spypoint FL-7 User manual

Spypoint

Spypoint FL-7 User manual

Spypoint LING-4G User manual

Spypoint

Spypoint LING-4G User manual

Spypoint FLEX User manual

Spypoint

Spypoint FLEX User manual

Spypoint Solar-Dark User manual

Spypoint

Spypoint Solar-Dark User manual

Spypoint FORCE-10 User manual

Spypoint

Spypoint FORCE-10 User manual

Spypoint LINK-EVO User manual

Spypoint

Spypoint LINK-EVO User manual

Spypoint FLEX G-36 User manual

Spypoint

Spypoint FLEX G-36 User manual

Popular Scouting Camera manuals by other brands

Moultrie A-SERIES user manual

Moultrie

Moultrie A-SERIES user manual

Cuddeback CuddeView X2 owner's manual

Cuddeback

Cuddeback CuddeView X2 owner's manual

HuntCam HC-900Pro user manual

HuntCam

HuntCam HC-900Pro user manual

Stealth Cam STC+E38NXT instruction manual

Stealth Cam

Stealth Cam STC+E38NXT instruction manual

Minox BTC 550 WiFi instruction manual

Minox

Minox BTC 550 WiFi instruction manual

WaidLife Optimus user manual

WaidLife

WaidLife Optimus user manual

GardePro A5 instruction manual

GardePro

GardePro A5 instruction manual

Minox DTC 1000 instructions

Minox

Minox DTC 1000 instructions

Covert NBF22 instruction manual

Covert

Covert NBF22 instruction manual

Wimius H7 user manual

Wimius

Wimius H7 user manual

JAGER PRO M.I.N.E. Operation manual

JAGER PRO

JAGER PRO M.I.N.E. Operation manual

Browning BTC-3 instruction manual

Browning

Browning BTC-3 instruction manual

X-Trail 3GR 3G Model instruction manual

X-Trail

X-Trail 3GR 3G Model instruction manual

Ltl Acorn Ltl-6511-4G user manual

Ltl Acorn

Ltl Acorn Ltl-6511-4G user manual

OZtrail CAM-H08-F owner's manual

OZtrail

OZtrail CAM-H08-F owner's manual

Willfine 2.8C user manual

Willfine

Willfine 2.8C user manual

Cuddeback Silver Series Troubleshooting steps

Cuddeback

Cuddeback Silver Series Troubleshooting steps

Berger & Schroter 31484 user manual

Berger & Schroter

Berger & Schroter 31484 user manual

manuals.online logo
manuals.online logoBrands
  • About & Mission
  • Contact us
  • Privacy Policy
  • Terms and Conditions

Copyright 2025 Manuals.Online. All Rights Reserved.