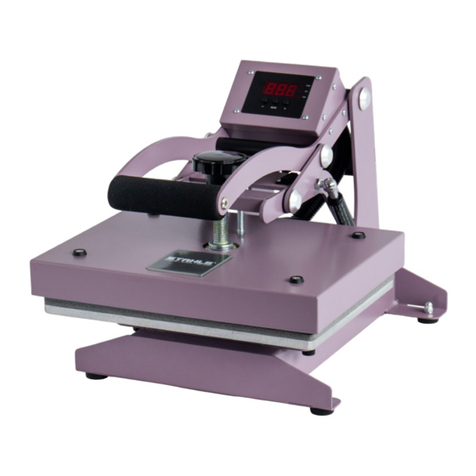
Stahls Hotronix User manual

Fusion (Model XF)
Temperature Probe Replacement
2015-12-22
Technical Assistance: 1-(800)-727-8520
Manuals: hotronix.com/heat-press-manuals Page 1 of 11
Included Parts:
1. Temperature Probe (P/N: 1-1272-1)
`
Required Tools:
2. Allen Wrenches (3/32”, 9/64”)
3. Needle-Nose Pliers
4. Scissors
5. #2 Phillips Screwdriver
6. 2mm Precision Flathead Screwdriver
7. Electrical Tape
CAUTION: Detach power cord before
proceeding
Lower heater but do not lock into place, such
that it rests gently on lower platen
1
2
3
4
5
6
7
1. Required Tools: Paper Clip
2. CAUTION: Turn off power and detach power cord
3. Insert the Paper Clip into the small hole on either
side of the housing
4. Press in the Paper Clip until two clicks are heard:
the first click releases the Controller bezel and the
second click ejects it from the housing as shown
5. Repeat the process on the other side of housing
6. Remove the old Controller and insert the new
replacement Controller
7. Press on the two latch points with your thumb until
a click is heard; if the Controller bezel does not sit
flush with the housing plastic, it has not latched
8. Plug in and turn on heat press to verify function
Controller Replacement Guide
Fusion IQ (XF/XRF/XRF2)
Page 1 of 1
2018-04-26
1-800-727-8520
www.hotronix.com
Fusion [Model XF-IQ]
Adjustment Spindle
Fusion (Model XF)
Controller V4.5 & TRIAC Replacement
2015-03-08
Technical Assistance: 1-(800)-727-8520
Manuals: hotronix.com/heat-press-manuals
Page 1 of 17
Included Parts:
1. Controller
2. Controller Overlay
3. Temperature strips
4. Zip ties
5. TRIAC
6. Adapter Harness (older models only)
7. 9-Pin Connector (where applicable)
Required Tools:
8. Allen Wrenches (3/32” & 9/64”)
9. #2 Phillips Screwdriver
10. #1 Phillips Screwdriver
11. 2mm Precision Flathead Screwdriver
12. Scissors
13. Wire Cutters (9-pin repair only)
14. Wire Strippers (9-pin repair only)
15. Permanent Marker (9-pin repair only)
CAUTION: Detach power cord before
proceeding
1
2
3
4
5
6
7
8
9
10
11
12
13
14
15
Page 1 of 9
Fusion (Model XF)
Adjustment Spindle Replacement
2015-10-26
Technical Assistance: 1-(800)-727-8520
Manuals: hotronix.com/heat-press-manuals Page 1 of 9
Included Parts:
1. Hub Caps
2. Spherical Washer
3. Washer
4. E-Clip
5. Adjustment Spindle
Required Tools:
6. Allen Wrenches (3/32” & 9/64”)
7. Flathead Screwdriver
8. Protective Eyewear (recommended)
CAUTION: Detach power cord before
proceeding
Lower heater but do not lock into place, such
that it rests gently on lower platen
1
2
3
4
5
6
7
8
1/8”

1. Required Tools: Paper Clip
2. CAUTION: Turn off power and detach power cord
3. Insert the Paper Clip into the small hole on either
side of the housing
4. Press in the Paper Clip until two clicks are heard:
the first click releases the Controller bezel and the
second click ejects it from the housing as shown
5. Repeat the process on the other side of housing
6. Remove the old Controller and insert the new
replacement Controller
7. Press on the two latch points with your thumb until
a click is heard; if the Controller bezel does not sit
flush with the housing plastic, it has not latched
8. Plug in and turn on heat press to verify function
Controller Replacement Guide
Fusion IQ (XF/XRF/XRF2)
Page 1 of 1
2018-04-26
1-800-727-8520
www.hotronix.com
Fusion [Model XF-IQ]
Adjustment Spindle
Fusion (Model XF)
Controller V4.5 & TRIAC Replacement
2015-03-08
Technical Assistance: 1-(800)-727-8520
Manuals: hotronix.com/heat-press-manuals
Page 1 of 17
Included Parts:
1. Controller
2. Controller Overlay
3. Temperature strips
4. Zip ties
5. TRIAC
6. Adapter Harness (older models only)
7. 9-Pin Connector (where applicable)
Required Tools:
8. Allen Wrenches (3/32” & 9/64”)
9. #2 Phillips Screwdriver
10. #1 Phillips Screwdriver
11. 2mm Precision Flathead Screwdriver
12. Scissors
13. Wire Cutters (9-pin repair only)
14. Wire Strippers (9-pin repair only)
15. Permanent Marker (9-pin repair only)
CAUTION: Detach power cord before
proceeding
1
2
3
4
5
6
7
8
9
10
11
12
13
14
15
Page 2 of 9
Fusion (Model XF)
Adjustment Spindle Replacement
2015-10-26
Technical Assistance: 1-(800)-727-8520
Manuals: hotronix.com/heat-press-manuals Page 2 of 9
Loosen set screw in shaft of pressure
adjustment knob and remove knob
Remove 4 #8-32 x ½” Thumb Screws (right
2 shown) from underside of control housing
using 9/32” Allen Wrench
Lift off control housing and lay it gently on
left side of press
Using a 1/8” Allen wrench

1. Required Tools: Paper Clip
2. CAUTION: Turn off power and detach power cord
3. Insert the Paper Clip into the small hole on either
side of the housing
4. Press in the Paper Clip until two clicks are heard:
the first click releases the Controller bezel and the
second click ejects it from the housing as shown
5. Repeat the process on the other side of housing
6. Remove the old Controller and insert the new
replacement Controller
7. Press on the two latch points with your thumb until
a click is heard; if the Controller bezel does not sit
flush with the housing plastic, it has not latched
8. Plug in and turn on heat press to verify function
Controller Replacement Guide
Fusion IQ (XF/XRF/XRF2)
Page 1 of 1
2018-04-26
1-800-727-8520
www.hotronix.com
Fusion [Model XF-IQ]
Adjustment Spindle
Fusion (Model XF)
Controller V4.5 & TRIAC Replacement
2015-03-08
Technical Assistance: 1-(800)-727-8520
Manuals: hotronix.com/heat-press-manuals
Page 1 of 17
Included Parts:
1. Controller
2. Controller Overlay
3. Temperature strips
4. Zip ties
5. TRIAC
6. Adapter Harness (older models only)
7. 9-Pin Connector (where applicable)
Required Tools:
8. Allen Wrenches (3/32” & 9/64”)
9. #2 Phillips Screwdriver
10. #1 Phillips Screwdriver
11. 2mm Precision Flathead Screwdriver
12. Scissors
13. Wire Cutters (9-pin repair only)
14. Wire Strippers (9-pin repair only)
15. Permanent Marker (9-pin repair only)
CAUTION: Detach power cord before
proceeding
1
2
3
4
5
6
7
8
9
10
11
12
13
14
15
Page 3 of 9
Disconnect the Wires from the power board and remove the housing.

1. Required Tools: Paper Clip
2. CAUTION: Turn off power and detach power cord
3. Insert the Paper Clip into the small hole on either
side of the housing
4. Press in the Paper Clip until two clicks are heard:
the first click releases the Controller bezel and the
second click ejects it from the housing as shown
5. Repeat the process on the other side of housing
6. Remove the old Controller and insert the new
replacement Controller
7. Press on the two latch points with your thumb until
a click is heard; if the Controller bezel does not sit
flush with the housing plastic, it has not latched
8. Plug in and turn on heat press to verify function
Controller Replacement Guide
Fusion IQ (XF/XRF/XRF2)
Page 1 of 1
2018-04-26
1-800-727-8520
www.hotronix.com
Fusion [Model XF-IQ]
Adjustment Spindle
Fusion (Model XF)
Controller V4.5 & TRIAC Replacement
2015-03-08
Technical Assistance: 1-(800)-727-8520
Manuals: hotronix.com/heat-press-manuals
Page 1 of 17
Included Parts:
1. Controller
2. Controller Overlay
3. Temperature strips
4. Zip ties
5. TRIAC
6. Adapter Harness (older models only)
7. 9-Pin Connector (where applicable)
Required Tools:
8. Allen Wrenches (3/32” & 9/64”)
9. #2 Phillips Screwdriver
10. #1 Phillips Screwdriver
11. 2mm Precision Flathead Screwdriver
12. Scissors
13. Wire Cutters (9-pin repair only)
14. Wire Strippers (9-pin repair only)
15. Permanent Marker (9-pin repair only)
CAUTION: Detach power cord before
proceeding
1
2
3
4
5
6
7
8
9
10
11
12
13
14
15
Page 4 of 9
Fusion (Model XF)
Adjustment Spindle Replacement
2015-10-26
Technical Assistance: 1-(800)-727-8520
Manuals: hotronix.com/heat-press-manuals Page 5 of 9
Remove control housing and set aside
Remove one Hub Cap by prying with
Flathead Screwdriver
Remove rear pin and unthread Pressure
Adjustment Spindle completely

1. Required Tools: Paper Clip
2. CAUTION: Turn off power and detach power cord
3. Insert the Paper Clip into the small hole on either
side of the housing
4. Press in the Paper Clip until two clicks are heard:
the first click releases the Controller bezel and the
second click ejects it from the housing as shown
5. Repeat the process on the other side of housing
6. Remove the old Controller and insert the new
replacement Controller
7. Press on the two latch points with your thumb until
a click is heard; if the Controller bezel does not sit
flush with the housing plastic, it has not latched
8. Plug in and turn on heat press to verify function
Controller Replacement Guide
Fusion IQ (XF/XRF/XRF2)
Page 1 of 1
2018-04-26
1-800-727-8520
www.hotronix.com
Fusion [Model XF-IQ]
Adjustment Spindle
Fusion (Model XF)
Controller V4.5 & TRIAC Replacement
2015-03-08
Technical Assistance: 1-(800)-727-8520
Manuals: hotronix.com/heat-press-manuals
Page 1 of 17
Included Parts:
1. Controller
2. Controller Overlay
3. Temperature strips
4. Zip ties
5. TRIAC
6. Adapter Harness (older models only)
7. 9-Pin Connector (where applicable)
Required Tools:
8. Allen Wrenches (3/32” & 9/64”)
9. #2 Phillips Screwdriver
10. #1 Phillips Screwdriver
11. 2mm Precision Flathead Screwdriver
12. Scissors
13. Wire Cutters (9-pin repair only)
14. Wire Strippers (9-pin repair only)
15. Permanent Marker (9-pin repair only)
CAUTION: Detach power cord before
proceeding
1
2
3
4
5
6
7
8
9
10
11
12
13
14
15
Page 5 of 9
Fusion (Model XF)
Adjustment Spindle Replacement
2015-10-26
Technical Assistance: 1-(800)-727-8520
Manuals: hotronix.com/heat-press-manuals Page 6 of 9
Lift up adjustment casting and remove E-Clip
by prying with Flathead Screwdriver, then
remove old Adjustment Spindle and discard
NOTE: Protective eyewear is recommended
when removing or installing retaining rings or
E-clips
Install new Adjustment Spindle and secure
with E-Clip, noting spherical washer
orientation and washer order
NOTE: Protective eyewear is recommended
when removing or installing retaining rings or
E-clips
Place Adjustment Casting into top casting
and thread in Adjustment Spindle

1. Required Tools: Paper Clip
2. CAUTION: Turn off power and detach power cord
3. Insert the Paper Clip into the small hole on either
side of the housing
4. Press in the Paper Clip until two clicks are heard:
the first click releases the Controller bezel and the
second click ejects it from the housing as shown
5. Repeat the process on the other side of housing
6. Remove the old Controller and insert the new
replacement Controller
7. Press on the two latch points with your thumb until
a click is heard; if the Controller bezel does not sit
flush with the housing plastic, it has not latched
8. Plug in and turn on heat press to verify function
Controller Replacement Guide
Fusion IQ (XF/XRF/XRF2)
Page 1 of 1
2018-04-26
1-800-727-8520
www.hotronix.com
Fusion [Model XF-IQ]
Adjustment Spindle
Fusion (Model XF)
Controller V4.5 & TRIAC Replacement
2015-03-08
Technical Assistance: 1-(800)-727-8520
Manuals: hotronix.com/heat-press-manuals
Page 1 of 17
Included Parts:
1. Controller
2. Controller Overlay
3. Temperature strips
4. Zip ties
5. TRIAC
6. Adapter Harness (older models only)
7. 9-Pin Connector (where applicable)
Required Tools:
8. Allen Wrenches (3/32” & 9/64”)
9. #2 Phillips Screwdriver
10. #1 Phillips Screwdriver
11. 2mm Precision Flathead Screwdriver
12. Scissors
13. Wire Cutters (9-pin repair only)
14. Wire Strippers (9-pin repair only)
15. Permanent Marker (9-pin repair only)
CAUTION: Detach power cord before
proceeding
1
2
3
4
5
6
7
8
9
10
11
12
13
14
15
Page 6 of 9
Fusion (Model XF)
Adjustment Spindle Replacement
2015-10-26
Technical Assistance: 1-(800)-727-8520
Manuals: hotronix.com/heat-press-manuals Page 7 of 9
Re-insert existing rear pin
Attach provided Hub Cap to rear pin and
squeeze to secure
NOTE: A clamp or vise may make this easier
Plug connectors into Controller as shown:
1. 9-pin connector
2. 3-pin TRIAC connector
3. 4-pin Strain Gauge connector
4. 10-pin I/O connector
NOTE: For Version 2 and prior models,
connect 25-pin D-sub adapter.
Fusion (Model XF)
Adjustment Spindle Replacement
2015-10-26
Technical Assistance: 1-(800)-727-8520
Manuals: hotronix.com/heat-press-manuals Page 6 of 9
Lift up adjustment casting and remove E-Clip
by prying with Flathead Screwdriver, then
remove old Adjustment Spindle and discard
NOTE: Protective eyewear is recommended
when removing or installing retaining rings or
E-clips
Install new Adjustment Spindle and secure
with E-Clip, noting spherical washer
orientation and washer order
NOTE: Protective eyewear is recommended
when removing or installing retaining rings or
E-clips
Place Adjustment Casting into top casting
and thread in Adjustment Spindle

1. Required Tools: Paper Clip
2. CAUTION: Turn off power and detach power cord
3. Insert the Paper Clip into the small hole on either
side of the housing
4. Press in the Paper Clip until two clicks are heard:
the first click releases the Controller bezel and the
second click ejects it from the housing as shown
5. Repeat the process on the other side of housing
6. Remove the old Controller and insert the new
replacement Controller
7. Press on the two latch points with your thumb until
a click is heard; if the Controller bezel does not sit
flush with the housing plastic, it has not latched
8. Plug in and turn on heat press to verify function
Controller Replacement Guide
Fusion IQ (XF/XRF/XRF2)
Page 1 of 1
2018-04-26
1-800-727-8520
www.hotronix.com
Fusion [Model XF-IQ]
Adjustment Spindle
Fusion (Model XF)
Controller V4.5 & TRIAC Replacement
2015-03-08
Technical Assistance: 1-(800)-727-8520
Manuals: hotronix.com/heat-press-manuals
Page 1 of 17
Included Parts:
1. Controller
2. Controller Overlay
3. Temperature strips
4. Zip ties
5. TRIAC
6. Adapter Harness (older models only)
7. 9-Pin Connector (where applicable)
Required Tools:
8. Allen Wrenches (3/32” & 9/64”)
9. #2 Phillips Screwdriver
10. #1 Phillips Screwdriver
11. 2mm Precision Flathead Screwdriver
12. Scissors
13. Wire Cutters (9-pin repair only)
14. Wire Strippers (9-pin repair only)
15. Permanent Marker (9-pin repair only)
CAUTION: Detach power cord before
proceeding
1
2
3
4
5
6
7
8
9
10
11
12
13
14
15
Page 7 of 9
Reconnect the Wires to the power board.

1. Required Tools: Paper Clip
2. CAUTION: Turn off power and detach power cord
3. Insert the Paper Clip into the small hole on either
side of the housing
4. Press in the Paper Clip until two clicks are heard:
the first click releases the Controller bezel and the
second click ejects it from the housing as shown
5. Repeat the process on the other side of housing
6. Remove the old Controller and insert the new
replacement Controller
7. Press on the two latch points with your thumb until
a click is heard; if the Controller bezel does not sit
flush with the housing plastic, it has not latched
8. Plug in and turn on heat press to verify function
Controller Replacement Guide
Fusion IQ (XF/XRF/XRF2)
Page 1 of 1
2018-04-26
1-800-727-8520
www.hotronix.com
Fusion [Model XF-IQ]
Adjustment Spindle
Fusion (Model XF)
Controller V4.5 & TRIAC Replacement
2015-03-08
Technical Assistance: 1-(800)-727-8520
Manuals: hotronix.com/heat-press-manuals
Page 1 of 17
Included Parts:
1. Controller
2. Controller Overlay
3. Temperature strips
4. Zip ties
5. TRIAC
6. Adapter Harness (older models only)
7. 9-Pin Connector (where applicable)
Required Tools:
8. Allen Wrenches (3/32” & 9/64”)
9. #2 Phillips Screwdriver
10. #1 Phillips Screwdriver
11. 2mm Precision Flathead Screwdriver
12. Scissors
13. Wire Cutters (9-pin repair only)
14. Wire Strippers (9-pin repair only)
15. Permanent Marker (9-pin repair only)
CAUTION: Detach power cord before
proceeding
1
2
3
4
5
6
7
8
9
10
11
12
13
14
15
Page 8 of 9
Fusion (Model XF)
Adjustment Spindle Replacement
2015-10-26
Technical Assistance: 1-(800)-727-8520
Manuals: hotronix.com/heat-press-manuals Page 8 of 9
Plug in White & Black wires into ON/OFF
switch on opposite sides of the divider as
shown to connect to Controller
Plug Green wire with Yellow band into IEC
outlet to connect to grounding circuit
Replace housing onto press and insert 4
#8-32 x ½” Thumb Screws (right 2 shown),
tightening with 9/32” Allen Wrench

1. Required Tools: Paper Clip
2. CAUTION: Turn off power and detach power cord
3. Insert the Paper Clip into the small hole on either
side of the housing
4. Press in the Paper Clip until two clicks are heard:
the first click releases the Controller bezel and the
second click ejects it from the housing as shown
5. Repeat the process on the other side of housing
6. Remove the old Controller and insert the new
replacement Controller
7. Press on the two latch points with your thumb until
a click is heard; if the Controller bezel does not sit
flush with the housing plastic, it has not latched
8. Plug in and turn on heat press to verify function
Controller Replacement Guide
Fusion IQ (XF/XRF/XRF2)
Page 1 of 1
2018-04-26
1-800-727-8520
www.hotronix.com
Fusion [Model XF-IQ]
Adjustment Spindle
Fusion (Model XF)
Controller V4.5 & TRIAC Replacement
2015-03-08
Technical Assistance: 1-(800)-727-8520
Manuals: hotronix.com/heat-press-manuals
Page 1 of 17
Included Parts:
1. Controller
2. Controller Overlay
3. Temperature strips
4. Zip ties
5. TRIAC
6. Adapter Harness (older models only)
7. 9-Pin Connector (where applicable)
Required Tools:
8. Allen Wrenches (3/32” & 9/64”)
9. #2 Phillips Screwdriver
10. #1 Phillips Screwdriver
11. 2mm Precision Flathead Screwdriver
12. Scissors
13. Wire Cutters (9-pin repair only)
14. Wire Strippers (9-pin repair only)
15. Permanent Marker (9-pin repair only)
CAUTION: Detach power cord before
proceeding
1
2
3
4
5
6
7
8
9
10
11
12
13
14
15
Page 9 of 9
Fusion (Model XF)
Adjustment Spindle Replacement
2015-10-26
Technical Assistance: 1-(800)-727-8520
Manuals: hotronix.com/heat-press-manuals Page 9 of 9
Replace Pressure Adjustment Knob, aligning
set screw with flat of shaft and tightening
with 3/32” Allen Wrench
Raise handle into open position, plug in
press and turn ON to verify proper operation
1/8”
This manual suits for next models
2
Other Stahls Power Tools manuals
Stahls
Stahls Hotronix Air Fusion User manual
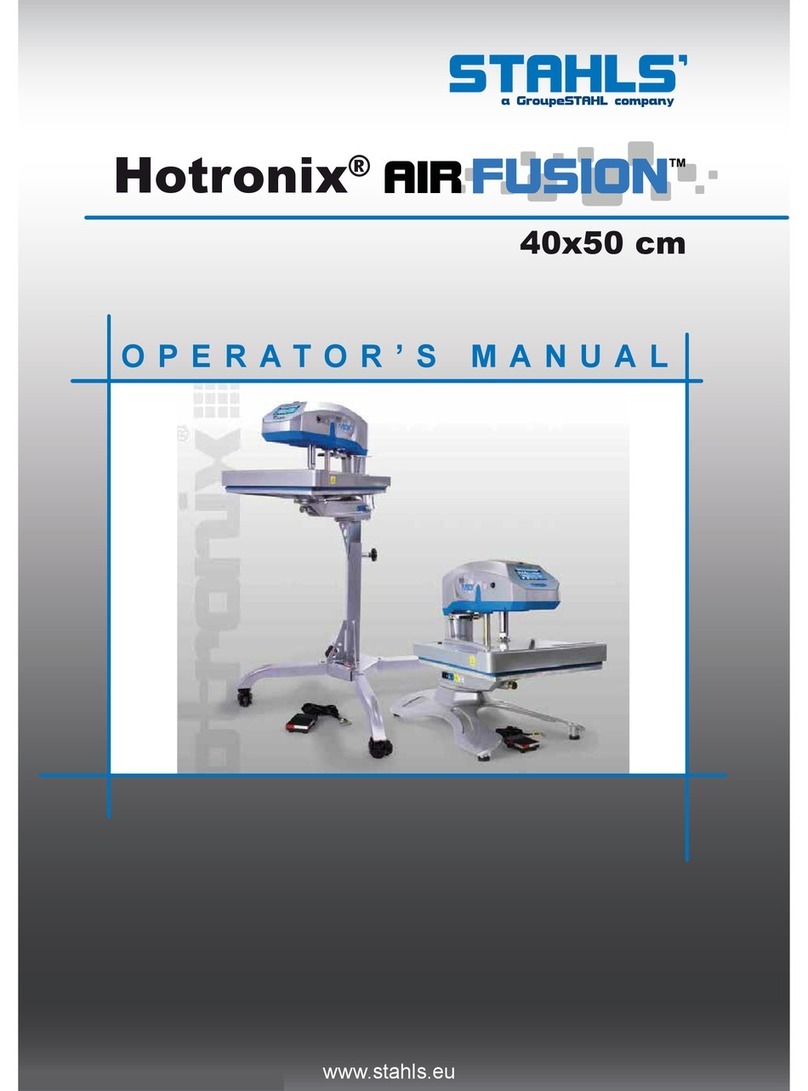
Stahls
Stahls Hotronix Air Fusion User manual
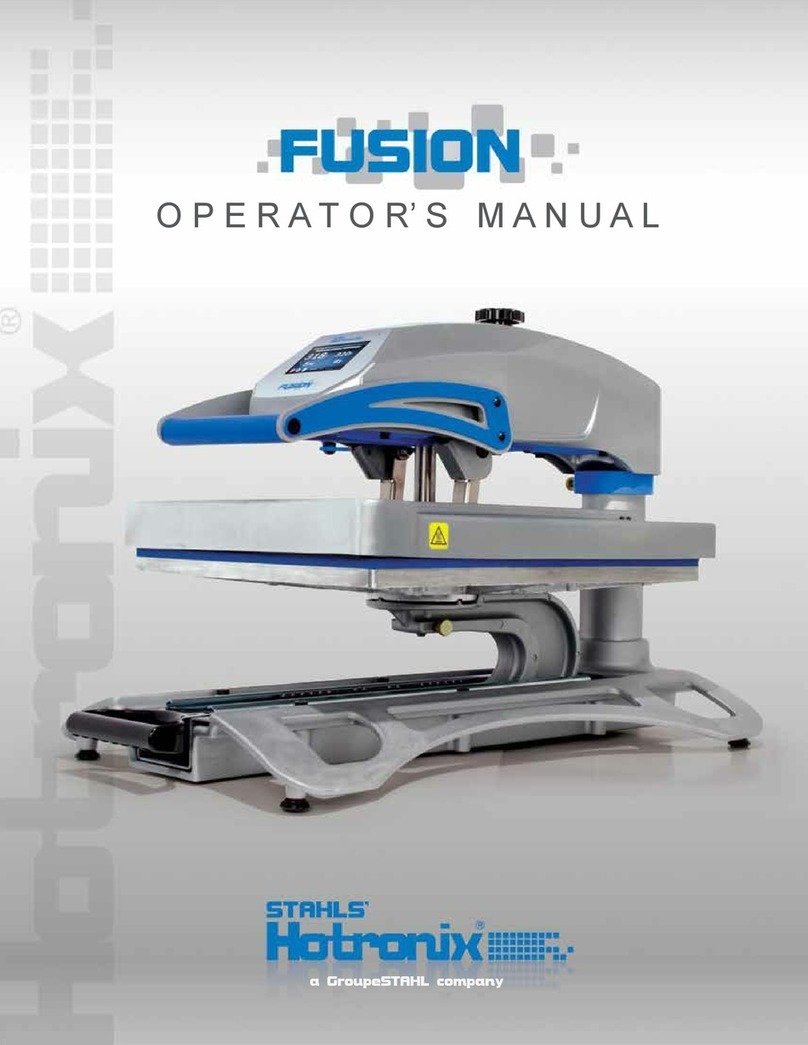
Stahls
Stahls Hotronix Air Fusion User manual
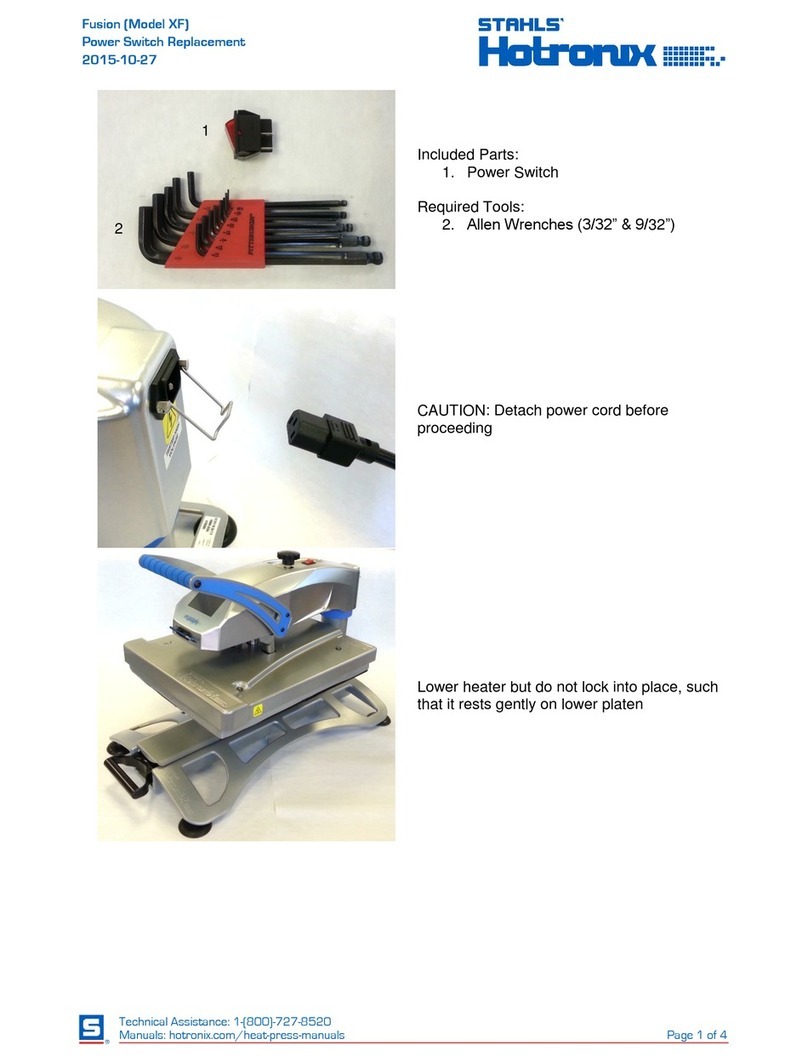
Stahls
Stahls Hotronix Fusion XF Parts list manual

Stahls
Stahls Hotronix Fusion XF Parts list manual

Stahls
Stahls STXBP-120 User manual
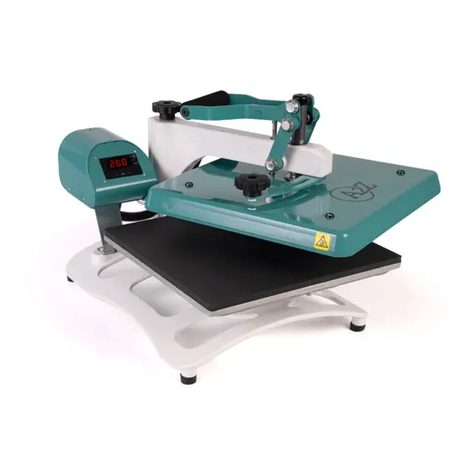
Stahls
Stahls A2Z HEAT PRESS User manual
Stahls
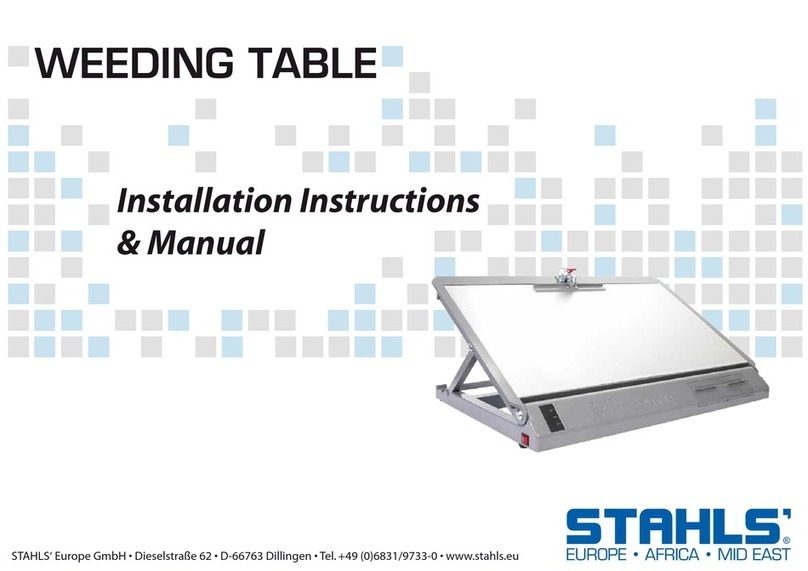
Stahls WEEDING TABLE Service manual

Stahls
Stahls Hotronix MAXX CAP User manual

Stahls
Stahls HOTRONIX AIR FUSION IQ User manual

