manuals.online logo
Brands
  1. Home
  2. •
  3. Brands
  4. •
  5. Stanley Healthcare
  6. •
  7. Medical Equipment
  8. •
  9. Stanley Healthcare Pedz Tag User manual

Stanley Healthcare Pedz Tag User manual

Telephone: +1-800-824-2996
Web Site: www.stanleyhealthcare.com
© 2017 STANLEY Healthcare. All rights reserved. April 2017. 0980-326-000 Rev A. KB# 10096
Pedz Tag
User Sheet
Part Number: 806A7001
Band Life and Reuses
To ensure the integrity of the band, do not exceed the following
guidelines:
• Length of band usage - 2 weeks under typical conditions
• Number of reuses - up to 8
Note: Aggressive attempts by the patient to remove the tag may
reduce band life. Re-use of the band more than 8 times may
render it unreliable. If you have any doubt, dispose of the old
band and apply a new one.
Reference Documentation
For more information about any of these procedures, see the “Pedz
User Guide” (p/n 0980-317-000).
Battery Information
The Pedz Tag uses one non-replaceable battery (Model CR2032 or
equivalent, electrical rating 3V, 220mAh).
The Pedz system software automatically displays a Low Battery
notification if the Pedz Tag enters a low battery state during use.
Handling Information
Battery Handling - this device contains a lithium battery.
Do not
force open, heat to 212°F (100°C), or dispose of in fire.
X-rays - Do not directly expose the tag to X-rays. (The tag is not
affected by stray radiation.)
MRI - this tag contains metal components and is not approved
for use near MRI
.
Warranty
STANLEY Healthcare’s products are warranted against defects
in materials and workmanship and shall perform in accordance
with published specifications for a period of one year. STANLEY
Healthcare Solutions reserves the right to change specifications
without notice.
Limitation of Liability
This Product has been designed for use to assist in the prevention
of pediatric abductions.
The range, accuracy, function and performance of this Product
may vary from the published specifications due to many factors,
including, but not limited to, site impairments from structural
effects, metal objects in the vicinity, placement of the receiver and
transmitter, interference from other electrical devices, atmospheric
effects, installation, and maintenance. There may be other factors,
which also affect performance of this Product.
STANLEY Healthcare (“STANLEY”) does not guarantee that this
Product will detect 100% of pediatric abductions, nor does STANLEY
guarantee that this Product will be free from returning false reports of
pediatric abductions.
Monthly testing and maintenance of this Product, as described in the
Product documentation, is essential to verify the system is operating
correctly and to ensure that the probability of detecting an alarm and/
or locating the transmitter are maximized.
The failure to undertake regular testing and maintenance will
increase the risk of system failure and failure to detect pediatric
abductions. The failure to undertake regular testing and maintenance
will increase the risk of false reports of pediatric abductions.
STANLEY hereby disclaims all warranties, express or implied, arising
out of or in connection with any of its Products of the use or perfor-
mance thereof, including but not limited to, where allowable by law,
all other implied warranties or conditions of merchantability, fitness
for a particular purpose, and those arising by statute or otherwise in
law or from a course of dealing or usage of trade.
STANLEY’s liability to you or anyone claiming through or on behalf
of you with respect to any claim or loss arising out of the use or misuse
of STANLEY’s Product, defective products or materials, improper
installation or maintenance of STANLEY’s Product or products or
the system in which they are incorporated, or alleged to have resulted
from an act or omission of STANLEY or any person, negligent or
otherwise, shall be limited to the following, at STANLEY’s sole option:
1) the repair or replacement of defective Product or materials
supplied by STANLEY during the warranty period as set out
in the Product documentation; or, at the option of STANLEY,
2) a refund of the purchase price of the Product supplied by
STANLEY.
In no event shall STANLEY be liable for general, specific, indirect,
consequential, incidental, exemplary or punitive damages or any
losses or expenses suffered by you or anyone else, whether or not
STANLEY, or its employees, officers, agents, resellers or installers
has been informed of the risk of such loss or expense and whether
or not such losses or expenses were foreseeable.
Statements
United States—Federal Communication Commission (FCC)
This device complies with Part 15 of the FCC Rules. Operation is
subject to the following two conditions: (1) this device may not cause
harmful interference, and (2) this device must accept any interference
received, including interference that may cause undesired operation.
NOTE: This equipment has been tested and found to comply with
the limits for a Class A digital device, pursuant to Part 15 of the
FCC Rules. These limits are designed to provide reasonable protec-
tion against harmful interference when the equipment is operated
in a commercial environment. This equipment generates, uses, and
can radiate radio frequency energy and, if not installed and used in
accordance with the instruction manual, may cause harmful inter-
ference to radio communications. Operation of this equipment in
a residential area is likely to cause harmful interference in which case
the user will be required to correct the interference at his own expense.
Warning: Changes or modifications not expressly approved by
STANLEY could void the user’s authority to operate the equipment.
Canada—Industry Canada
The term “IC:” before the certification/registration number only signifies
that Industry Canada technical specifications were met.
Conforms to
UL STD 294
Pedz™ Tag User Sheet
Instructions for the Pedz™ Tag
Applying the Tag
The tag is not sterilized at the factory and should be
cleaned before first use. The Pedz Tag may be applied
to either the wrist or ankle as per hospital policy.
1 Measure the child’s extremity using the
Sizing Guide.
2 Use the Band Clippers to cut the Banding
Material to obtain a cut-to-length band.
3 Firmly push one end of the band into either
of the openings on the side of the tag
until
you feel the locking mechanism engage
.
4 Wrap the band around the extremity.
5 Firmly push the loose end of the band into the
opposite opening on the side of the tag until
you feel the locking mechanism engage. A
flashing light on the front of the tag indicates
a successful connection.
6 Optionally, for children over three years of
age, snap a Tag Skin onto the face of the tag.
7 Verify that the tag has been admitted into the
system at the Pedz computer.
Assessing Tag Fit
When you apply a tag to the child, ensure that a
secure fit is obtained. A secure fit is defined as a fit
snug enough to prevent the tag from being slipped
off the hand/heel, and loose enough to wiggle but
not rotate freely.
8 It is recommended that a staff member examine
each Pedz Tag and tag site regularly (per hospital
policy) for appropriate fit and the absence of
any skin irritation.
9 If the Pedz Tag appears to be too tight, as evi-
denced by tag / band impressions on the child’s
skin or the inability to move the tag on the skin
surface, remove the tag immediately and apply
a new band.
Removal Key
The Removal Key is used by
authorized staff to quickly release
the band from the tag. It can be
attached to a lanyard.
Removing the Tag
1 If there is a Tag Skin, remove it by lifting one
edge and pulling it away from the tag’s face.
2 Slide the Removal Key over the face of the tag
from either side (for left or right-handed use).
3 Apply pressure using your thumb and forefinger
to release the end of the band from the tag.
4 Discard the band if the child is being dis-
charged. Return the tag for cleaning and reuse.
Cleaning the Tag and Removal Key
Consult with your Infection Control representative
for cleaners available to your hospital that have
been approved for use on plastics as stated in
STANLEY Healthcare Technical Bulletin [KB#
8184] “Approved Cleaning Materials for Patient
Security Tags” – available on the STANLEY
Healthcare Support Community (stanleyhealthcare.
com/support).
1 Use a germicidal wipe to remove heavy soil.
2 Spray the cleaner ontothe surface and openings.
3 If necessary, a soiled tag or Removal Key can
also be soaked in a cleaning solution.
4 Clean the surface and openings with a small
brush, as needed.
5 Rinse with water and dry with a clean cloth or
allow to air dry.

Other Stanley Healthcare Medical Equipment manuals

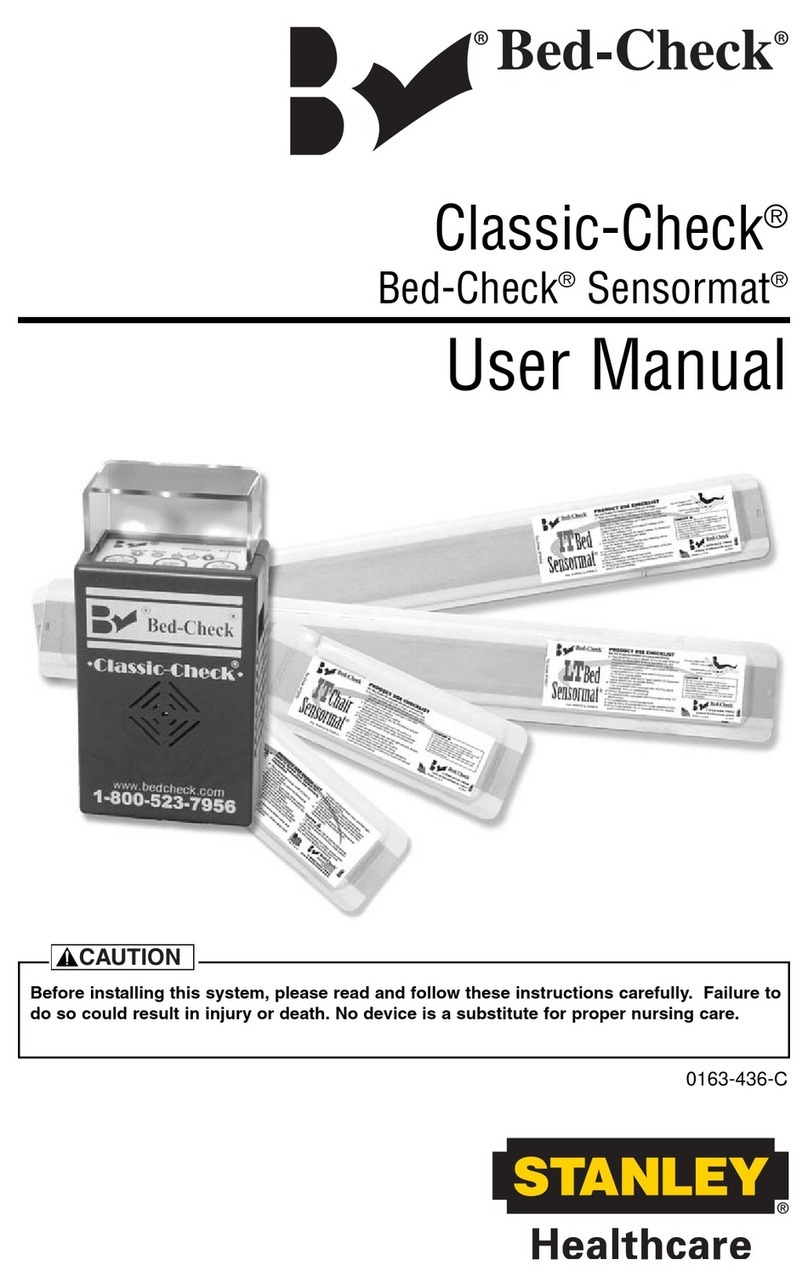
Stanley Healthcare Bed-Check Classic-Check Sensormat 72020 User manual

Stanley Healthcare

Stanley Healthcare Bed-Check Classic-Check Sensormat 72020 User manual

Stanley Healthcare AeroScout T15e User manual

Stanley Healthcare

Stanley Healthcare AeroScout T15e User manual

Stanley Healthcare T2s Tag User manual

Stanley Healthcare

Stanley Healthcare T2s Tag User manual

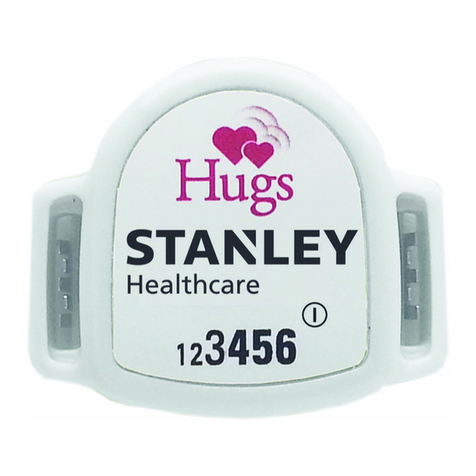
Stanley Healthcare Hugs User manual

Stanley Healthcare

Stanley Healthcare Hugs User manual

Stanley Healthcare Kisses Tag User manual

Stanley Healthcare

Stanley Healthcare Kisses Tag User manual

Stanley Healthcare AeroScout T12s User manual

Stanley Healthcare

Stanley Healthcare AeroScout T12s User manual

Stanley Healthcare WanderGuard BLUE User manual

Stanley Healthcare

Stanley Healthcare WanderGuard BLUE User manual

Popular Medical Equipment manuals by other brands

Esaote MyLab SIGMA Quick reference guide

Esaote

Esaote MyLab SIGMA Quick reference guide

kENDALL SCD 5325 Operating and service manual

kENDALL

kENDALL SCD 5325 Operating and service manual

HD Rehab HD motion 39852 User manual & assembly instructions

HD Rehab

HD Rehab HD motion 39852 User manual & assembly instructions

Nabtesco ALLUX NE-Z4 user guide

Nabtesco

Nabtesco ALLUX NE-Z4 user guide

Mobotix c71 NurseAssist Quick installation

Mobotix

Mobotix c71 NurseAssist Quick installation

ADL Snorer's Friend Instructions for use

ADL

ADL Snorer's Friend Instructions for use

Otto Bock 10S17 Instructions for use

Otto Bock

Otto Bock 10S17 Instructions for use

Otto Bock Epi Forsa Instructions for use

Otto Bock

Otto Bock Epi Forsa Instructions for use

ResMed Swift LT user guide

ResMed

ResMed Swift LT user guide

Motif Medical Motif Phototherapy Blanket BiliTouch Operational manual

Motif Medical

Motif Medical Motif Phototherapy Blanket BiliTouch Operational manual

Linktop Otoscope NE20 user manual

Linktop

Linktop Otoscope NE20 user manual

biodex BALANCE SYSTEM SD Operation & service manual

biodex

biodex BALANCE SYSTEM SD Operation & service manual

BodyMed ZZACOMBO instruction manual

BodyMed

BodyMed ZZACOMBO instruction manual

Blatchford 932285 Instructions for use

Blatchford

Blatchford 932285 Instructions for use

React Health BMC Luna II CPAP user manual

React Health

React Health BMC Luna II CPAP user manual

Limbs & Things ECOSystem 80197 user guide

Limbs & Things

Limbs & Things ECOSystem 80197 user guide

Melbea MelbeaGold Important information for the user

Melbea

Melbea MelbeaGold Important information for the user

Stryker Power-PRO XT Operation manual

Stryker

Stryker Power-PRO XT Operation manual

manuals.online logo
manuals.online logoBrands
  • About & Mission
  • Contact us
  • Privacy Policy
  • Terms and Conditions

Copyright 2025 Manuals.Online. All Rights Reserved.