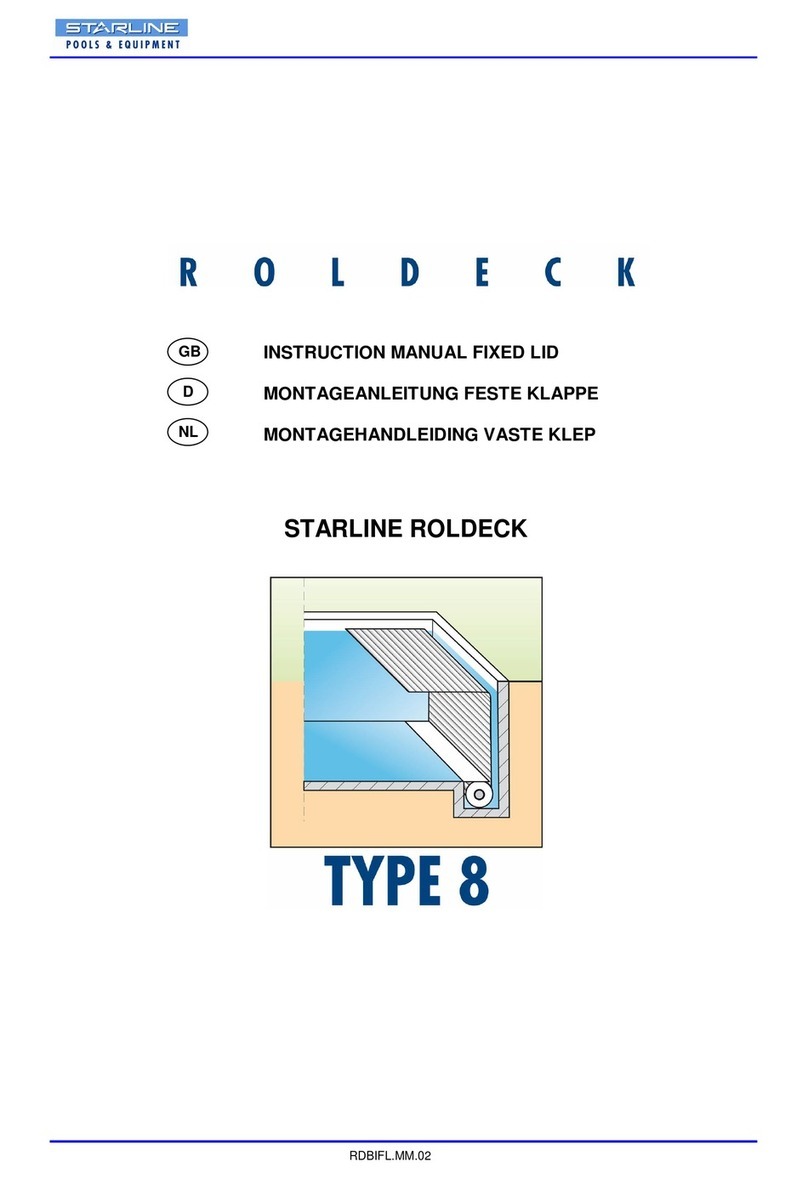
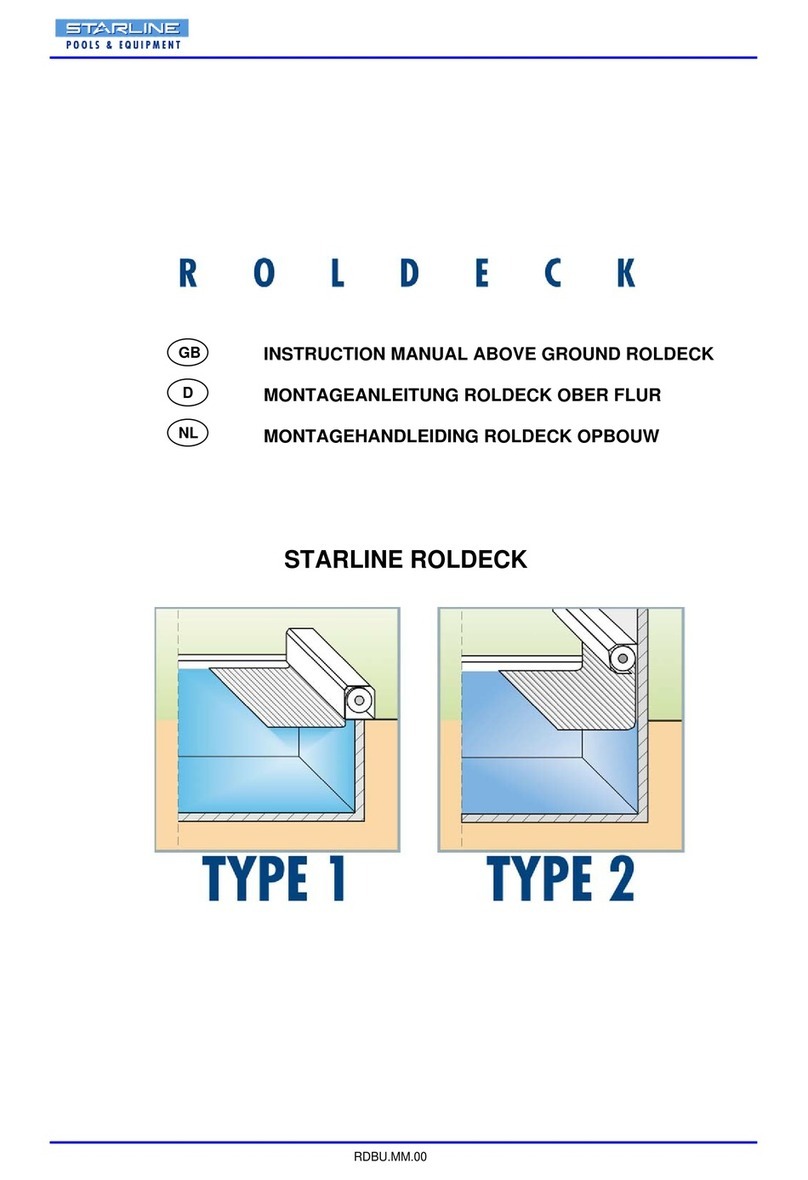
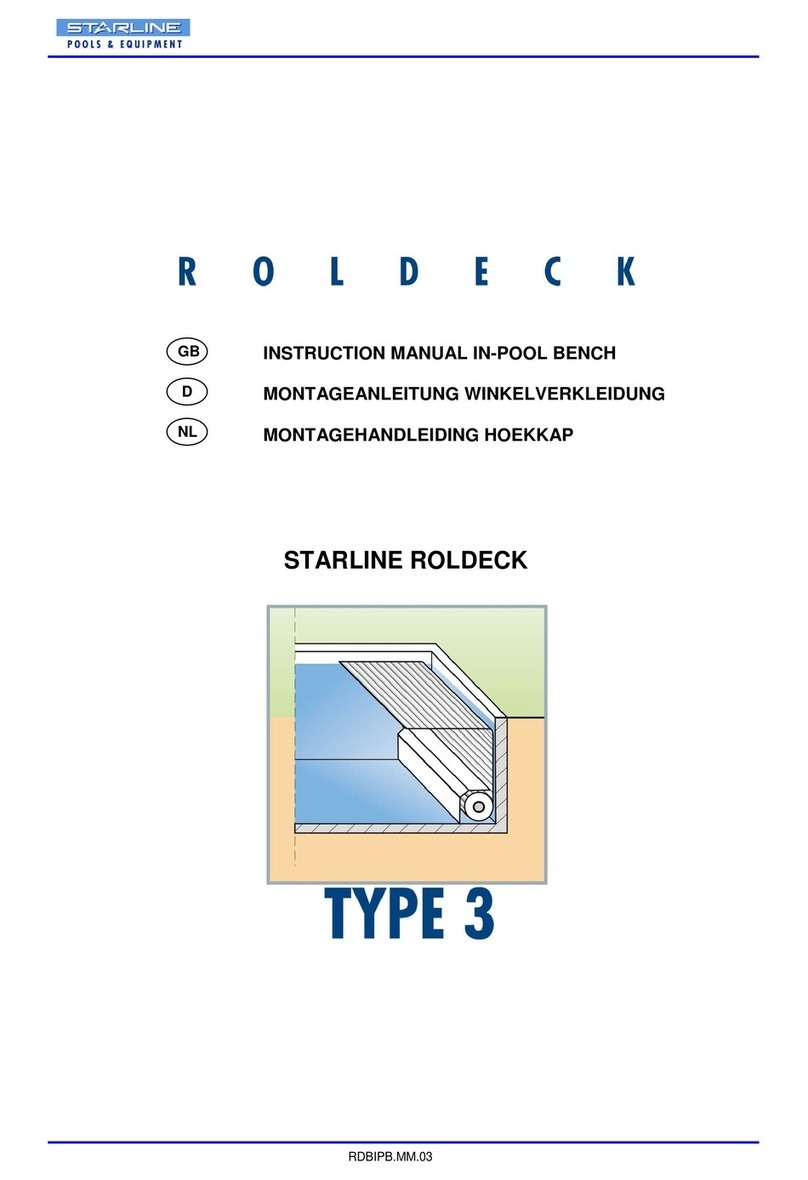
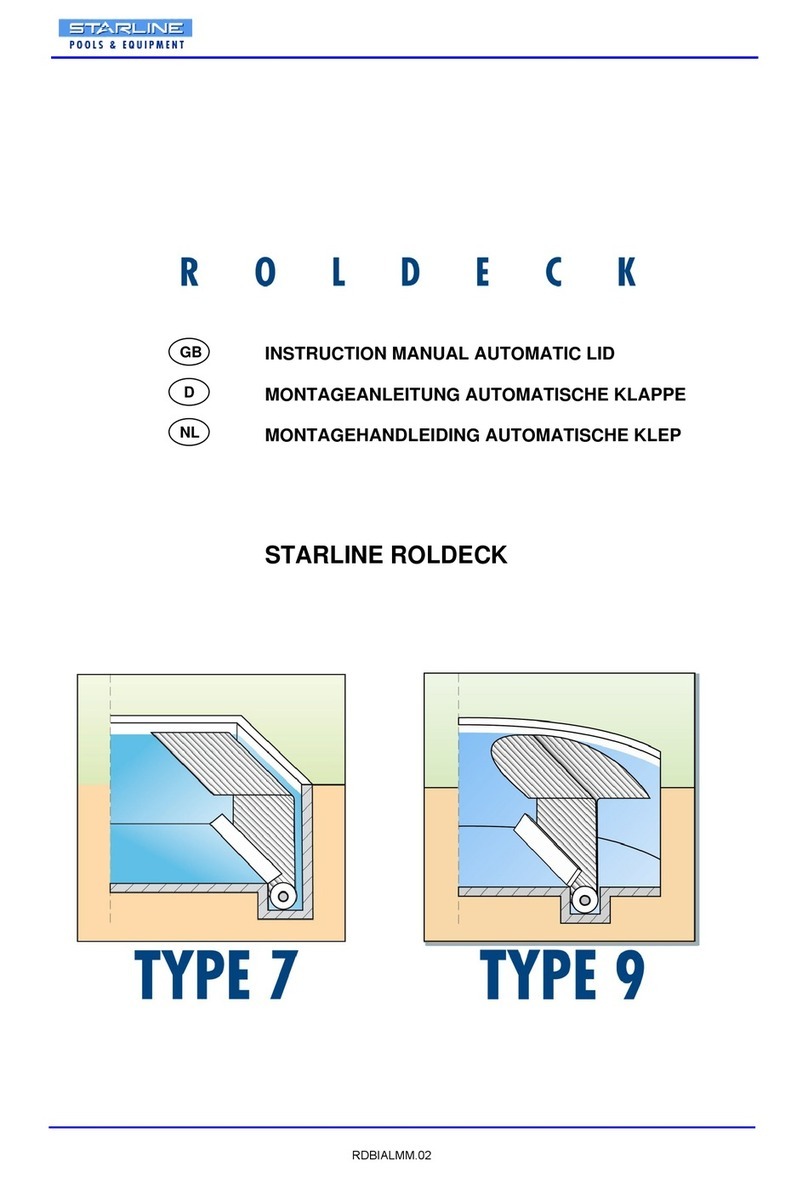
Starline Roldeck User manual

STARLINE ROLDECK
USER MANUAL
ANLEITUNG
GEBRUIKERSHANDLEIDING
MANUAL DEL USUARIO
MANUAL D‘UTILISATION

RDCM V03-10152
© Starline Pools & Equipment is a member of the Starline Group.
All rights reserved.
The information issued may not be multiplied and/or disclosed in any way, by whatever means
(electronically or mechanically), without explicit, prior written permission from Starline Group
Netherlands. The information provided is based on the data that were known the moment of the
product’s issuance. Starline pursues a policy of continuous product improvement, therefore,
changes are reserved.
The information provided applies for the product as it was produced by Starline.
Therefore, Starline cannot be held liable for possible damages resulting from deviations from the
original product specifications.
The available information was compiled with all possible care, however, Starline cannot be held
liable for possible errors in the information or for their consequences.Starline cannot be held
liable for damages resulting from activities that were performed by third parties.
The usage names, trade names, trade marks etc., used by Starline, cannot be considered free in
virtue of legislation concerning the protection of trade marks.
EN User Manual p.2
DE Anleitung p.32
NL Gebruikershandleiding p.62
Manual del usuario p.92
Manuel d‘utilisation p.122
User manual Starline Roldeck
ES
FR

RDCM V03-1015 3
Table of Contents
1 General............................................................................................................ 4
1.1 Purpose of this manual .........................................................................................................................4
1.2 Icons in this manual ..............................................................................................................................4
1.3 Disposal and Environment ....................................................................................................................4
1.4 Service and Maintenance......................................................................................................................4
1.5 Warranty Conditions .............................................................................................................................4
2 Overview ...........................................................................................................5
3 Safety .............................................................................................................. 6
3.1 Emergency Shutdown...........................................................................................................................6
3.2 Operation ..............................................................................................................................................6
3.3 Child Lock .............................................................................................................................................6
3.4 Roldeck .................................................................................................................................................7
3.5 Descaling...............................................................................................................................................7
3.6 Preparing for Winter..............................................................................................................................7
4 Operation ........................................................................................................ 8
4.1 Overview Control...................................................................................................................................8
4.2 Removal of the RDEB2013 front panel .................................................................................................8
4.3 Overview RDEB2013 Roldeck Control..................................................................................................9
4.4 S-Switch Control panel.......................................................................................................................10
4.5 Operating the Key Switch ...................................................................................................................11
4.6 Remote Control...................................................................................................................................11
5 Programming the Roldeck Control with S-Switch ...................................... 12
5.1 Roldeck Control ..................................................................................................................................12
5.2 Fine tuning the Roldeck with S-Switch...............................................................................................15
5.3 Programming Remote Control ............................................................................................................17
5.4 Releasing Keylock S-Switch ...............................................................................................................19
5.5 AutoLock function...............................................................................................................................20
5.6 Changing position of the Roldeck (afterwards)...................................................................................20
Cleaning and Maintenance .................................................................................. 21
6.1 Slats ....................................................................................................................................................21
6.2 Debris..................................................................................................................................................21
6.3 Housing...............................................................................................................................................21
6.4 Disassembling slats ............................................................................................................................22
6.5 Assembling slats .................................................................................................................................23
6.6 Clips and brackets .............................................................................................................................24
6.7 Descaling.............................................................................................................................................26
7 Failures.......................................................................................................... 27
7.1 Overview failure Messages RDEB2013...............................................................................................27
7.2 Failure Prevention ...............................................................................................................................28
7.3 Water Level Control.............................................................................................................................29
7.4 Manual Roldeck Operation .................................................................................................................30
8 Technical Specifications .............................................................................. 31
9 Supplement................................................................................................. 152
User manual Starline RoldeckUser manual Starline Roldeck

RDCM V03-10154
1 General
1.1 Purpose of this manual
This manual describes the Starline Roldeck’s daily use.
Read the manual carefully. Every user must be acquainted with the contents of this manual.
Follow meticulously the instructions in the manual.
Always perform the operations in the correct order.
Keep the manual in a fixed spot near the operation cabinet. If the manual gets lost, order a new
copy through your supplier.
1.2 Icons in this manual
The following icons and symbols are used in this manual:
CAUTION!
Procedures that demand additional attention.
WARNING!
Do not step on it!
1.3 Disposal and Environment
If the Roldeck is discarded, it must be disposed of according to locally valid regulations.
Enquire at the local recycling centre for possibilities for reuse and for environment-friendly
processing of the product and the packing.
1.4 Service and Maintenance
• Have the Roldeck installation checked by the installer at least once a year.
• Report Roldeck failures always to your installer.
• Protect unused slats from direct sunlight:
The slats can become deformed. The synthetic material can become soft. As a result, a failure of
the Roldeck can occur.
1.5 Warranty Conditions
Refer to the Starline Warranty booklet.
User manual Starline Roldeck

RDCM V03-1015 5
2 Overview
A Roldeck
B S-Switch
C Roldeck Control
D On /off switch
E Key switch
F Optional Level Control
G Optional Level Measurement Point
H Remote Control
User manual Starline RoldeckUser manual Starline Roldeck
A
G
H
B
C
F
E
D

RDCM V03-10156
3 Safety
3.1 Emergency Shutdown
If the key switch on the control box is in
the 0 position, it will function as emergency
shutdown and the Roldeck cannot be
controlled by unauthorized persons.
Pressing one of the buttons A, B or C of the
S-Switch will work as emergency shutdown
as well if the motor is running.
A
3.3 Child Lock
The child lock (A) is an automatical
safety lock that prevents children from
being able to push open - consciously or
unconsciously – the Roldeck.
Check operation every time you close the
cover. The water level is very important for
it to function correctly, if too high or too low
the latch hook won’t engage correctly with
the safety lock.
3.2 Operation
To operate the Roldeck the key switch
must be in position 1.
Set the key switch to the 0 position if the
Roldeck has been opened. If the key switch
is in postion 0 it works as emergency stop
and the Roldeck is not operable.
(childproof safety)
Make sure that there aren’t any
persons or objects in the pool when
closing the Roldeck.
User manual Starline Roldeck
A
BC

RDCM V03-1015 7
3.4 Roldeck
Always make sure that the Roldeck has
been fully opened when the pool is being
used. Use of the pool while the Roldeck
has been closed partially or completely may
result in injury and/or Roldeck damage.
Don’t stand/walk on the Roldeck.
1 L5L
3.5 Descaling
For use, refer to the instructions on the
packaging.
3.6 Preparing for Winter
• The benefits of the Roldeck will be
lost if a winter cover is used and the
Roldeck left in the open position
• It is true that the Roldeck may become
dirtier if a winter cover is used with the
Roldeck in the closed position but the
pool will be safer.
User manual Starline RoldeckUser manual Starline Roldeck

RDCM V03-10158
User manual Starline Roldeck
4 Operation
1 Roldeck control RDEB2013
2 On/Off switch
3 Key Switch
4 S-Switch
5 Remote control
23
4
5
1
4.1 Overview Control
4.2 Removal of the RDEB2013 front panel
REMOVAL OF THE RDEB2013 PANEL
PLEASE NOTE:
1.Before the housing is opened the equipment
must be switched off.
2. Remove the 6 screws from the front panel
of the housing.
Remove the panel of the control housing.
RE-FITTING THE PANEL
Put the panel back on the housing and tighten
the screws crosswise.
NOTE:
Make sure that the panel on the housing is
completely closed, otherwise condensation may
occur inside the housing, which may damage
the RDEB2013.
1.
2.

RDCM V03-1015 9
User manual Starline RoldeckUser manual Starline Roldeck
4.3 Overview RDEB2013 Roldeck Control
Switch
Water
level
Switch
3,15A/T
L1 N
230 V AC
Filtration
Pump
Jet
Stream Garden
Light Tipp
13 12 11 23 22 21 33 32 31 12V 12V L123 4567
Panel - Unit
Safety
Lock Roldeck Sensor-Roldeck S switch M-BUS Temp.
+ -+24V -
+ A B - P1a 2a 3a 4a A B X Y
max. 230V/5A
S400
J400 X300 X301 X302 J402 J201
J501 J500
U501 U500
X200 J104 J103 J102
5A/T
J401
NL1Ls
bl.br. sw.
Power Switch
8910 11 12
13 14 15 16
J200
J502
LED LED
6A / 72W
J2 J1
J202
Closing
Speed
-+
Closing
Speed
-+
68
9
10
12 34567
8910 11 12
13 14 15 16
J200
J502
4
7
11
12
J202
3
1
Panel - Unit
14
2
513
ON
OFF
ON DIP
1324
S1
15
1 Fuse primary 230V / 3.15 A T
2 LED 01 t/m 07
3 LED 08 t/m 12
4 LED 13 t/m 16
5 Jumper connector (for installation)
6 Program buttons
7 Display
8 Chopper module
9 Adjust “close” speed
10 DIP Switch S1
11 Socket for program plug
12 Automatic lid module
13 LED A & B Motor sensor signal
14 Fuse 12V LED
15 Pull-out Fuse 15A

RDCM V03-101510
User manual Starline Roldeck
4.4 S-Switch control panel E
F
D
A
B C
ROLDECK 13:24
31OC
MENU
G
Function Description
A “Mode” – key By pressing this key for more then 3 seconds,will
direct you in the set-up menu. For example you
can see:
• Information of the controlbox
• Calibrate temperature
• Programming extra remote controls
• Setup time and date
By pressing this key one time short, will set your
pool lights on or off.
When on and pressing the key twice will switch
between the color by LED RGB.
Auto Lock function: After 15 minutes “locked”
unlock the S-switch by pressing the menu key a
few seconds.
B Key “Open” / “Close” By pressing this key the Roldeck will run.
C Key “Open” / “Close” By pressing this key the Roldeck will run.
D Control – “Open” / “Close” Status reading the Roldeck and other functions.
E Time Time indication
F Temperature Water temperature reading (optional)
G Indicator symbols Indicates for example lights or jetstream are on.
With the arrow keys of the Roldeck
can be “opened” or “closed”.
By touching one of the three keys when
opening or closing the Roldeck, the
Roldeck stops.

RDCM V03-1015 11
User manual Starline RoldeckUser manual Starline Roldeck
4.5 Operating the key switch
PLEASE NOTE:
To operate the Roldeck the key switch
must be in position 1.
If the key switch is in position 0 it works
as emergency stop and the Roldeck is
not operable. (childproof safety)
4.6 Remote Control
A Roldeck open / stop / close.
B Pool light
C Jetstream
D Garden Light
E LED: will indicate that the remote control
is functioning.
Notes
• Be sure you can see the
swimming pool when opening
and closing;
• A delay was built into the closing
function.
ROLDECK
LOCK
Roldeck open / stop /close (A).
With the button (A) the Roldeck can be
“opened” or “closed”.
B
A
D
E
C

RDCM V03-101512
5 Programming the Roldeck Control with S-Switch
5.1 Roldeck Control
Programming of the Roldeck control occurs
with the help of the S-switch control panel.
• First turn on the Roldeck Control by
means of the red button (1) and connect
the jumper of the RD2013 into socket
(2).
Leave the jumper connected
during use.
User manual Starline Roldeck
3,15A/T
J202
J202
1.
2.
Programming the Roldeck with
automatic lid is not possible on
the S-switch!
During first programming use the arrow keys
or to change the running direction. Press
the middle key “light symbol“ shortly to save the
running direction.
The display shows the following picture
“programming“ the Roldeck.
The running direction of the Roldeck
can be changed.
PROG
OPEN CLOSE
KEY DIRECTION
1 sec.
OR

RDCM V03-1015 13
User manual Starline RoldeckUser manual Starline Roldeck
Press the middle key “light symbol“
once to save the “OPEN” position.
The hourglass “” shows a short
waiting time.
1 sec.
OPEN CLOSE
Subsequently, the “CLOSE” position
should be programmed. The display
will asks you automatically.
Press and hold the arrow key until
the Roldeck is completely closed.
OPEN CLOSE
OPEN CLOSE
The “OPEN” position is programmed by
pressing the arrow key . Press the arrow
key until the Roldeck fully opened.
The arrow above the position “open”
position flashes.
The type of drive motor is automatically
recognized.
This is shown with the “” symbol.
The display shows the following picture
Now there can be started with
programming the “OPEN” position of
the Roldeck.
The running direction of the Roldeck
is indicated by the arrow .
The “” indicates that the engine is not
recognized.
By pressing the arrow key the motor
will be detected.
OPEN CLOSE

RDCM V03-101514
User manual Starline Roldeck
Press the middle key “light symbol”
again once to save the “CLOSE“
position. The hourglass “” shows
again a short waiting time.
1 sec.
OPEN CLOSE
When the Roldeck is programmed,
the display changes to the
programming menu.
The “” indicates that the
programming was successful.
Go to exit and press the middle key
“light symbol“ to finish this program.
Also remove the jumper on the PCB
of the controller!
For “fine” tuning Roldeck see
following pages.
PROG
User manual Starline Roldeck

RDCM V03-1015 15
User manual Starline Roldeck
5.2 Fine tuning the Roldeck with
the S-Switch
With the S-switch now only the fine tuning of
the Roldeck can be performed.
Press the right arrow to go to the menu “fine
tuning” and confirm the menu by pressing
the lamp symbol. Now the fine tuning can be
performed. The position of the Roldeck can
now only be changed by pressing the arrow
keys or .
User manual Starline Roldeck
By pressing the middle key “light symbol”
shortly the fine tuning is called (|flashes).
The Roldeck is in the “CLOSE” position, this
indicates that fine tuning is possible for the
position “close”.
The fine tuning of the Roldeck is
shown as a percentage.
The Roldeck is brought to the correct position
with the arrows “OPEN” or “CLOSE”.
1 sec.
OPEN CLOSE
OR
OPEN CLOSE
OR
OPEN CLOSE
100% 0%
79%
?
PROG

RDCM V03-101516
User manual Starline RoldeckUser manual Starline Roldeck
The position of the Roldeck is saved
with the “light symbol” key.
After programming of the fine
tuning, the S-Switch shows if
the programming is correct or
incorrect successful. With a correct
programming a “” is displayed.
When the programming is good the
“Exit” symbol can be choosen to exit
the program by pressing the arrow
keys or . Then press the middle
key “light symbol” shortly to exit the
program.
The programming is complete.
Also remove the Jumper “B” from the
circuit board of the control.
Incorrect programming shows “”.
This is possible when only one or no
position is programmed.
If an incorrect program, the program
must be removed first. Use the
arrow keys or (PROG “”) and
then press the lamp symbol. The
program is deleted. Start again with
programming the Roldeck.
OPEN CLOSE
1 sec.
OR
PROG
1 sec.
PROG

RDCM V03-1015 17
User manual Starline RoldeckUser manual Starline Roldeck
5.3 Programming Remote Control
The remote control transmitter is pre-
programmed.
If the transmitter is replaced, or if the number
of transmitters is expanded, follow the
procedure below.
Make sure that the transmitter and
the receiver will not be more than
5 meter distance from each other
during programming.
With the arrow keys or of the S-Switch
all other menu items can be selected.
Select the symbol “Antenna” and confirm
this by pressing the “lamp symbol”.
The symbol “Antenna & Remote Control” is
now active.
To program the transmitter keep one of the
four buttons pressed on the remote control.
When the transmitter is recognized,
the menu “Program channel” closes
immediately.
Transmitter / receiver have been
programmed.
Up to 8 transmitters can be programmed.
In the right bottom of the display the
number of programmed transmitters is
shown.
1 sec.
OR
!
8/8
To register the remote control, enter the menu
settings of the S-Switch by pressing the the
middle key “light symbol” for 3 seconds.

RDCM V03-101518
User manual Starline Roldeck
Pool lights (B).
With the button (B) the pool lights can be
switched on or off. When the pool lights are
on, and the Roldeck is running, the pool
lights are switched off. After the Roldeck
has stopped the pool lights will switch on
again.
The light symbol in the display lights up.
Press button B to switch on the pool lights,
then press button for a few seconds
to switch between the color by LED RGB.
ROLDECK
22 OC
MENU
00 : 55
Pool lights ON
Jetstream (C) and garden lighting (D).
These functions can only be switched on
and off with the remote control.
By pressing the button on the remote
control the function will be switched on.
By pressing the button on the remote
control again the function is switched off.
ROLDECK
22 C
MENU
O
01: 07
Jetstream ON
Garden light ON
Functions Remote Control
Frequency: 433.92 MHz.
Battery replacement
• Remove the 3 screws (A) from the
bottom of the housing.
• Remove the bottom plate (B).
• Replace the battery with the same item
(A23 12 V).
• Watch the polarity.
A
B
C

RDCM V03-1015 19
When pressing 1x at any key, the
“KEY LOCK HOLD OK” overlay screen
will appear automatically after 15 minutes
(timeout).
If the display shows “KEY LOCK HOLD OK”
press the OK button for 3 seconds, to unlock.
User manual Starline RoldeckUser manual Starline Roldeck
5.4 Releasing Keylock S-Switch
ROLDECK 11: 45
25OC
MENU
HOLD 'OK'
ROLDECK
11: 45
OC
MENU
The display shows the keylock active.
ROLDECK 11: 45
25OC
MENU

RDCM V03-101520
User manual Starline Roldeck
19 : 11
HH+ OK MM+
19 : 11
HH+ OK MM+
5.5 AutoLock function
By pressing he middle key “light symbol”
for 3 seconds the menu of the S-switch
opens.
By touching the arrow keys or briefly
you can scroll through the menu.
Select the symbol “time” and confirm this
with the “light symbol”. It is now possible to
switch on/off the AutoLock function.
By touching “light symbol” the AutoLock
function can be switched on or off.
The time is set by using the arrow keys
or .
Symbol “” setting hours, Symbol “”
setting minutes
Then confirmed the time by pressing the
key “light symbol” for 3 seconds.
The menu returns to the symbol time.
PROG
First turn on the Roldeck Control by means
of the red button and connect the jumper of
the RD2013 into socket.
5.6 Changing position of the Roldeck (afterwards)
The position of the Roldeck can be changed
after programming by pressing the lamp key
of the S-Switch.
Then go to exit.
PROG
1 sec.
Other manuals for Roldeck
2
Table of contents
Languages:
Other Starline Lighting Equipment manuals


